In this World of Warcraft: Midnight 12.1.7 Talebound review, you will learn about the three unique classes, how the Talebound Mode works, and the different systems. Most importantly: the rewards.
From my hands-on experience in the Midnight PTR 12.1.7, Talebound Mode uses the Torghast formula under the hood, as an outworld scenario (without multiple floors), and mixes it with an Elder Ring or Dark Souls gameplay style. I only played the Normal mode, but that was enough to get me hooked for more than 10 hours, with a sleep pause in between. The fourth map wasn’t available for testing in this weekend demo, and many talent upgrades had no description other than PH (Placeholder). Check the full review after the break…
World of Warcraft: Midnight 12.1.7 Talebound Review
Cutscene
After you select the Talebound Mode, a cutscene plays out using Drustvar assets from the Battle for Azeroth expansion.
Storyteller: Once upon a time, on a lonely stretch of road, a solitary traveler happened upon a stranger, sitting by a fire. “Let me tell you a story!” the stranger implored. And the traveler, road-weary and disquieted by the midnight gloom, agreed.
It is a story of desire: Of blood spilling from kinship, and love curdling into obsession. Of worlds woven with delusion and death: Skulls cracking with madness, whispers slipping between the broken bones. It is a story that yearns to be told, and mine is the privilege of telling it. It begins, as such tales often do, with a pilgrim lost in the dark… beset by terror.
Character Creation
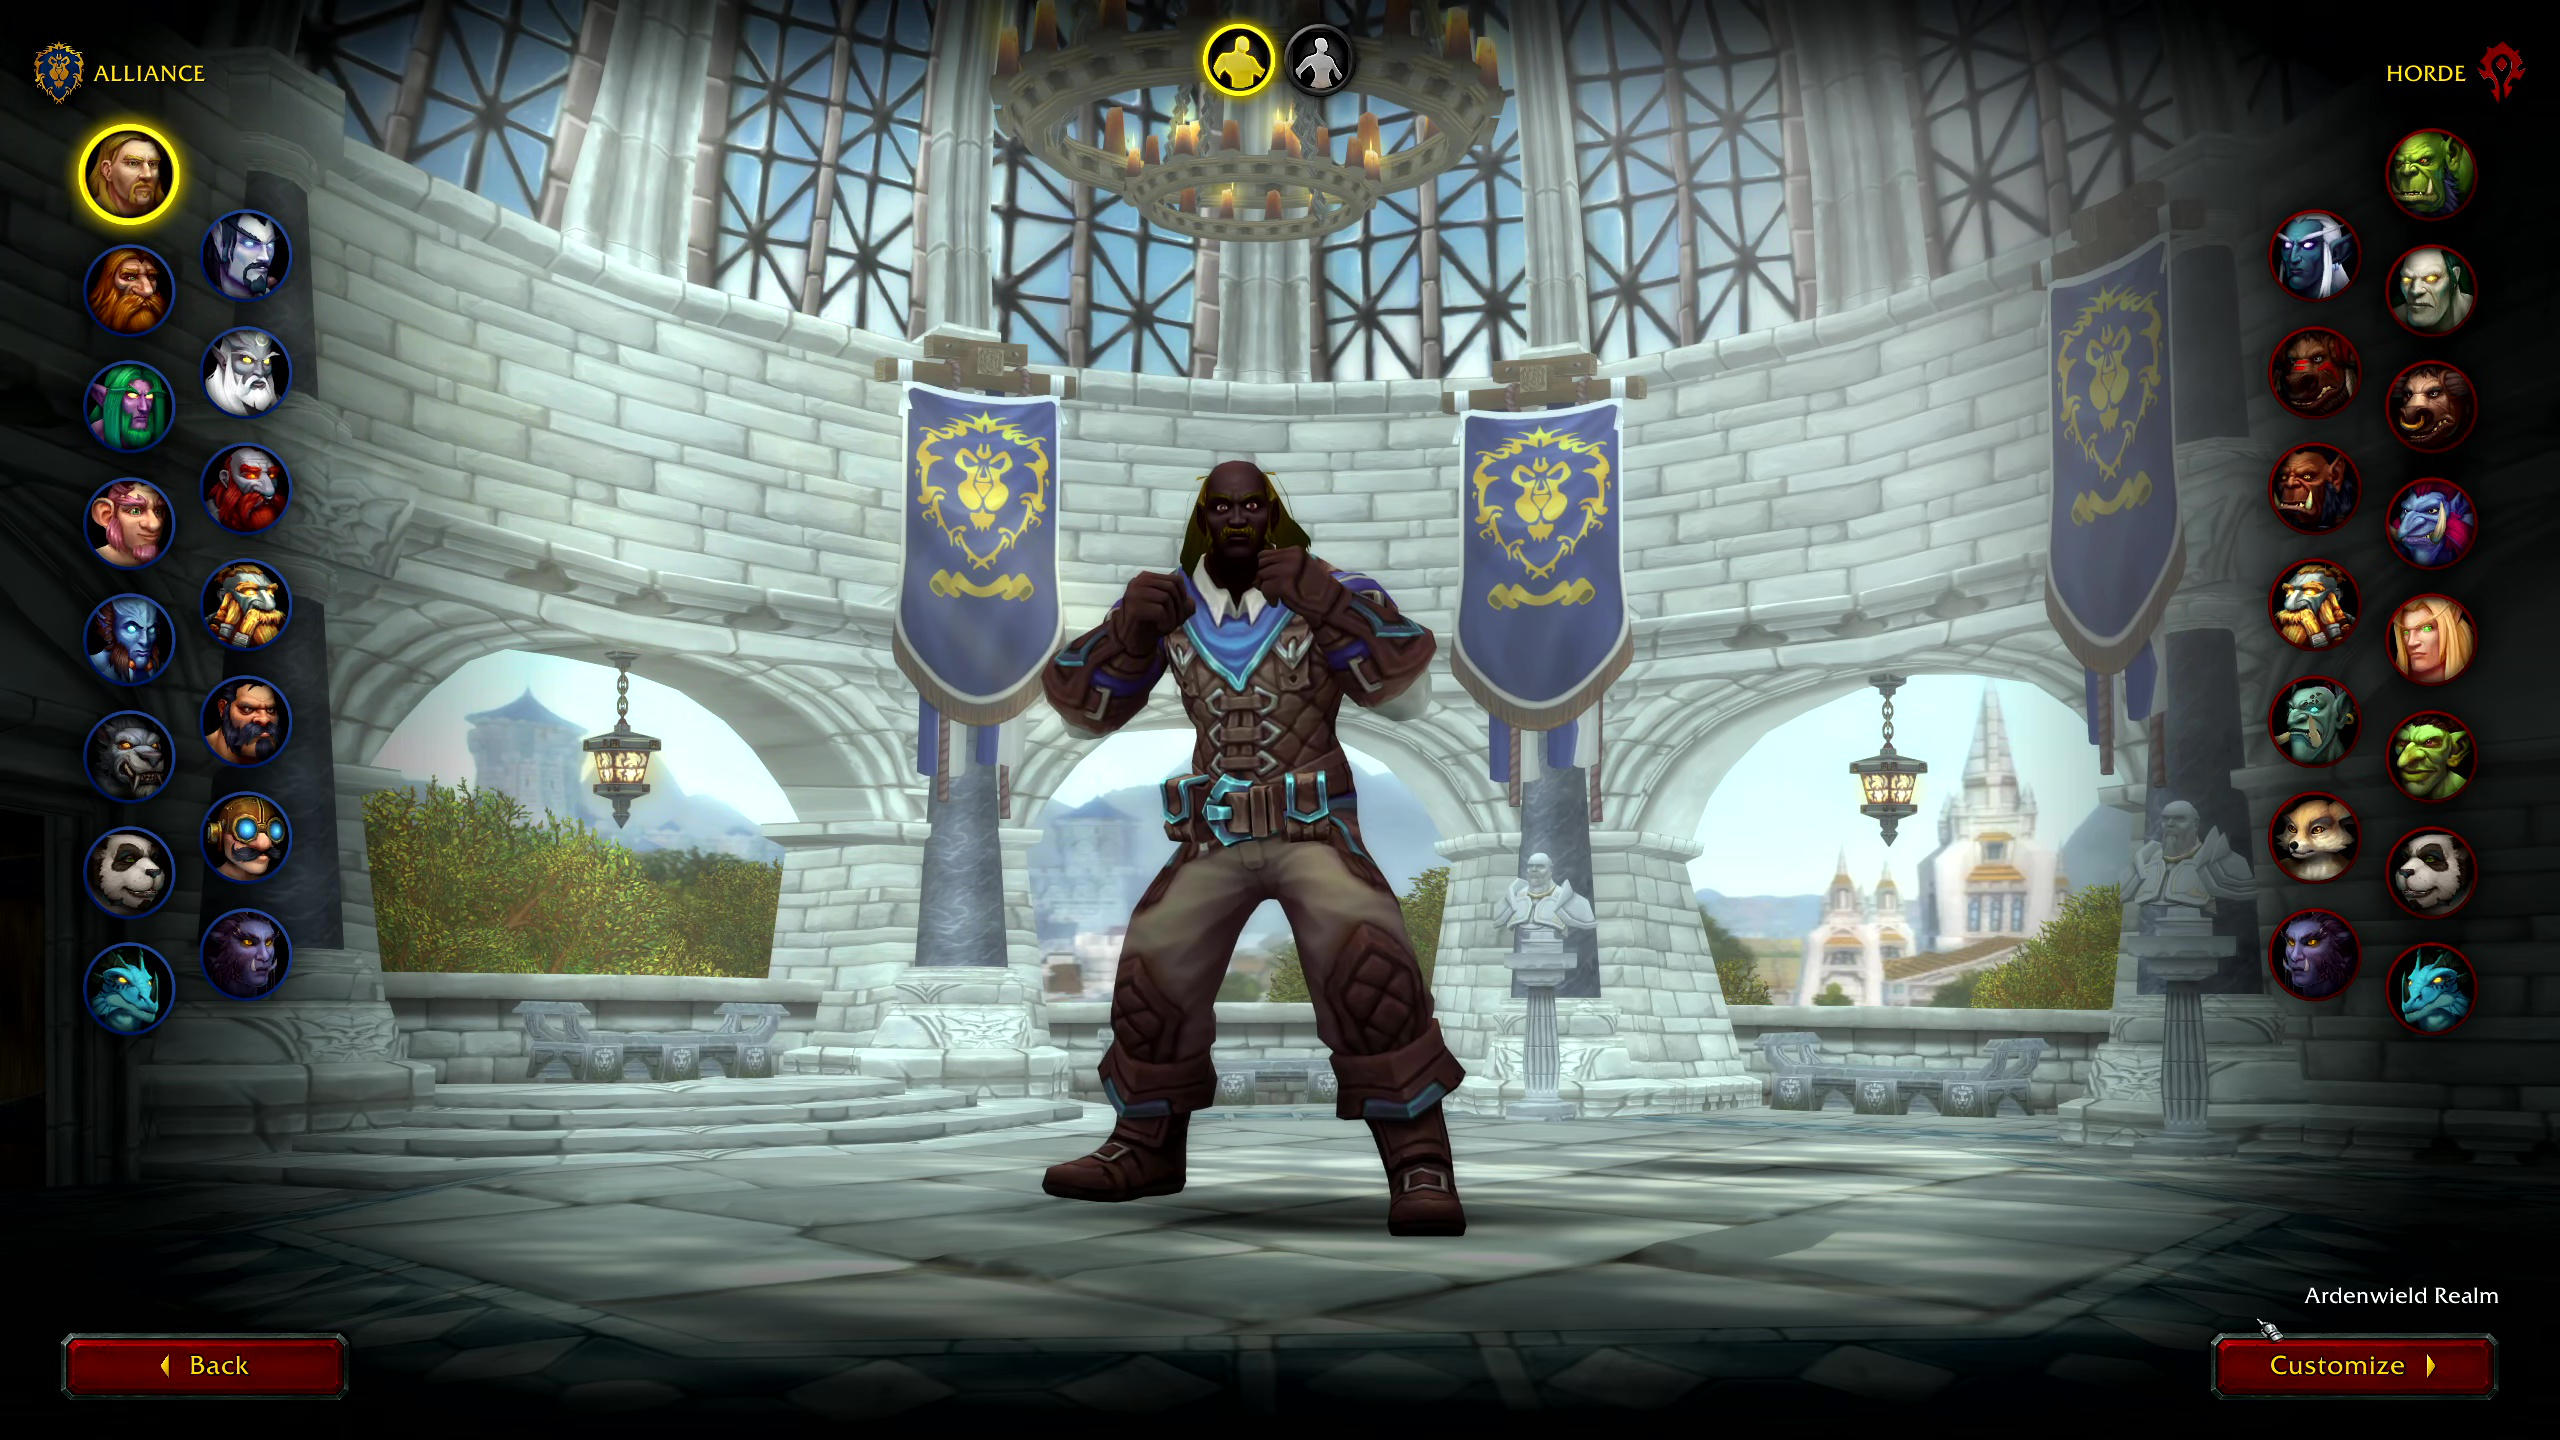
Creating a character is straightforward. Choose the Race and Gender. Customize it the way you always do in your main game mode. Except there is one particular difference. You do not choose a Class from the Character Creation UI.

Talebound Classes
Classes are chosen after you launch the Talebound game, during the Prologue. Not from the Character Creation UI. Talebound has three unique playable classes: Slayer, Witch, and Inquisitor. The Slayer is a shotgun, sword, and dagger-throwing class that feels like Diablo III’s Demon Hunter, laying explosive traps as it jumps backwards. Except for the main sword attack, it has the same vibe. Open the YouTube video in a new tab. Switch to 1440p quality from the gear icon, and hit the spacebar to pause the video to read each talent tree tooltip.
Prologue
The Talebound starts with a prologue. You appear in Red Hollow (a location that uses the Drustvar assets and landscape). For a prologue, it took me around 40 minutes to clear the area, change my keybinds, and get acquainted with the talent tree and the Slayer’s playstyle. There is no map or minimap. You can’t zoom in beyond what the developer allows. The spellbar has four main skills and an Ultimate; two special abilities; three utility abilities: Evade, Run, Block; and four Potion slots. It’s crystal clear the developers made Talebound Mode as a Dark Souls-style mode. I wouldn’t be surprised if it is playable with a console gamepad.
I wish they had skipped the prologue and placed you straight into the main hub first. That gives you time to learn the UI limitations. That way you can set your keybindings and edit the prebuilt ones. The main hub also introduces you to the systems and NPCs to understand how things work.
Instead, you go straight to fighting enemies that spam three AOE zones or leap at you. You have a very short time to move out. The game is designed from the get-go to kill you over and over. There is no loot. You simply run story missions Mythic-Dungeon-style, and at the end you go to town and click a treasure chest to obtain items that help you upgrade your character stats, modify your potions, Talent Tree points, or shop coins: Bound Silver (for transmog, mounts, pets, and Housing Decor) — the latter to get you to play for hours.
At the end of the Prologue, the player spawns in Sagehold, Stormsong Valley (Kul’Tiras).
Character Stats UI
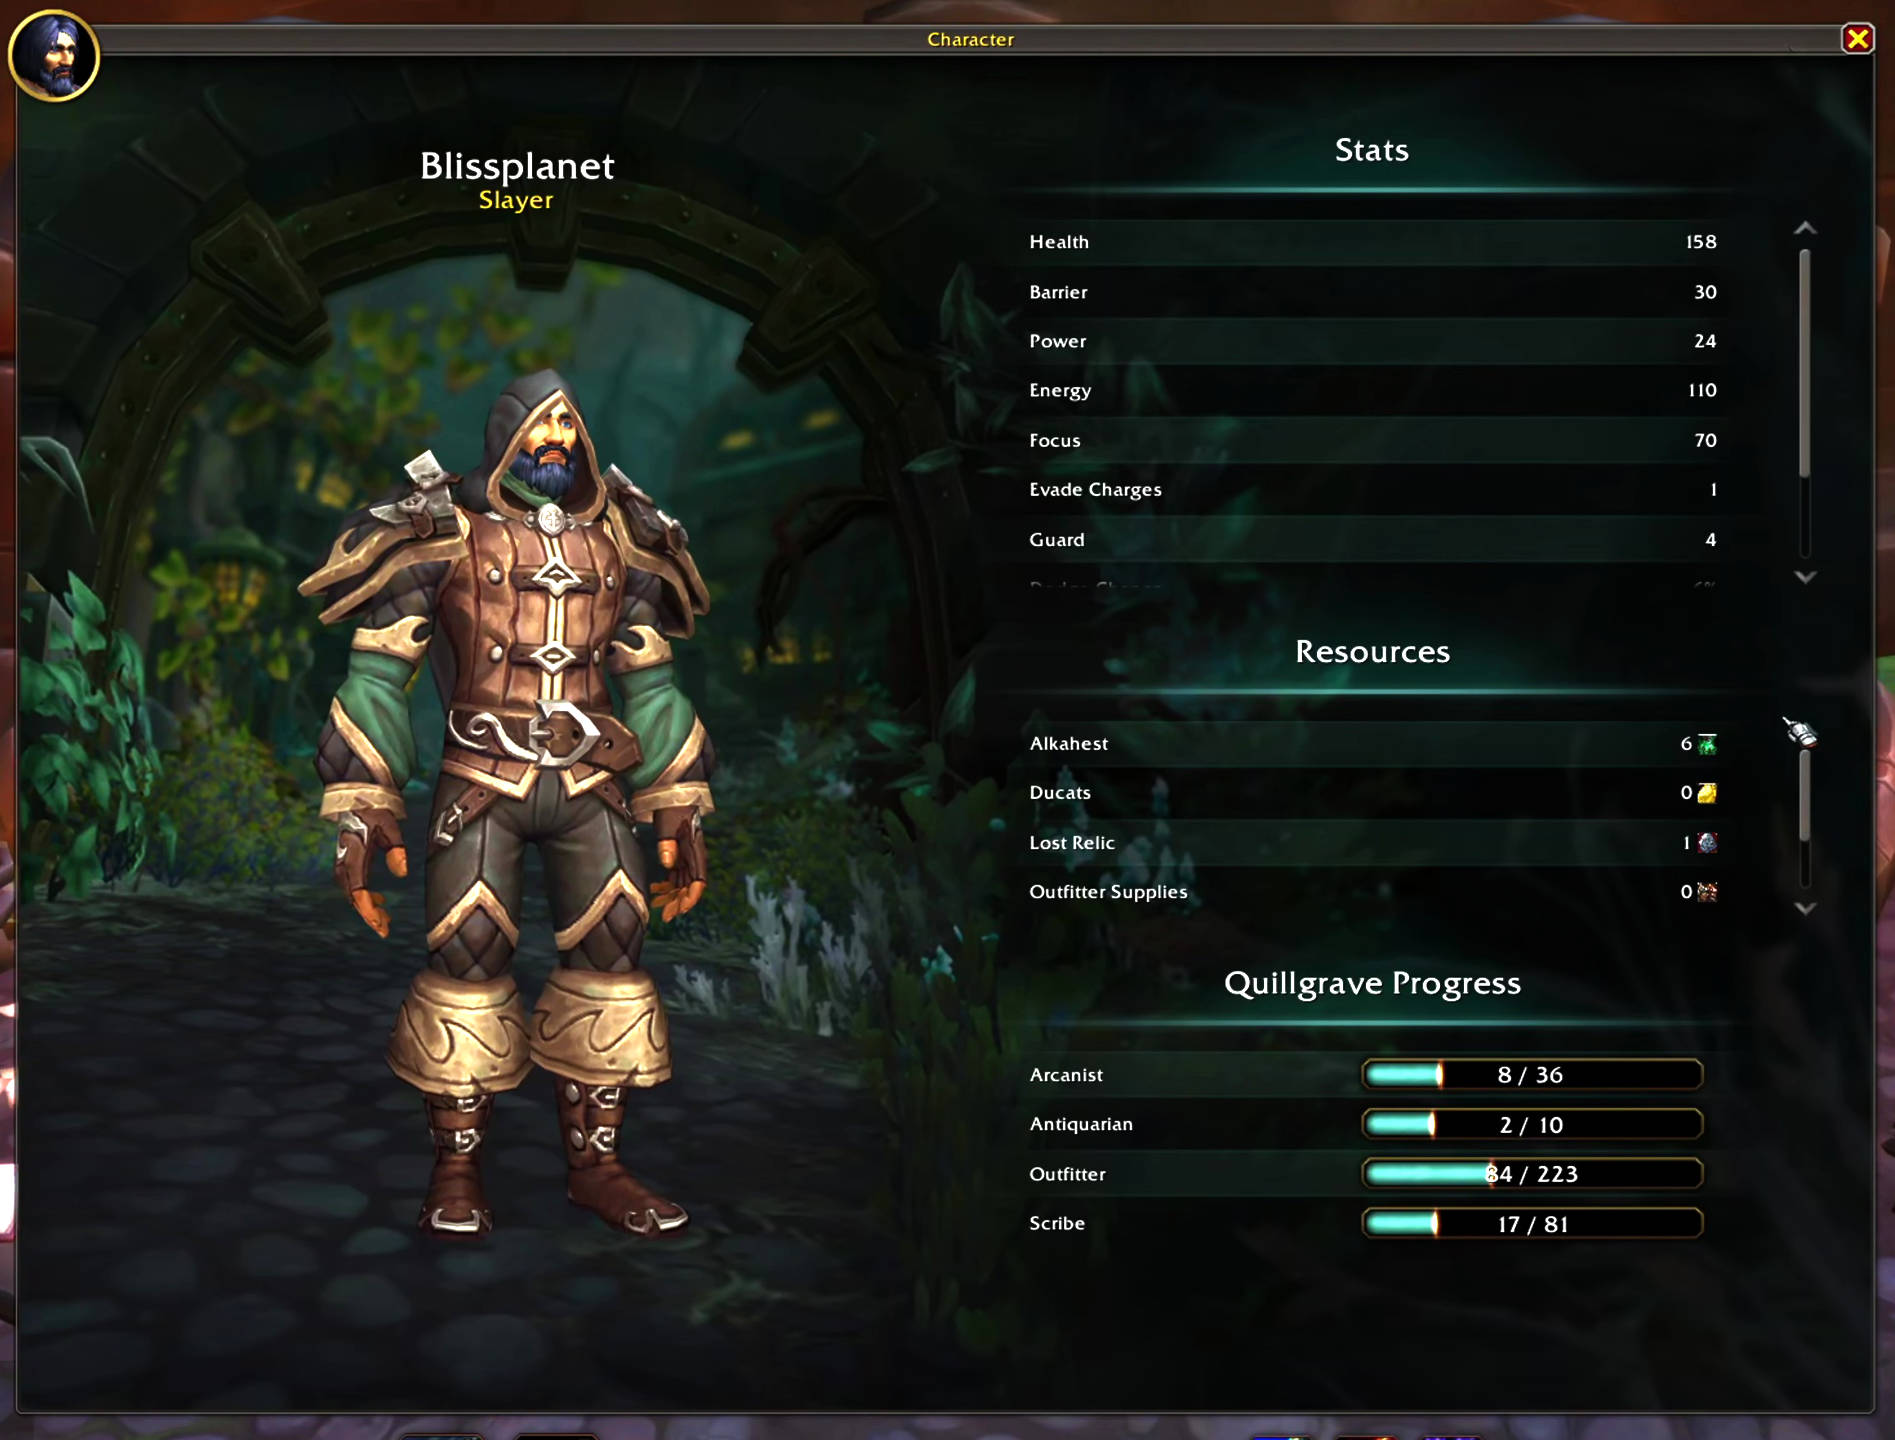
The Character Stats UI provides the following details:
- Health: This is your maximum health. When it is depleted, you will be returned to Quillgrave.
- Barrier: You have an absorb that protects your health from incoming damage while it persists. This absorb regenerates after combat.
- Power: Power increases the damage of your attacks.
- Energy: This is your maximum Energy. Energy is quickly regenerating and used for abilities marked with a lightning bolt icon.
- Focus: This is your maximum focus. Focus is replenished through consumable potions and level-up augments. Each blue pip represents 10 Focus.
- Evade Charges: You have Evade charges equal to this amount.
- Guard: Your class’s guard ability reduces incoming damage by this amount.
- Dodge Chance: You have this percent chance to nullify any incoming damage.
- Critical Strike Chance: Each of your attacks has a percentage chance to critically strike, inflicting increased damage based on your Critical Strike Damage amount.
- Critical Strike Damage: Critical strike damage increased by X%.
Resources
- Alkahest: The Arcanist, Lily whistle Bottledrop, increases the potency of your scrolls and potions with Alkahest.
- Ducats: Collect Ducats in the Tales of the Storyteller. Return to Quillgrave to receive Bound Silver and other rewards for your efforts.
- Lost Relic: The Antiquarian, Meryndel Songseeker, offers you access to her curiosities in exchange for Lost Relics.
- Outfitter Supplies: The Outfitter, Kragg Stonefist, improves your armor using Outfitter Supplies.
- Tales of Valor: The Scribe, Thalannis Loretender, exchanges Tales of Valor for powerful Class improvements.
- Bound Silver: (Warband Currency) Trade Bound Silver to Nib in Quillgrave for cosmetic rewards for your account. Bound Silver is attained by completing quests and achievements and by collecting Ducats in the Tales of the Storyteller.
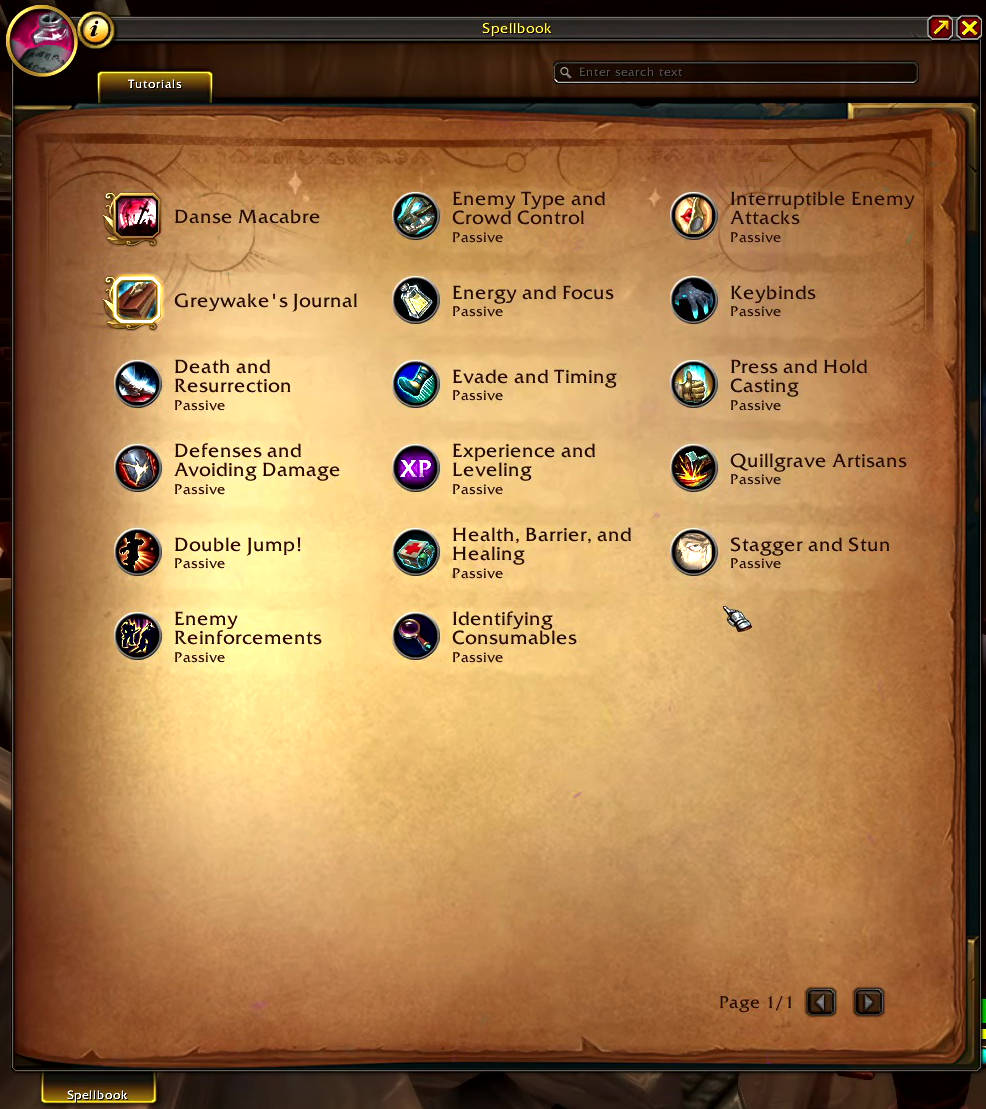
Spellbook (Passives)
All Classes share the same passives, except for a special Class ability that’s an instant cast and some come from the Antiquarian (which requires Lost Relics to unlock).
- Danse Macabre: Become a flurry of blades and shadows for 5.0 sec. striking enemies at random for heavy damage. During Danse Macabre and for 2.0 sec afterwards, you are immune to damage and los of control effects.
- Greywake’s Journal: While you have no remaining lives, suffer 15% reduced damage and inflict 15% increased damage. (Unlocked from Antiquarian UI)
- Death and Resurrection:
- Death – Death is not the end. When you die, you will have many opportunities to become more powerful.
- Soul Wards – These are your extra lives. When you are defeated in combat, if you have a Soul Ward, it will be consumed to render you immune, take you out of combat, and allow you to continue the fight.
- Multiplayer Resurrection – Once your party has exhausted your shared Soul Wards, you will be able to resurrect your fallen allies. You have a limited time to resurrect an ally before the run is ended and you all are returned to Quilgrave. Standing near a fallen ally will begin the resurrection process. You can still move and attack while staying within the area.
- Defenses and Avoiding Damage: Avoiding damage in Talebound is often more important than inflicting damage. Nearly all enemy damage can be avoided.
- Evade – Evade grants you immunity. Evade has a limited number of charges and pauses your energy regeneration, but it is your most powerful defensive tool.
- Sprint – Sprint grants you a burst of speed for a short duration. Use this burst of speed to avoid enemy attacks or to create distance between you and them.
- Guard – Hold your Guard ability to reduce incoming damage and gain immunity to most loss of control effects.
- Double Jump – Some enemy attacks can be jumped. You can double jump to go higher.
- Crowd Control – Many of your attacks will Stagger or Stun enemies, preventing them from moving or attacking. Yellow enemy cast bars can be interrupted by inflicting any damage. Learning enemy attacks is key to success. On higher difficulties, enemies gain additional abilities.
- Double Jump!: Jump while airborne to execute a double jump. Default Keybind: Space Bar.
- Enemy Reinforcements: When you defeat enemies, more will often appear to attack in retaliation. Be prepared for a counterattack! On higher difficulties, enemy counterattacks are more frequent and more aggressive.
- Enemy Type and Crowd Control: There are three types of enemies in Talebound.
- Normal Enemies – These are your weakest foes. Inflicting damage will stagger this type of enemy, preventing them from moving or attacking.
- Silver Enemies – These enemies have silver dragons to the left of their health bar. They are immune to stagger, but they can be stunned by your more powerful attacks.
- Gold Enemies – These enemies have gold dragons to the left of their health bar. They are immune to stagger and stun effects from your attacks.
- Energy and Focus: You have two resources that fuel your abilities.
- Energy – Energy is spent by many of your offensive and defensive abilities. Energy regenerates every second, but Evade will pause energy regeneration for a short time.
- Focus – Focus is spent by your powerful attacks. Focus does not passively regenerate, but it can be restored with potions and other augments. Each blue “Pip” represents 10 Focus. You can improve your maximum Focus at the Outfitter.
- Evade and Timing: Evade grants temporary immunity to all damage and loss of control effects. Evade can be used during your other abilities, cancelling them immediately and allowing you to move quickly. When the inner ring of an enemy’s ability reaches the outer ring, it deals its harmful effect. Learn enemy abilities and time your Evades. Bind Evade to a keybind you can reach easily during combat.
- Experience and Leveling: Filling your experience bar grants you a level, which allows you to choose an augmentation for this run. Any items or augments you choose within a run will be saved to that run and lost when that run is ended. Empowerments chosen in Quillgrave exist between runs.
- Health, Barrier, and Healing:
- Health – Your health does not regenerate passively. When you run out of health, you will die and return to Quillgrave.
- Barrier – Each time you leave combat, you gain a shield absorbing damage equal to the Barrier value in your Character Info. Barrier protects your Health.
- Potions – There are a variety of potions that restore your health. You can find unidentified potions hidden in each level.
- Vitality Orbs – Defeating enemies causes Vitality Orbs to appear for a short time. These golden vitality orbs initially restore health and can be upgraded (at the Arcanist) to grant additional benefits.
- Identifying Consumables: There are many potions and scrolls scattered through each tale. You will not know what an item is until you identify it. The Arcanist in Quillgrave can teach you how to identify more powerful potions and scrolls.
- Interruptible Enemy Attacks: Some enemy attacks can be interrupted.
- Yellow Cast Bar – An unprotected enemy attack is yellow. Any damage will interrupt this type of attack.
- Grey Cast Bar – A protected enemy attack is grey. Damage will not interrupt this type of attack, but if the enemy is staggered or stunned, its attack will be interrupted.
- Control Immune – Control Immune grants enemies temporary immunity to stagger, stun, and interrupt effects.
- Keybinds: Talebound has fewer keys to bind, and we highly suggest you take a moment to rebind any ability you cannot reach comfortably.
- Press and Hold Casting: Press and Hold Casting is enabled by default in Talebound. Holding down the keybind for an ability will repeatedly attempt to cast it. This option can be disabled in the options menu.
- Quillgrave Artisans: The town of Guillgrave holds several artisans who will grant your character improvements over the course of your journey.
- The Outfitter – Kragg Stonefist improves your armor using Outfitter Supplies, permanently improving your stats.
- The Arcanist – Lilywhistle Bottledrop improves your consumables and unlocks new ones using Alkahest.
- The Scribe – Thalannis Loretender exchanges Tales of Valor for powerful class improvements.
- The Antiquarian – Meryndel Songseeker grants you access to her powerful curiosities in exchange for Lost Relics.
- The Merchant – Nib exchanges Ducats for Bound Silver and other riches. Bound Silver can be traded for cosmetic rewards.
- Stagger and Stun: Most of your damaging attacks will either Stagger or Stun enemies.
- Stagger – Inflicting damage to a normal enemy will Stagger them, briefly preventing them from moving or attacking.
- Stun – Your more powerful abilities, typically Focus-spending abilities, will Stun normal or silver enemies, preventing them from moving or attacking for longer.
- Exception – Infrequently, periodic damage or summon damage will not stagger or stun enemies.
Outfitter
The Outfitter, Kragg Stonefist, requires Outfitter Supplies to upgrade your stats: Max Health, Dodge Chance, Max Energy, Power, Max Focus, Critical Strike Chance, Critical Strike Damage, Evade Charge, Improved Guard, and Barrier Improvement. The Outfitter can unlock up to 223 upgrades.
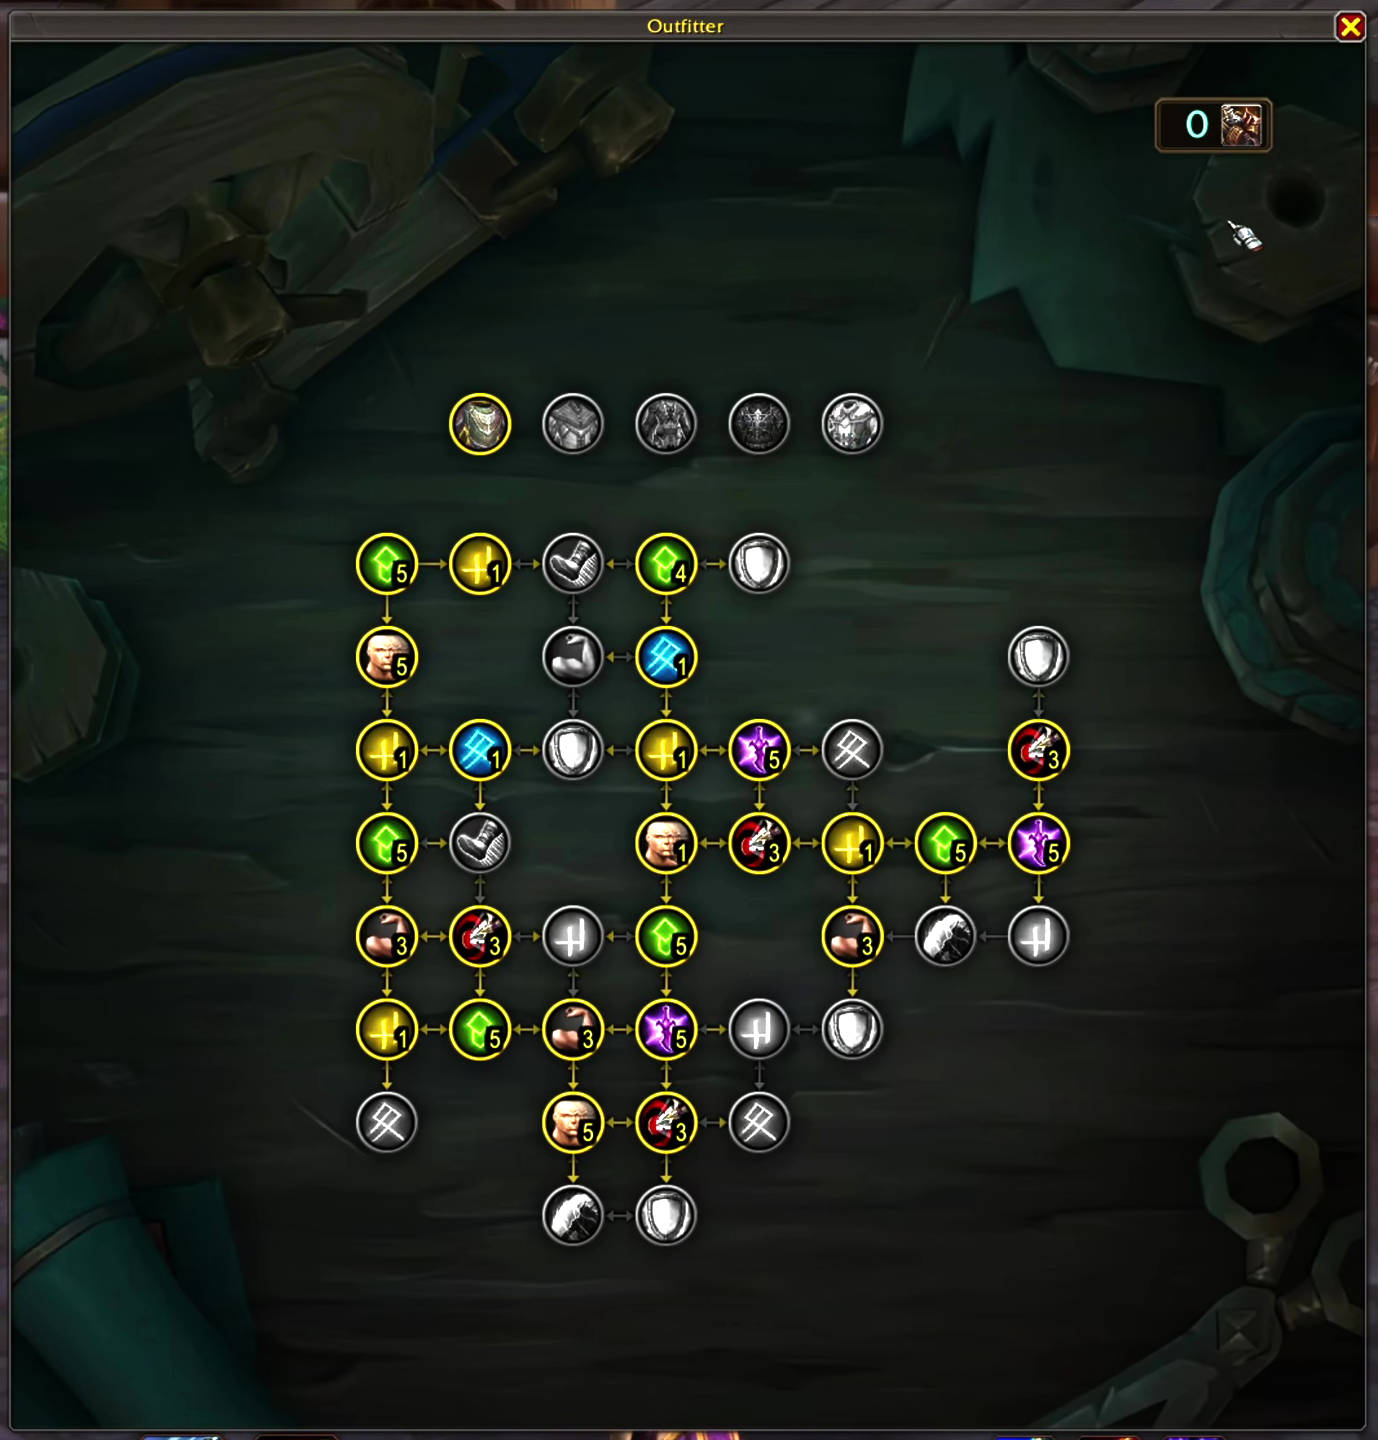
Here is a tip. Before you enter the Normal or Veteran maps, search for free Outfitter Supplies hidden throughout the Quillgrave town to upgrade your Health, Power, and Critical Strike Chance/Damage before you even enter a Talebound map in Normal mode. Some are underwater, nestled atop buildings or ledges, and on an arch. The last two require smart planning to reach the top of buildings.
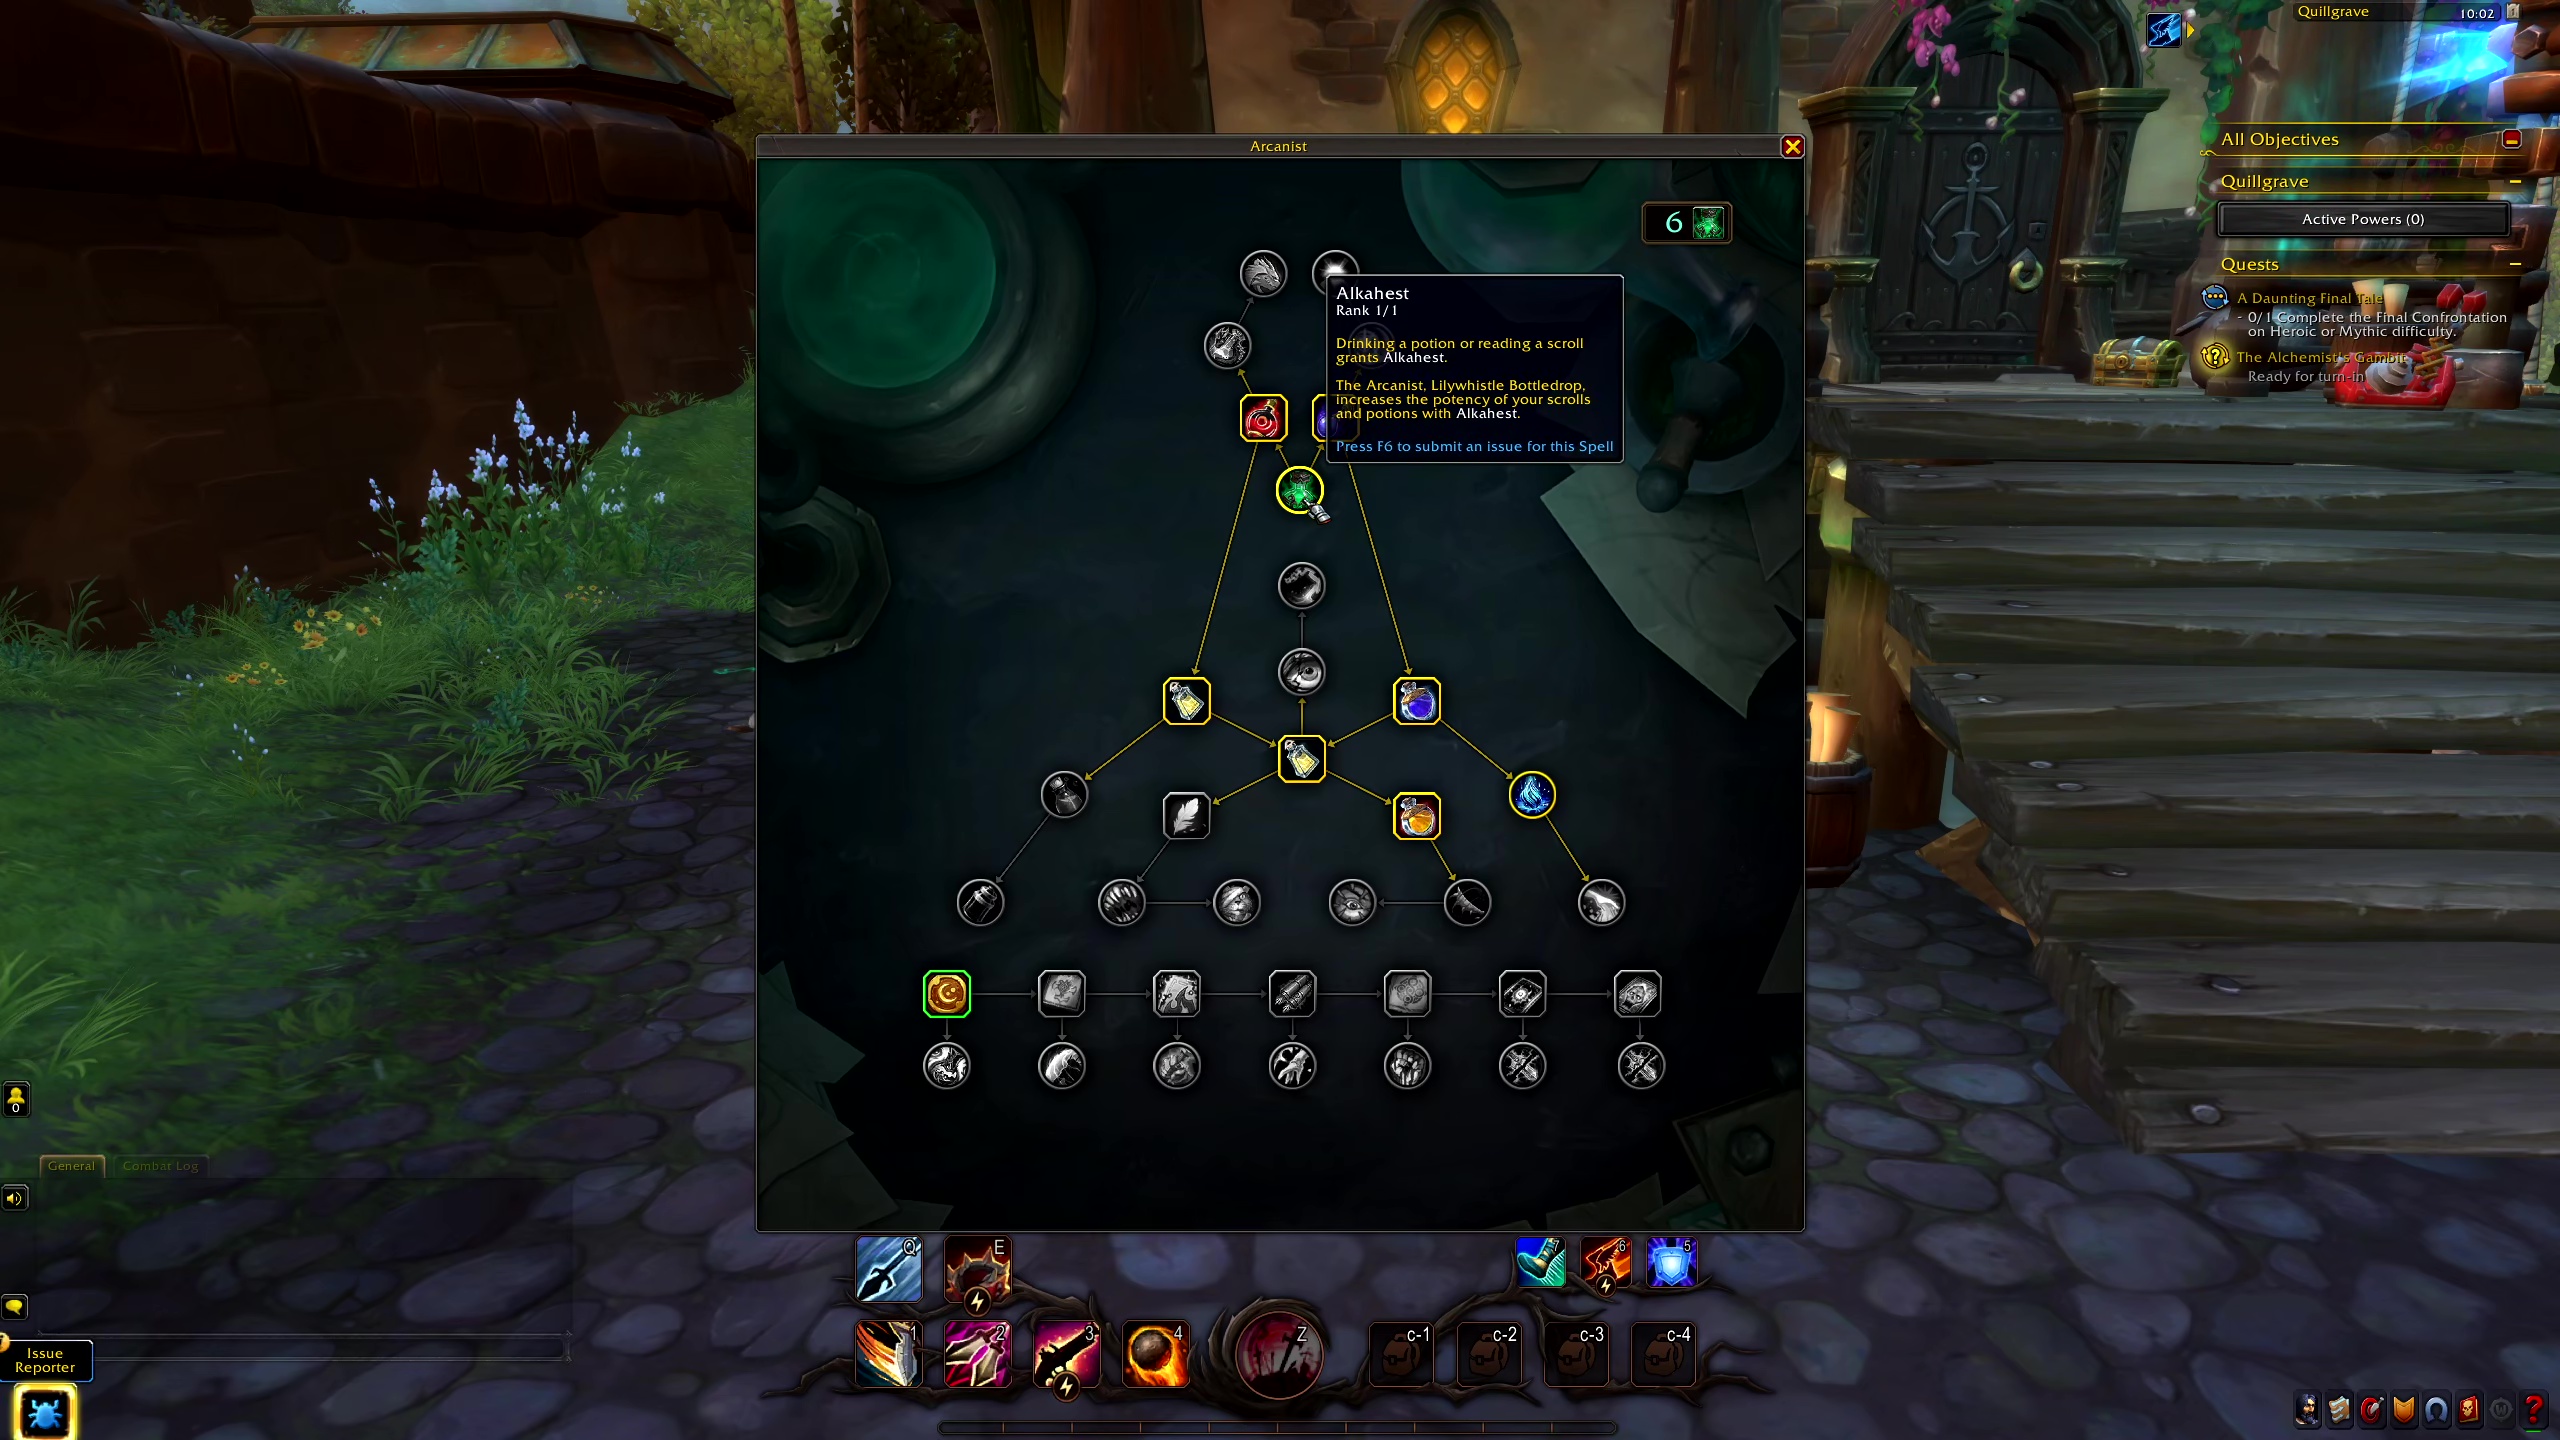
Arcanist (Potion Modifier)
The Arcanist is a potion modifier that upgrades the potions you find within the Talebound journey. Some increase the amount healed, refill your energy, increase leech, reduce damage, block additional damage, increase attack power or Focus, critical strike chance/damage, damage immunity for a short time, and more. The Arcanist can unlock up to 36 upgrades.
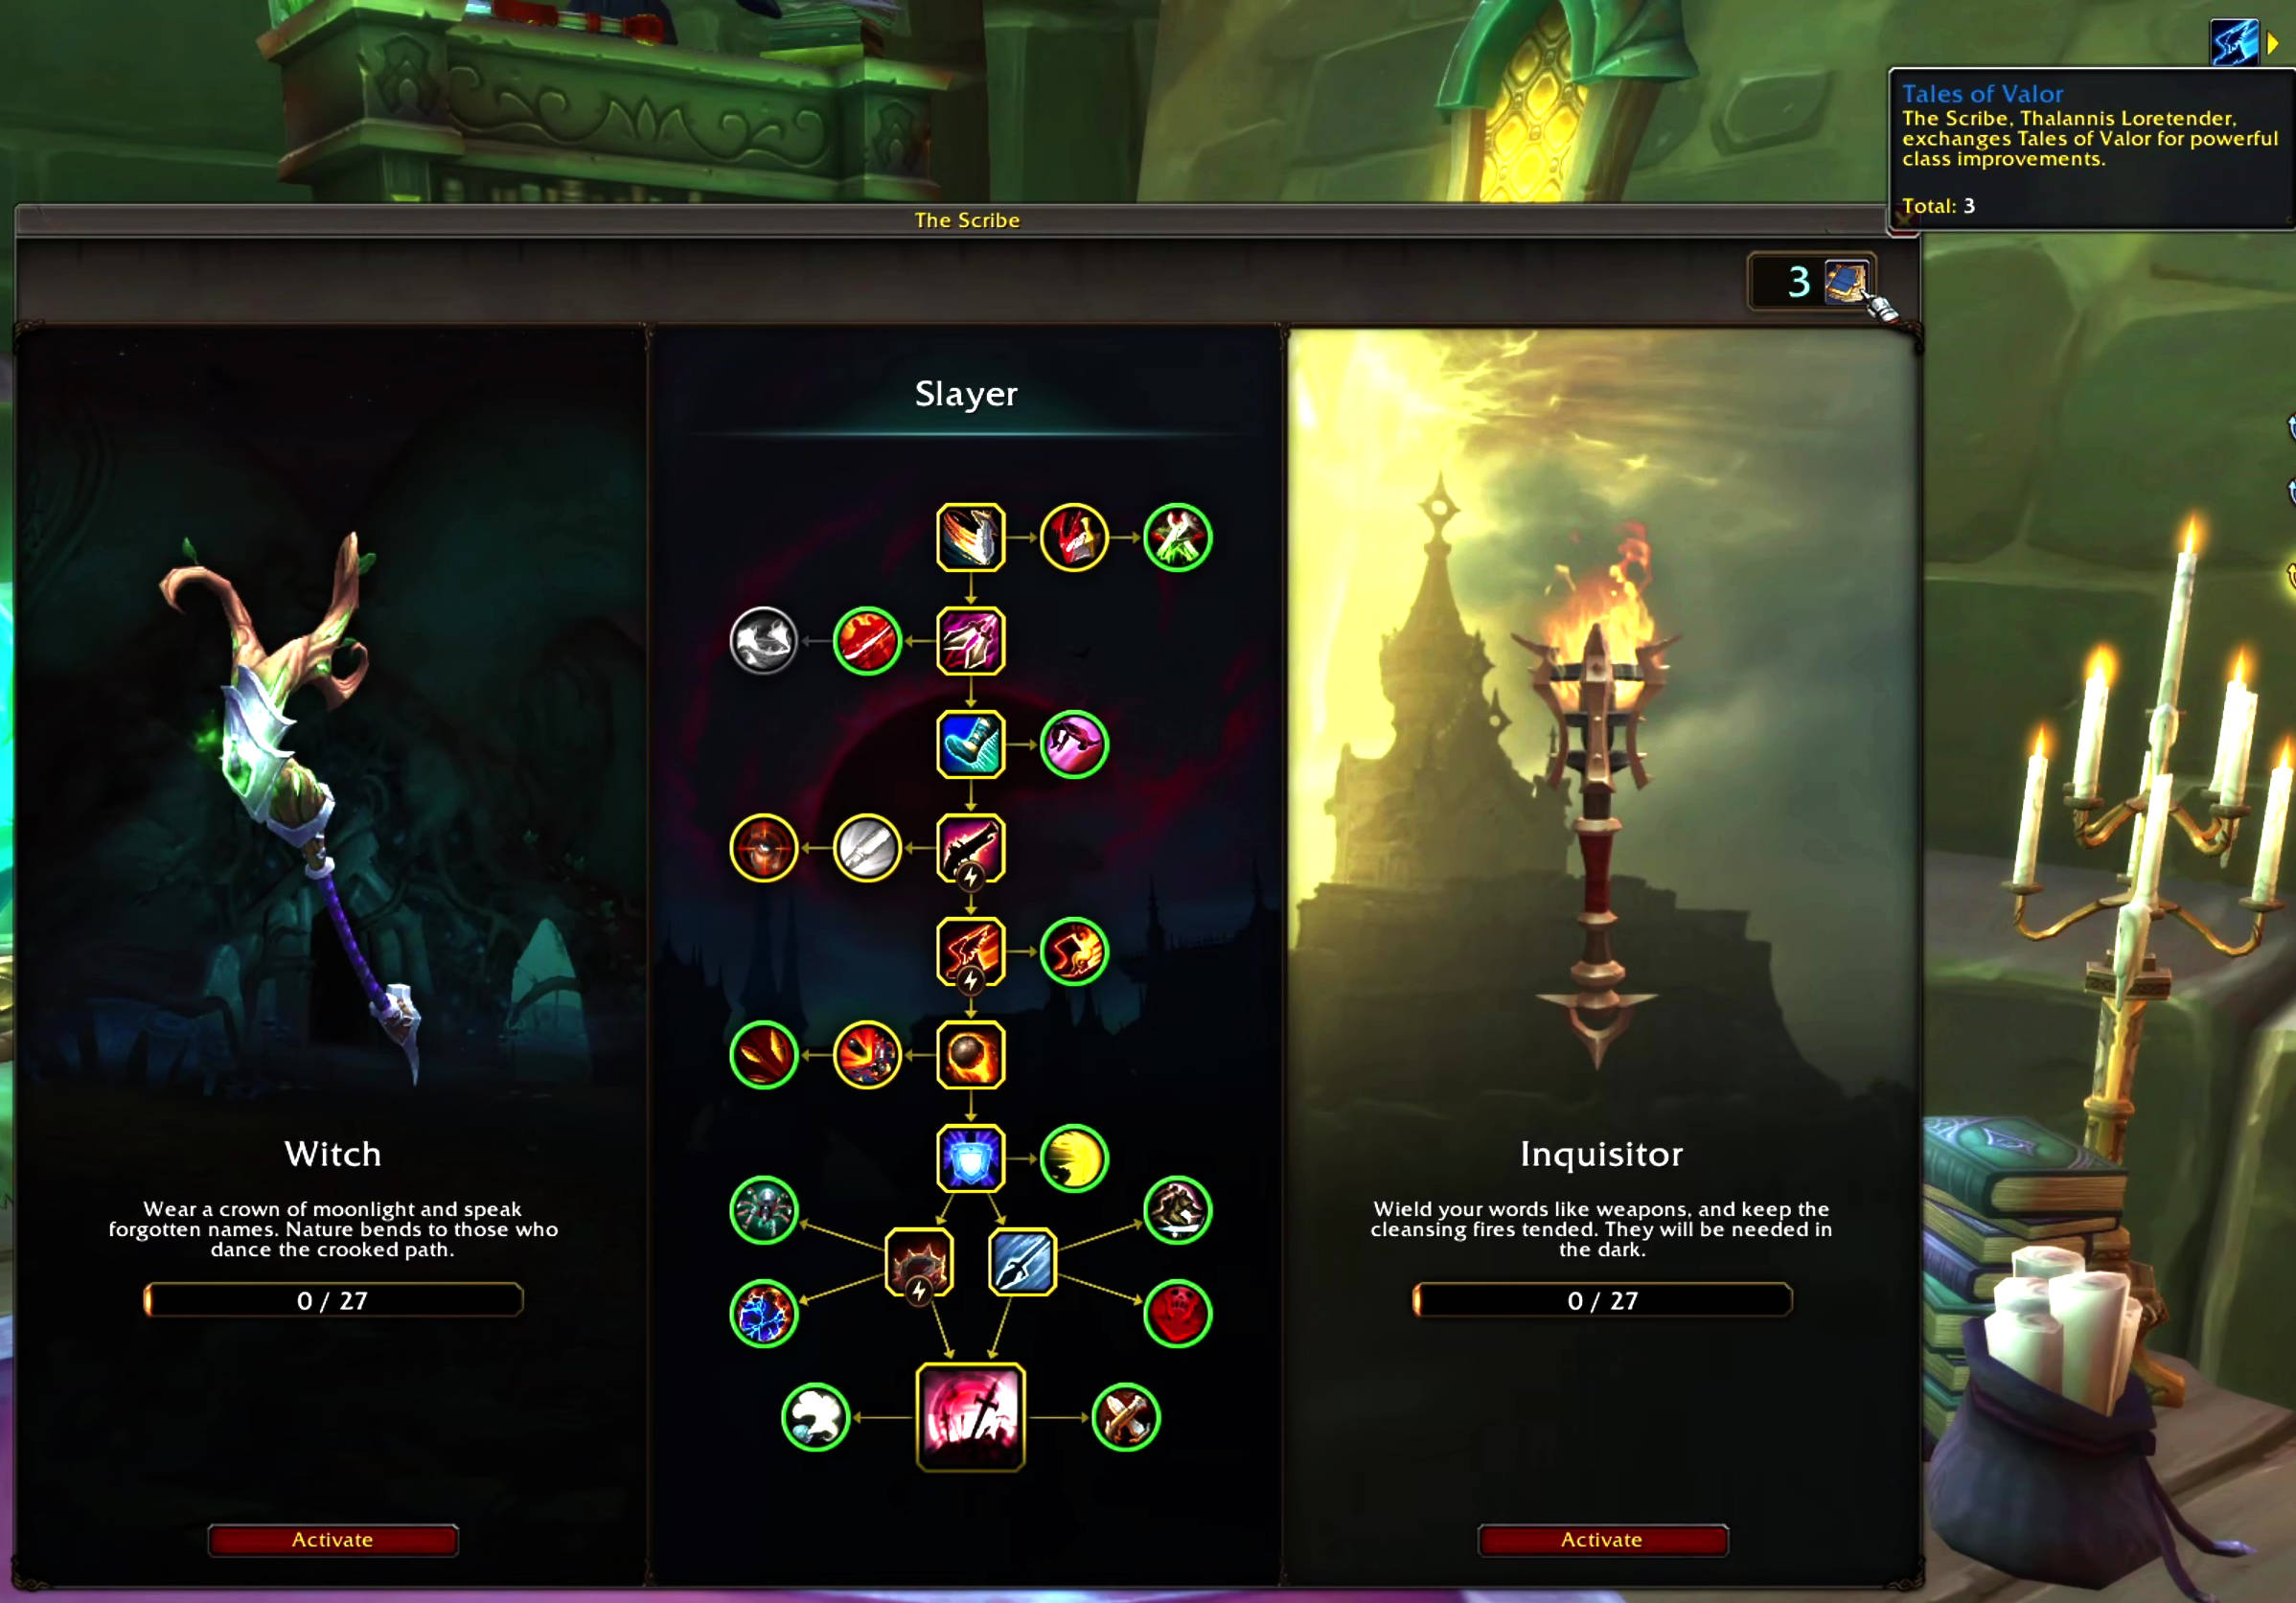
The Scribe
The Scribe, Thalannis Loretender, exchanges Tales of Valor for powerful Class improvements. Thalannis opens the Talent Tree UI to place or reset Talent points. The Scribe can unlock up to 81 upgrades.
The Antiquarian
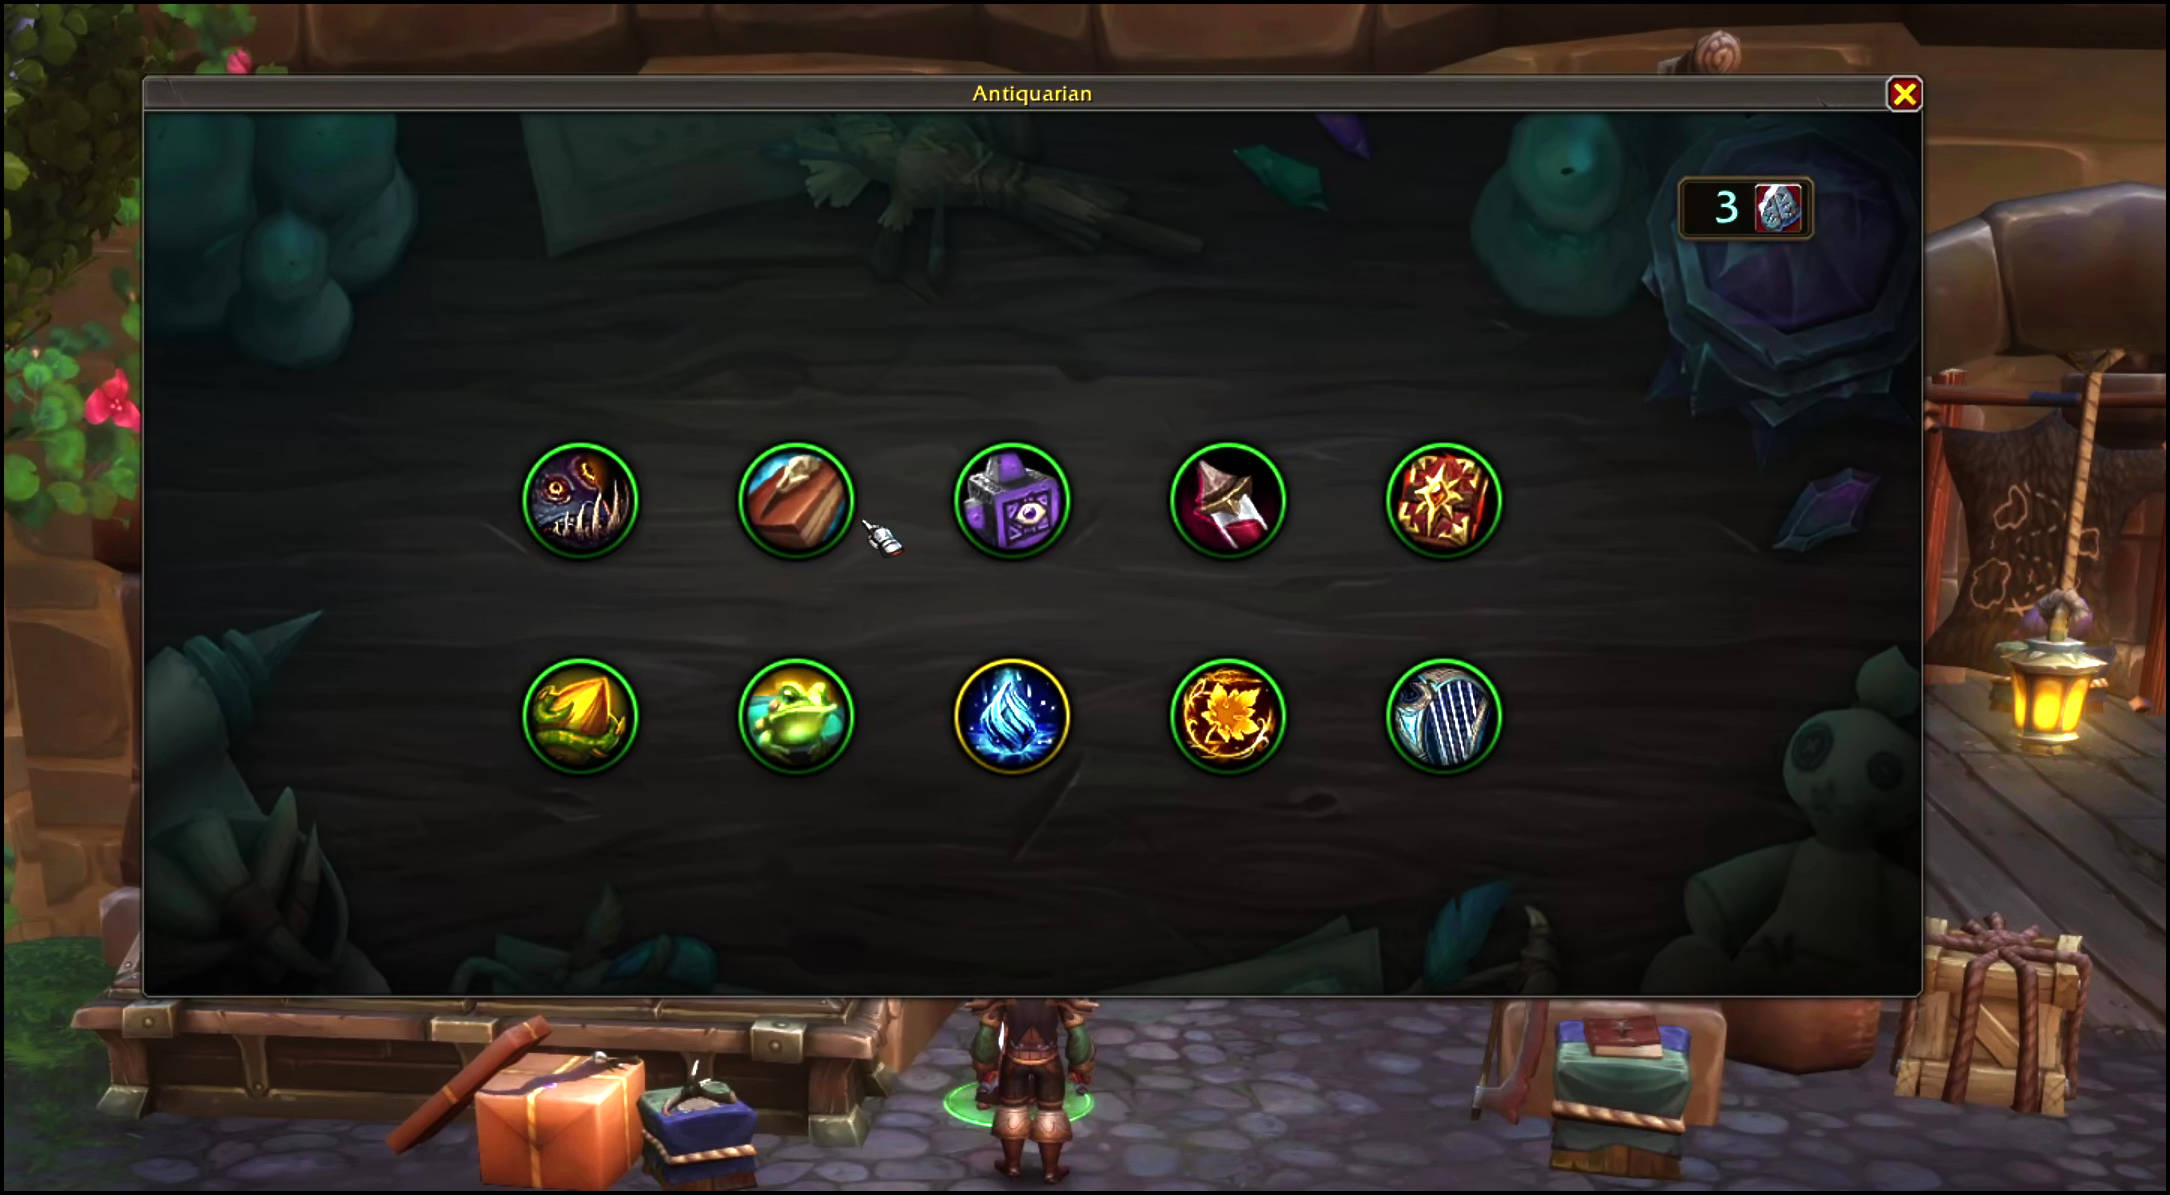
The Antiquarian, Meryndel Songseeker, offers you access to her curiosities in exchange for Lost Relics – looted from Nib’s Chest at the end of a completed Talebound. Unlock up to ten special bonuses. Each bonus requires Lost Relic x 2. Only two were available for testing in the Talebound demo (PTR 12.1.7).
- Greywake’s Journal: While you have no remaining lives, suffer 15% reduced damage and inflict 15% increased damage.
- Fairy Queen’s Pillow: You will recover at least 20 focus following combat.
The Merchant (Shop)
Nib the Merchant is the Quillgrave town Shop NPC. Bound Silver (currency) can be traded for cosmetic rewards. Bound Silver is looted from Nib’s Chest upon map completion or when lives are depleted. Nib exchanges Ducats for Bound Silver and other riches. You earn Ducats in Talebound maps by completing puzzles (four per map). Each puzzle rewards 300 Ducats.
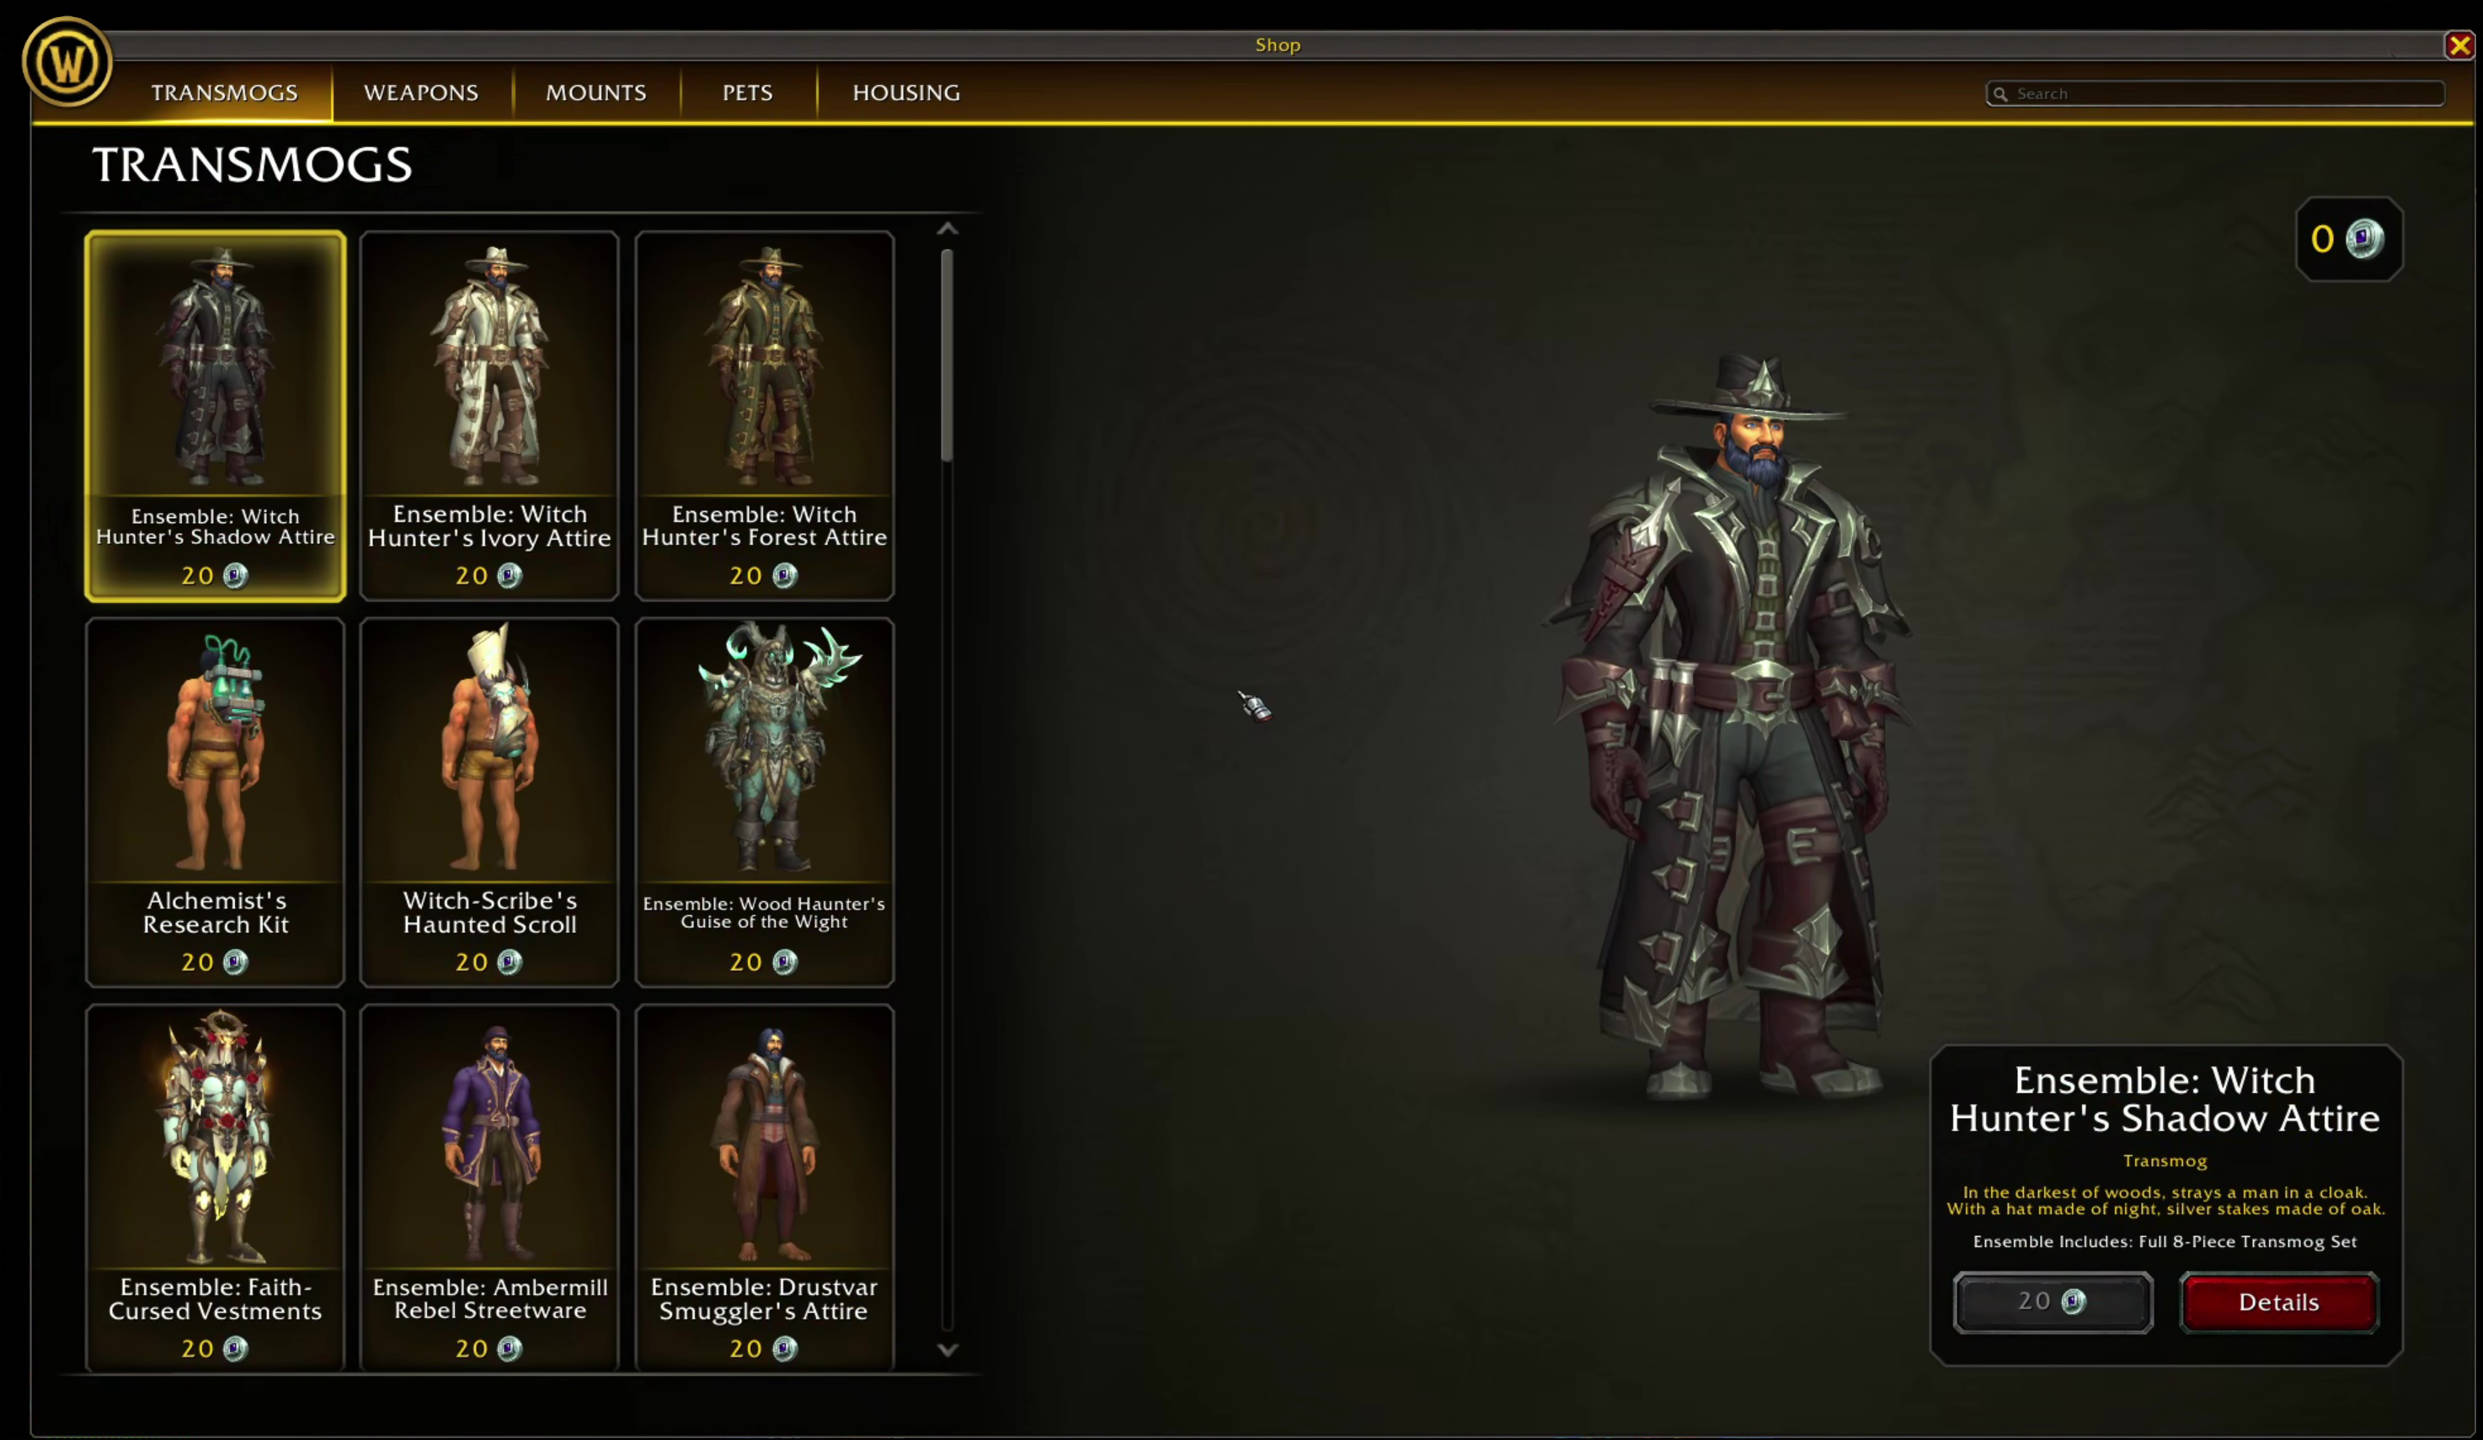
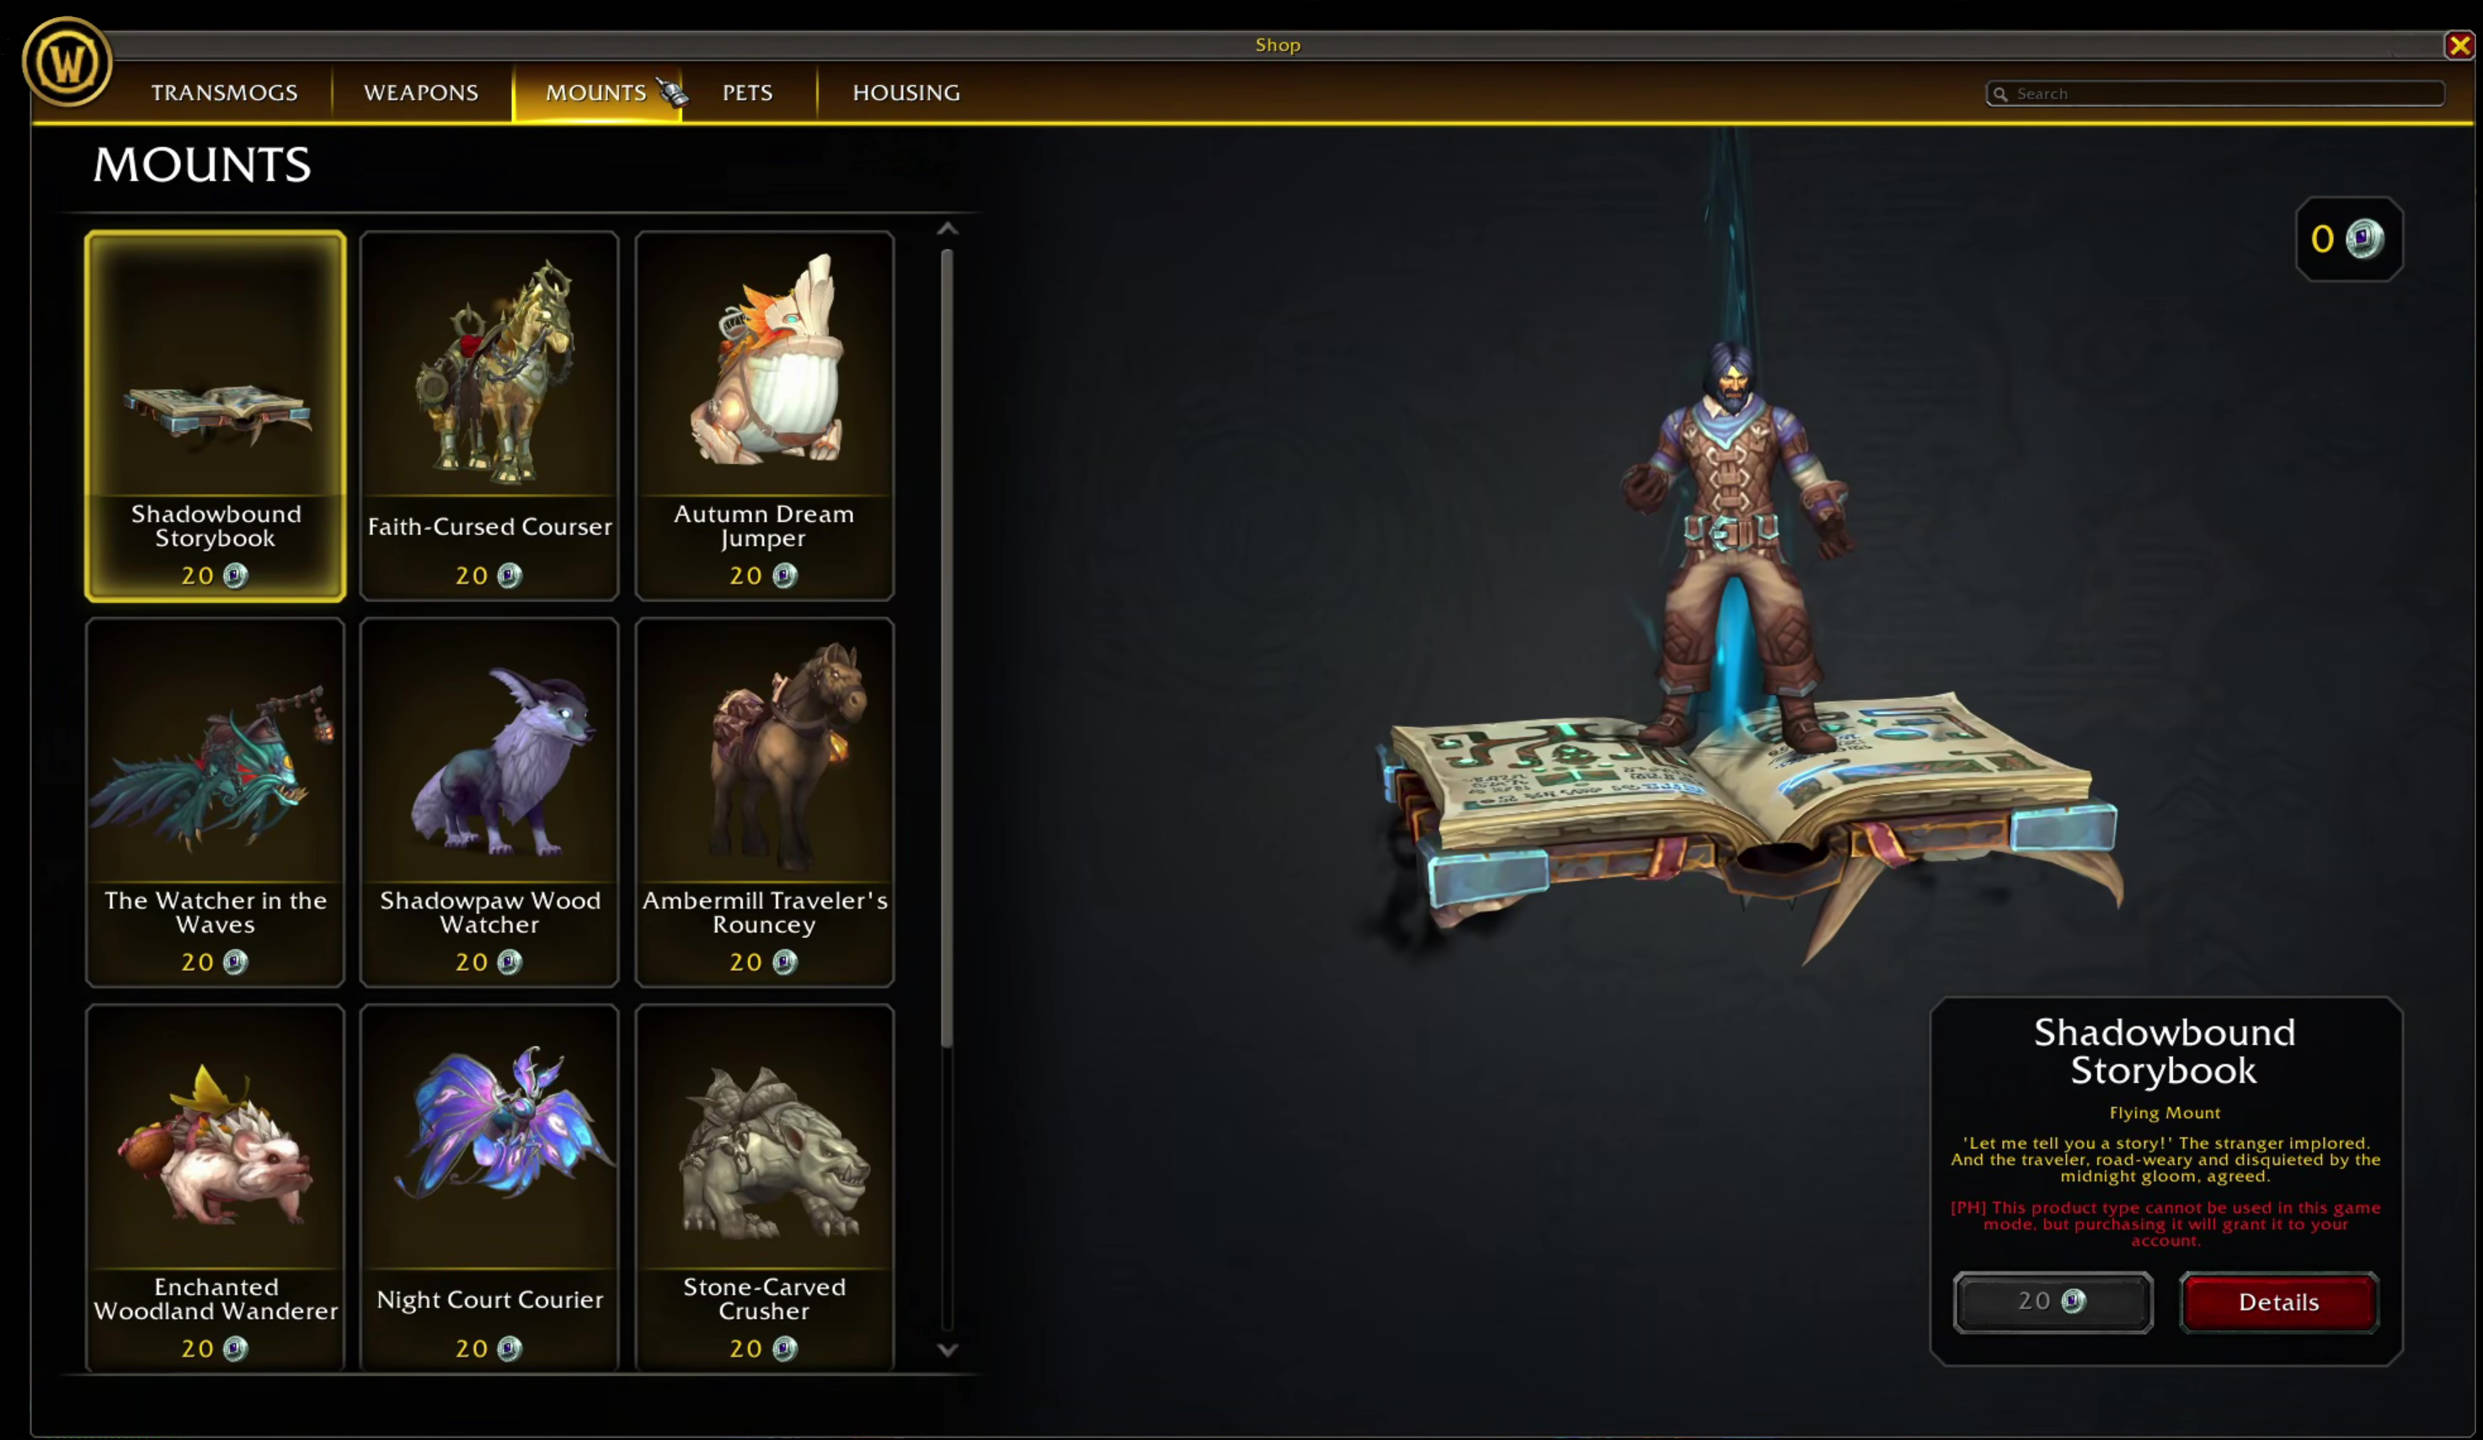
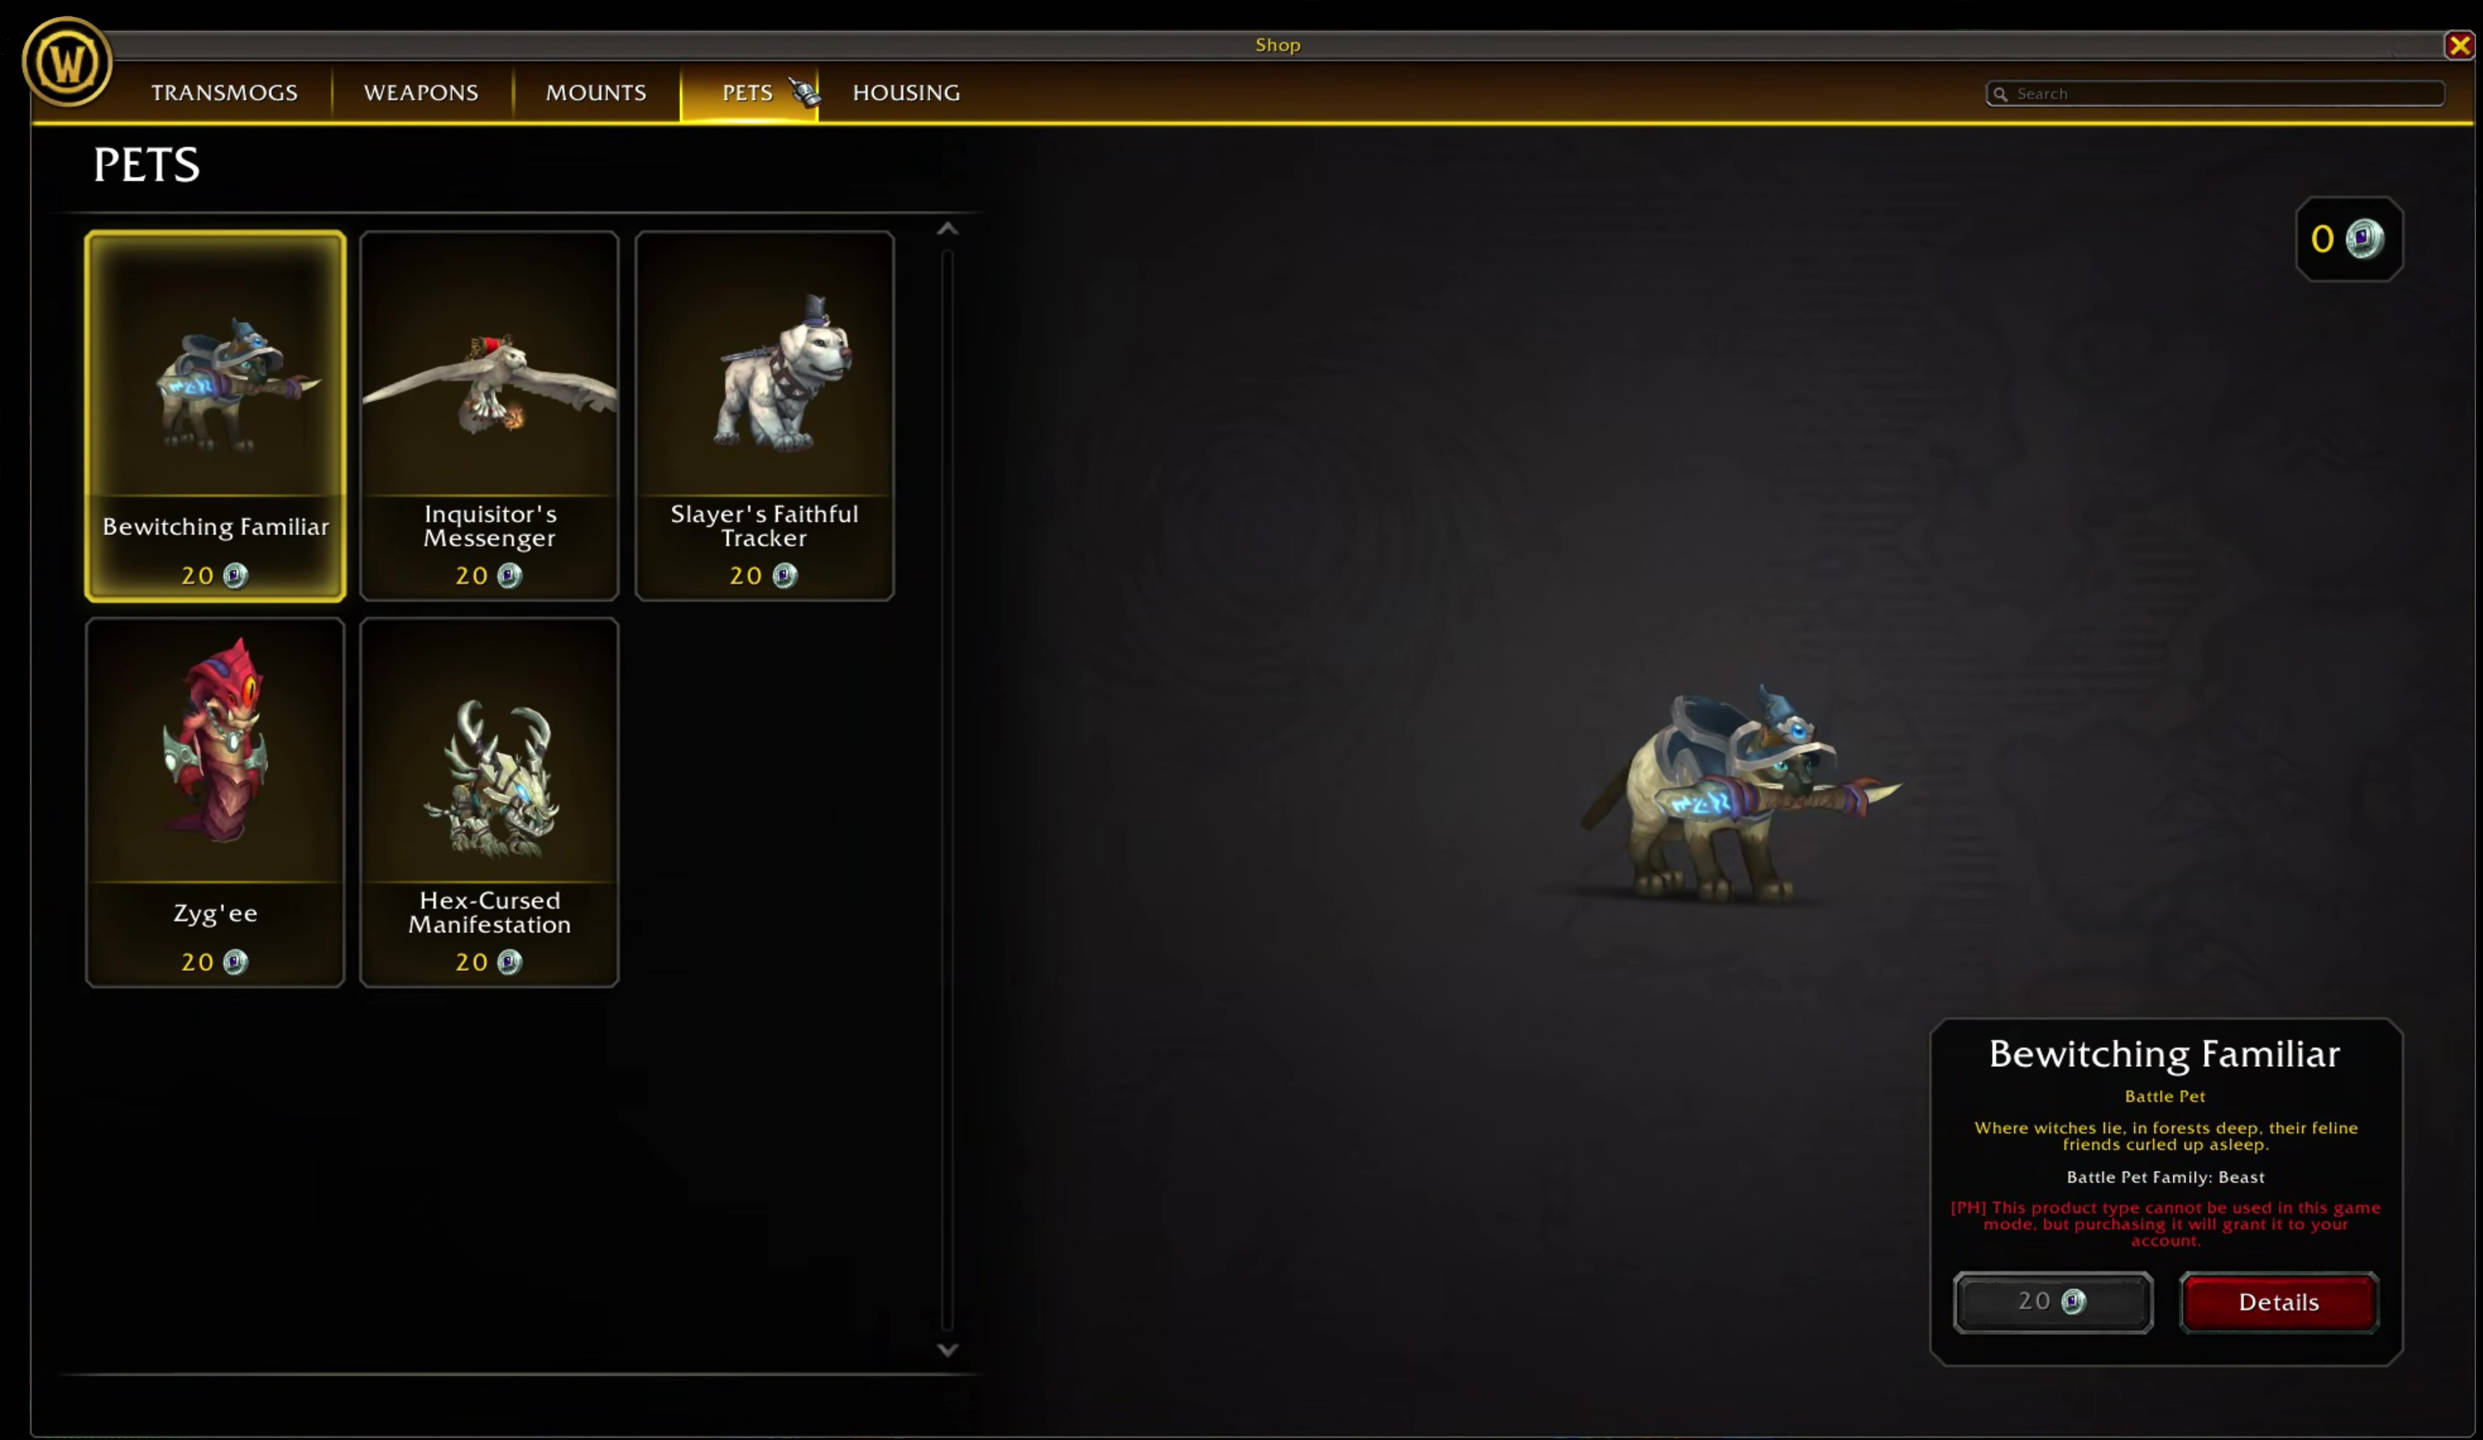
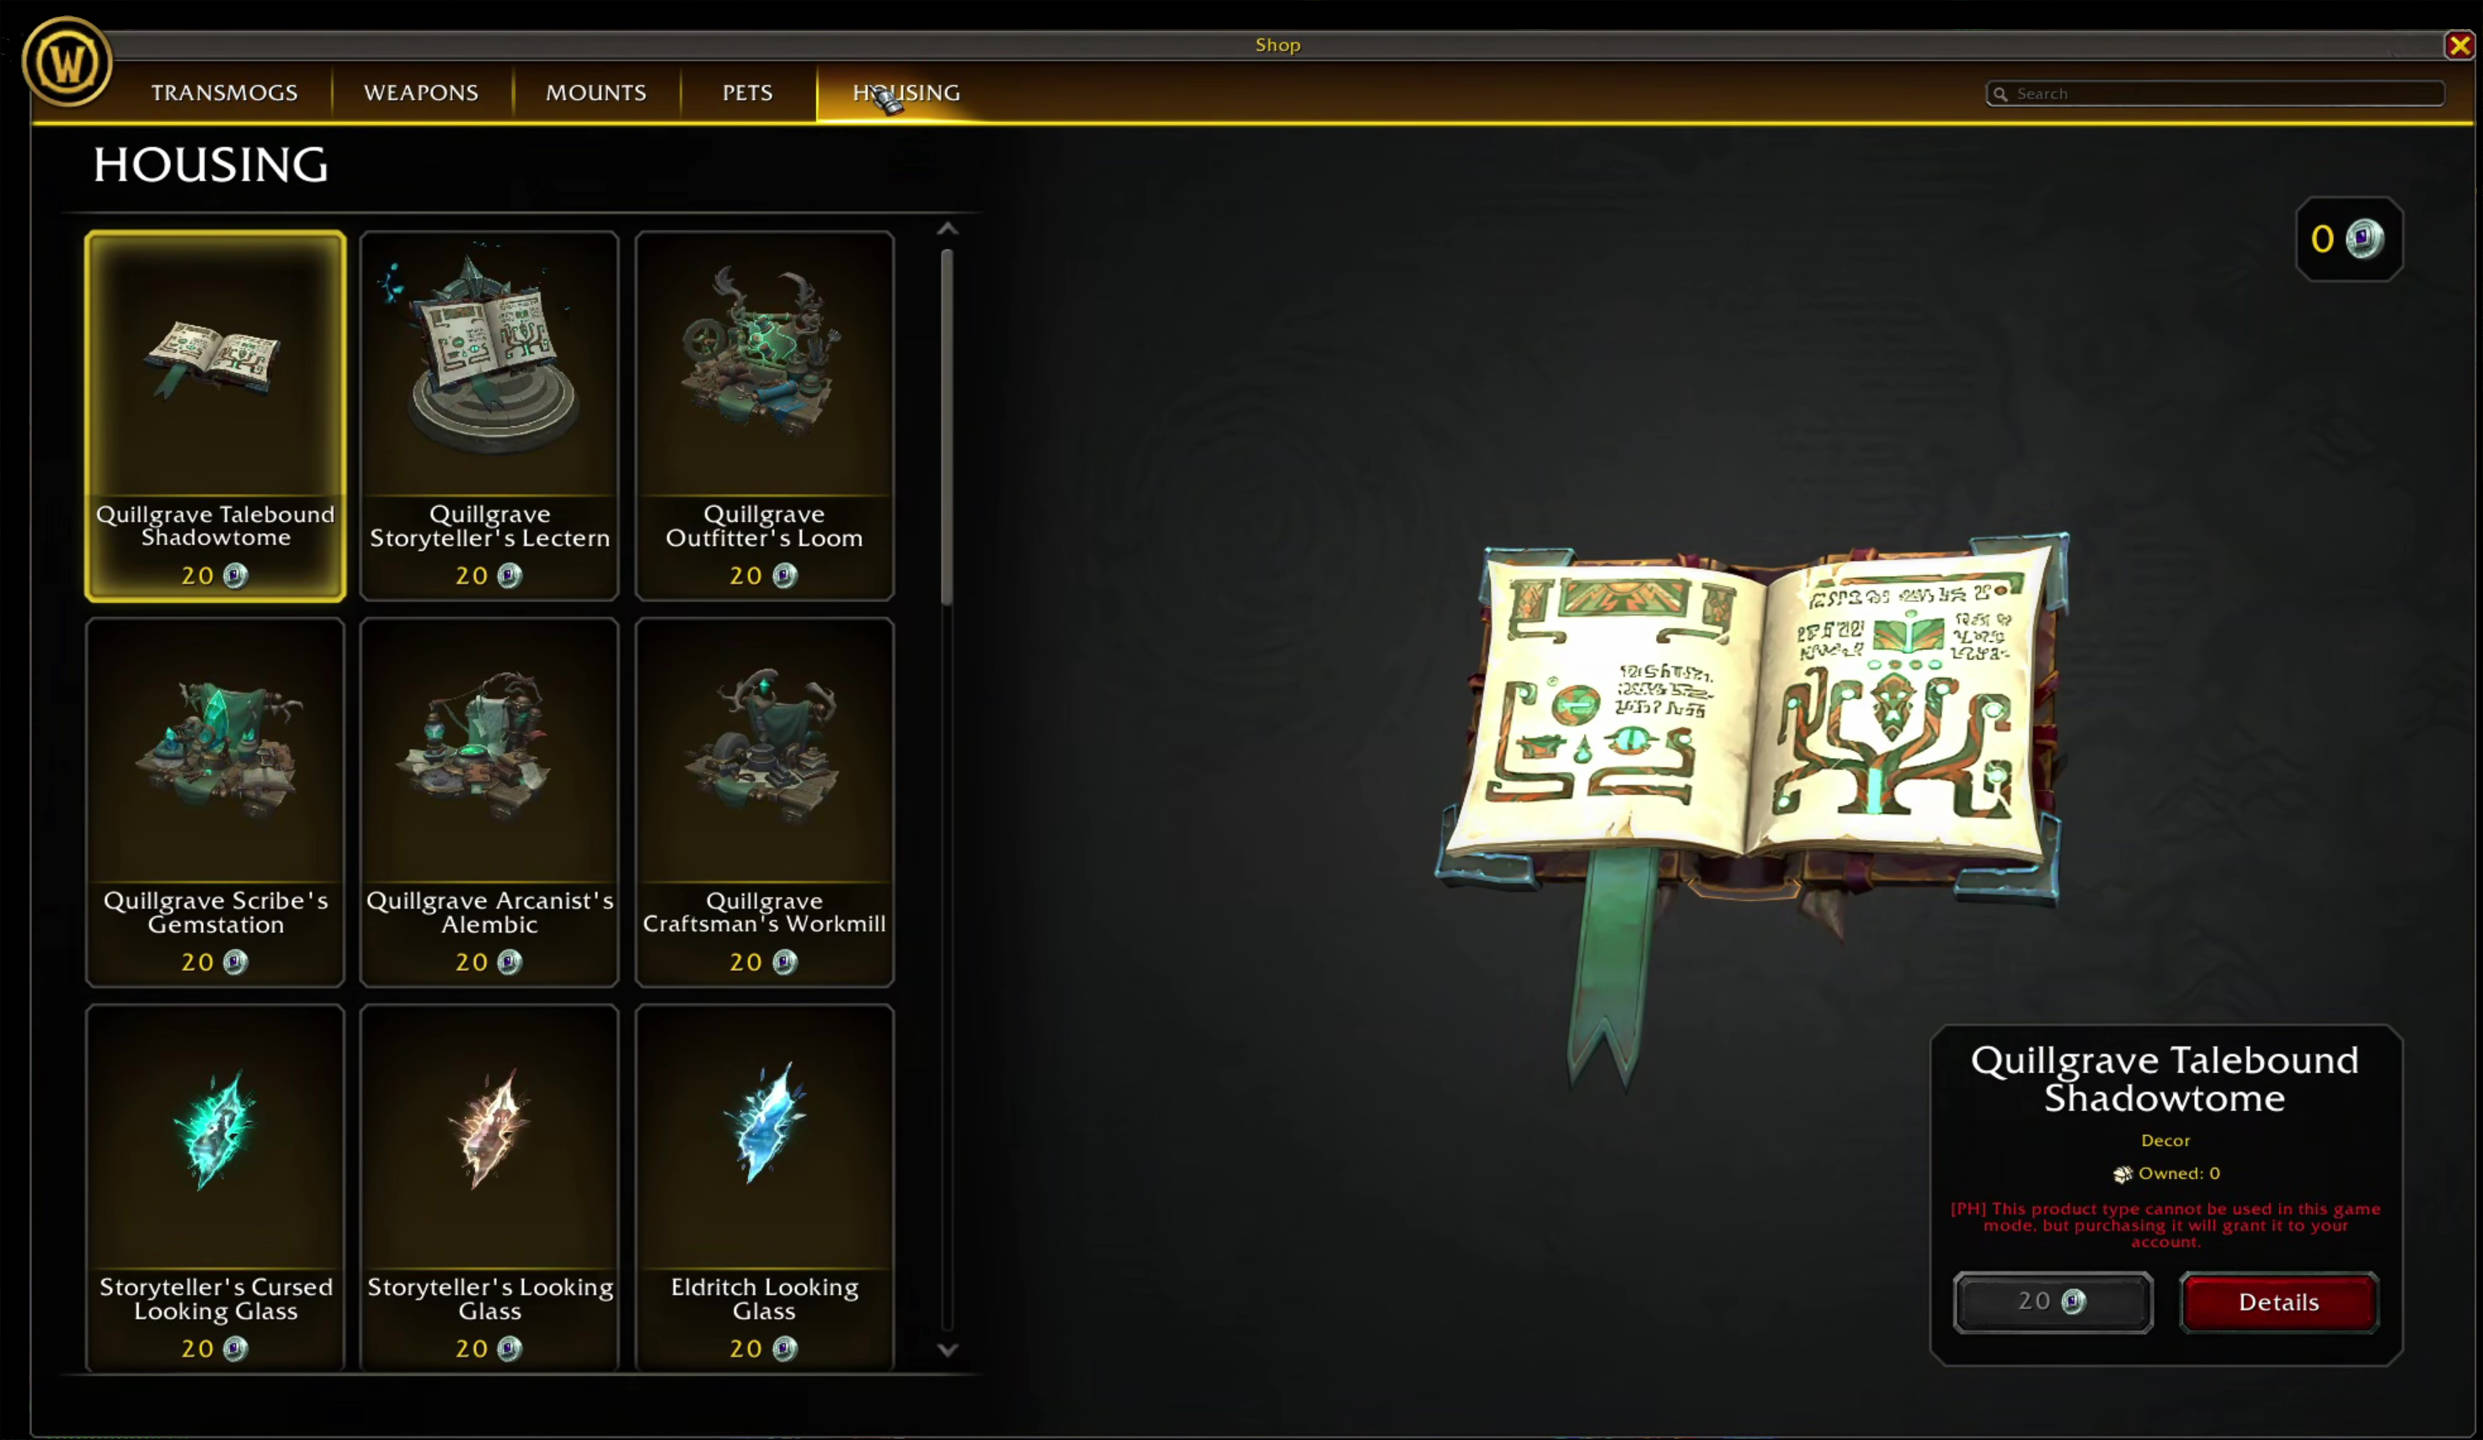
In this video, you can see all of the Transmogs, Weapons, Mounts, Pets, and Housing Decor shown in the Midnight PTR 12.1.7 Demo. The Cost, however, is likely a placeholder because, in 10 hours of gameplay, I collected over 11,000 Bound Silver.
NIB’S CHEST (TREASURE CHEST)
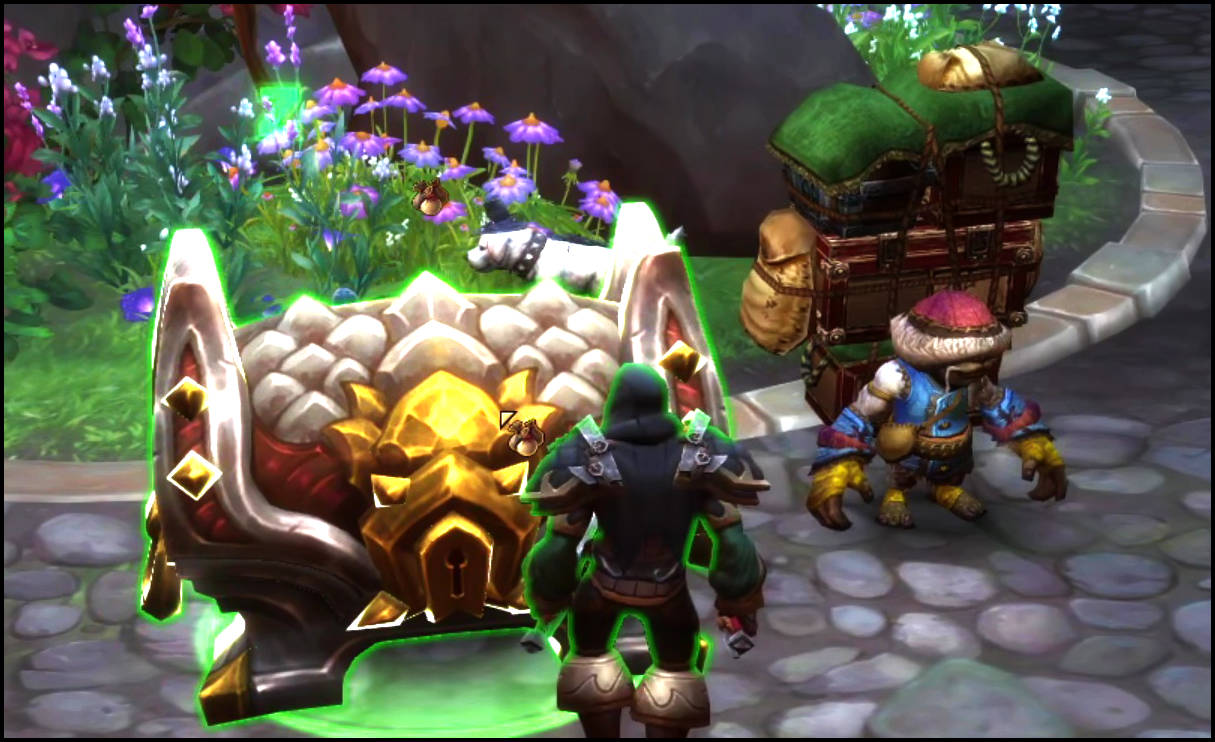
After completing any Talebound map, go to the Quillgrave town square, where you’ll find the Outfitter, Arcanist, and Antiquarian all grouped. After completing the Talebound map, you can find your reward chest right next to Nib (the grummle).
Depending on the difficulty and your progress- what you killed and the puzzles you solved – you might loot:
- Outfitter Supplies (for armor upgrades)
- Tales of Valor (Talent Tree points at the Scribe, Thalannis Loretender, for Class improvements)
- Bound Silver (Shop currency: Transmog, Mounts, Pets, and Decor)
- Lost Relic (currency for Meryndel Songseeker, The Antiquarian).
Talebound Achievements
Talebound Achievements reward players with Bound Silver, currency used at Nib the Merchant to purchase Transmog, Weapons, Mounts, Pets, and Housing Decor.
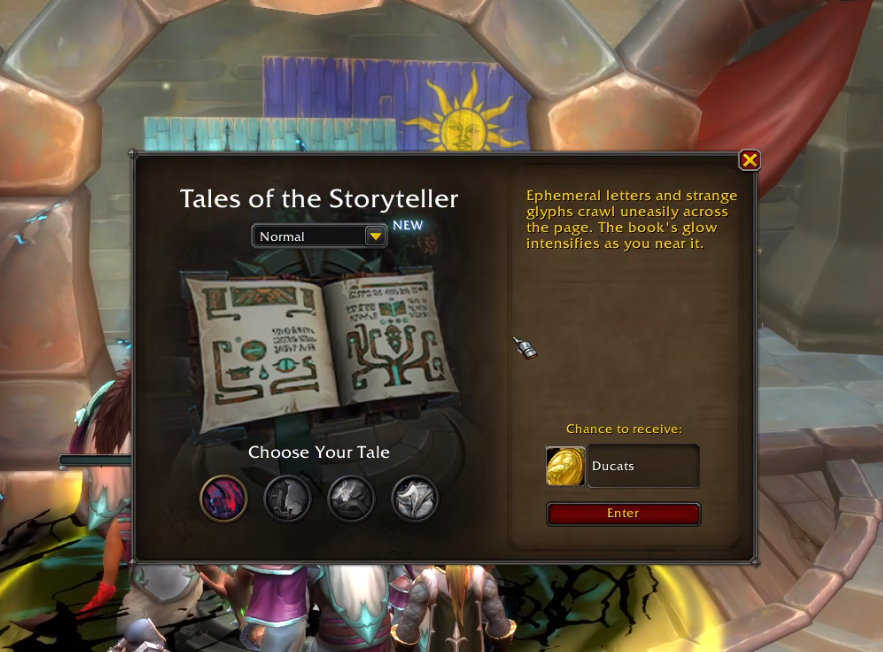
The Book of Shadows
The Book of Shadows is located in Quillgrave. Go past the Library and up the stairs that lead to the cave. You will see an angled beam pointing toward the Book of Shadows.
Here, players select their game difficulty: Normal, Veteran, Heroic, or Mythic (Unlocked by completing the Final Confrontation on Heroic difficulty). Once the game difficulty is selected, you have four map options:
- Darkhaven (Revendredth)
- Greenthistle Wood (Amirdrassil + Val’sharah)
- Greywake’s Expedition (Shrine of the Storm, Stormsong Valley)
- Grove of the Night Court (Combines Ardenweald and Emerald Nightmare)