AMD has been dominating the market this past year, with Intel set to make a release very soon to counter AMD. So it is yet to be determined how well the new Intel CPUs will fare before AMD’s.
Until then, if you are in the process of getting a new computer for World of Warcraft: Shadowlands or any other favorite video game, the best option is to build a new computer yourself after buying the correct AMD CPU and other computer parts. Building a computer isn’t too hard once you know what CPU you wish..
It has been a while since my last article on building a computer. There are better CPUs, motherboards, and graphic cards since then. So let’s start with what you need in 2020 for a future-proof computer system built by you from scratch.
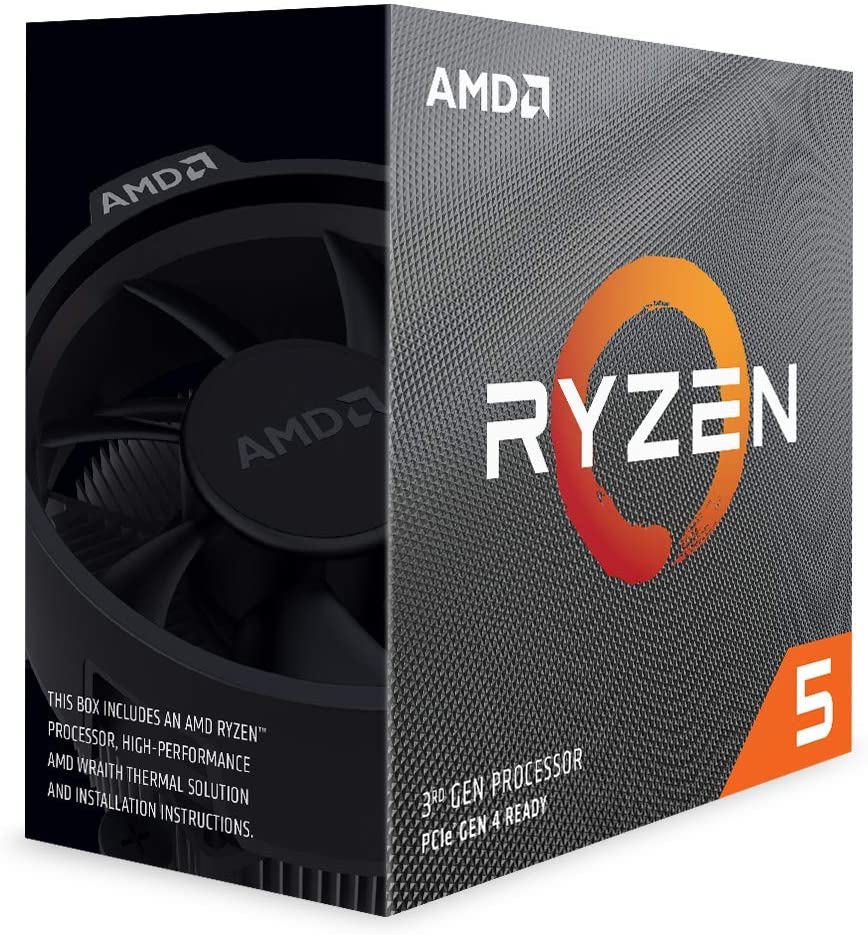
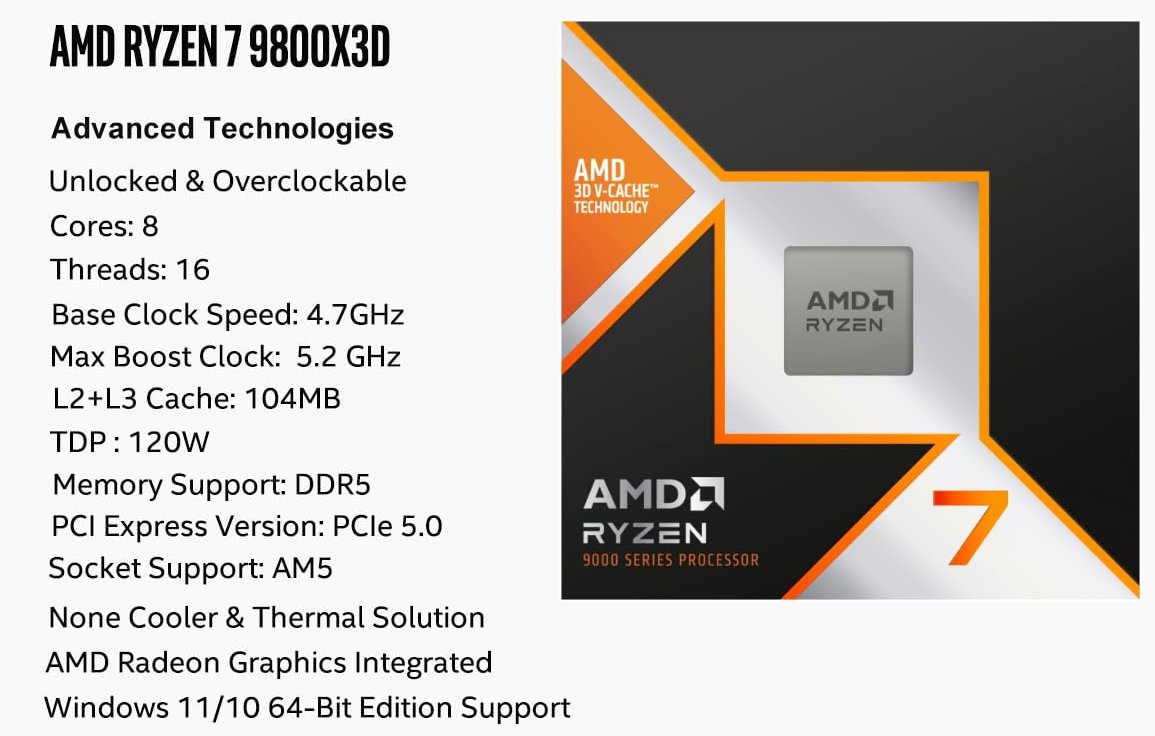
AMD Ryzen CPU
If you check out reviews out there on the internet, almost everyone agrees the best CPU for gaming at an affordable price are the AMD Ryzen 5 3600 ($172); or the AMD Ryzen 5 3600X ($204).
The Intel counterpart at the moment is the Intel Core i5 8400 with 6 Cores/6 Threads (8th Gen) and 9MB Smart Cache.
If you want to run games at 100+ FPS, the AMD Ryzen 5 3600 is the top Intel contender with 6 Cores and 12 processing threads.
- Cores/Threads: 6/12
- Max Frequency: 4.2 GHz
- GameCache: 35MB
- TDP: 65W
- PCIe: 4.0
- Unlocked: Yes + Precision Boost Overdrive
- In-Box Cooler: Wraith Stealth
- Socket: AM4
However, if you don’t mind spending extra on a CPU, the best mid-range Zen 2 CPU at the moment is the Ryzen 7 3700X ($294) with 8 cores/16 threads 4.4 GHz Max Boost — 30% faster than the Ryzen 5 3600X. Its equivalent is the Intel Core i7-9700k ($379.99).
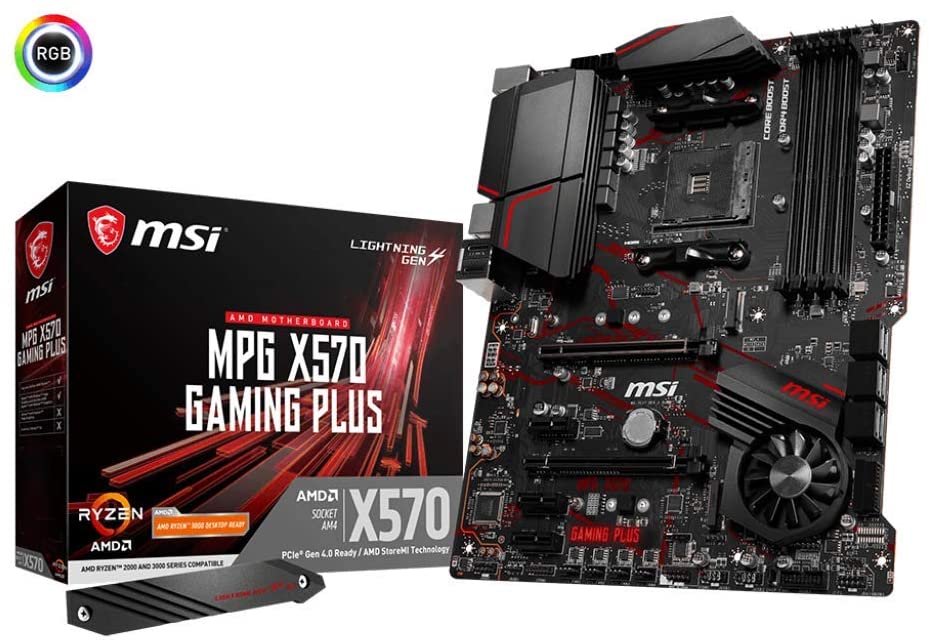
MOTHERBOARD
Now that we have the correct CPU, we know what the motherboard socket requirement is: AM4.
What draws attention about AMD is their willingness to allow computer users the flexibility of keeping their motherboard for many years and incremently upgrading your CPU power.
With Intel, usually you need to buy a new motherboard each time Intel releases new CPUs. AMD gives you backward compatibility, which means even more savings to you.
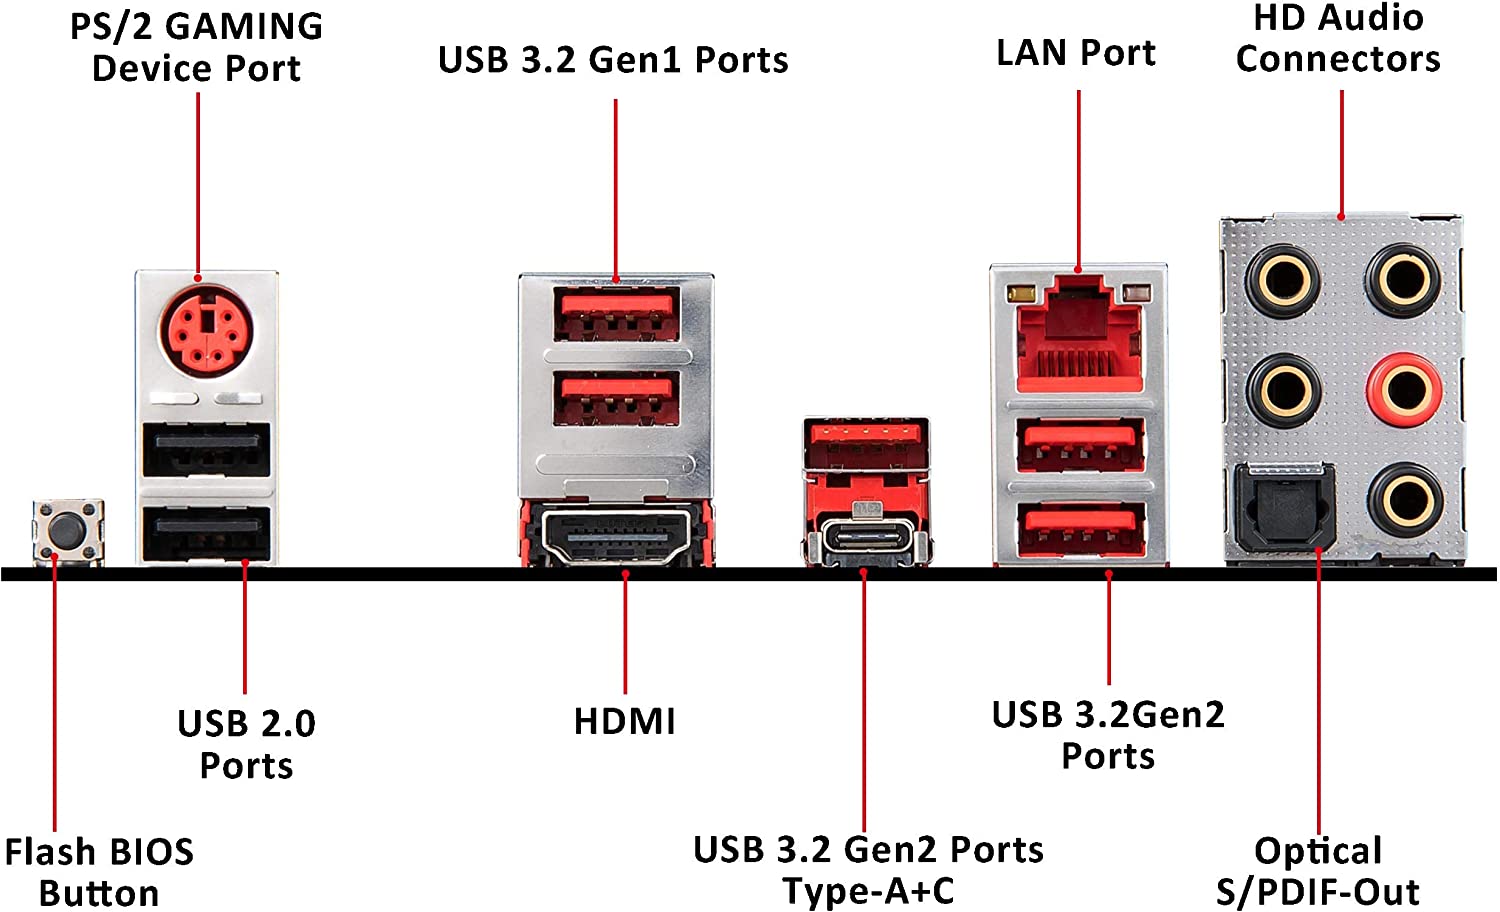
You can do well with the MSI X570 Gaming Plus ($169.99) which is future-ready with PCIe 4.0.
- Socket: AM4
- RAM: 4 x DIMM, Dual Channel DDR4 4400+MHz (Max 128GB)
- PCIe: 2 x PCIe 4.0 x 16 slots
- Audio: Audio Boost 4
- 32GB/s M.2: 2 x M.2 connectors
- Ethernet LAN: 1 x Realtek Gigabit LAN
- Form Factor: ATX
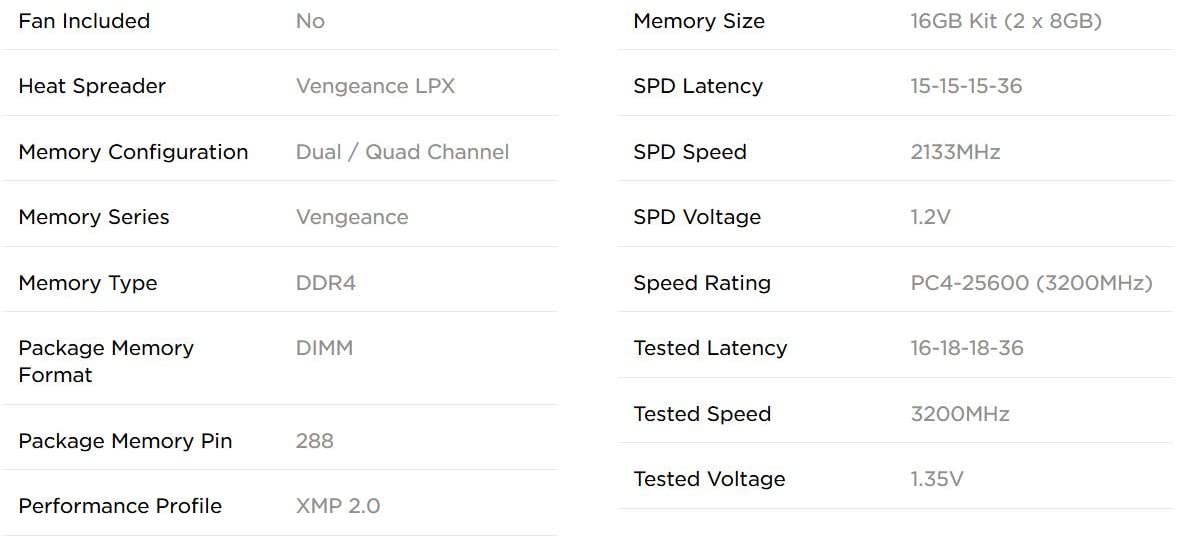
DDR4 RAM
The best RAM Benchmark for this particular motherboard is held by the Vengeance LPX DDR4 3200 C16 2x8GB ($74.99).
For gaming, you don’t really need more than 16GB RAM. However, if you also do video editing and other intensive applications, you might want to go overkill with a Corsair Vengeance RGB Pro 64GB (2 x 32GB) DDR4 3200.
The motherboard in this article can be expanded to 128GB, but depends on what version of Windows 10 you have installed too. You need Windows 10 Home 64-bit to recognize up to 128GB RAM.
Beyond 128GB up to 2TB RAM — you need Windows 10 Pro, Enterprise, or Education (and of course, a different motherboard).

SSD
The best SSD (solid state drive) so far without a contender is the Samsung 970 Evo Plus NVMe PCI3 M.2 500GB ($124) with 3,500MB/s Read and 3300MB/s Write.

GRAPHIC CARD
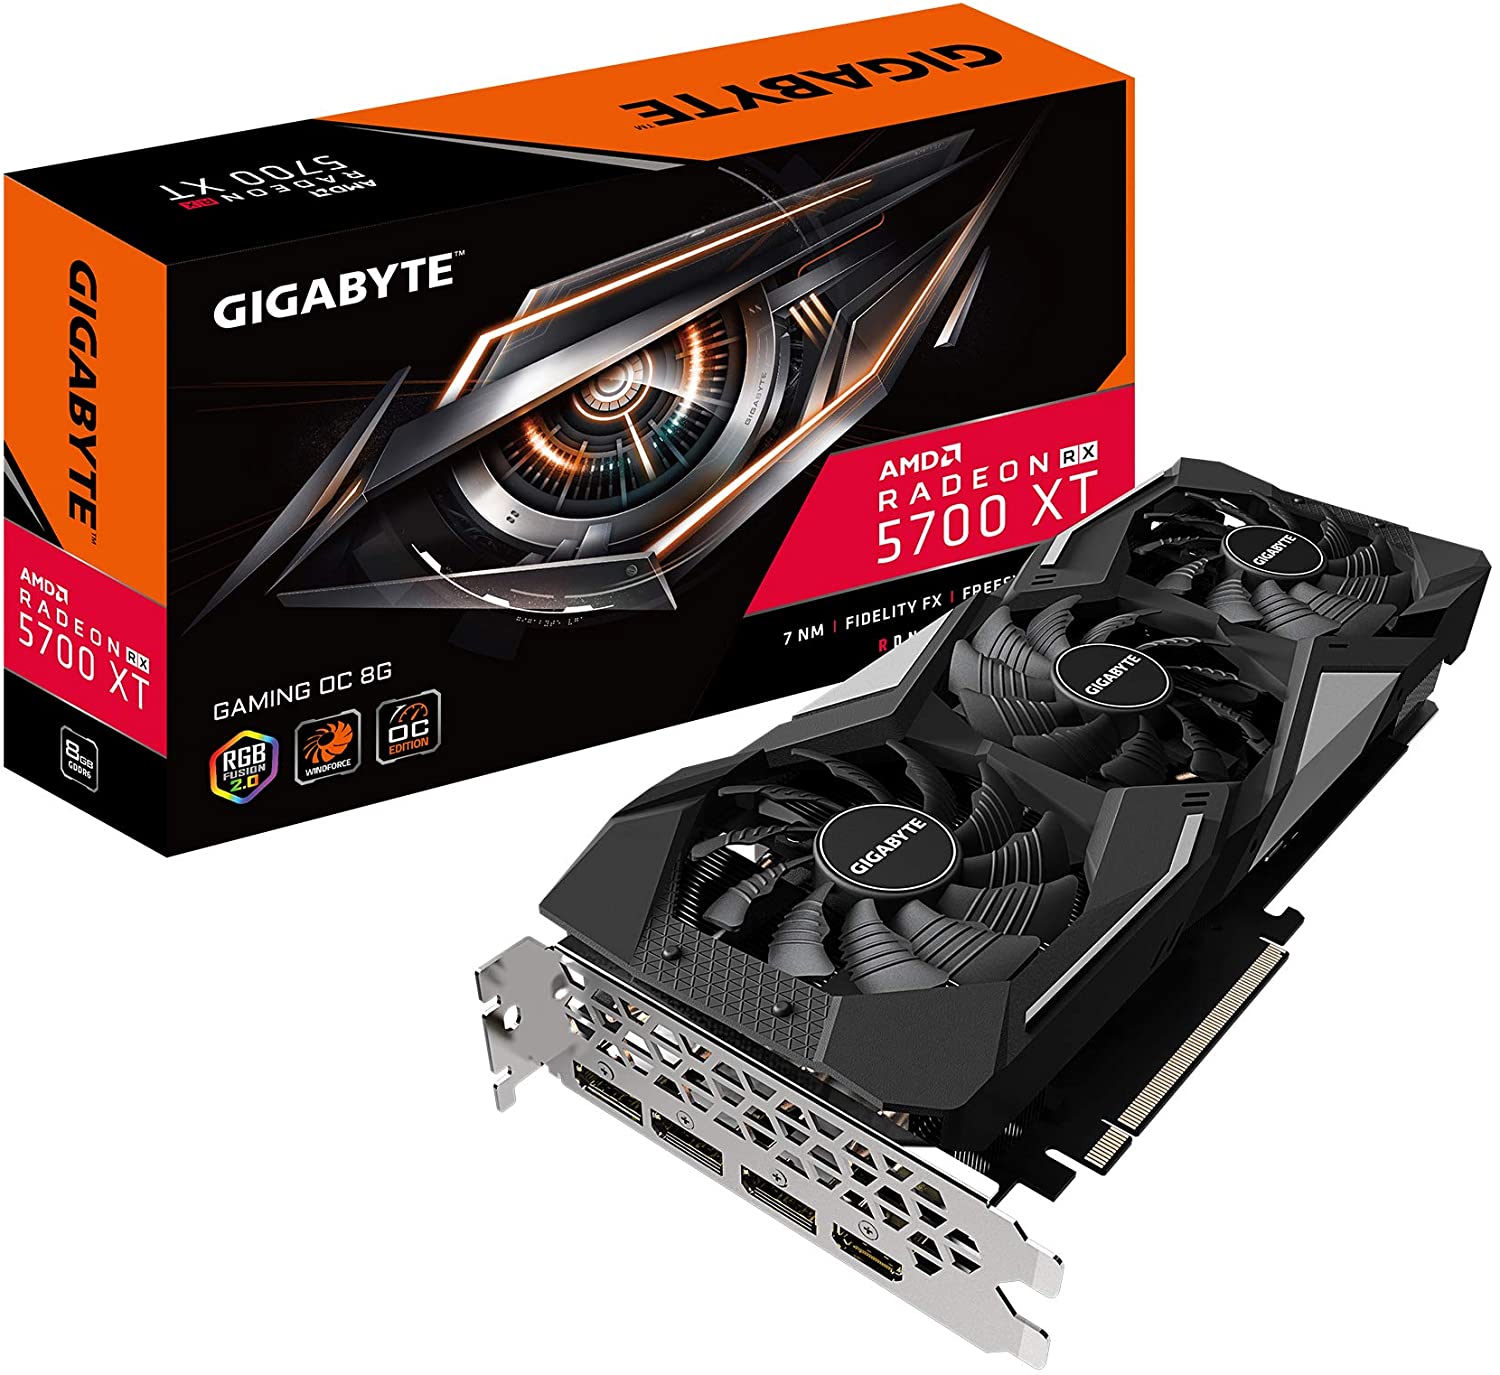
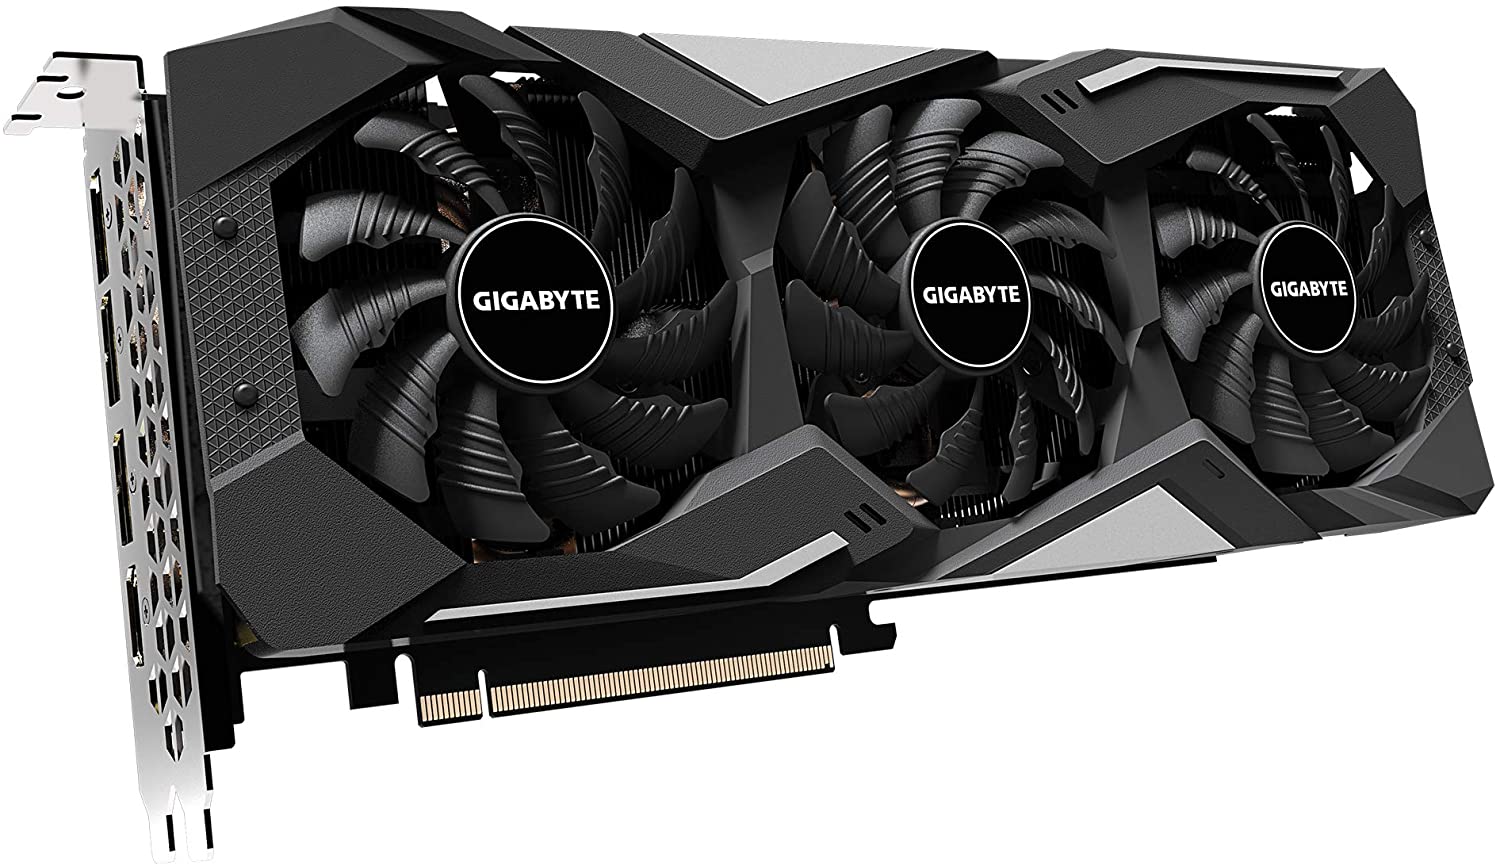
A graphic card is essential for a fast FPS, but they are costly. The best user benchmark for this CPU/Motherboard combo is the Gigabyte AMD RX 5700-XT OC ($409) — It is overclocked (OC), powered by 7nm Radeon rdna architecture.
The UserBenchmark shows Overwatch running at 138 FPS. World of Warcraft: Battle for Azeroth at 94.6 FPS.
- 8GB GDDR6 256-bit
- Windforce 3X Cooling System
- Metal Back Plate
- PCIe 4.0
- Memory Clock Speed: 14000 MHz
- free Sync and free Sync 2 HDR technology
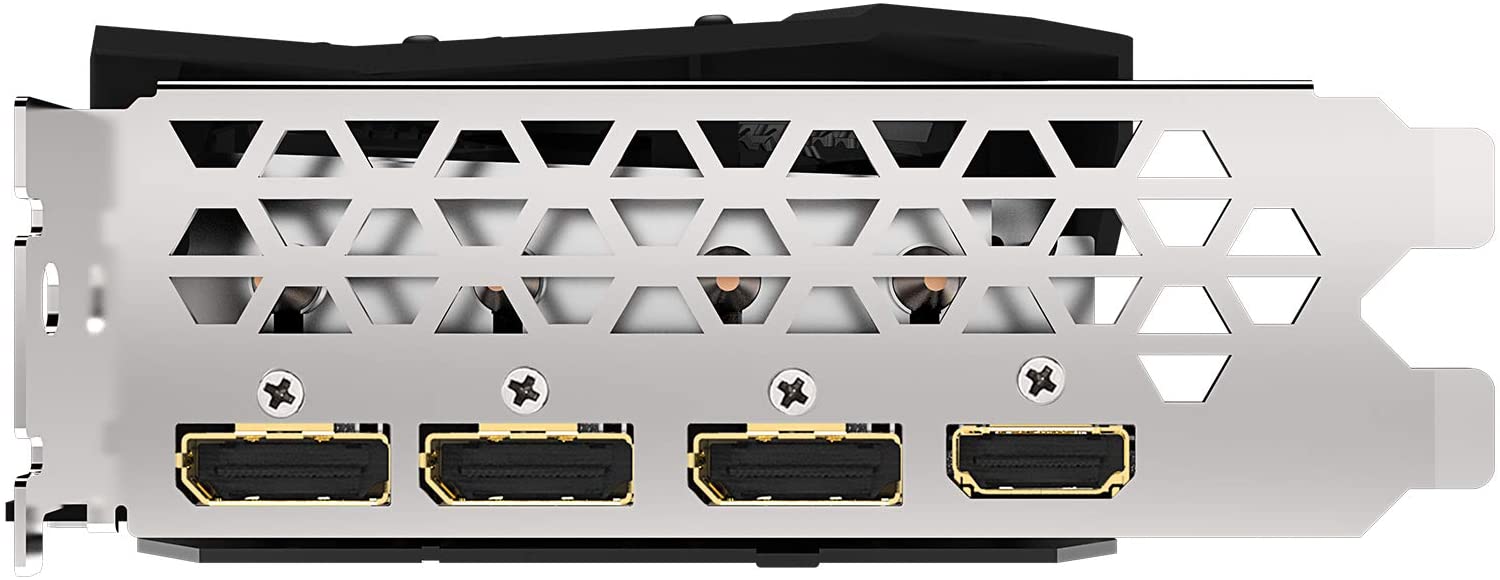
- 3x Display Port 1.4
- 1x HDMI 2.0B
If you prefer a graphic card below a $200 budget, then the Sapphire AMD RX 580 ($184) might do, but Overwatch runs at 79 FPS according to the UserBenchmark. It uses the 14nm architecture. Available ports: 2 x HDMI; 1 x DVI-D; 2 x DP.
NVIDIA alternatives: The Gigabyte GeForce GTX 1660 OC ($239) runs Overwatch at 99FPS.
Anything NVIDIA with the RTX monicker (featuring raytracing) is going to cost above $499 for now: Gigabyte GeForce RTX 2070 Super Gaming OC ($549).
COMPUTER CASE
From all the data shown in this page, the computer case compatible with this motherboard should be ATX form factor.
Not all ATX cases out there will give you plenty of airflow. Always check out there are at least two fans in the front, and at least 1 fan in the rear.
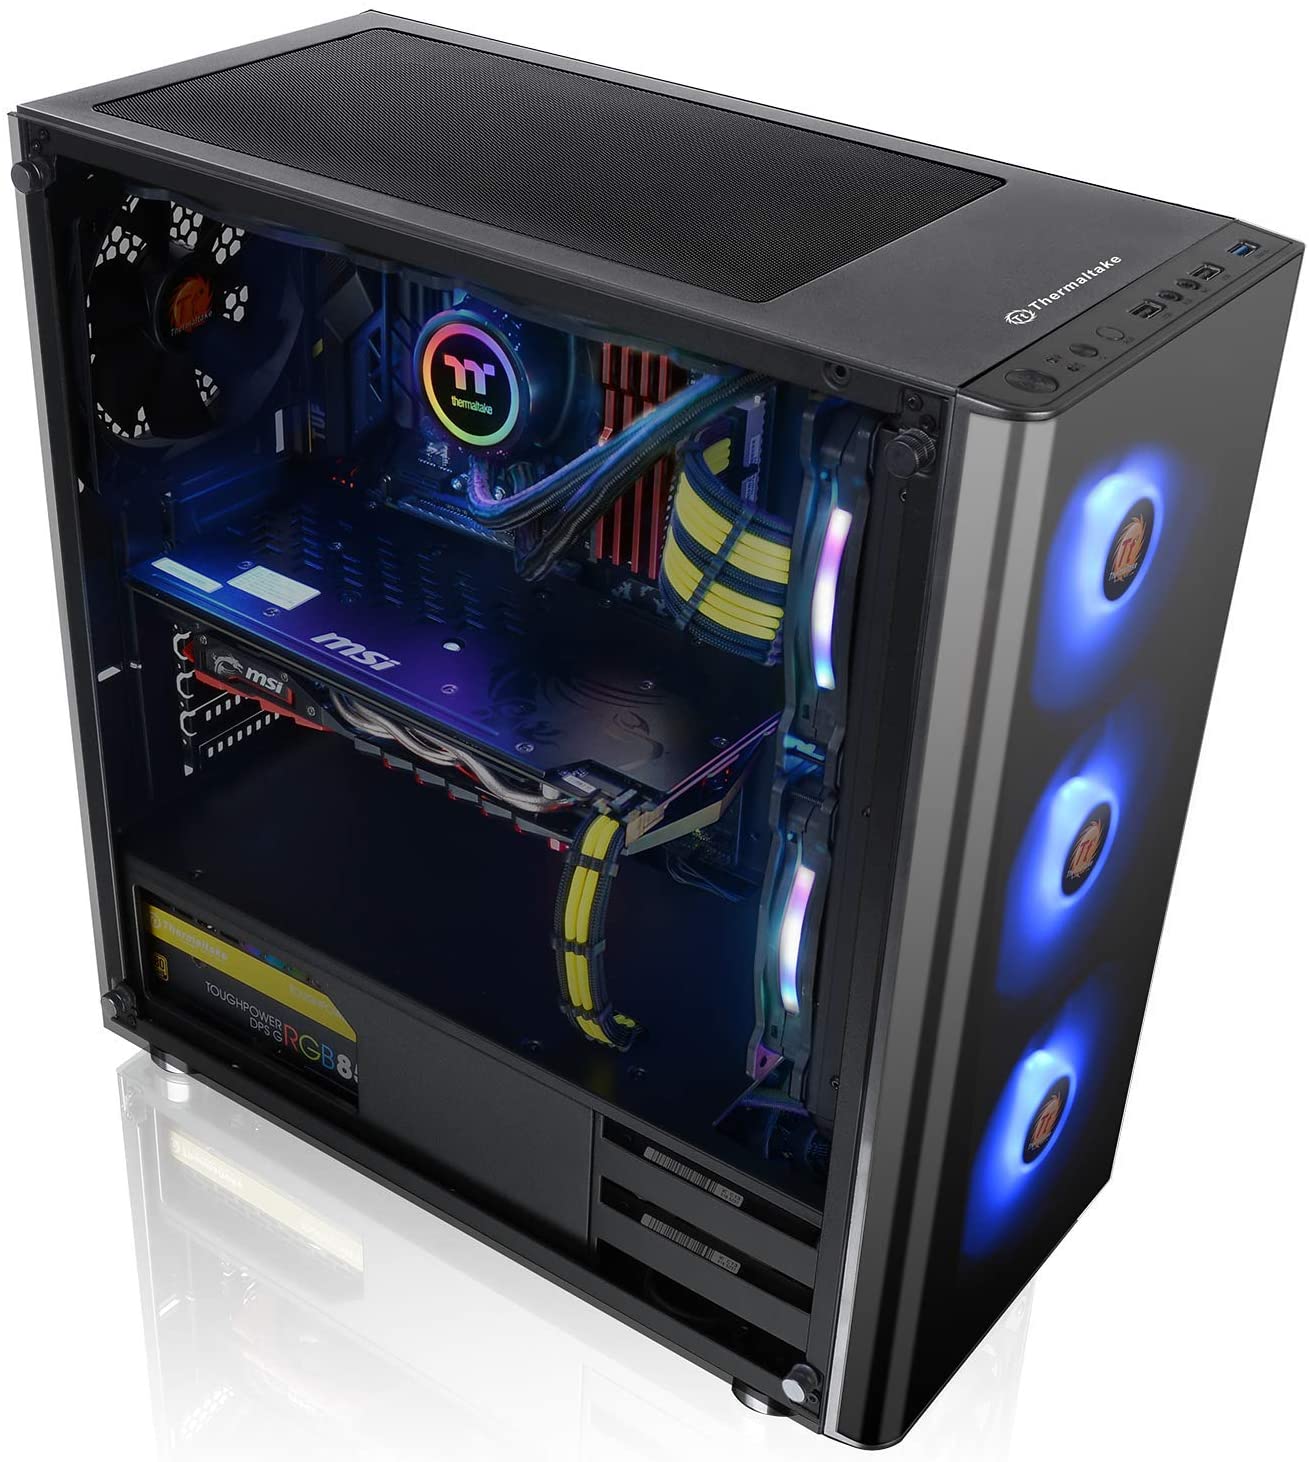
A good choice is the Thermaltake V200 Tempered Glass RGB Edition ATX mid-tower. It has 3 fans in the front and 1 in the rear. I love the fact that it has tool-free HDD installation; it has a power supply cover; a tempered glass side door; and the case only weighs 6 pounds.
In addition to your motherboard’s USB ports, this case also has an I/O port in the top-front:
- USB 3.0 x 1
- USB 2.0 x 2
- HD Audio x 1
- RGB Light Button (16 color variations)
POWER SUPPLY
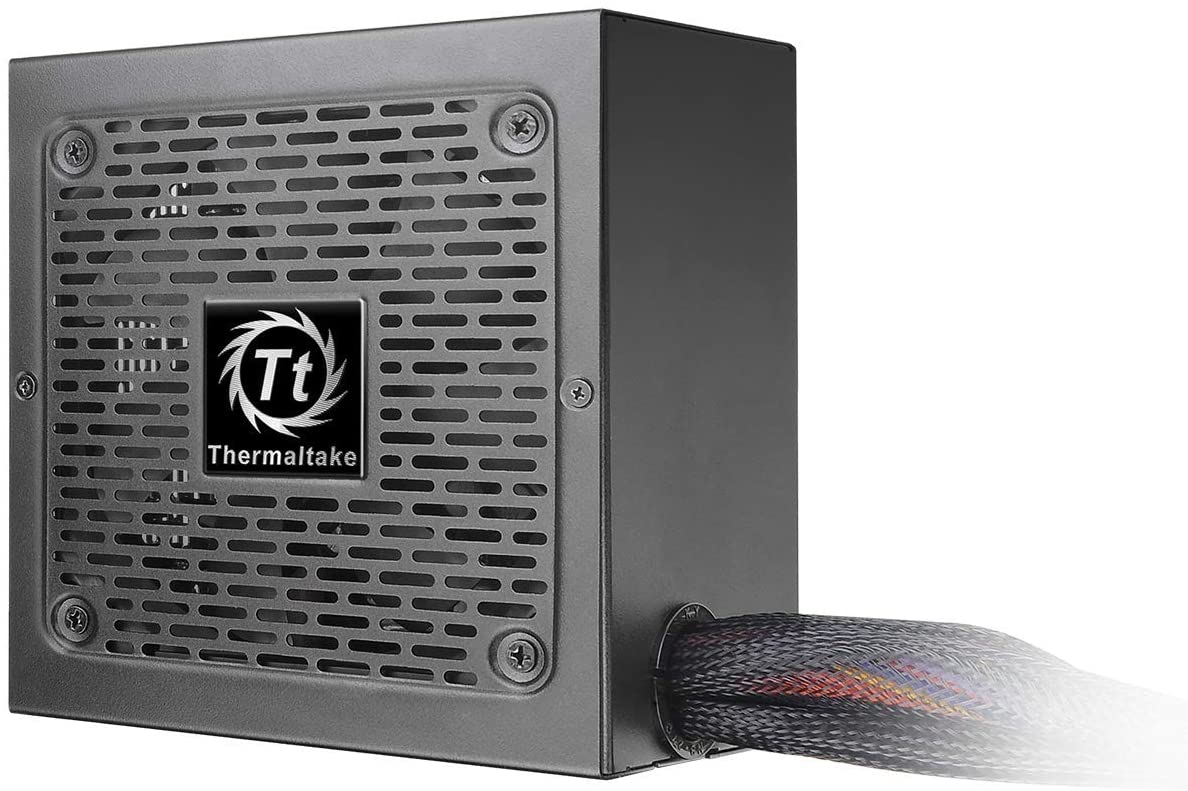
A more or less cheap power supply for an ATX case will cost between $80 – 150 easily. Things to look for: no less than 80 Gold certified, no less than 700 Watts. Personally, I like mine semi or full modular, but that adds extra cost. If you don’t mind going non-modular, then the Termaltake Toughpower GX1 ($84+) might be down your alley.
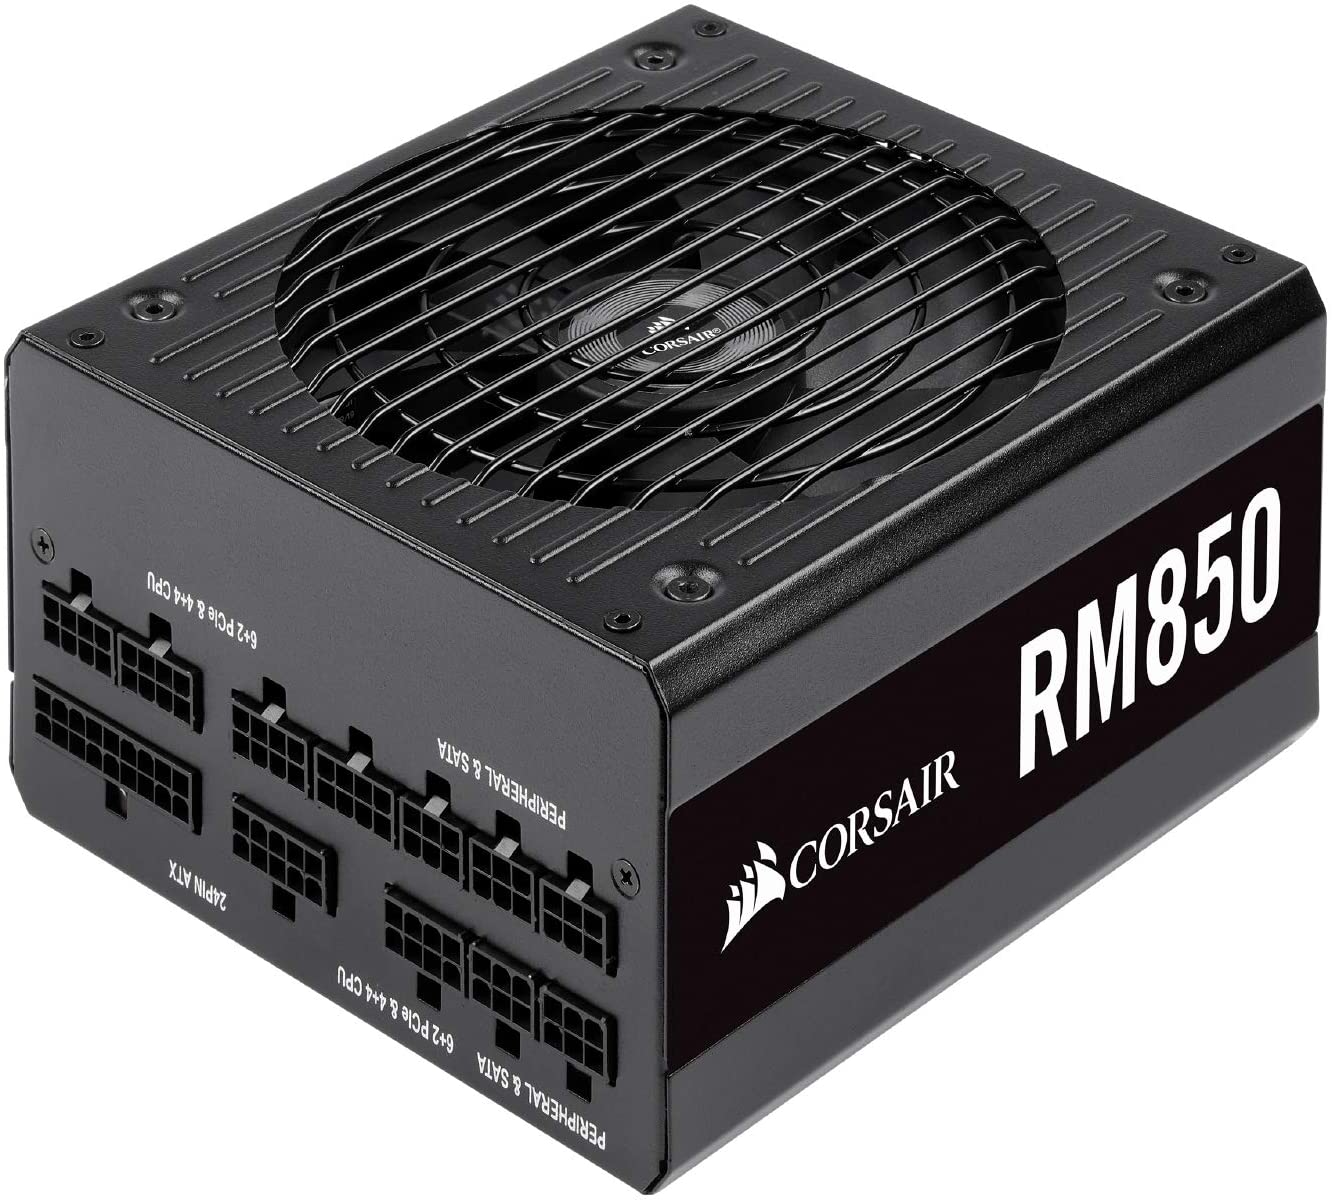
For a full modular, you can go with the Corsair RM850 ($129.99).
The modular term means how the cables from the power supply to the motherboard, graphic card, and SSD/HD is distributed. The non-modular (like the Thermaltake’s) has cables that can’t be detached nor replaced from the power supply. The modular power supplies allow you to detach or replace cables by using a mole connector (as seen in the image below).
It is more efficient in terms of cable management, as you can remove and store separately the excess cables you aren’t going to use.
No matter what brand or kind of power supply you end up buying, make sure they are above 700 watts and that it has a fan to dissipate heat.
Conclusion
If you picked the cheaper options, build a full computer from scratch will cost you around $1,142 + the Windows 10 operating system (separately). Much cheaper than buying from Alienware ($1,469.99) or other gaming system retailers — and you get better bang for your buck in terms of better computer parts such as the motherboard, power supply, RAM and the SDD.
If you are migrating computer parts from your existent computer, then you will save far more money building an upgrade.
I will post a new article once AMD and Intel release their newest CPUs in late 2020.
AMD expects to release the Desktop Ryzen 4000 CPUs using the Zen 3 architechture (7nm) some time in 2020. No release date available at the moment of this article. The normal AMD Ryzen 4000 CPUs will use the Vermeer microarchitecture, while the Threadripper versions will use the Milan microarchitechture.
Intel, on the other hand, plans to release the Intel Comet Lake 10th Generation CPUs in 2020 as well. Rumors online say some time in May, but with the Coronavirus pandemic — delays might be expected.
As soon as the newest Intel CPUs become available in retail stores, I will let you know. Follow @blizzplanetcom for updates. Another article for how to build an Intel Comet Lake computer will be posted as soon as I take a look at some benchmarks for best compatibility.
Assembly Instructions
Most of the time, all you need is a simple cross slot/phillips screwdriver.
The case and the motherboard come with screws, too. You can read the motherboard’s manual here (PDF).
You can find the MSI X570 Gaming Plus BIOS and Drivers here.
- Install the CPU — following the manual’s instructions.
- Install the RAM. Unless the motherboard has instructions otherwise, insert one stick in the slot furthest away from the CPU. Then the second stick two slots after (leaving one slot in between empty).
- Apply thermal paste to the top of the CPU.
- Install the CPU cooler.
- Mount the motherboard in the case. Fasten a screw in a corner, then the opposite corner (diagonally), and same on the other side.
- Install the Power Supply.
- Install the SSD in the M.2 slot.
- Install the graphic card in the PCIe slot.
- If you install an HDD, plug the SATA cable (usually red/black).
- Install the CD-Drive (if any) and plug the appropriate SATA power and SATA (data) cables.
- Plug the appropriate power supply cables to the graphic card, the motherboard, and any HDD you decided to install.
- Connect the Power button header cables (Page 6 of the manual). These cables also include the USB and HD Audio located at the top-front of the case. These cables are color coded to make it easy. You probably need a thin plyer or an eyebrow pincer to plug each of those thin cable heads into the motherboard pins.
- Plug all the case fans to the motherboard pins.
- Close the Tempered Glass door.
- Install the Windows 10 Home 64-bit / PRO 64-bit / or Linux OS
Hope you enjoyed this article. Please, support Blizzplanet via PayPal, and follow us on Twitter, Facebook, YouTube, and Twitch for Blizzard games news updates. |
 |