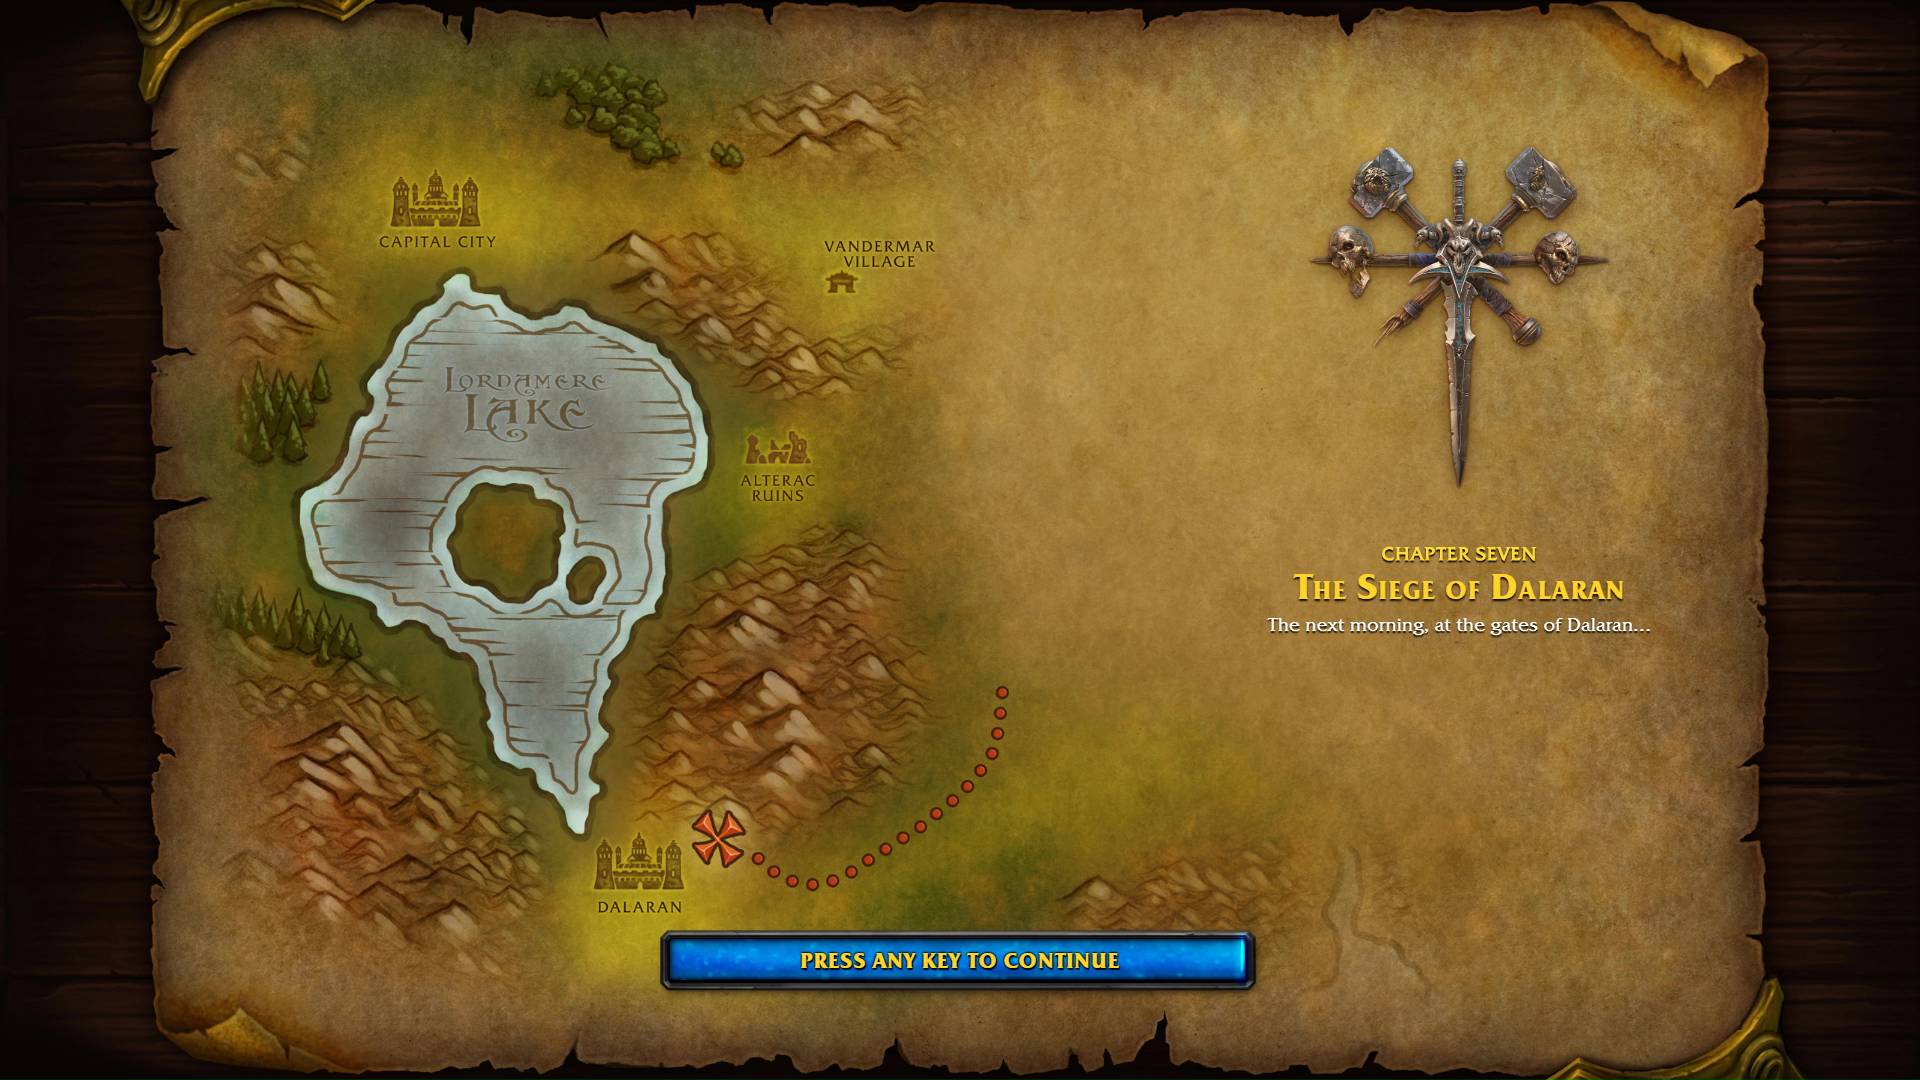
The next morning, at the gates of Dalaran…
YOUTUBE VIDEO
CUTSCENE
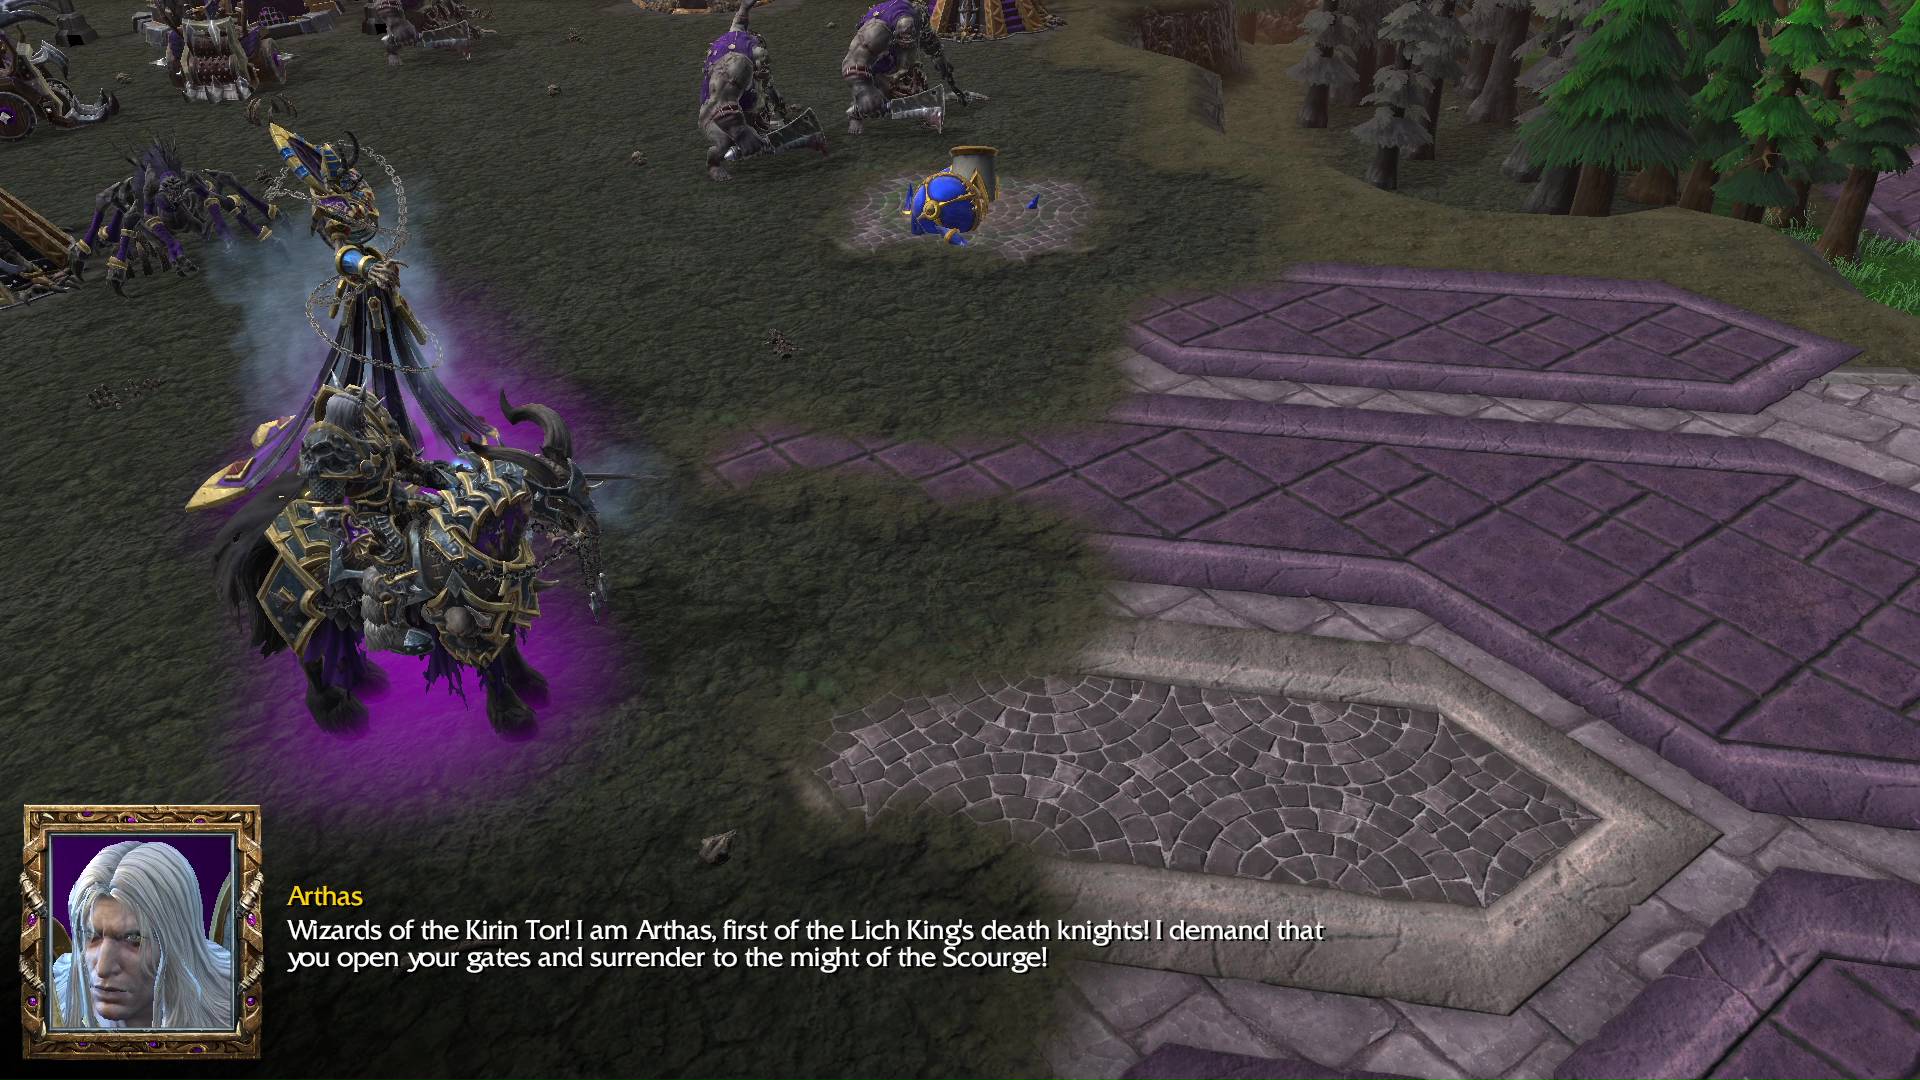
Arthas: Wizards of the Kirin Tor! I am Arthas, first of the Lich King’s death knights! I demand that you open the gates and surrender to the might of the Scourge!
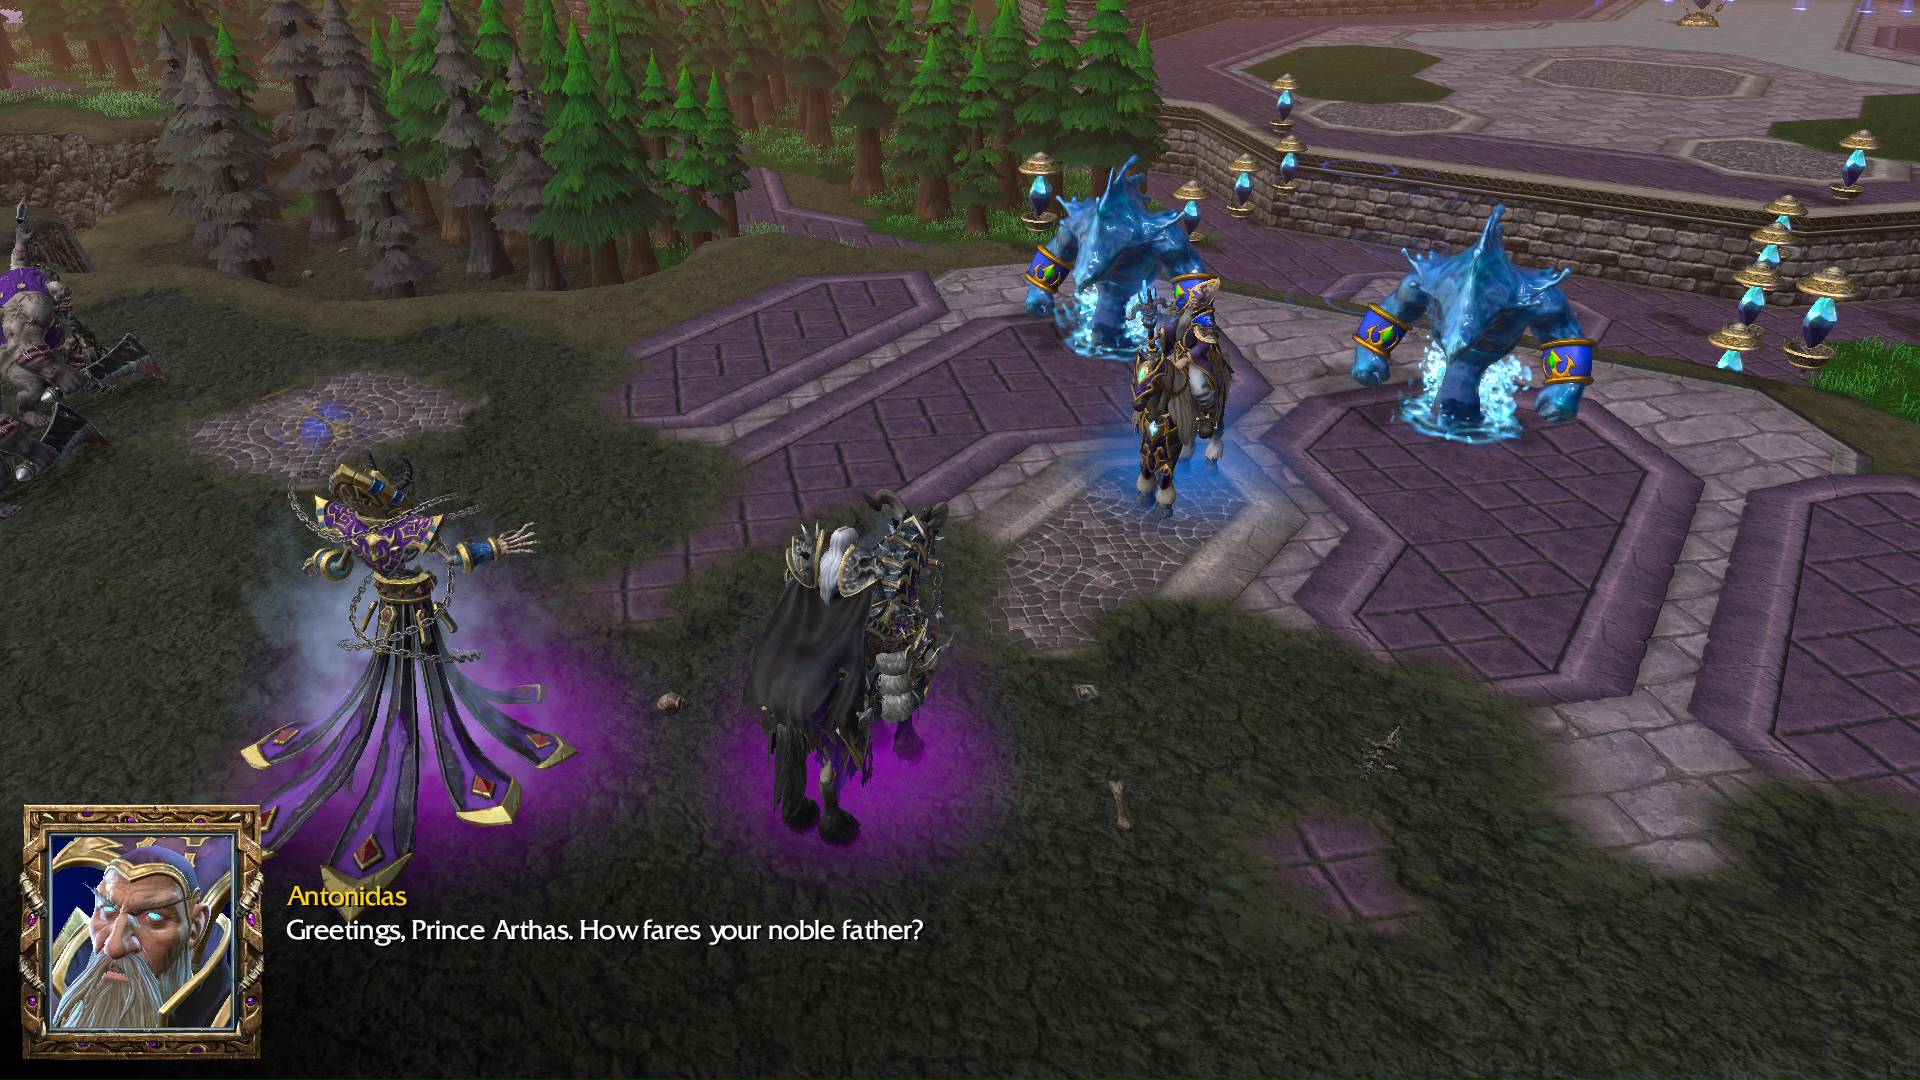
Antonidas: Greetings, Prince Arthas. How fares your noble father?
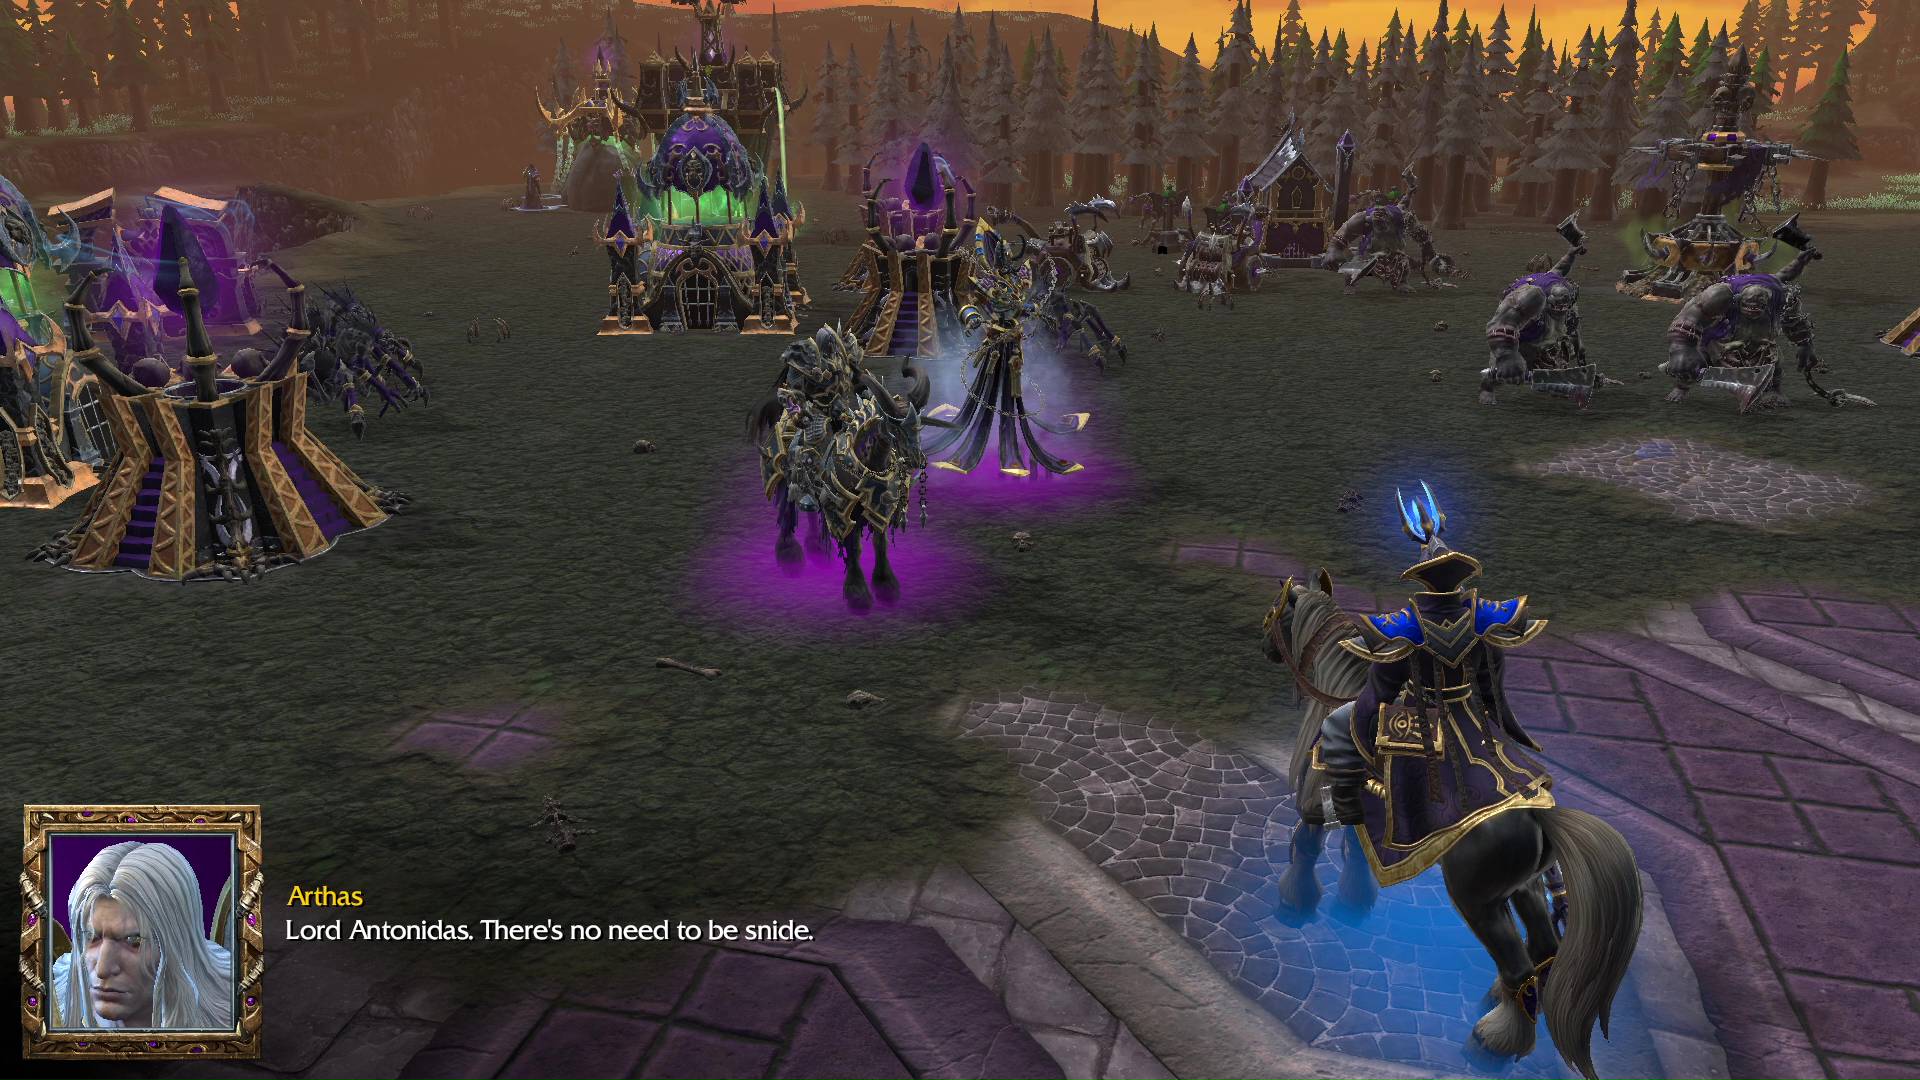
Arthas: Lord Antonidas. There’s no need to be snide.
Antonidas: We’ve prepared for your coming, Arthas. My brethren and I have erected auras that will destroy any Undead that pass through them.
Arthas: Your petty magics will not stop me, Antonidas.
Antonidas: Pull your troops back, or we will be forced to unleash our full powers against you! Make your choice, death knight.
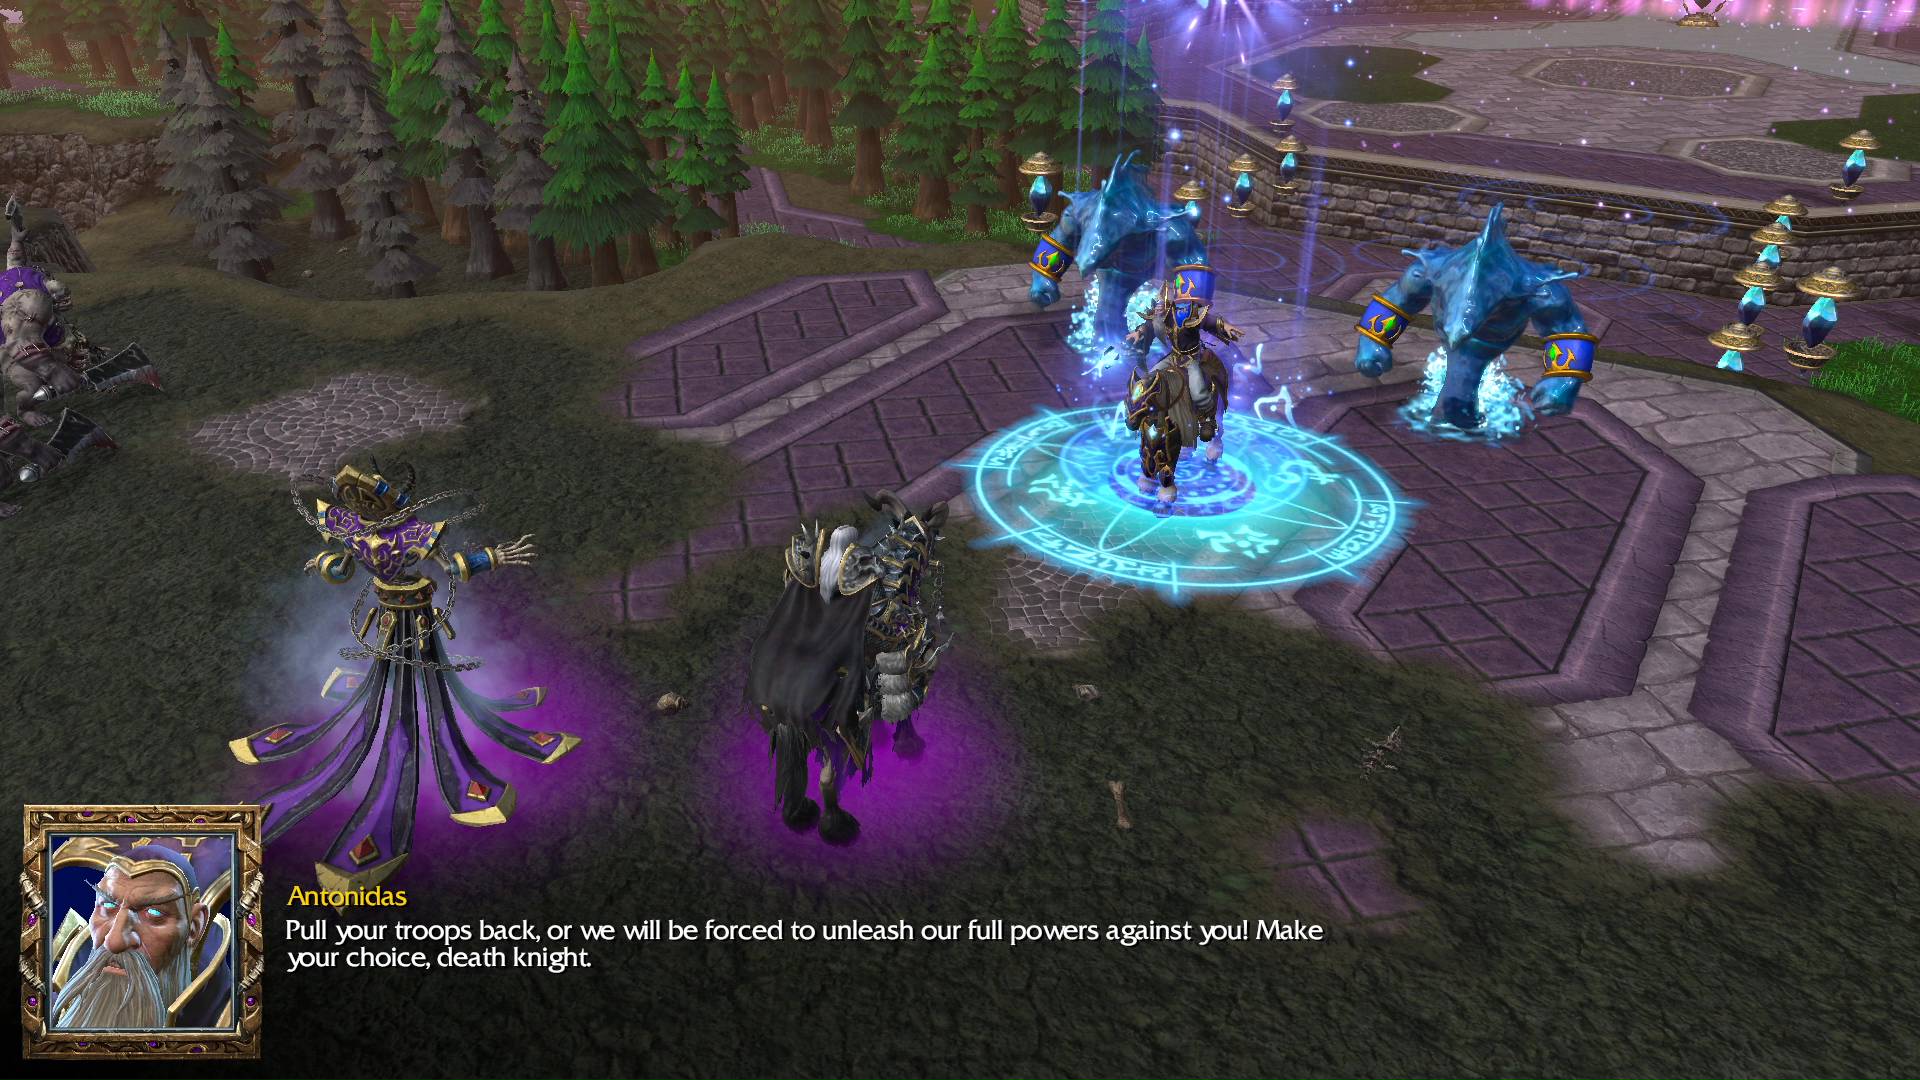
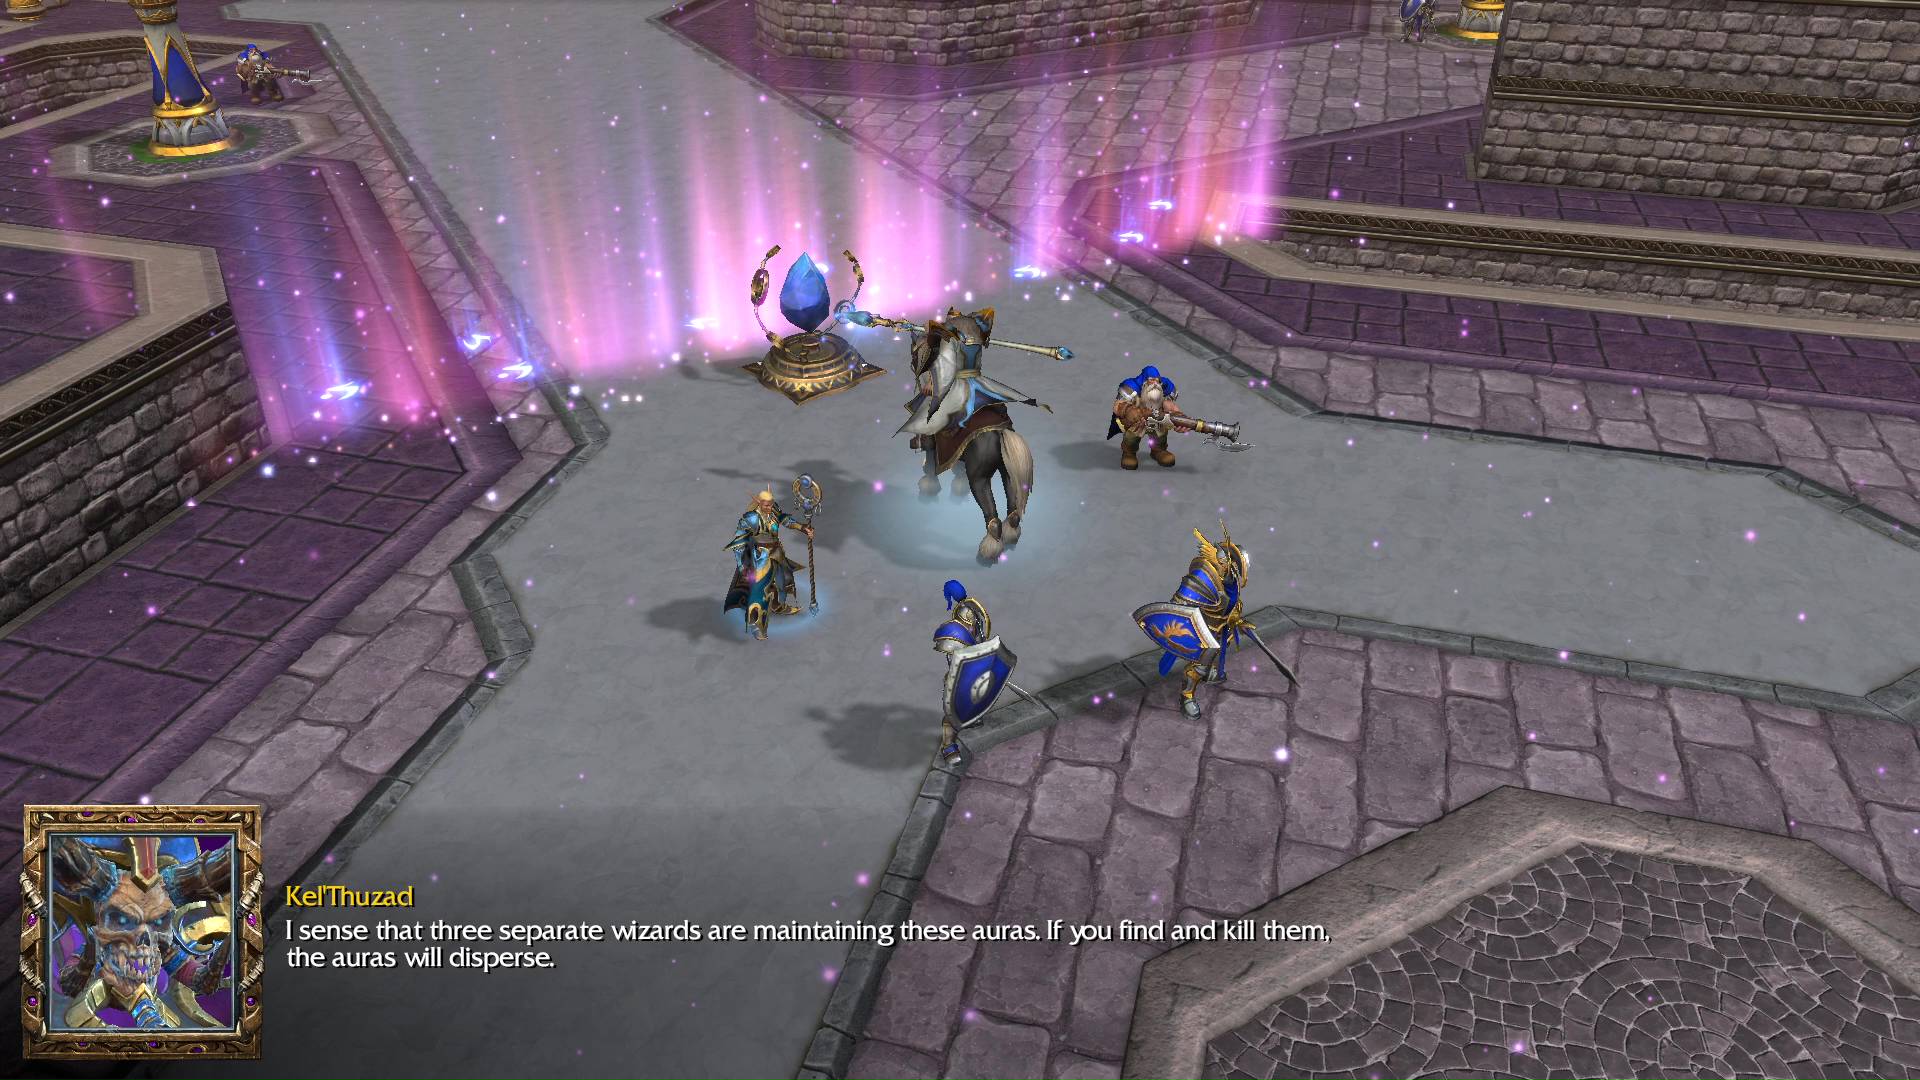
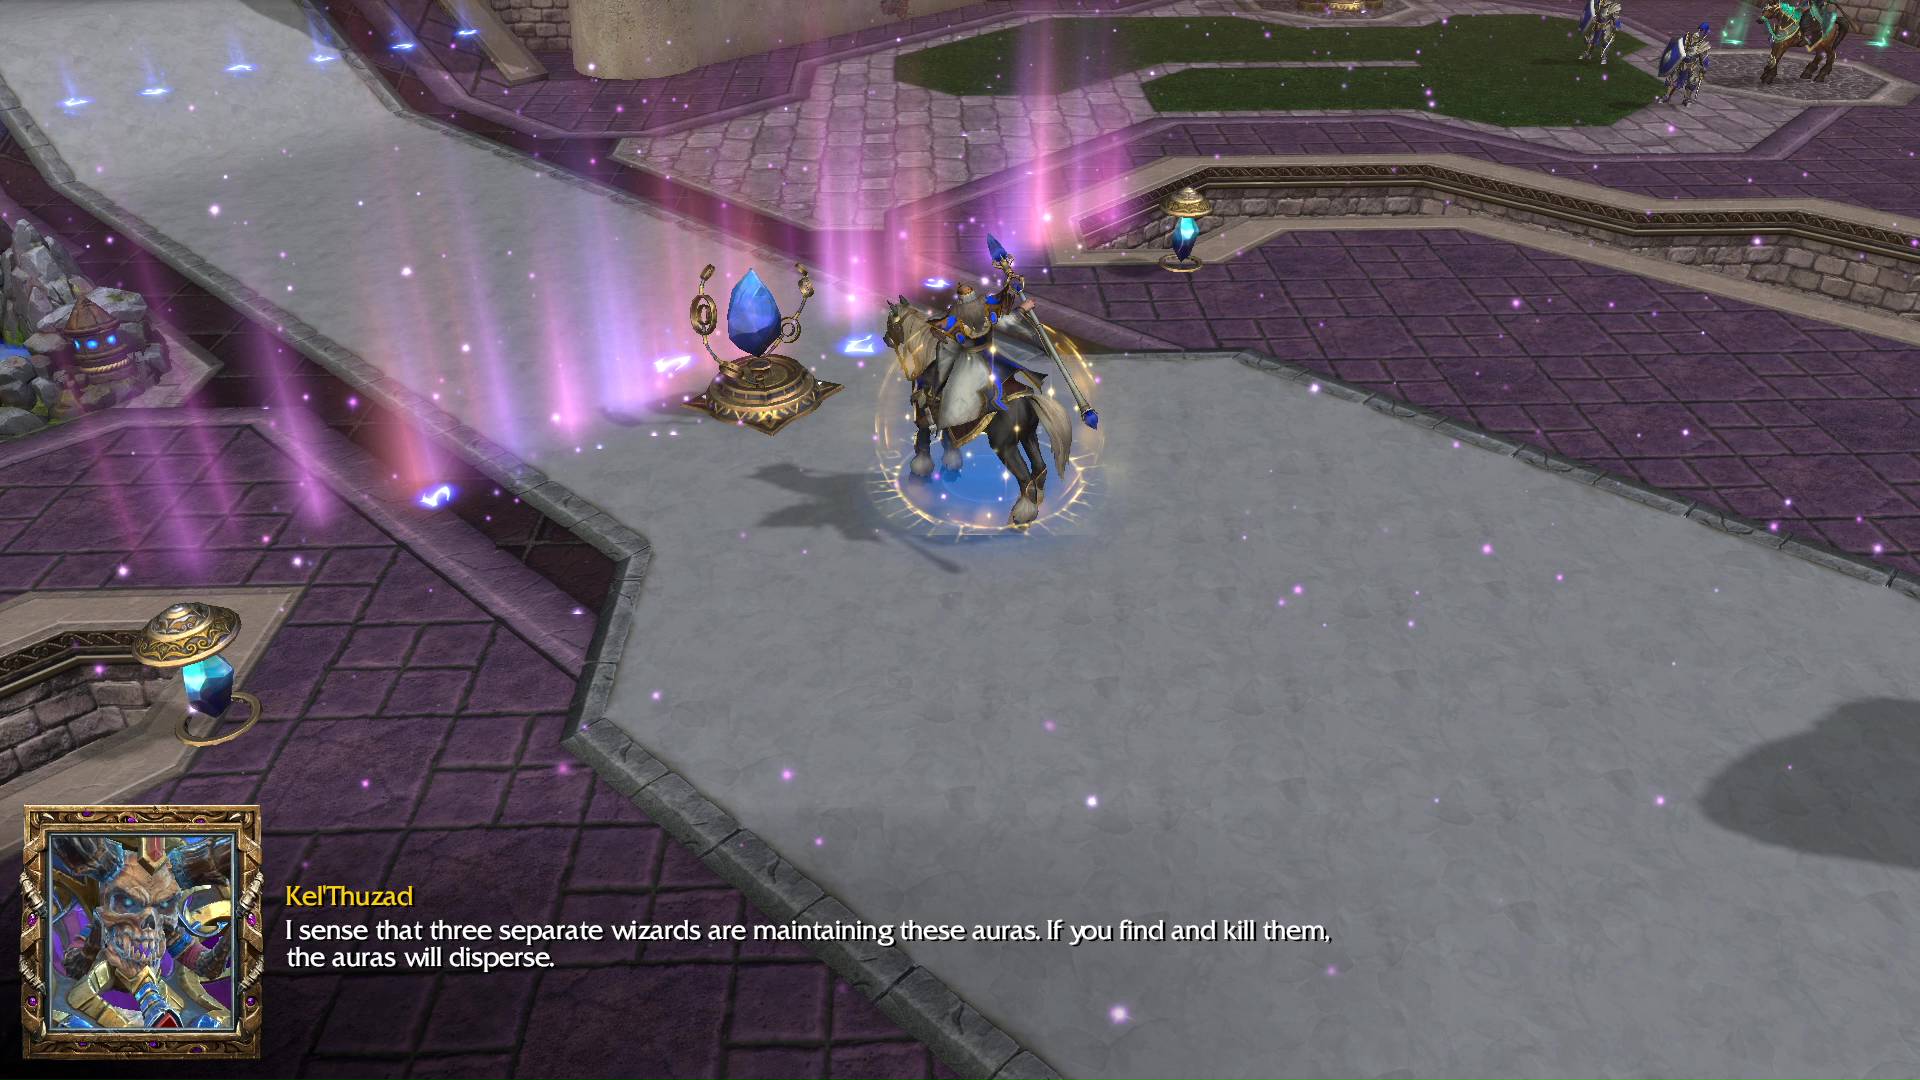
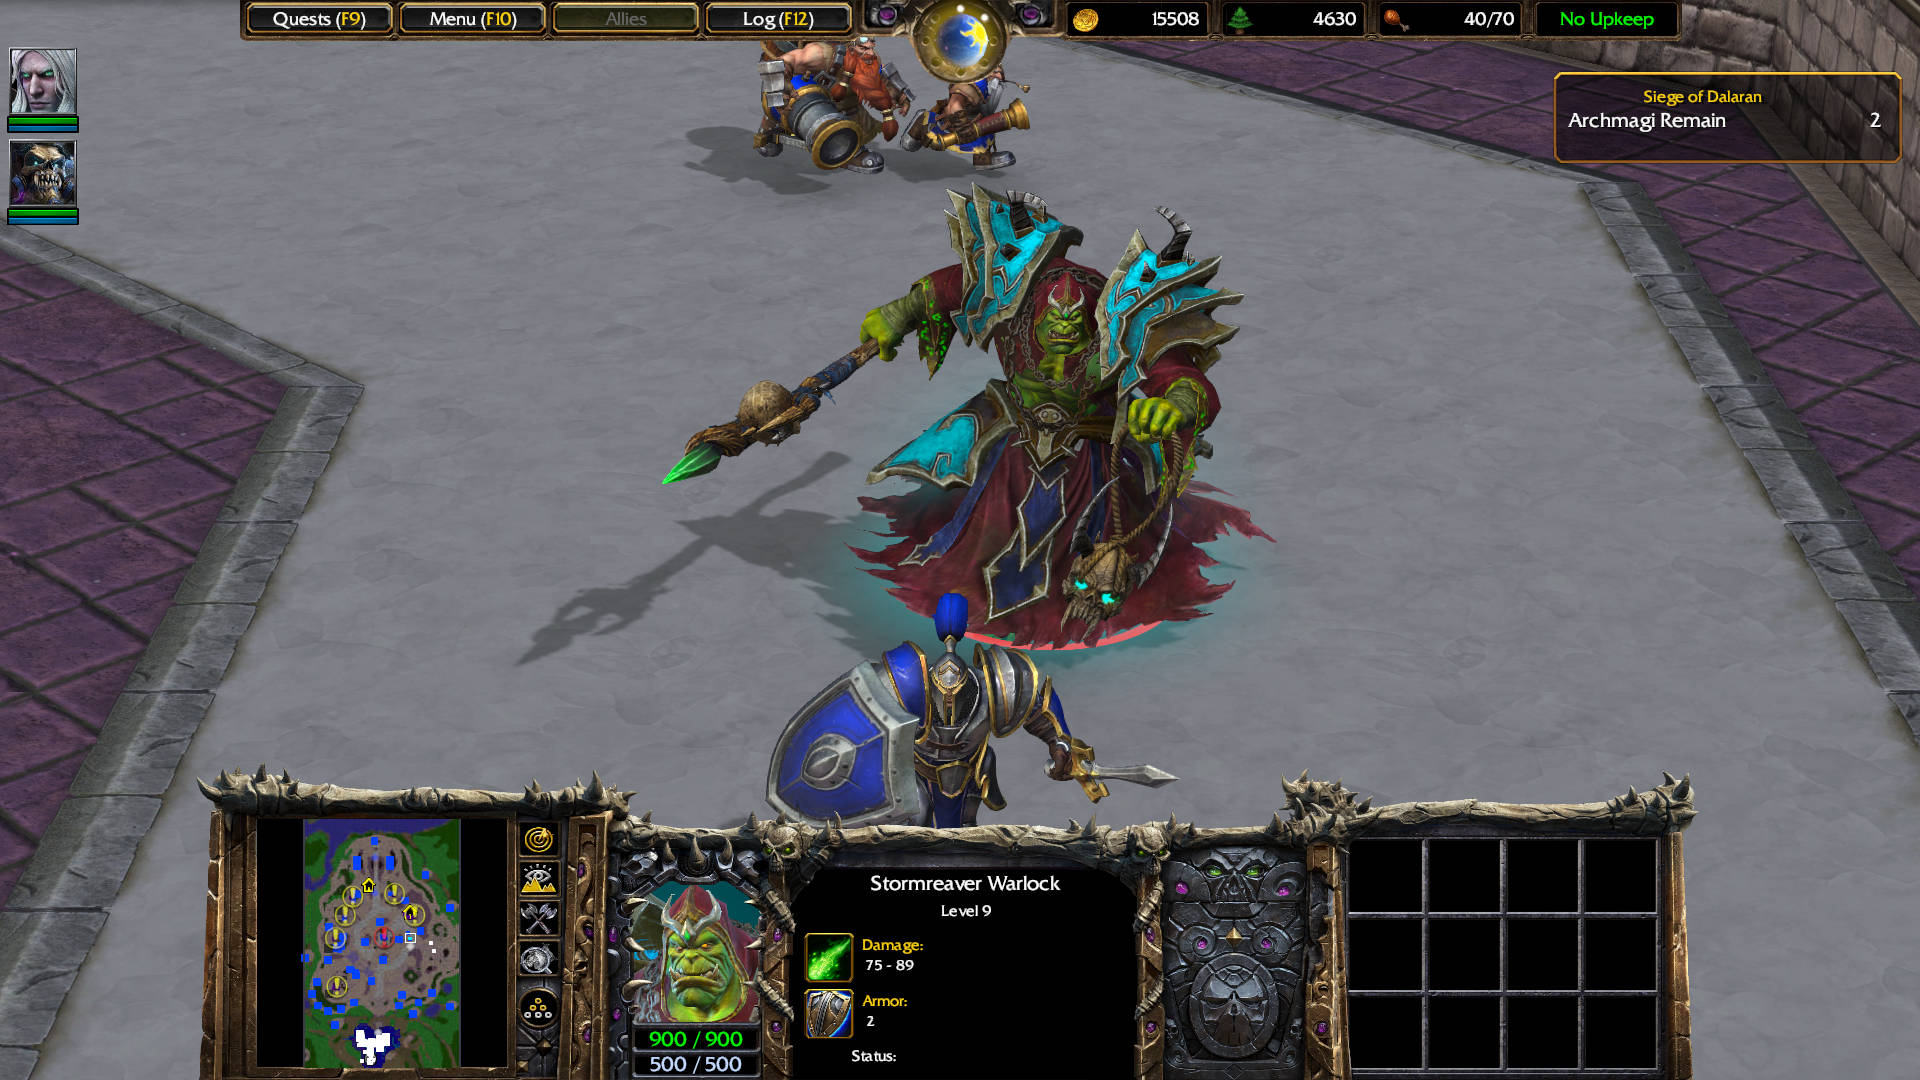
Kel’Thuzad: I sense that three separate wizards are maintaining these auras. If you find and kill them, the auras will disperse.

MAIN QUEST
Retrieve Medivh’s Book
- Charge into the city
- Slay the first Archmage
- Slay the second Archmage
- Slay the final Archmage to reach Antonidas
- Enter the Violet Citadel and kill Antonidas
RESOURCES
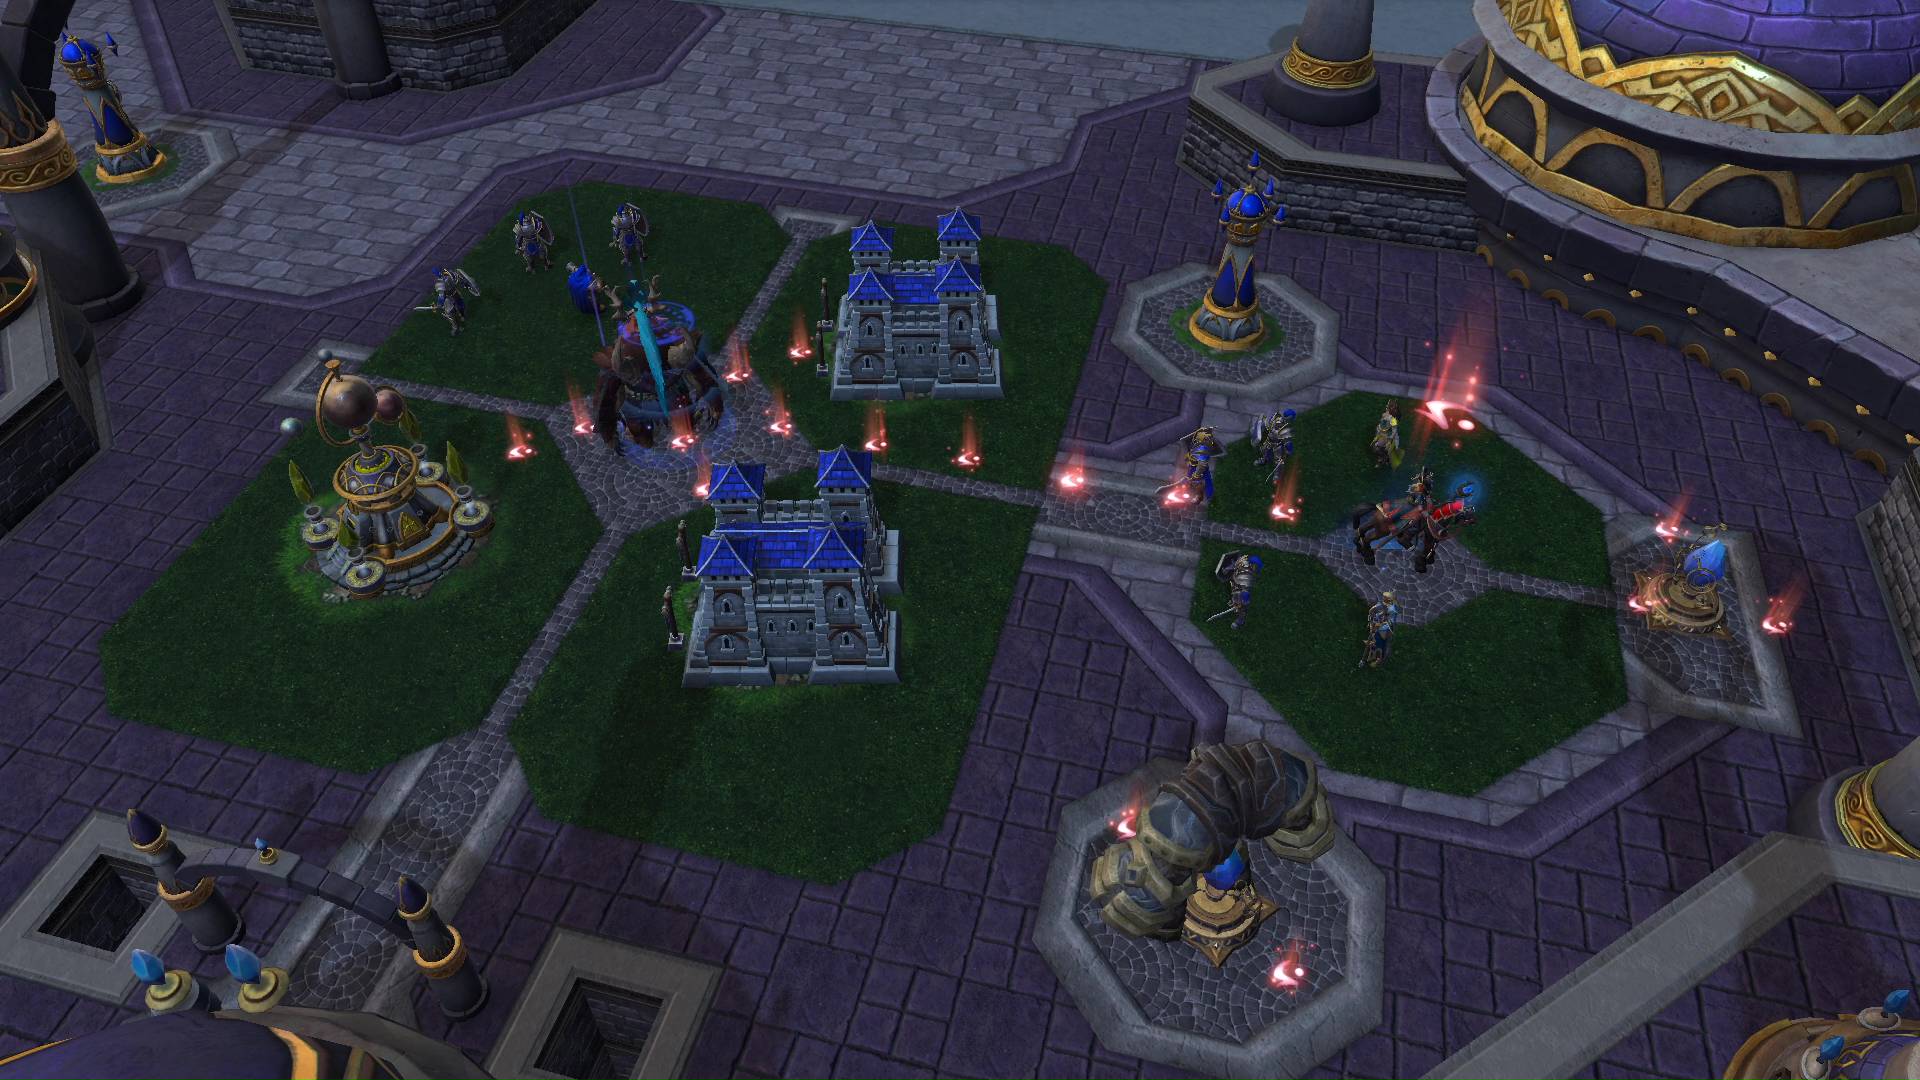
You start with Arthas and Kel’Thuzad, 5 Acolytes, 3 Crypt Fiends, 3 Ghouls, 3 Abominations, and 2 Meat Wagons.
Buildings on the ground: Black Citadel, Graveyard, 2 Crypts, Altar of Darkness, Slaughterhouse, 2 Spirit Towers and 3 Ziggurats.
500![]() 250
250![]() 40/70
40/70![]()
STRATEGY
NEW UNIT AVAILABLE
Abomination – You may now build Abominations from the Slaughterhouse.
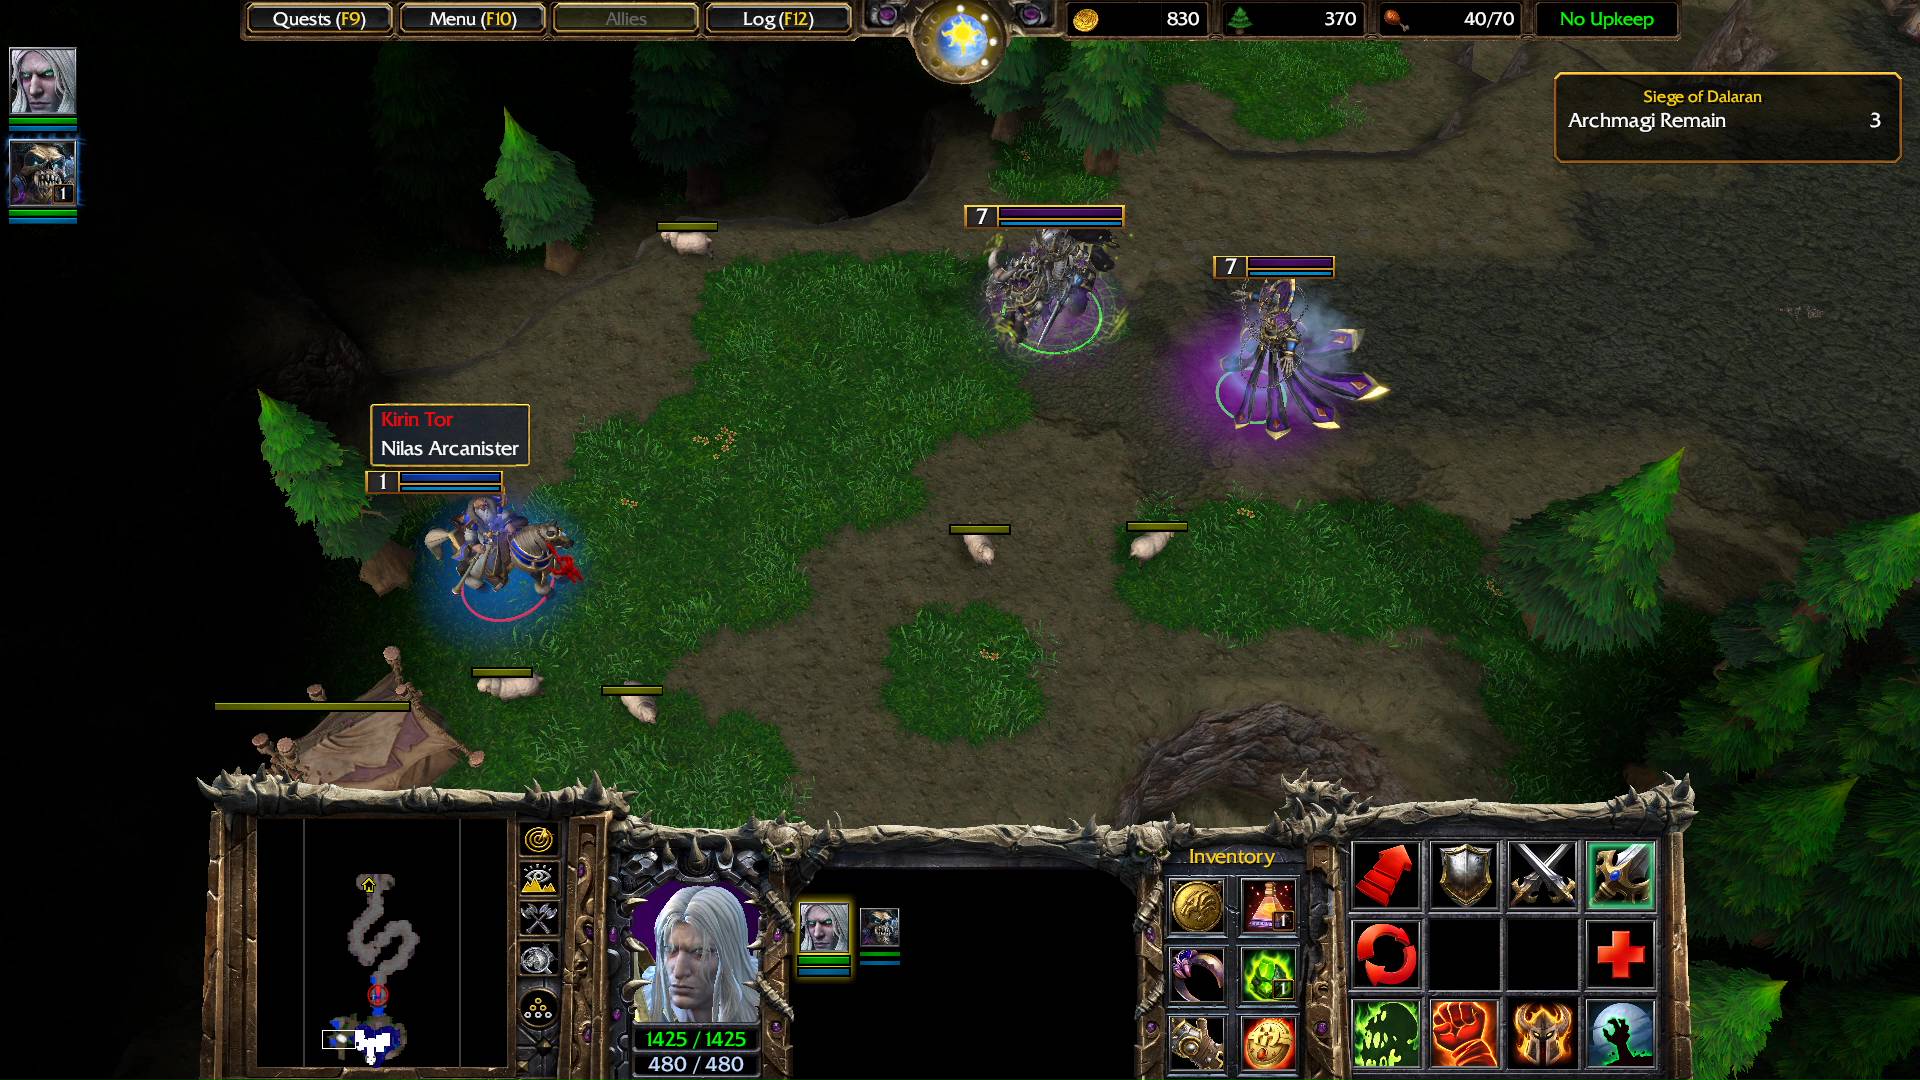
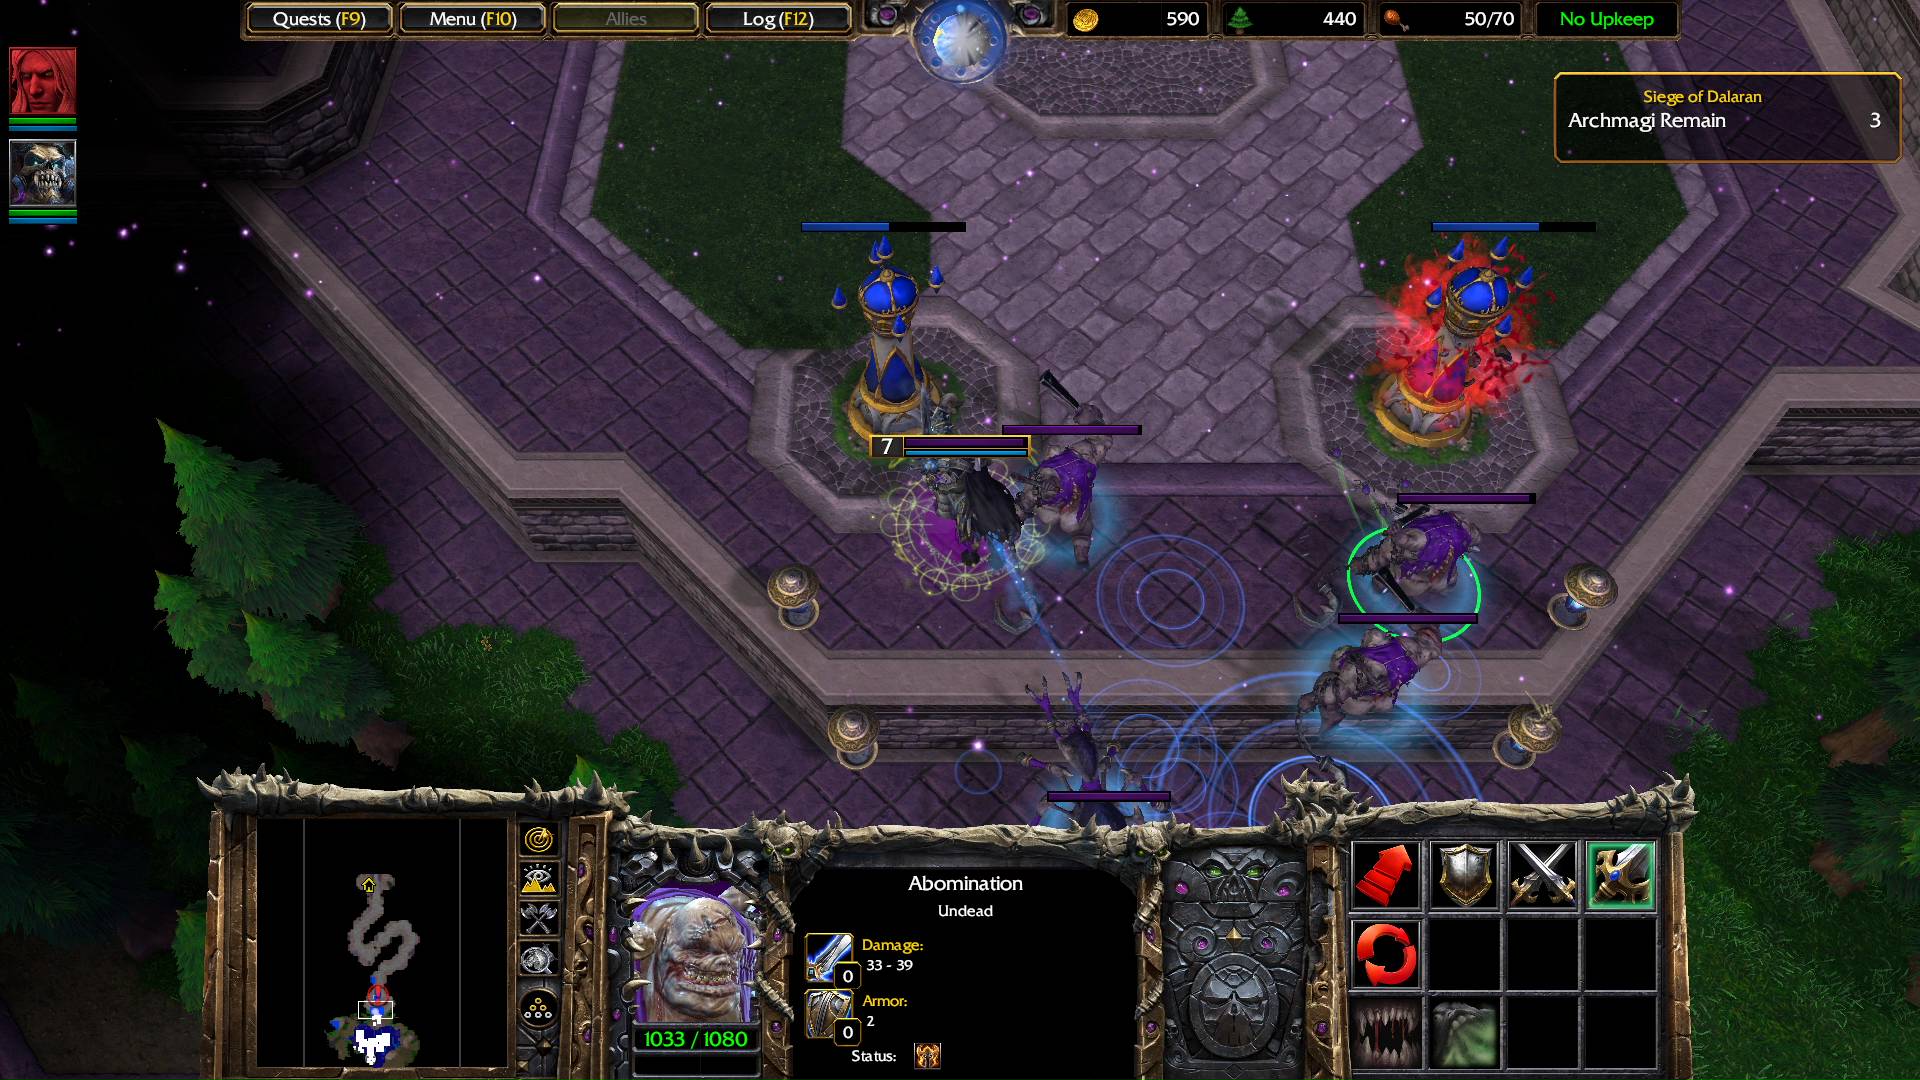
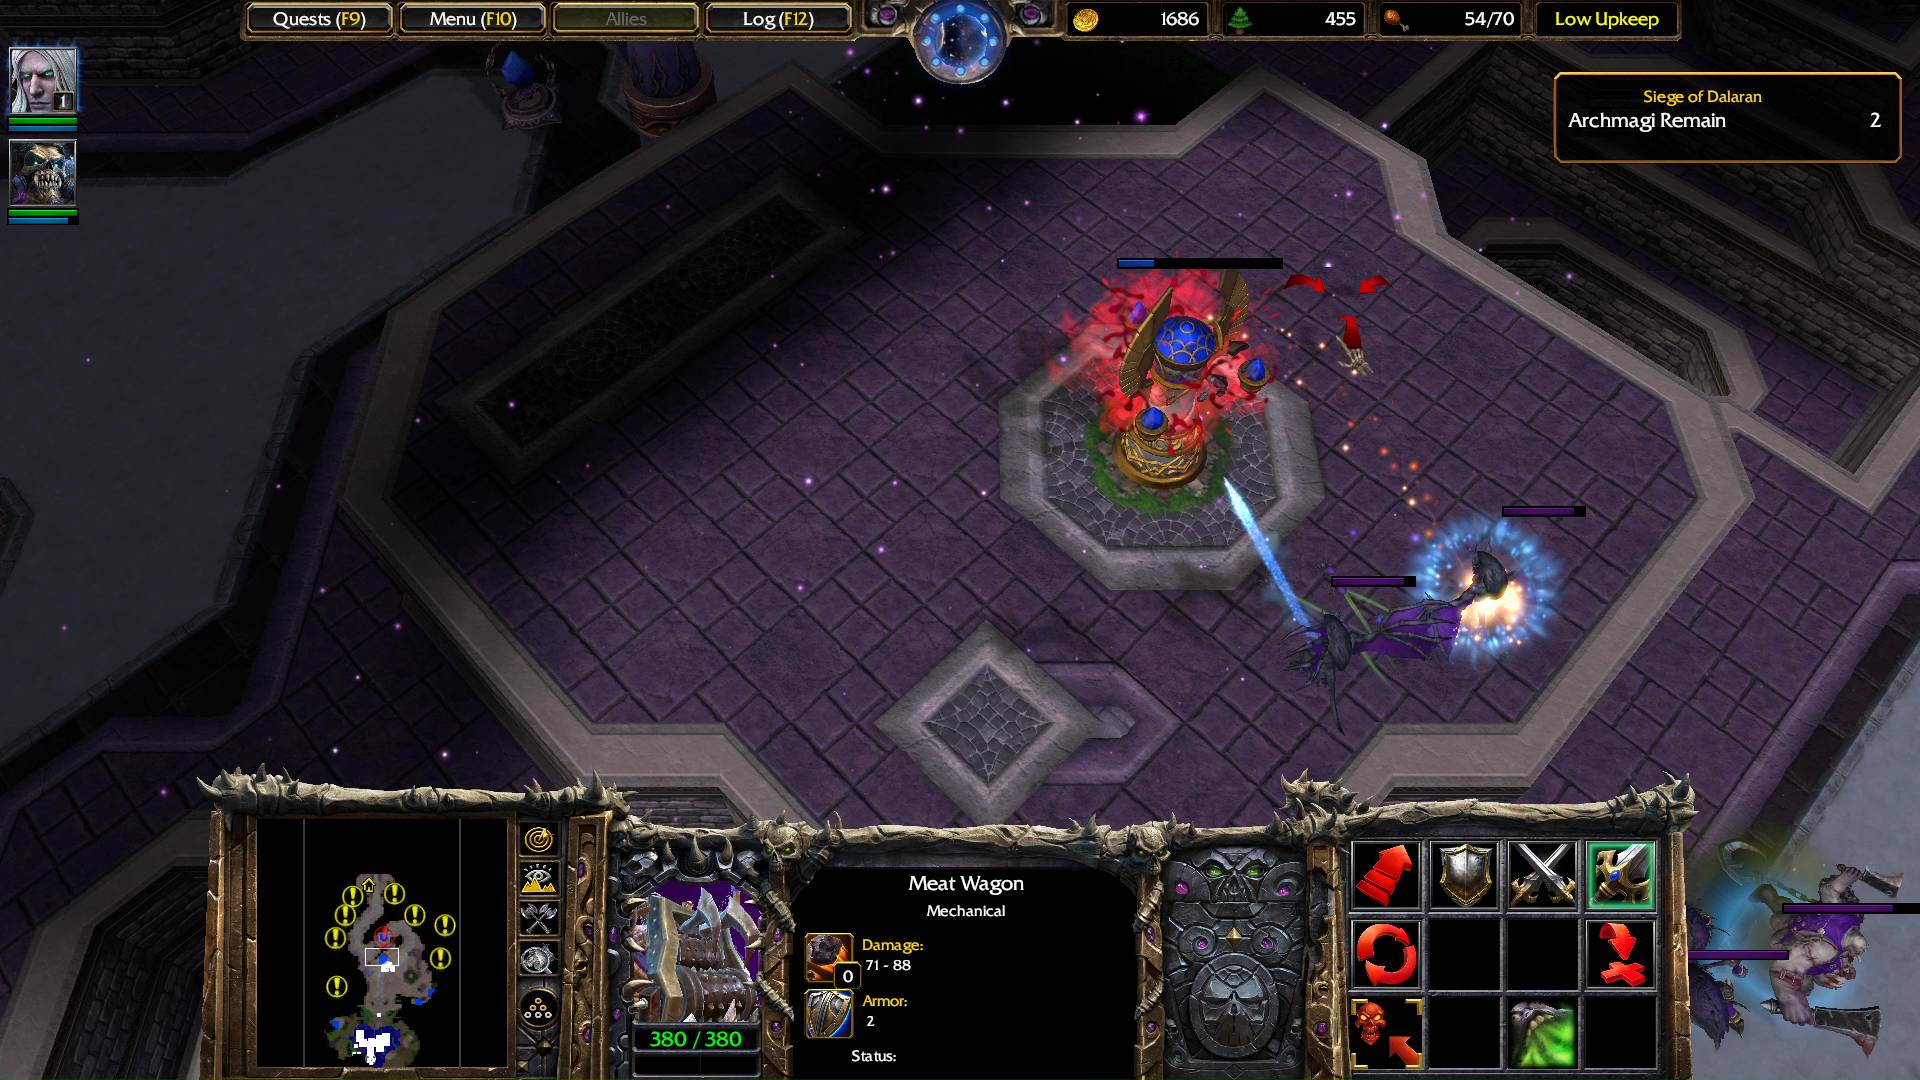
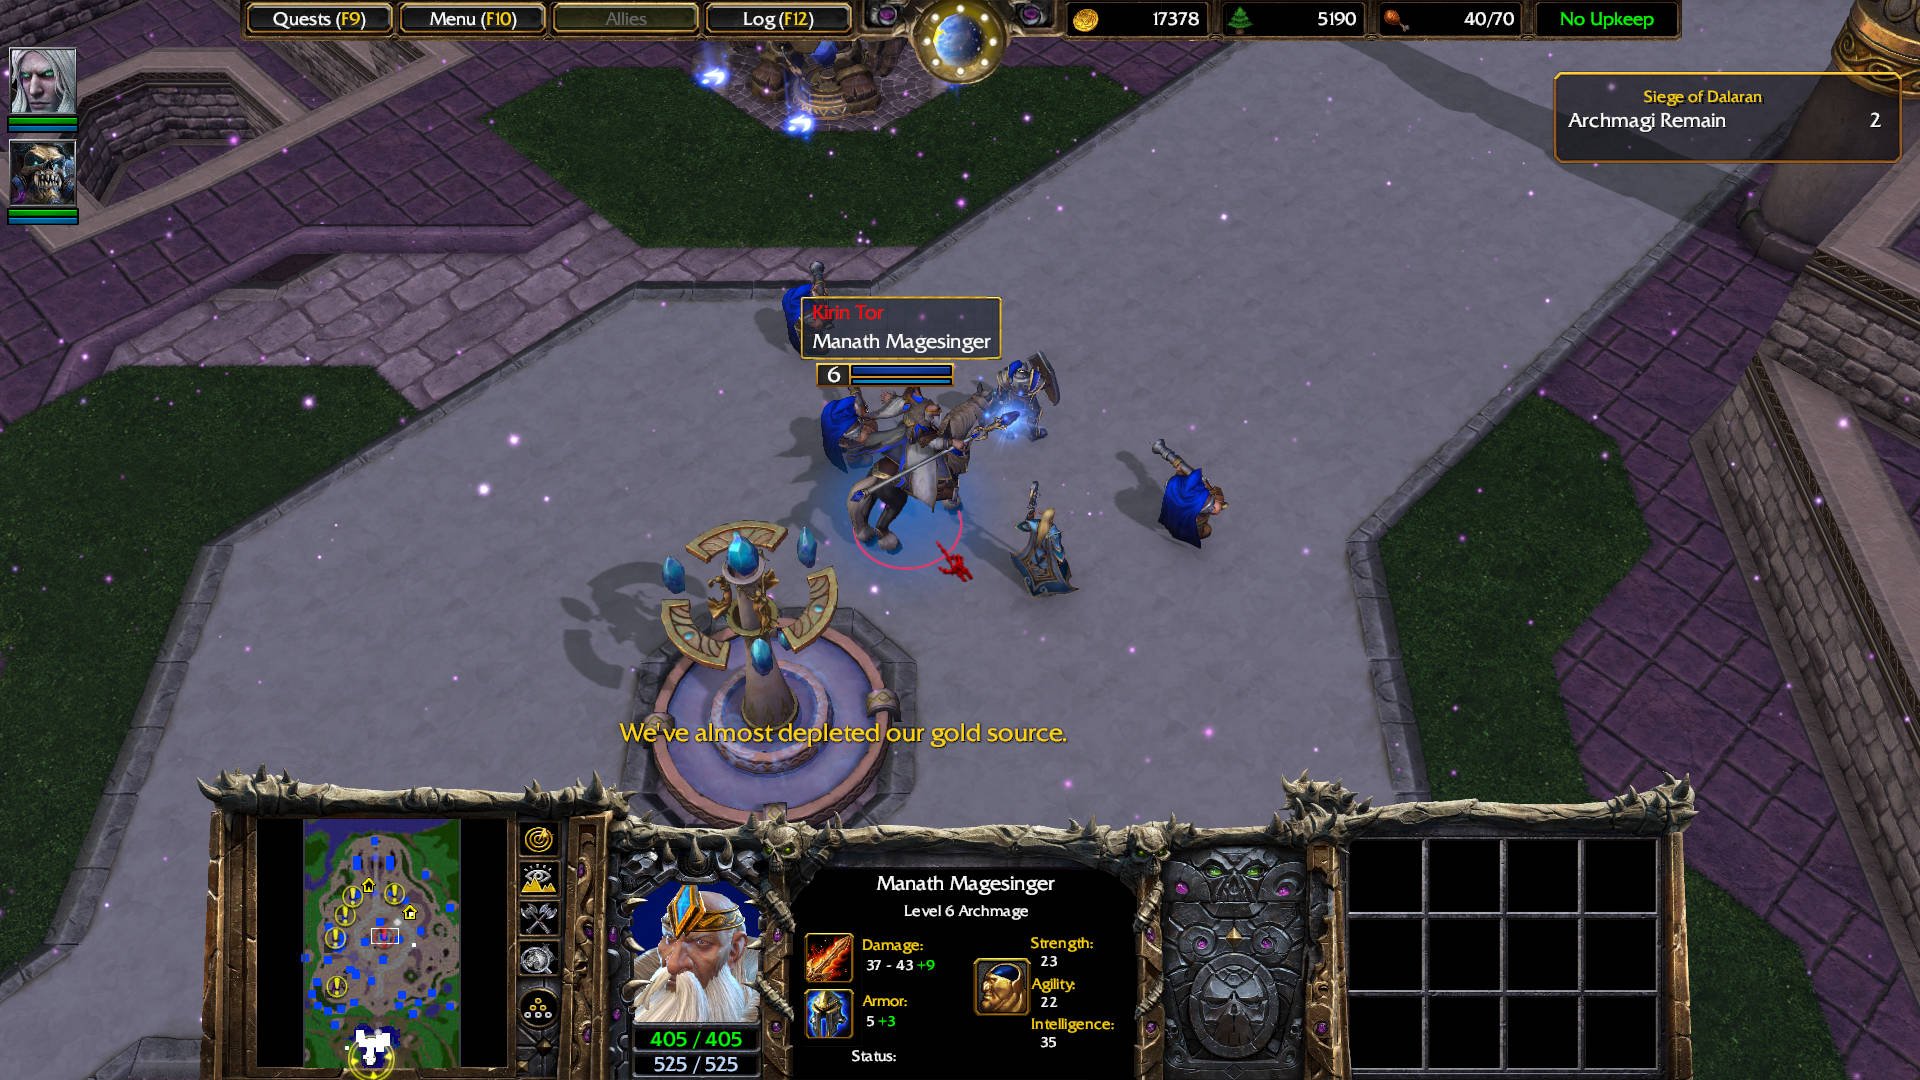
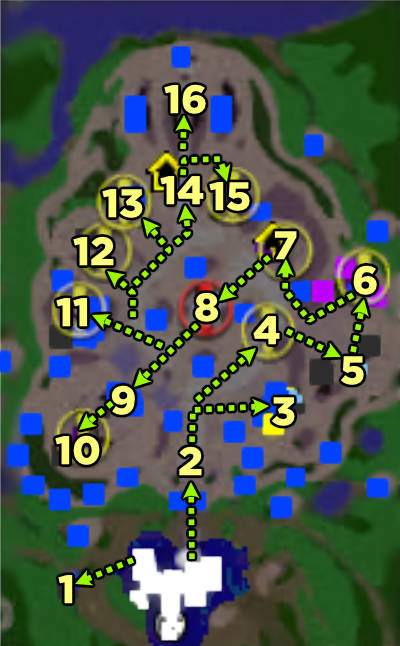
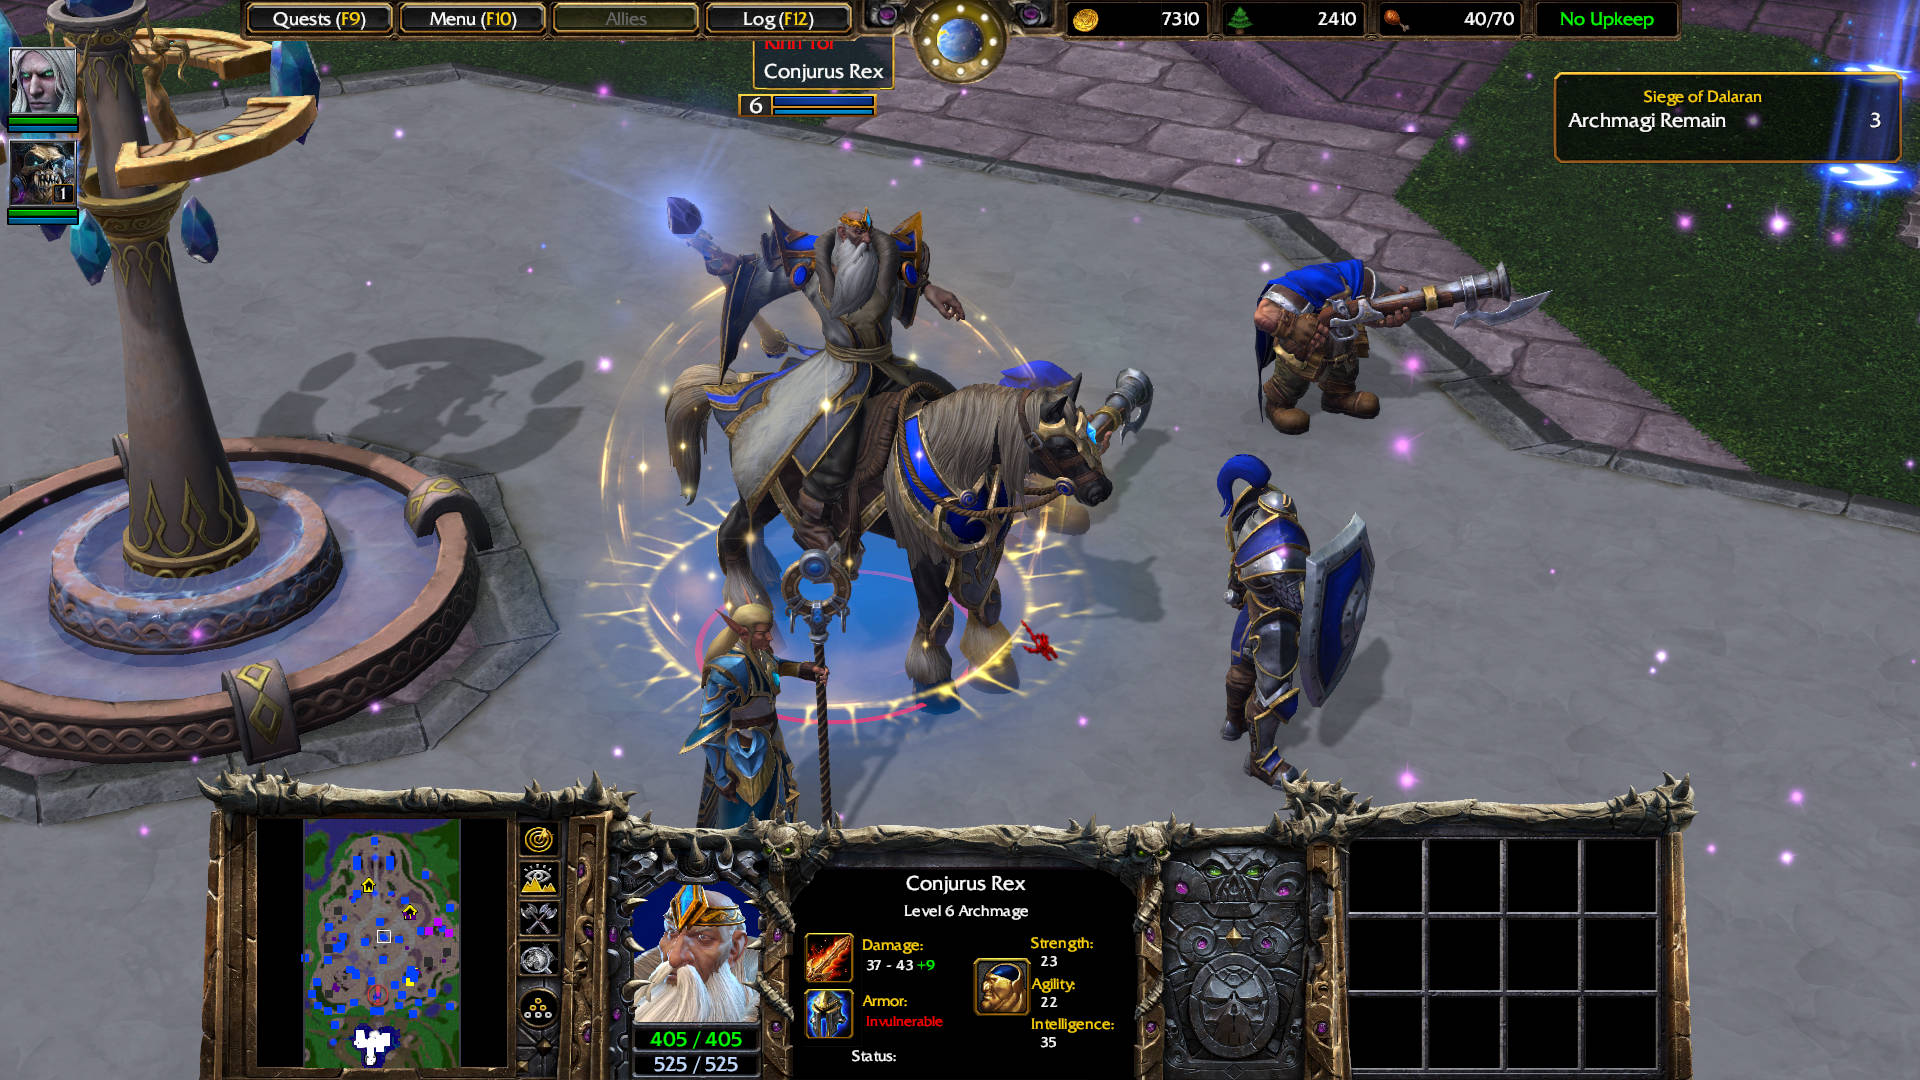
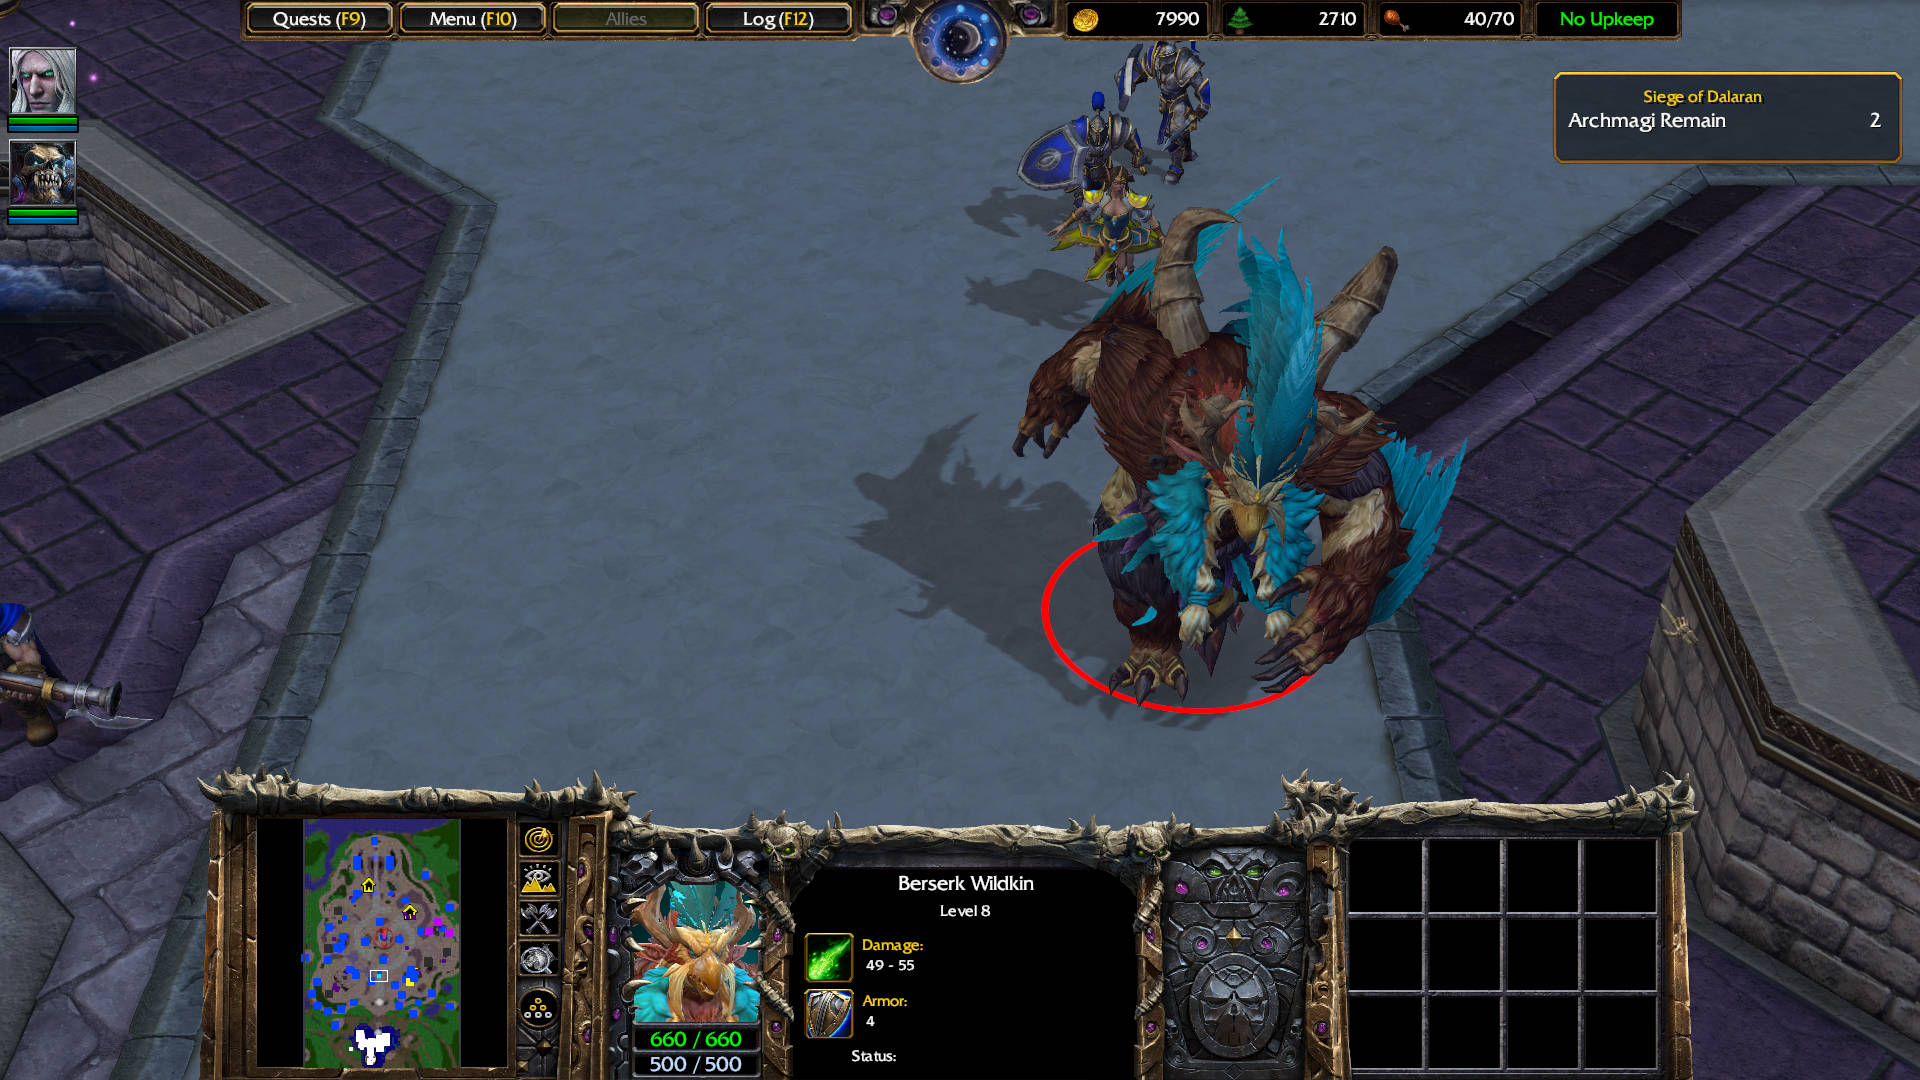
The first Archmage is located west of the main base. All archmage names are random generated from a list of about 14 archmages, and they will spawn in different locations per mission. Kill the Archmage. He drops Health Stone: Increases the life regeneration rate of the Hero by 1 hit point per sec when worn. Can be consumed for 500 health.
Destroy the tent behind that Archmage. It drops Anti-magic Potion: Gives the Hero immunity to magical spells for 15 sec.
Select the Ziggurat north of the Slaughterhouse. Upgrade to Spirit Tower (T).
Build 2 Gargoyles (A) — one in both Crypts.
Build a Meat Wagon (M).
Select 3 of the existing Ziggurats and upgrade them to Spirit Tower (T).
Select the Graveyard. Upgrade to Unholy Armor (U): Increases the armor of Ghouls, and Abominations.
Destroy these two Dalaran Guard Towers.
NOTE: You are against the clock. The moment you entered this area, your units are under the effects of an aura that kills your units slowly at a rate of 12+ health per tick.
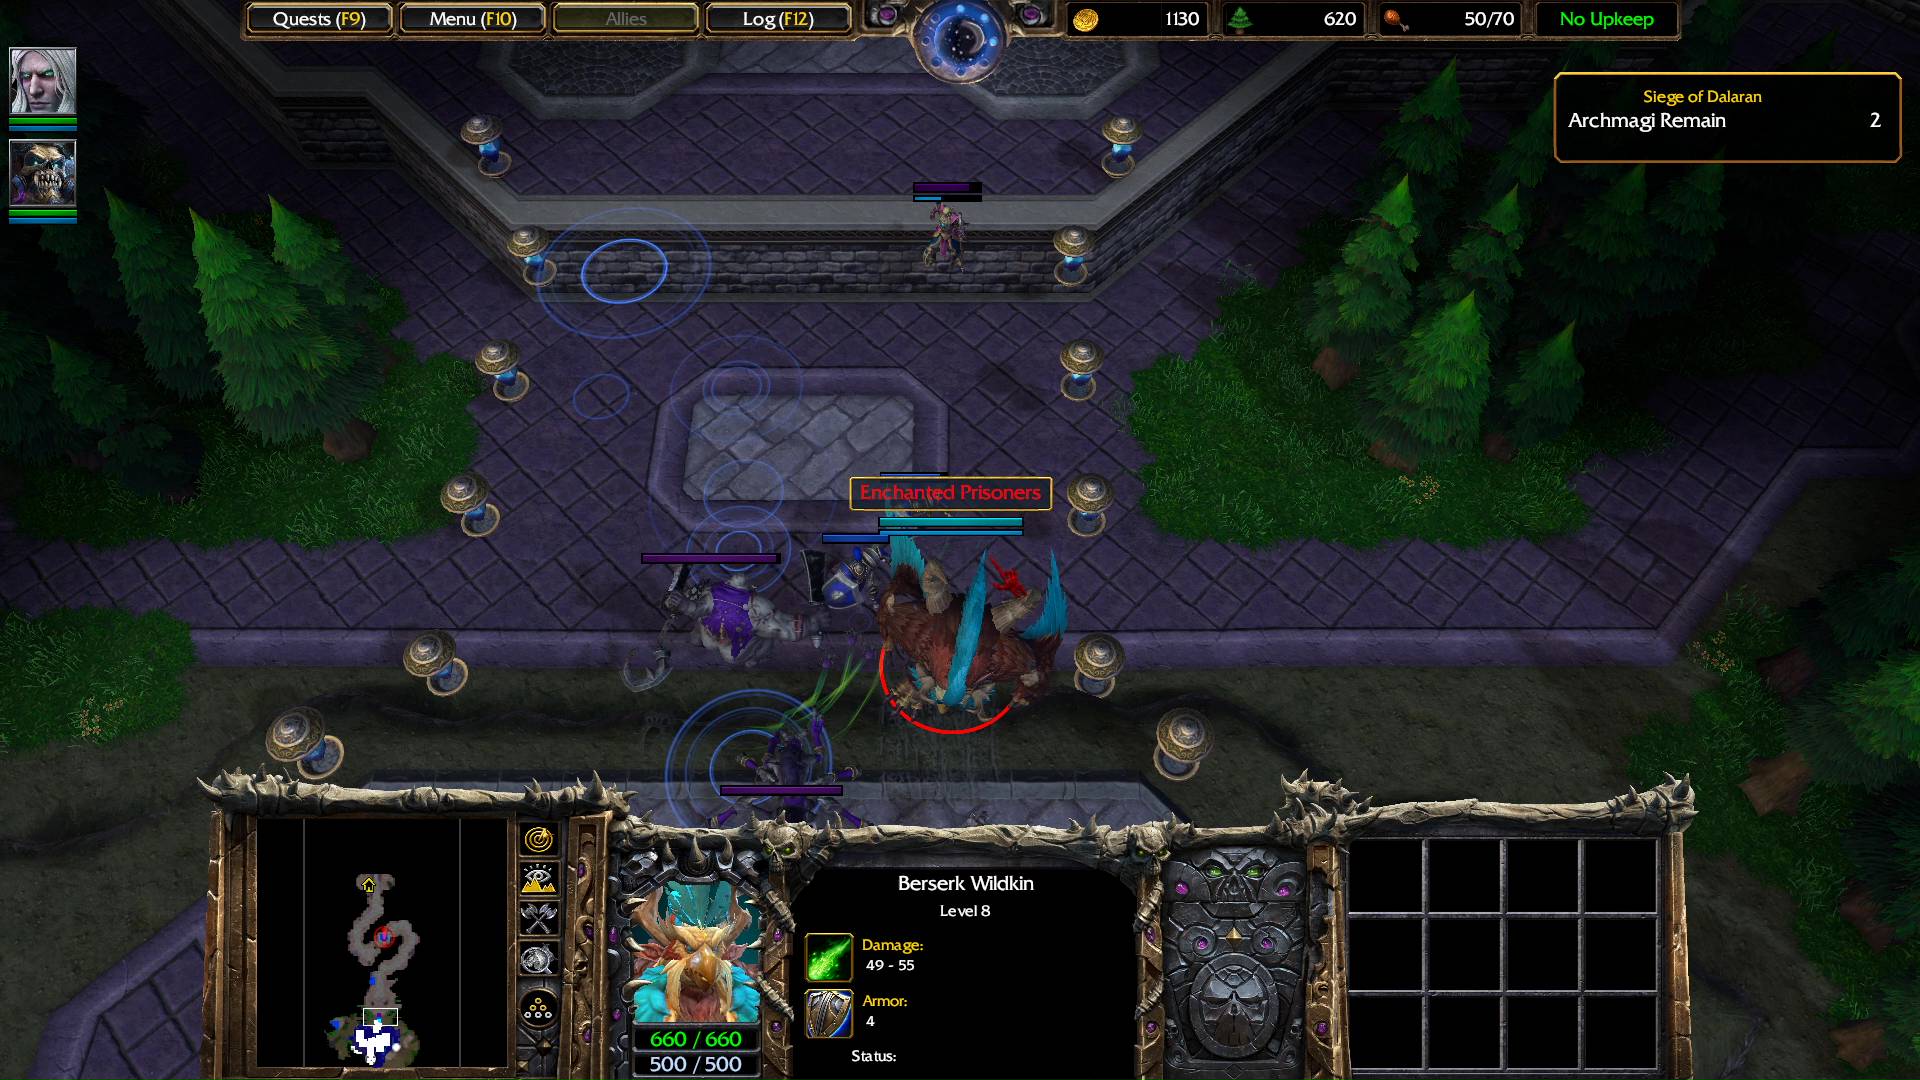
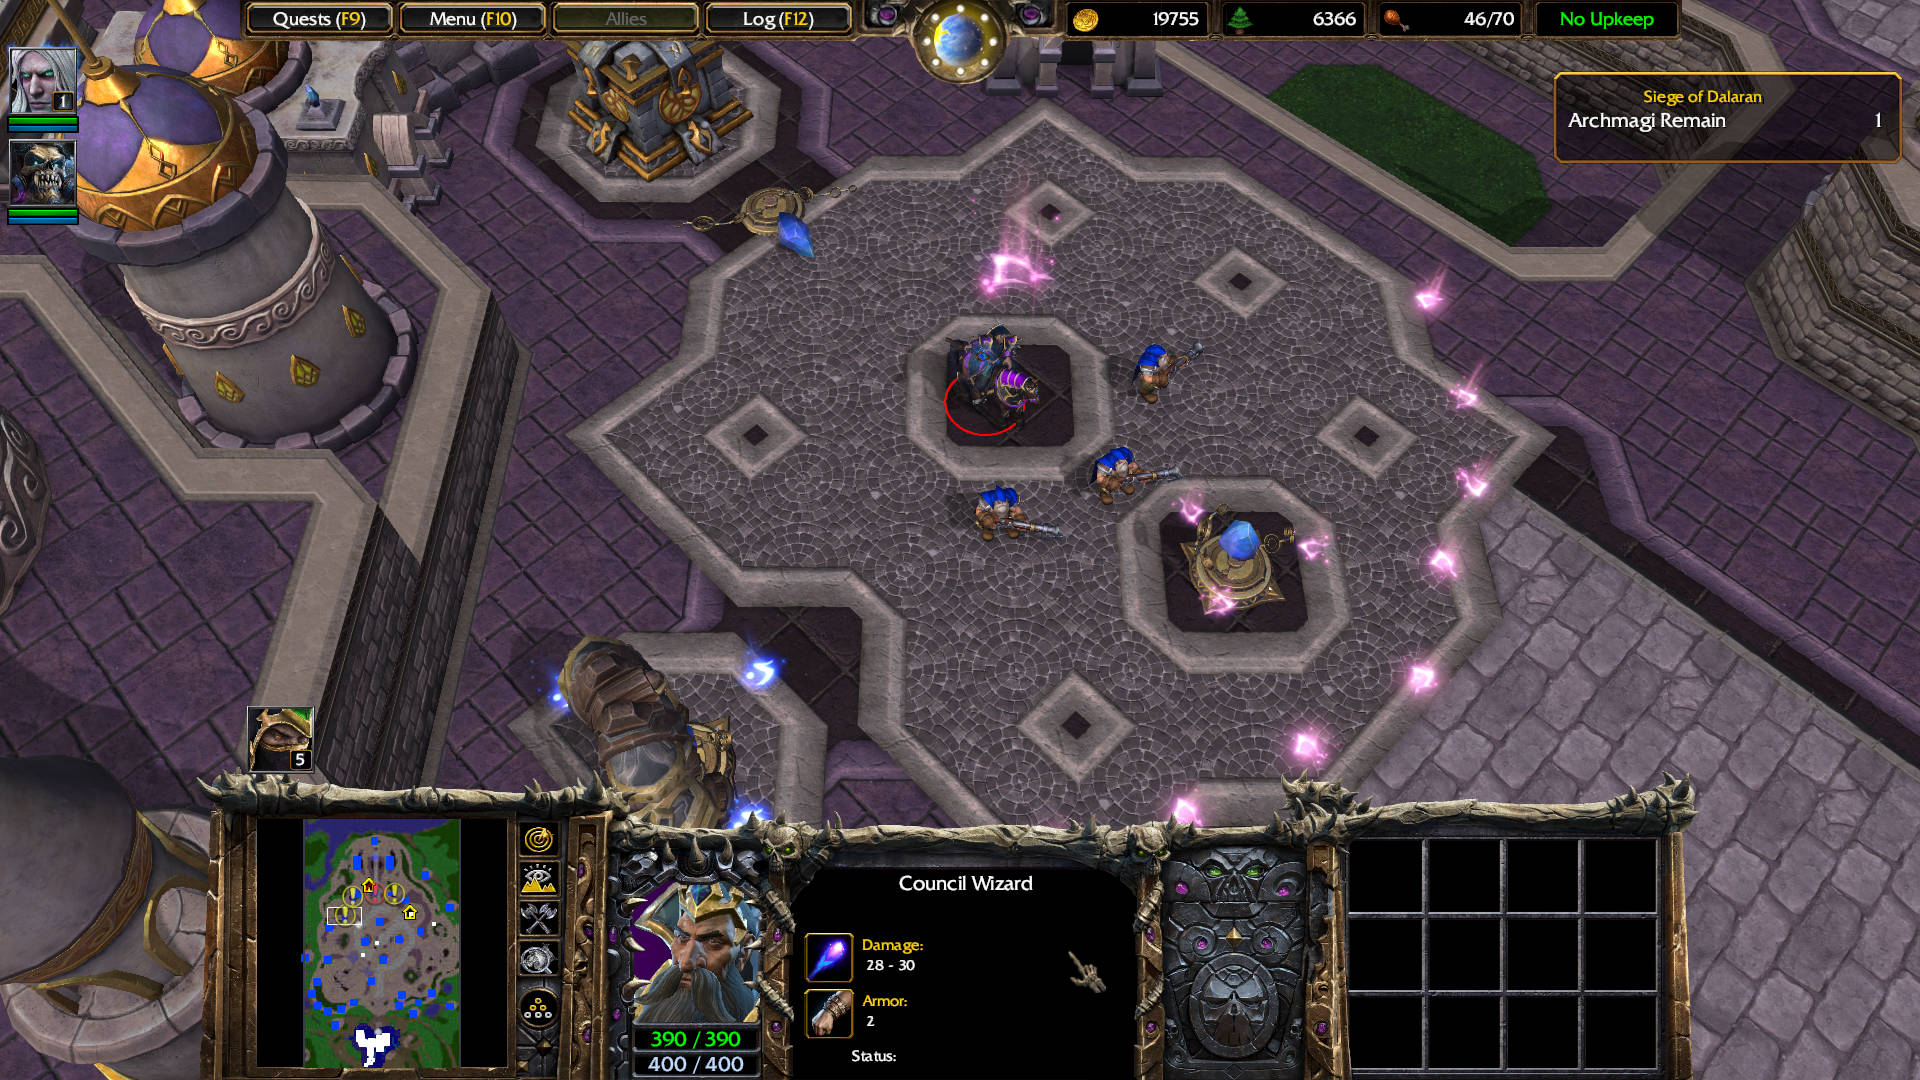
Kill the Priest first, then the Rifleman, the Captain, the Footman, and the first Archmage holding the magic aura up (It will be a different archmage each time you play this mission). The archmage drops Rune of Restoration: Restores hit points and mana to nearby units.
Kel’Thuzad: The archmage has been killed! The first aura is dispersing!
The first archmage dead, his aura no longer protects this area. The red area is still under the aura.
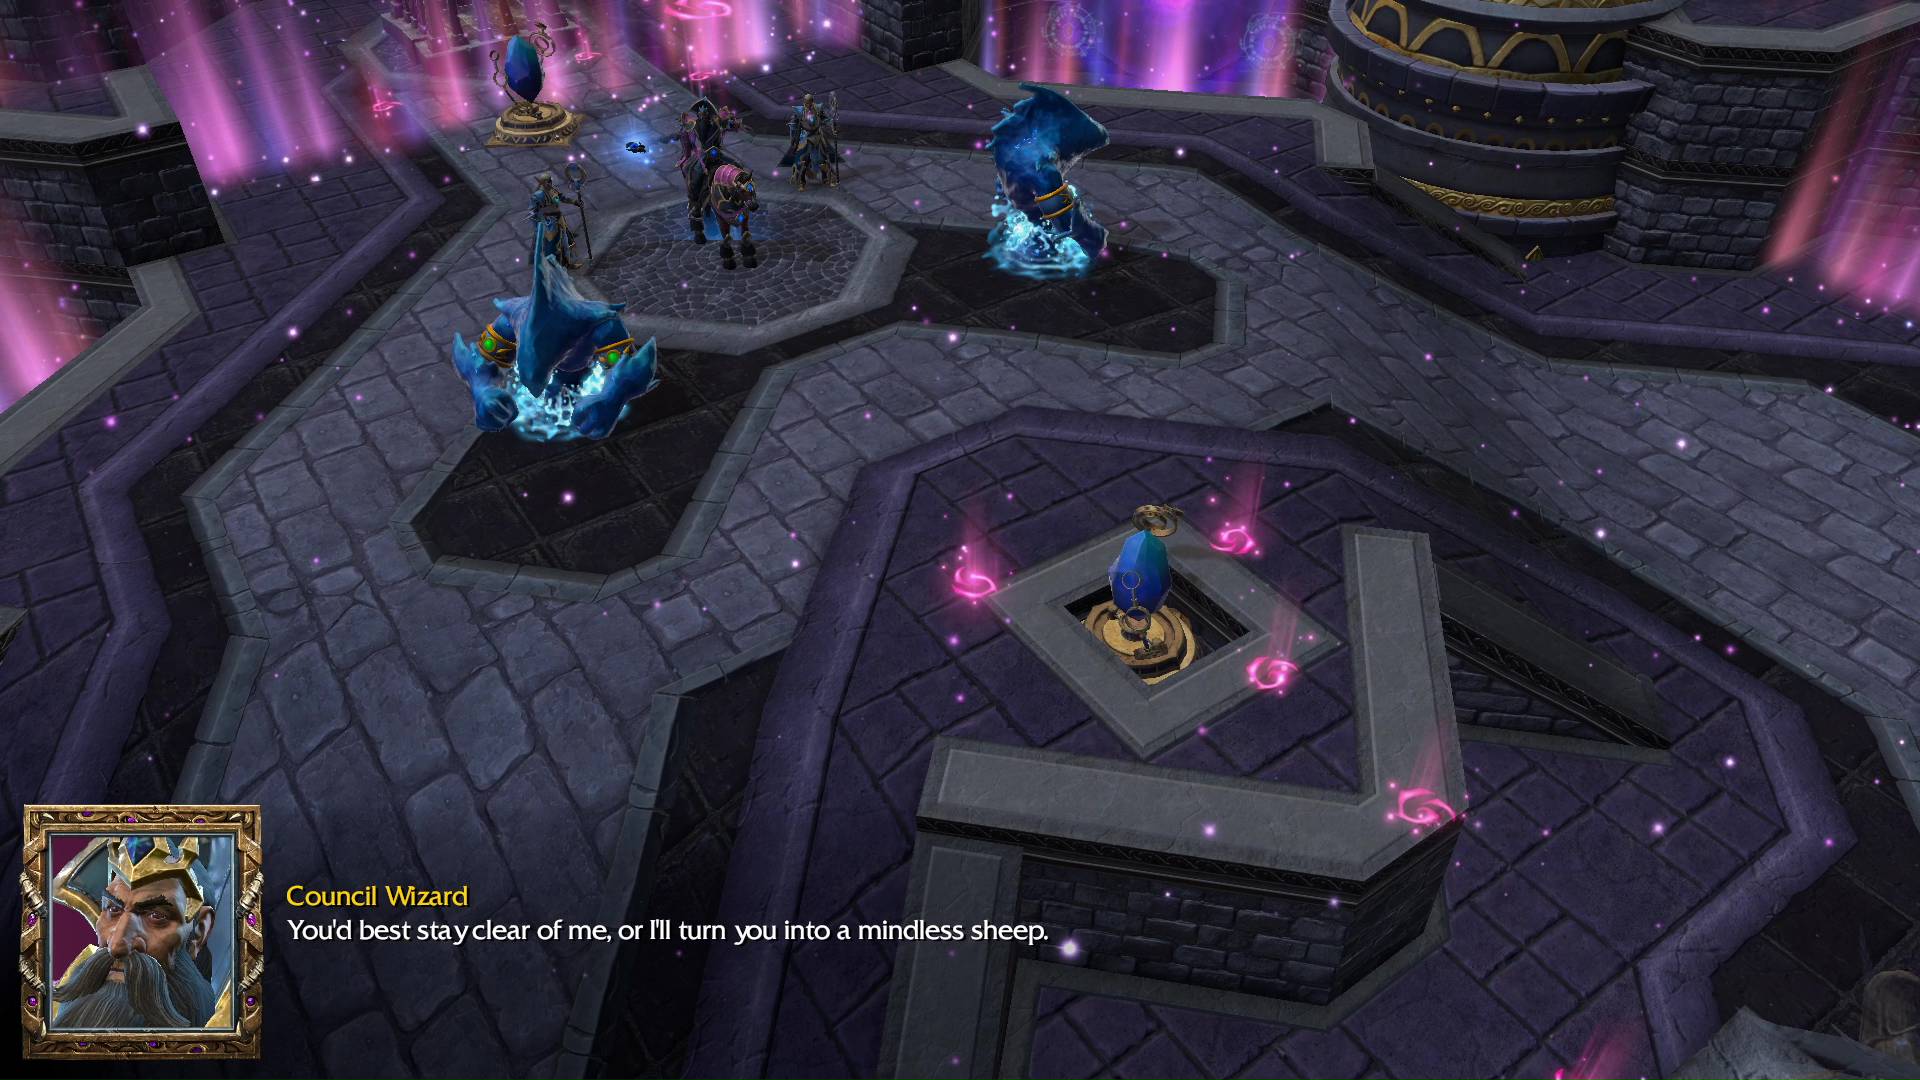
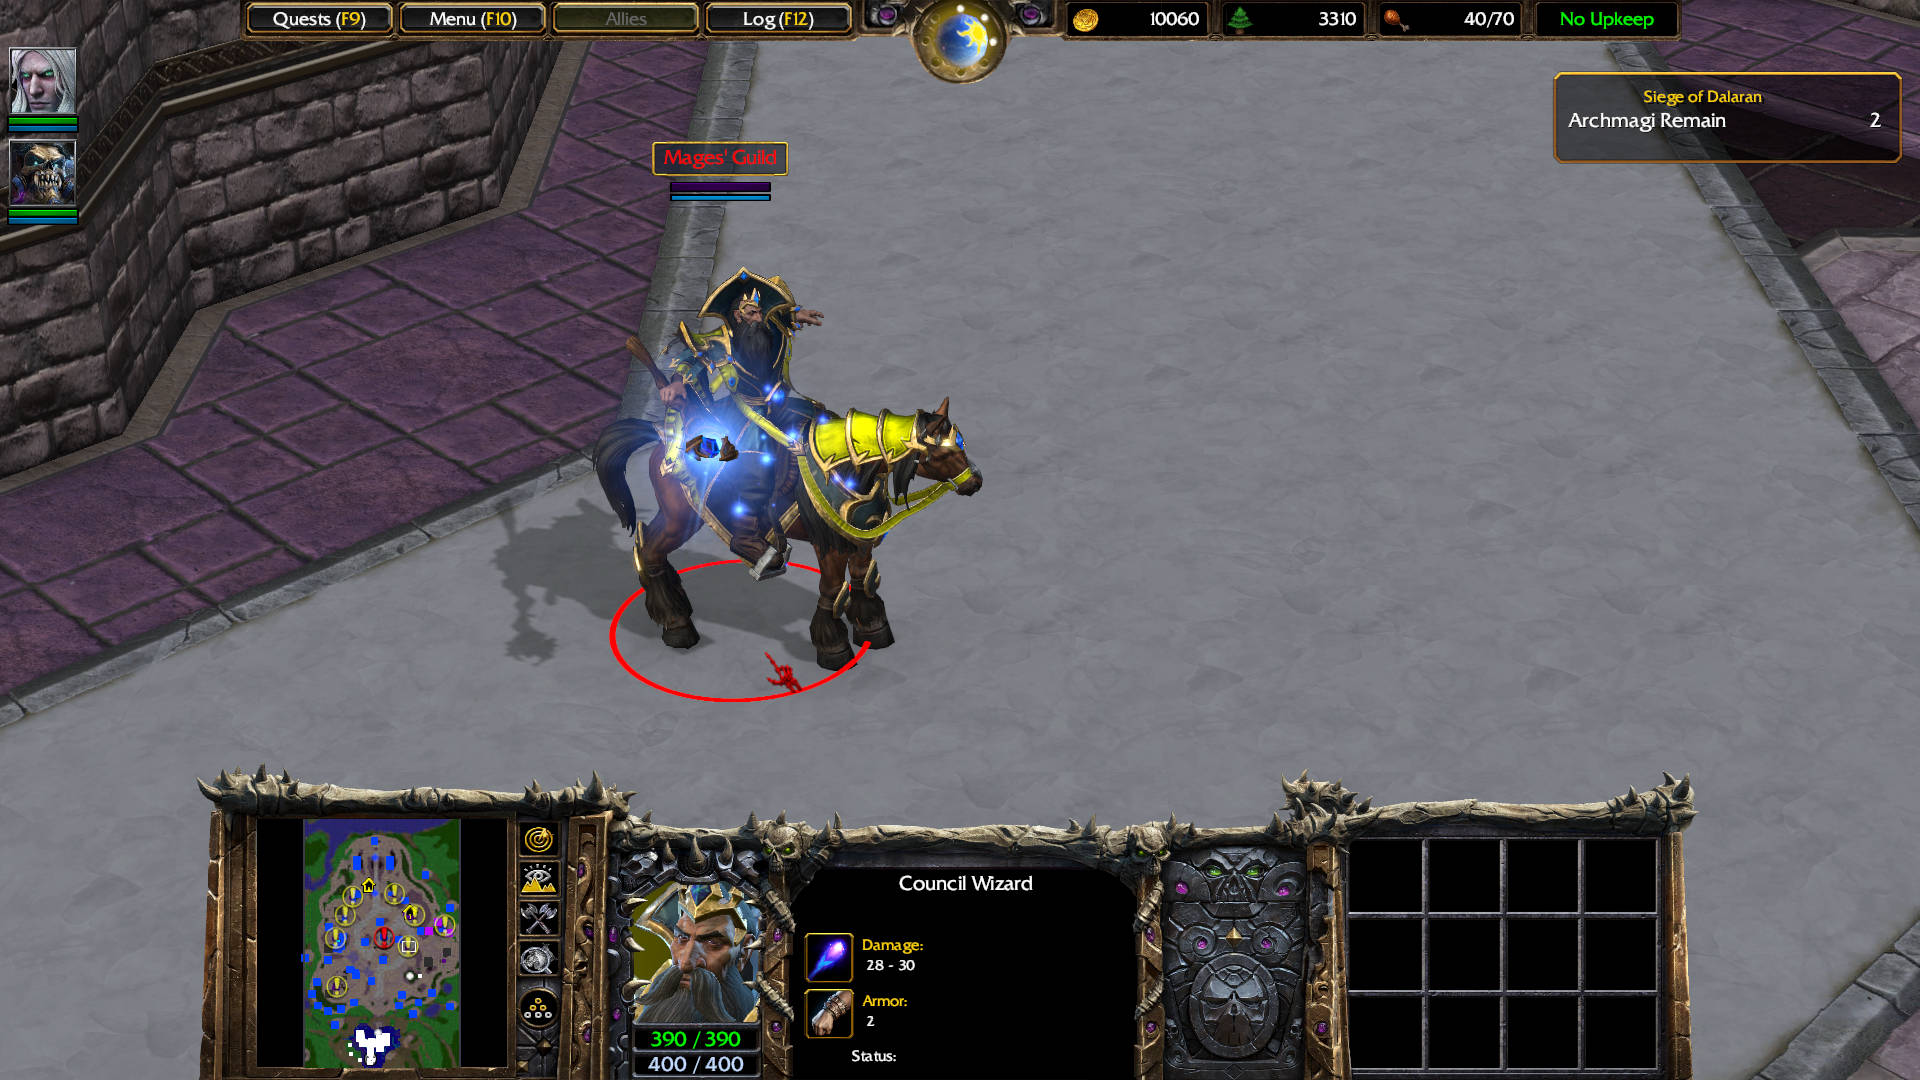
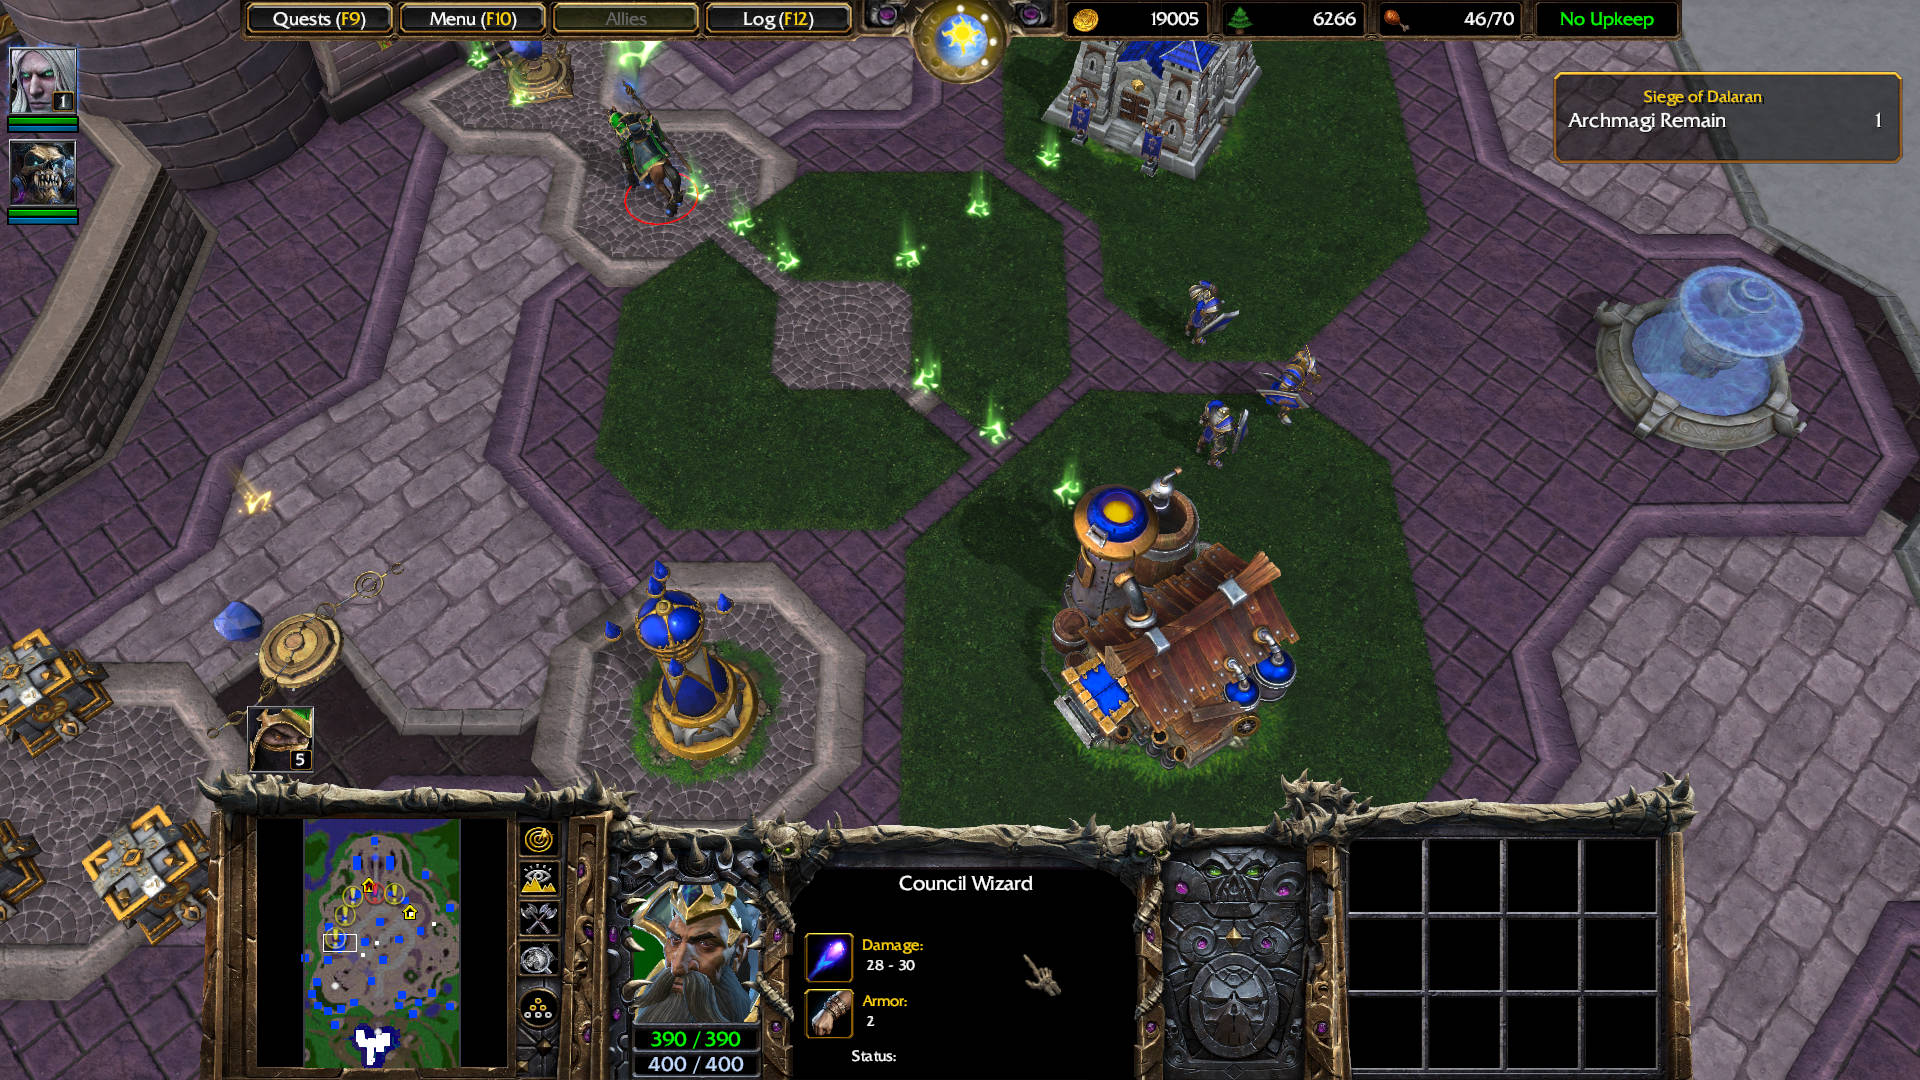
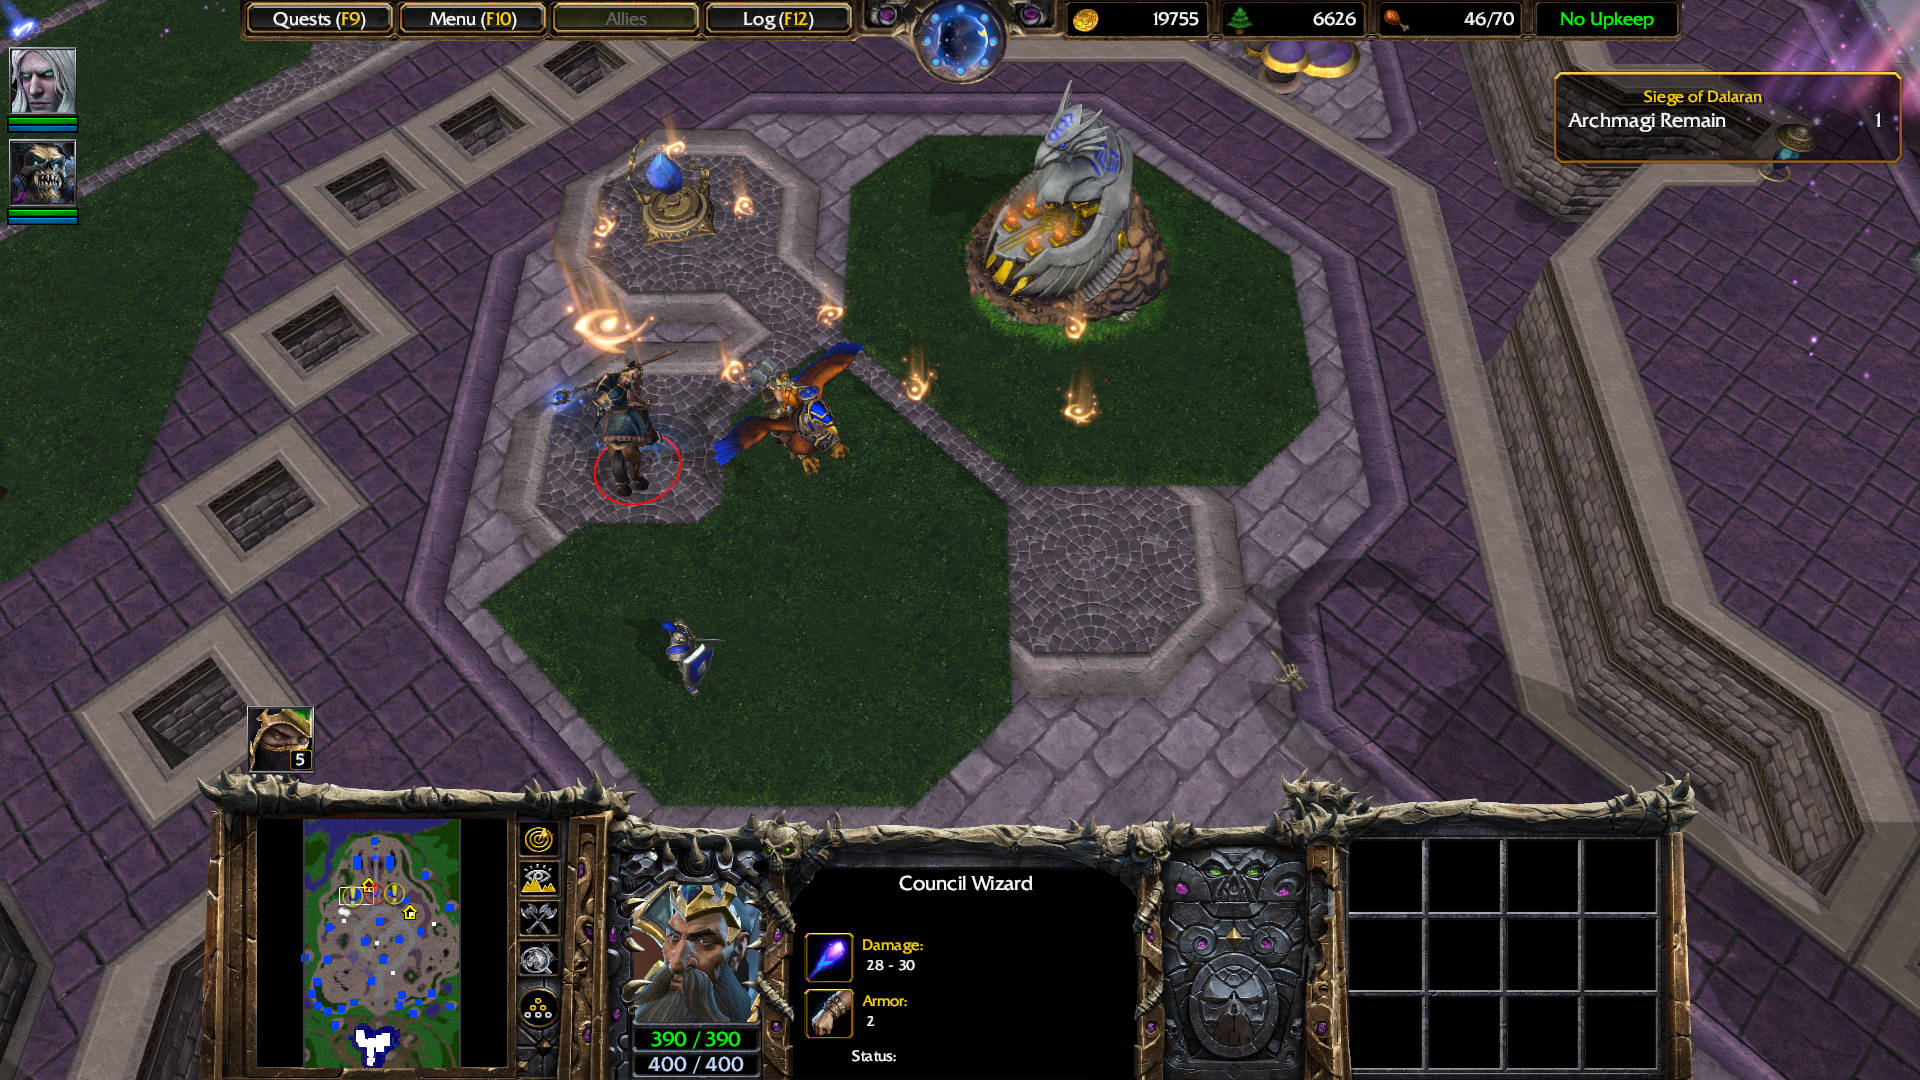
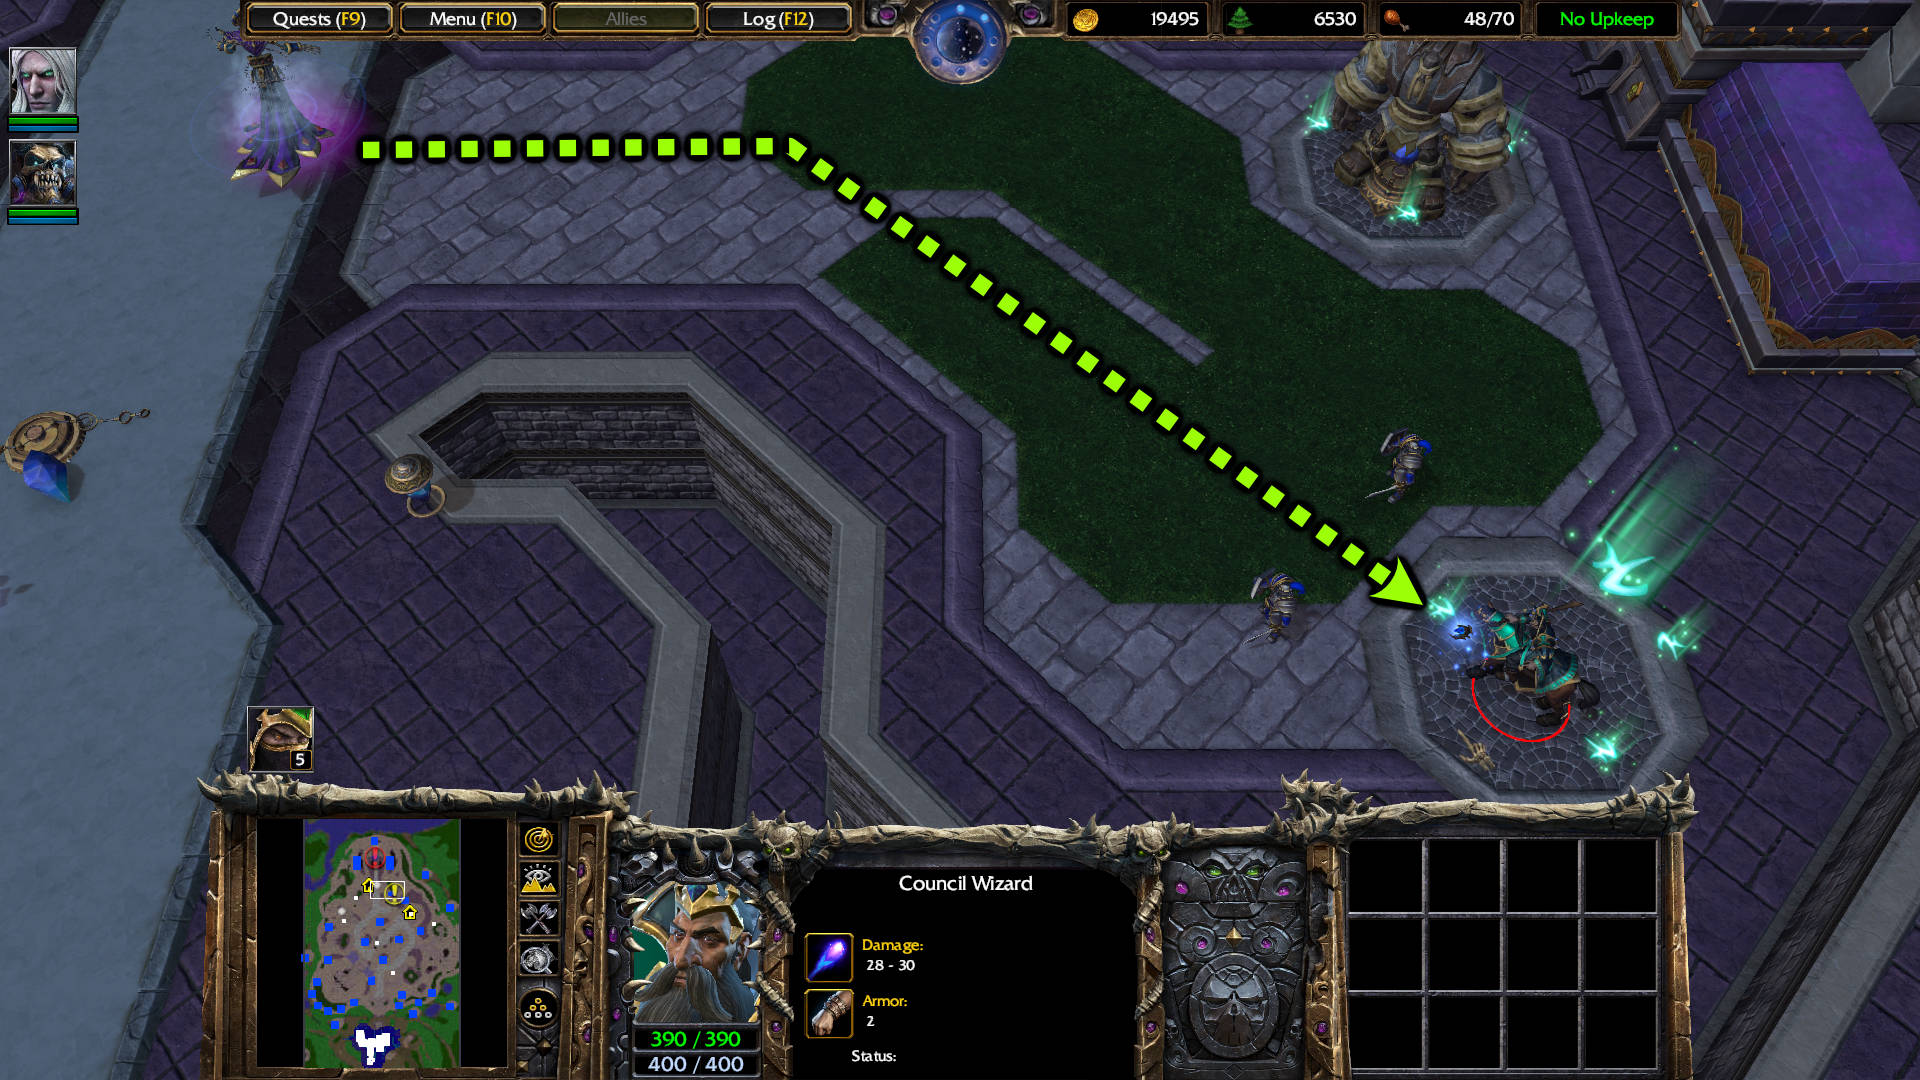
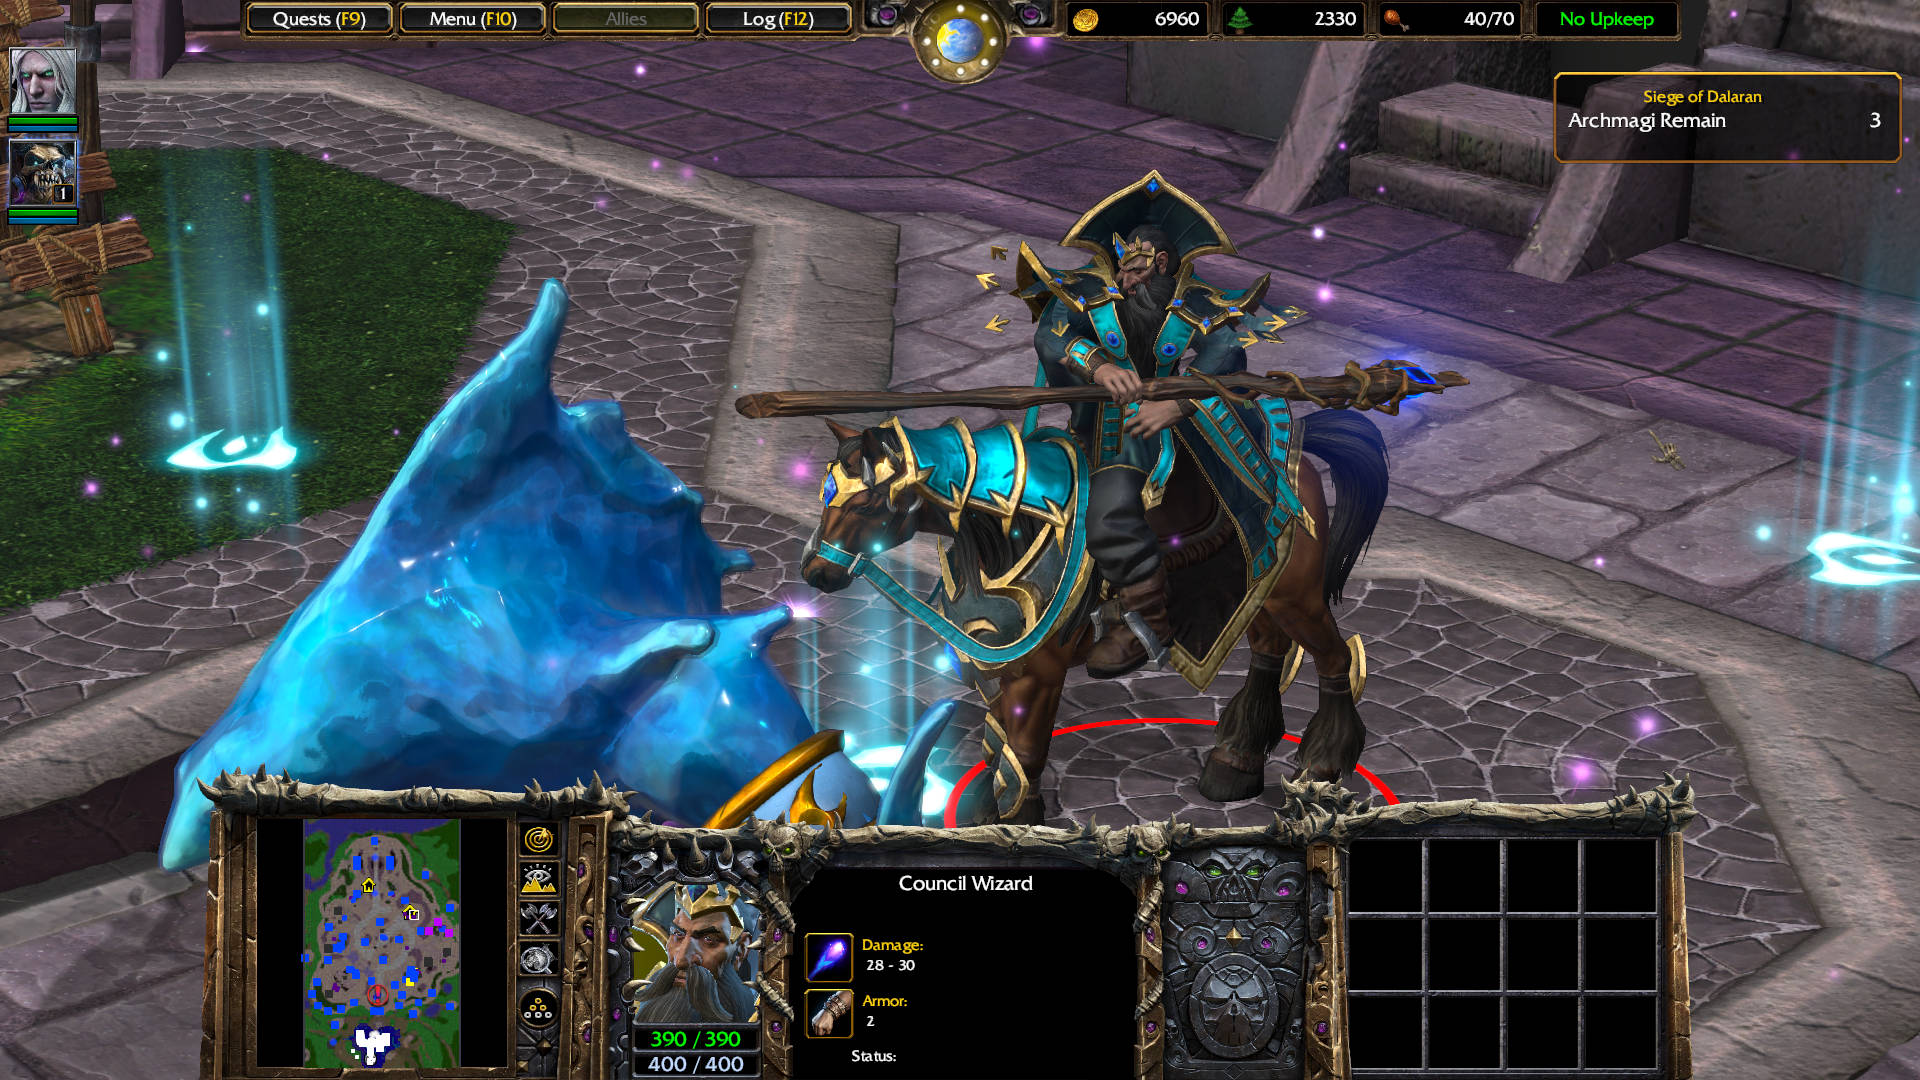
Council Wizard: You’d best stay clear of me, or I’ll turn you into a mindless sheep.
Select the Slaughterhouse. Research Disease Cloud (D): Gives Abominations and Meat Wagons’s attacks a Disease Cloud aura that deals 1 damage per sec for 120 sec to nearby enemy units.
Select the Crypt. Research Ghoul Frenzy (Z): Increases the attack rate of Ghouls by 25%, and increases their movement speed.
Research Web (W): Enables Crypt Fiends to use the Web ability. Web binds a target enemy air unit in webbing, forcing it to the ground. Webbed units can be hit as though they were land units.
Research Stone Form (S): Enables the ability for Gargoyles to assume Stone Form. Storm Form transforms the Gargoyle into a statue with high armor, spell immunity, and regeneration. The Gargoyle cannot attack in this form.
Kill this single Rifleman along the road.
Go east and kill these two Footmen and destroy the Dalaran Guard Tower.
Build a Meat Wagon (M).
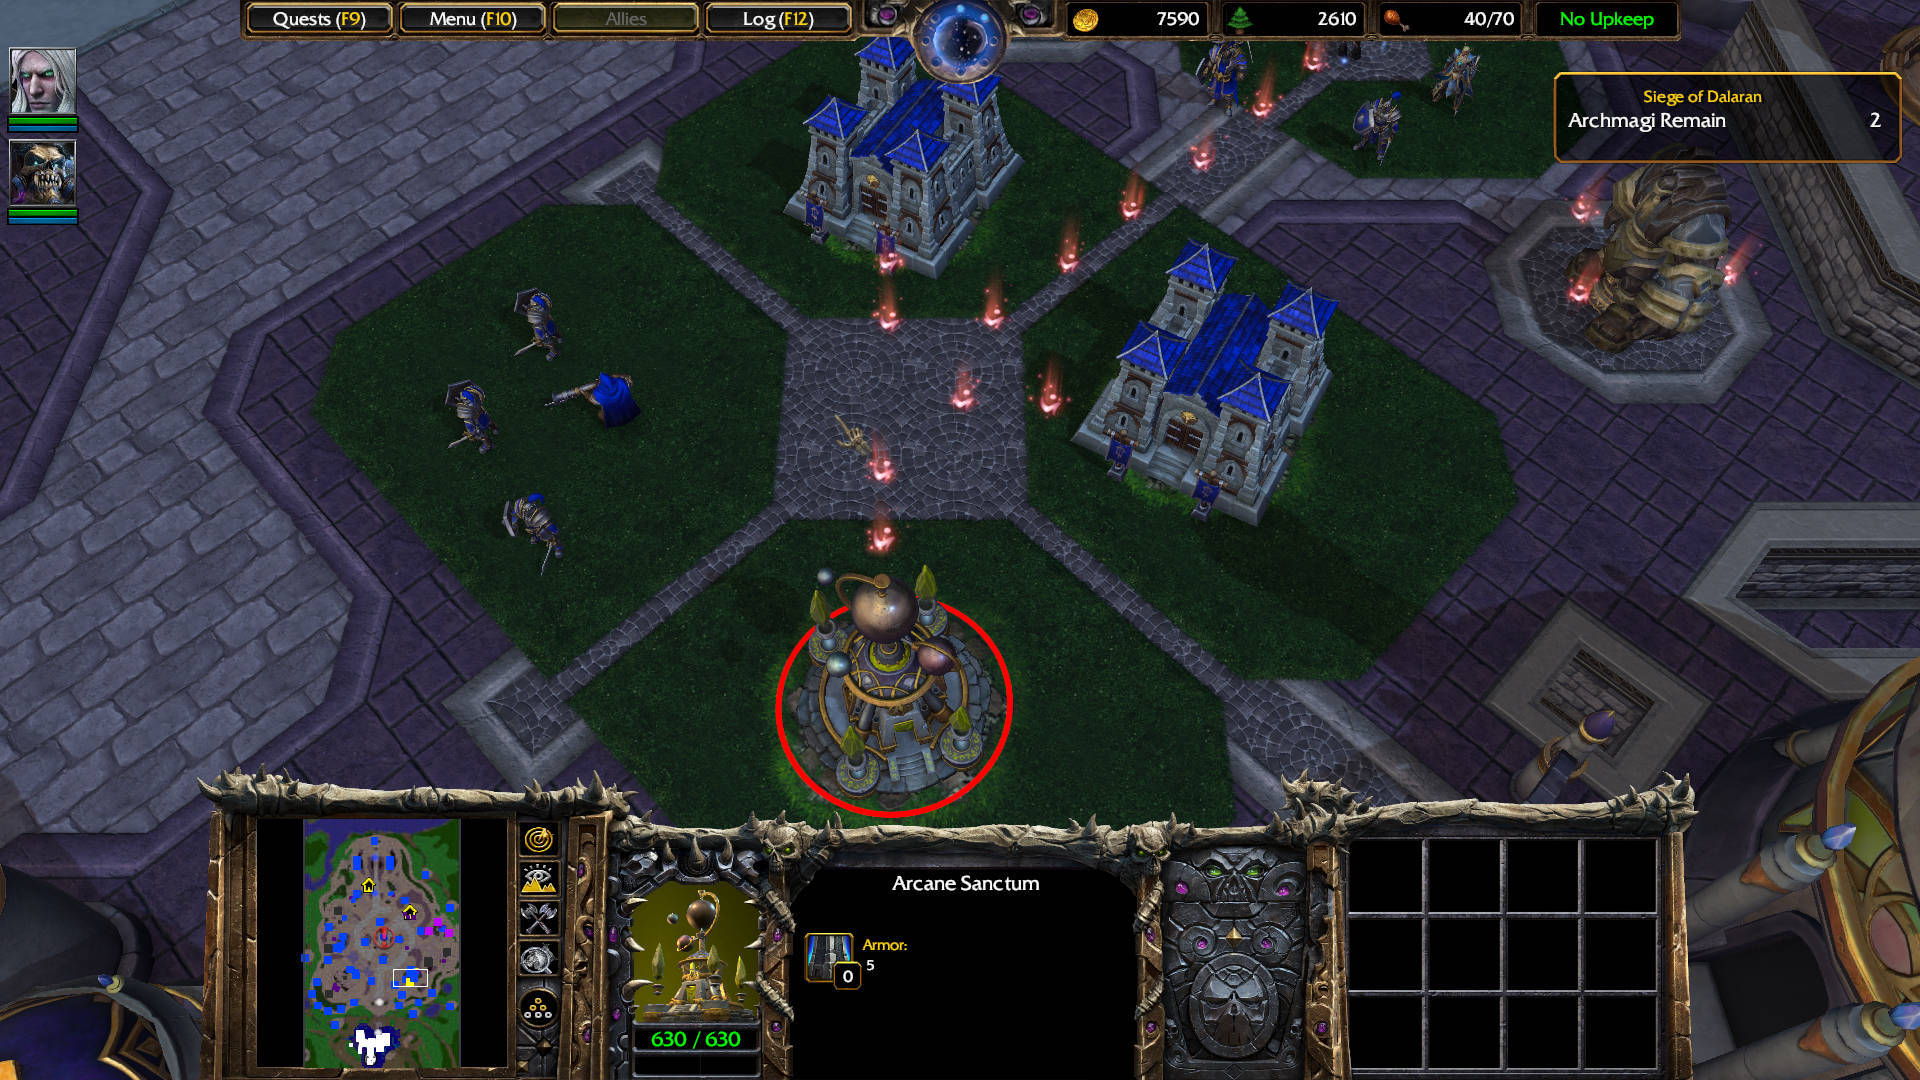
Further east, there is a group consisting of 3 Footman and 1 Rifleman. Destroy both Barracks and the Arcane Sanctum.
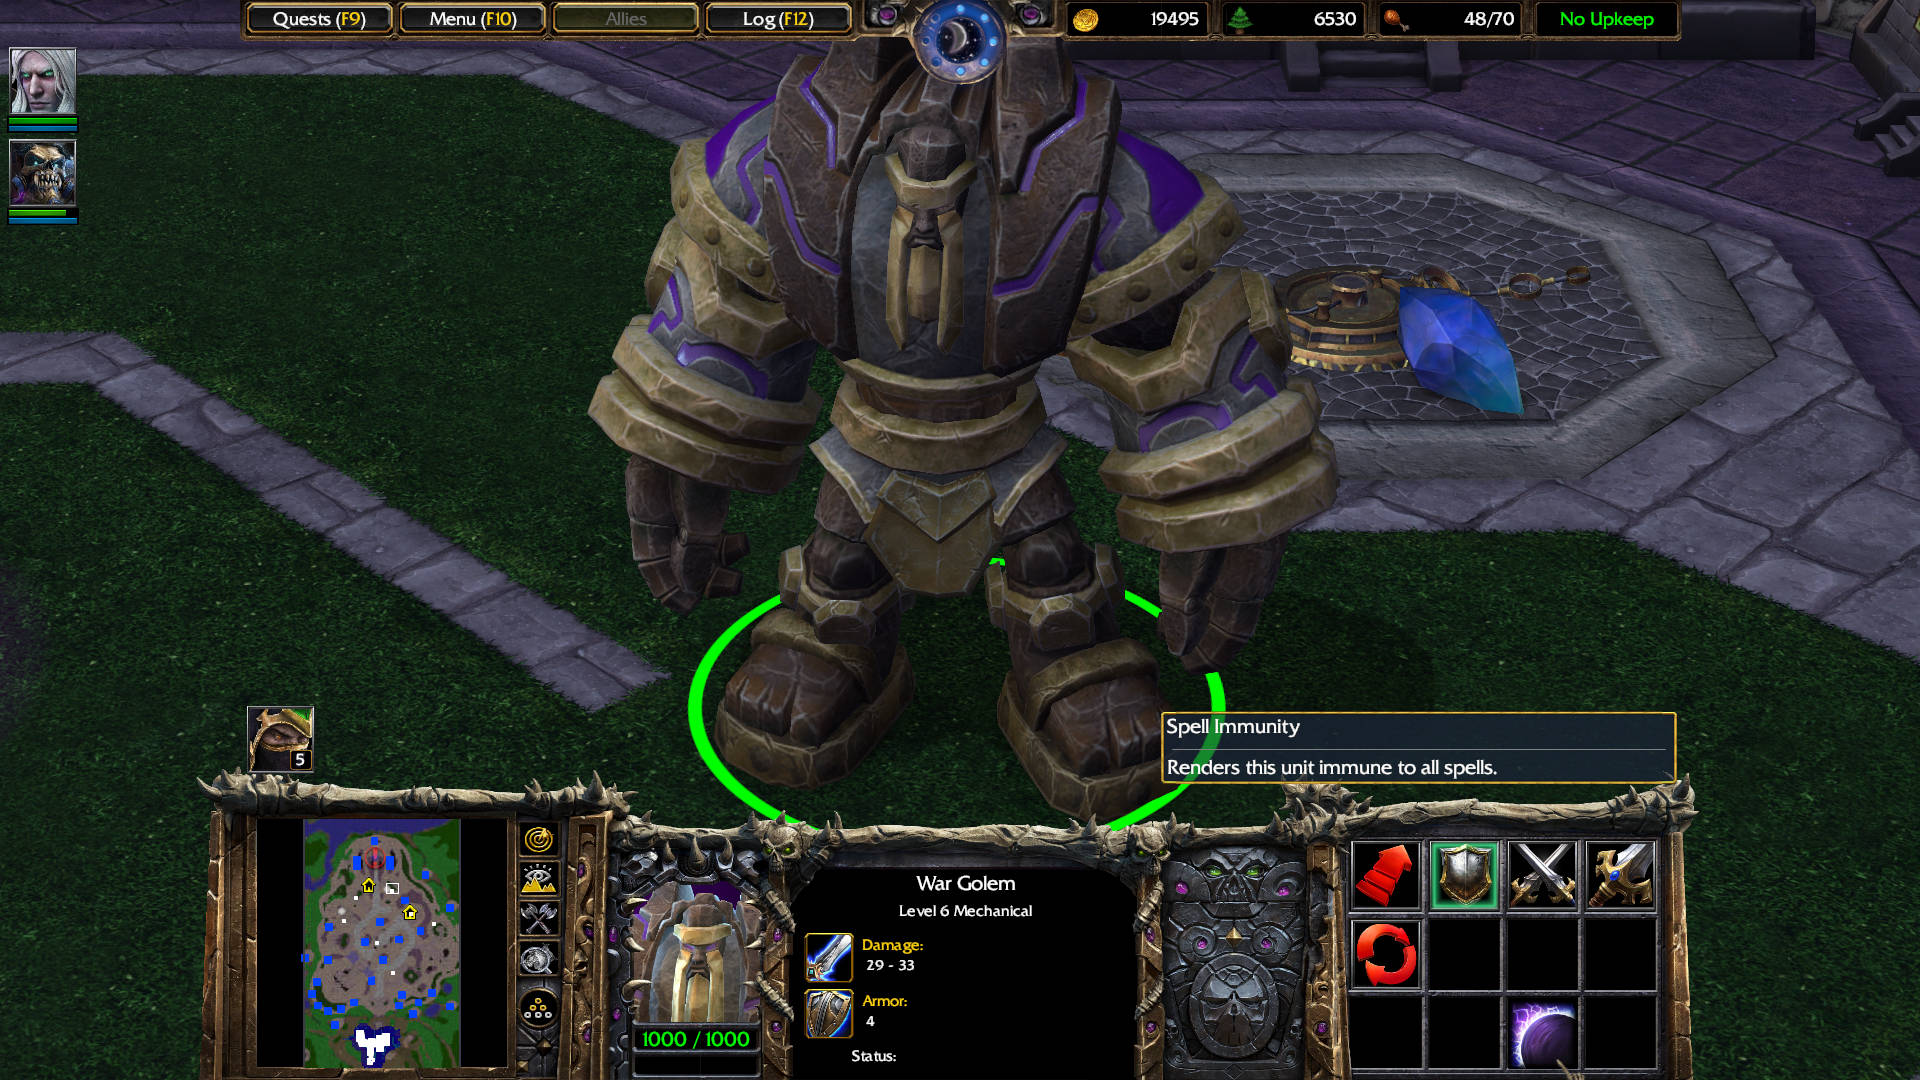
To the northeast, there is a Mage’s Guild Council Wizard, a Captain, 2 Footmen, a massive War Golem level 6, a Sorceress, and a Priest. Kill the Priest first, then the Sorceress, and move on to the other units. The Council Wizard drops a Rune of Healing: Restores hit points to nearby units.
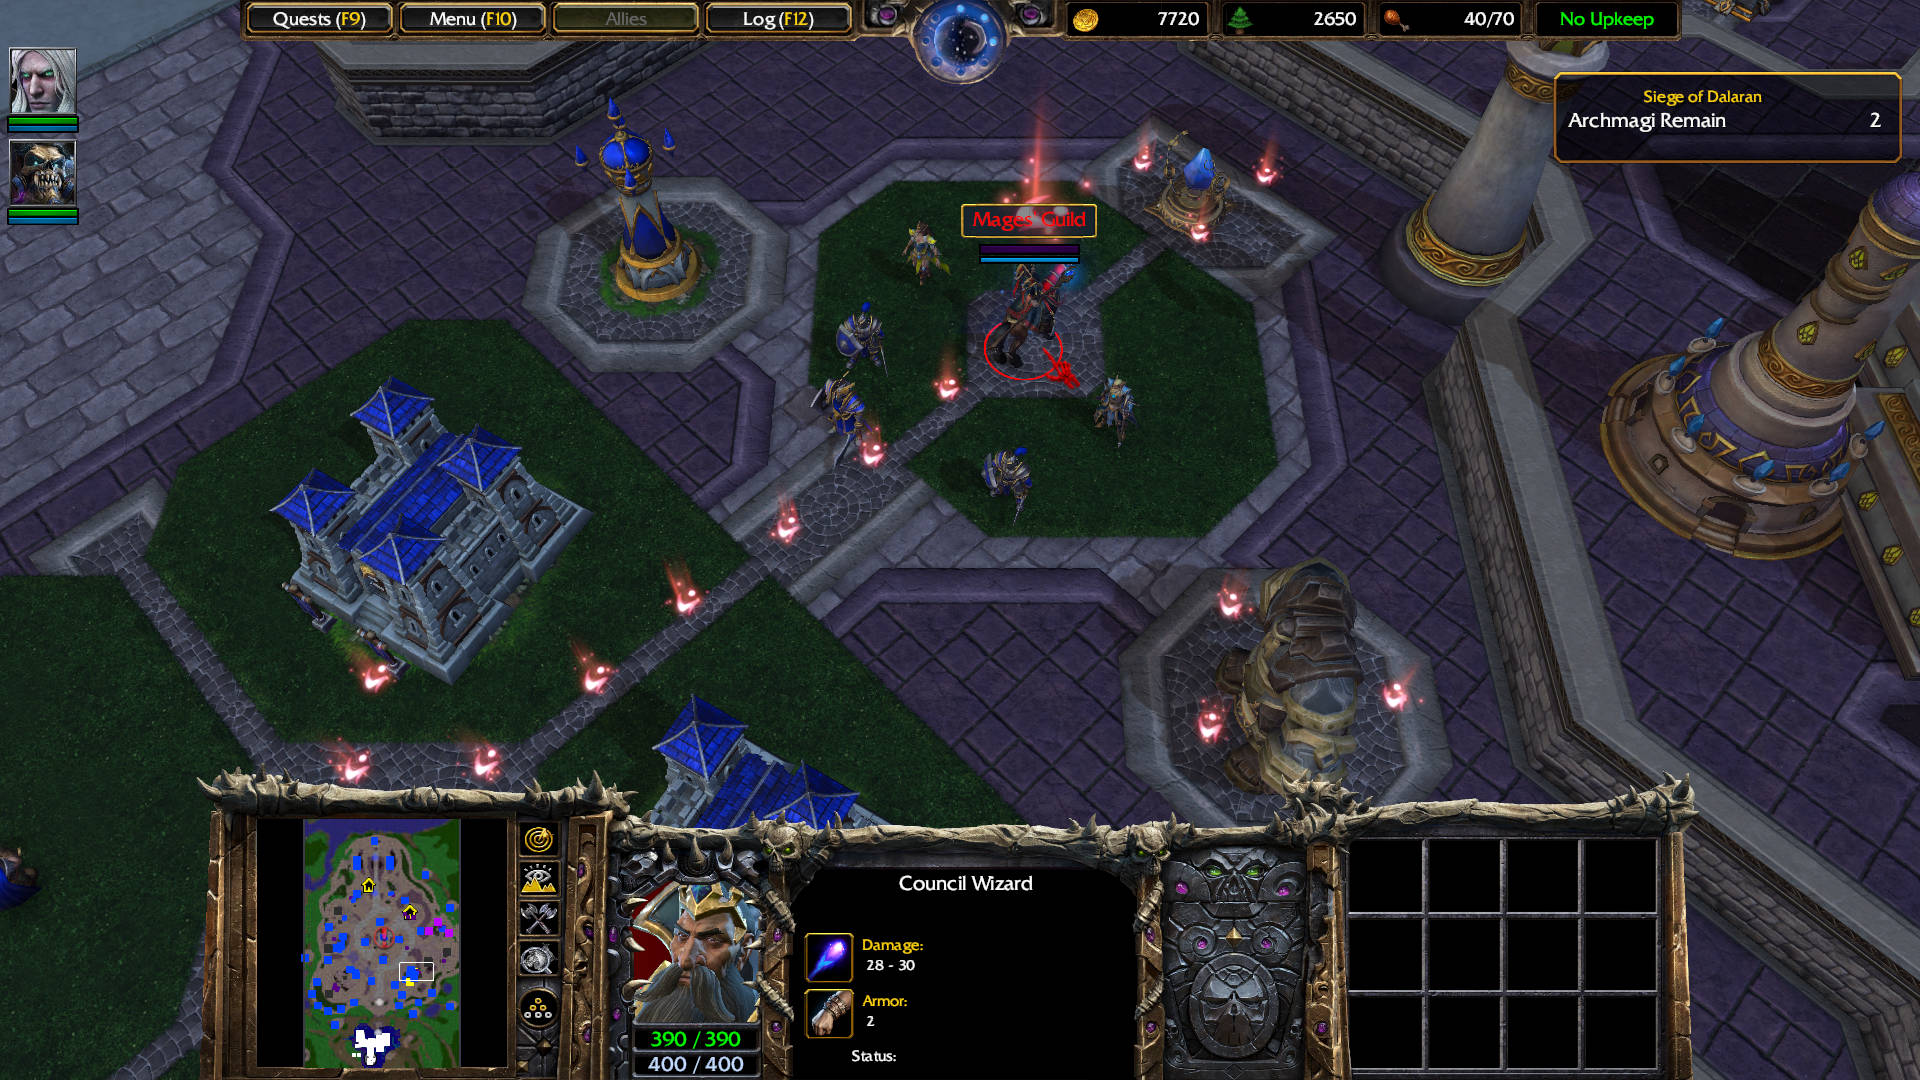
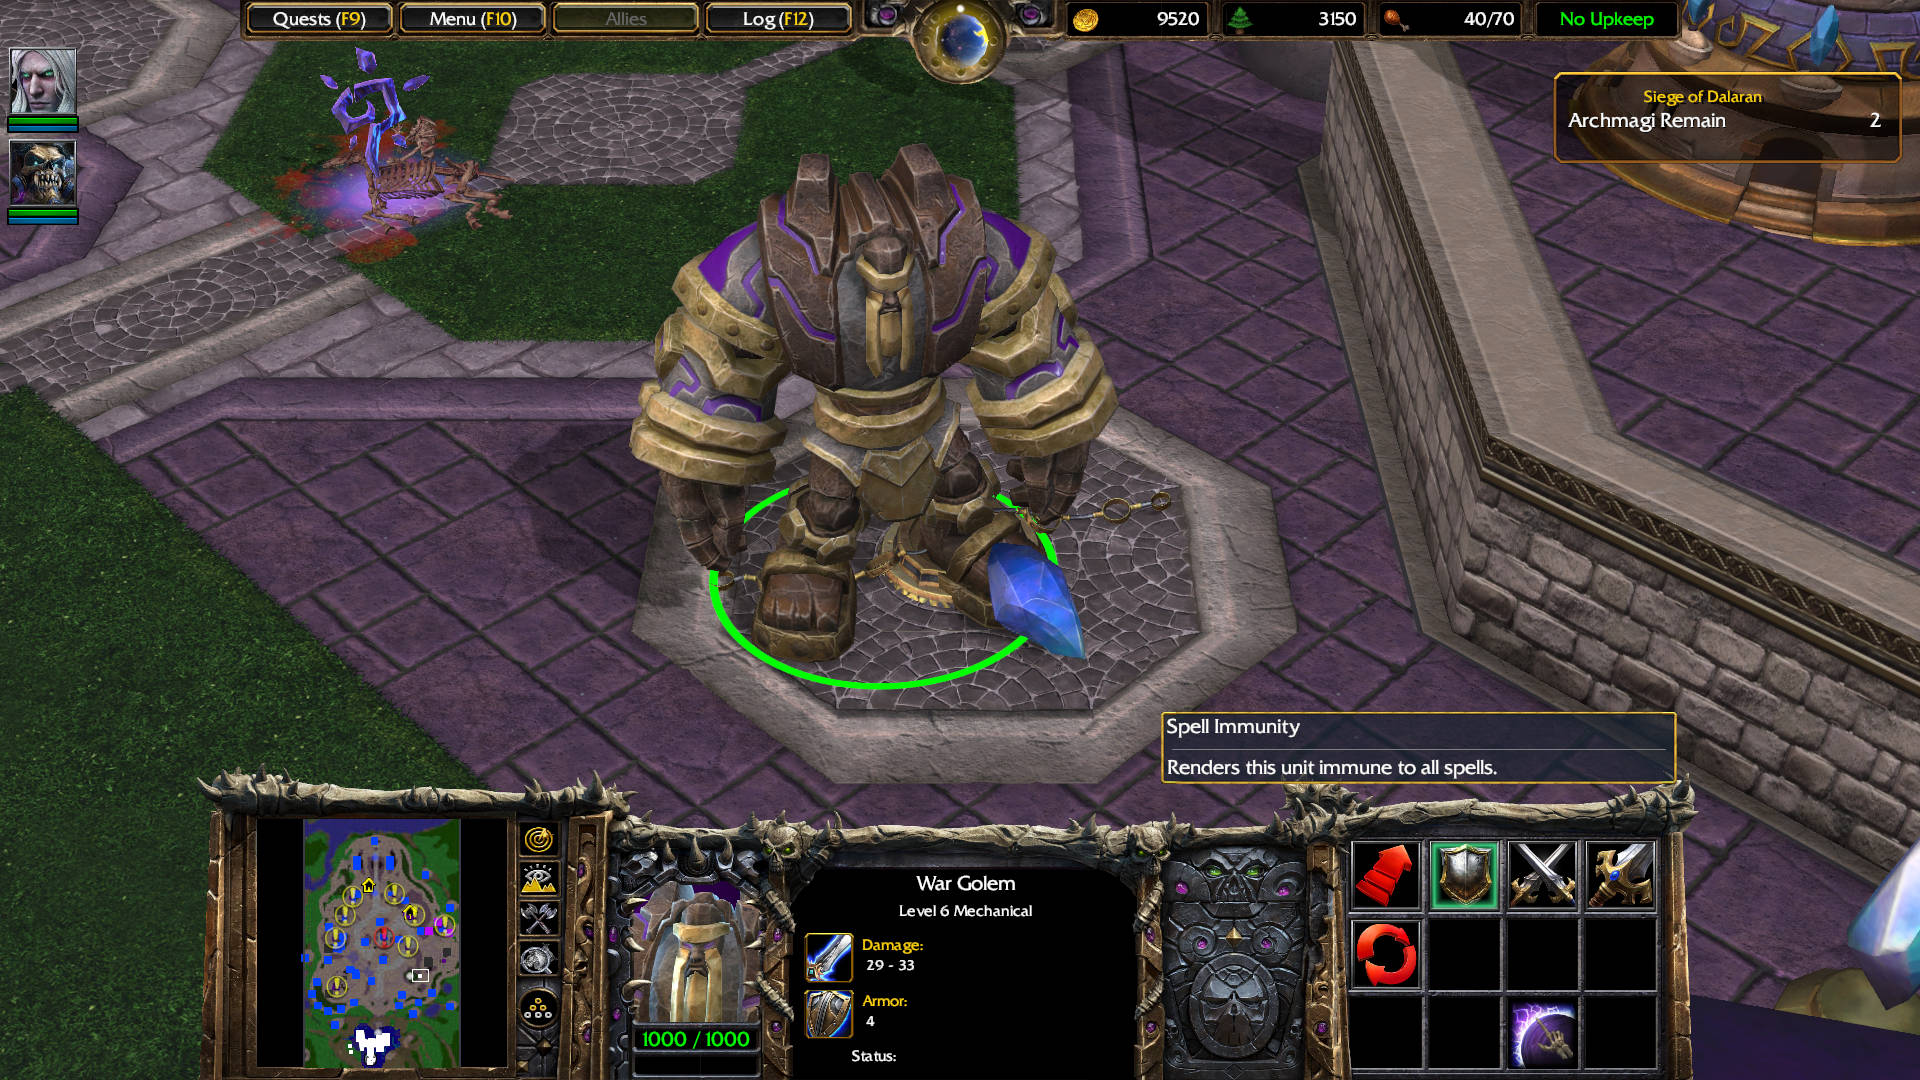
As soon as the Council Wizard dies, the War Golem level 6 activates, and joins your team. He is immune to all spell damage.
OPTIONAL QUEST DISCOVERED
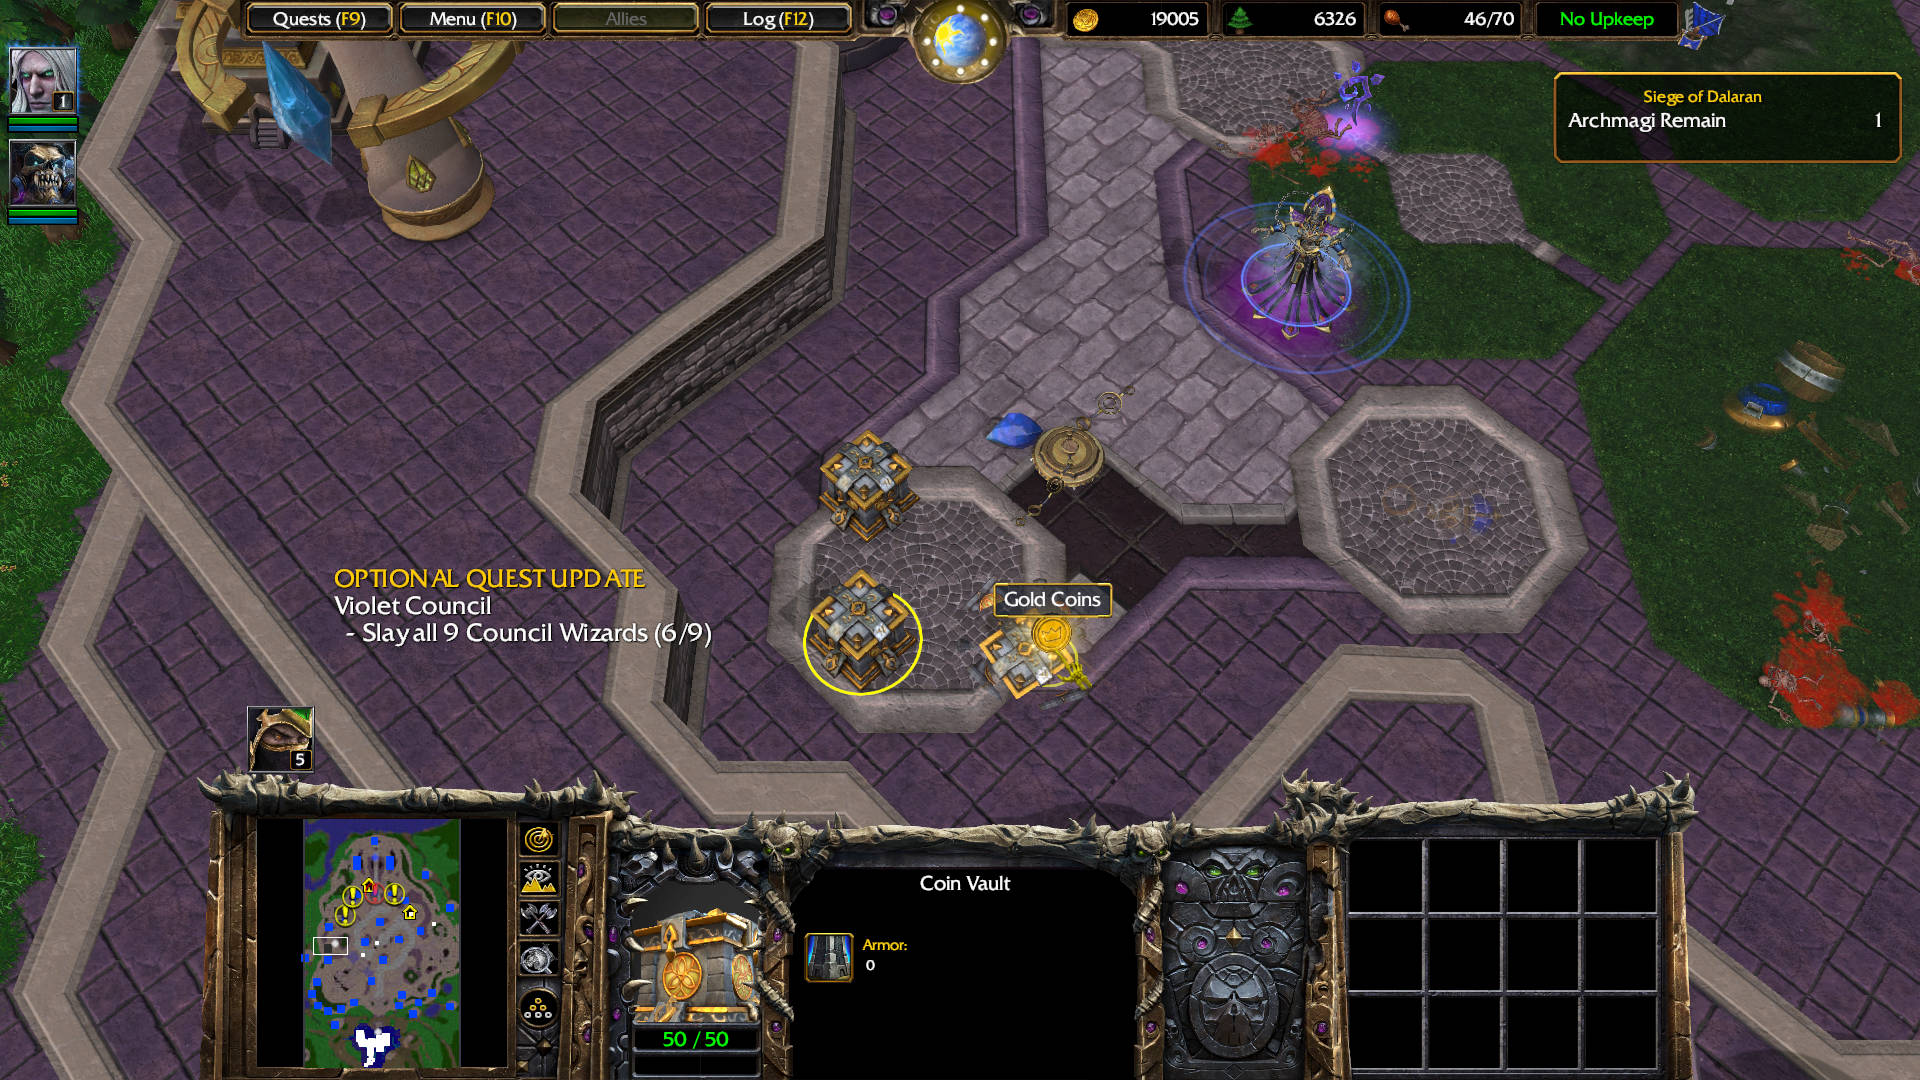
Violet Council
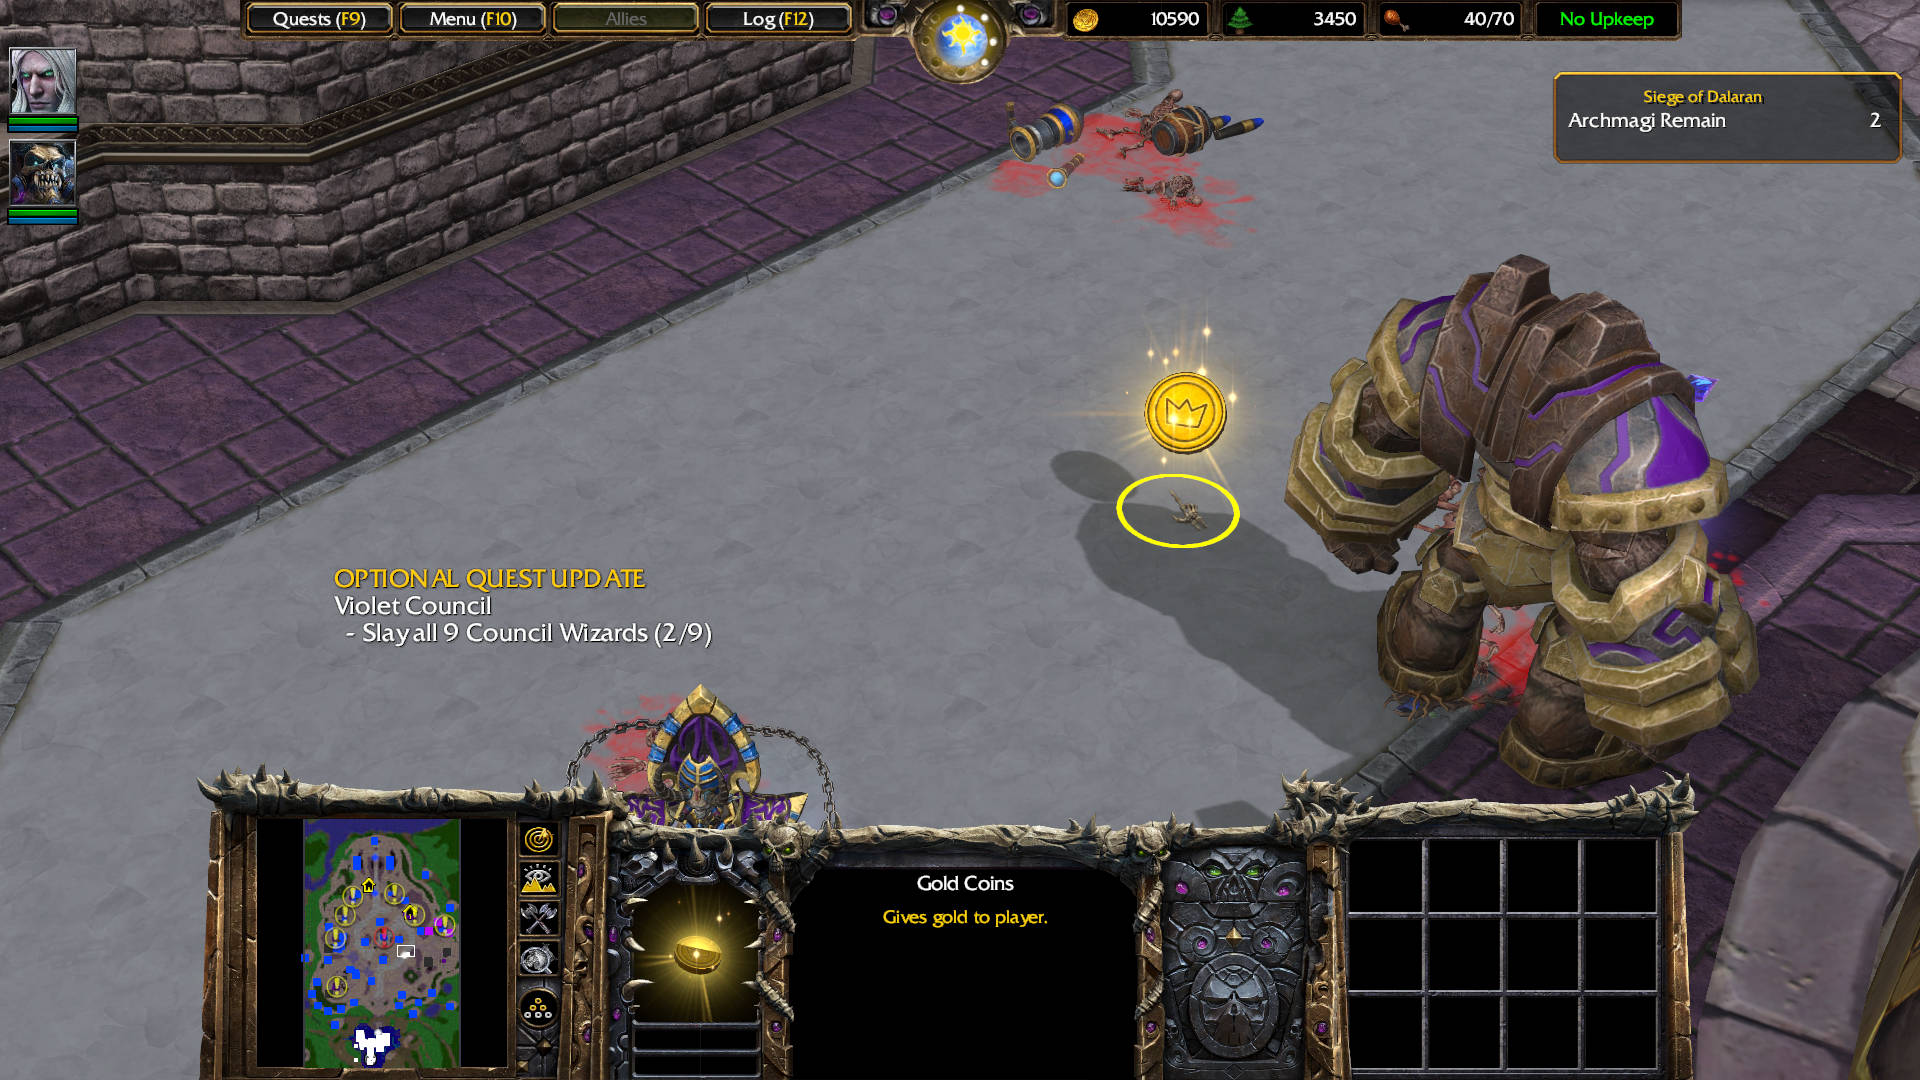
- Slay all 9 Council Wizards (1/9)
Destroy this Sky-Fury Tower with the Meat Wagons.
Second Council Wizard.
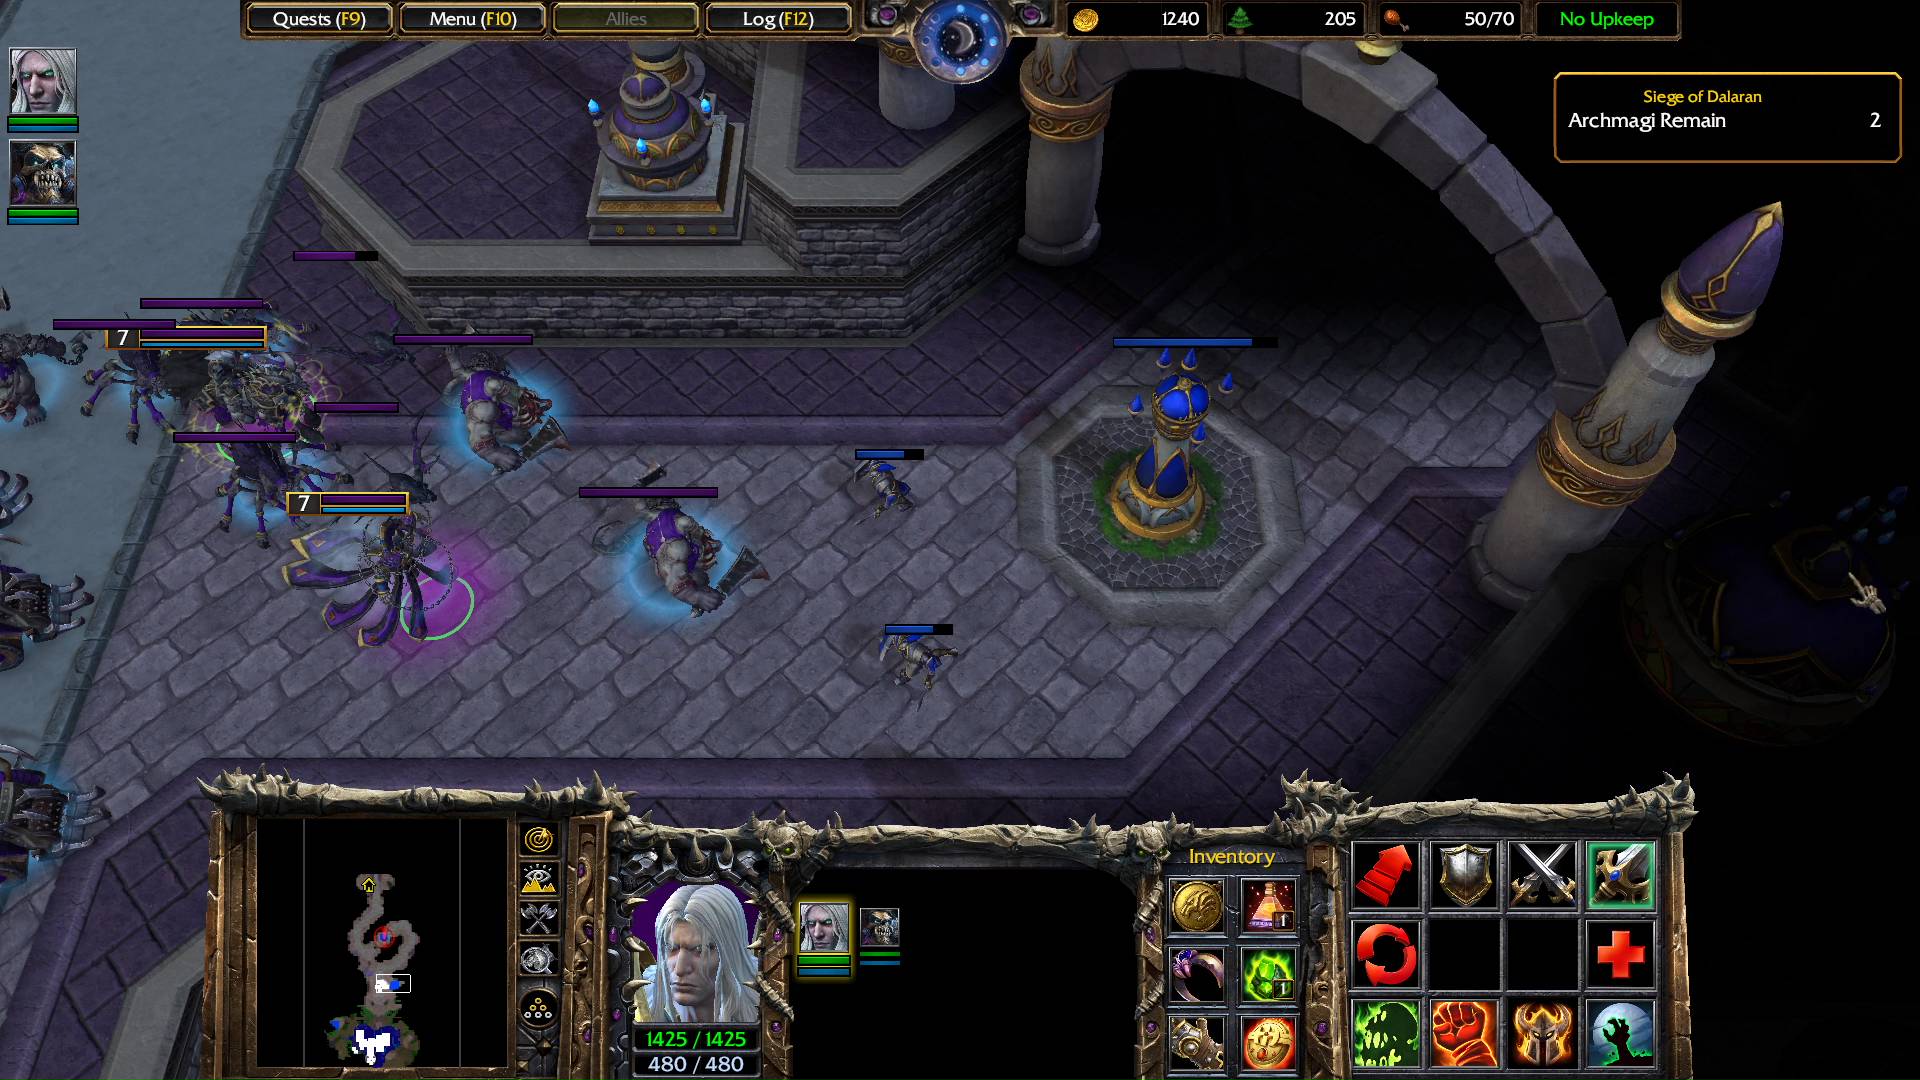
Sometimes units drop Gold Coins. Loot them.
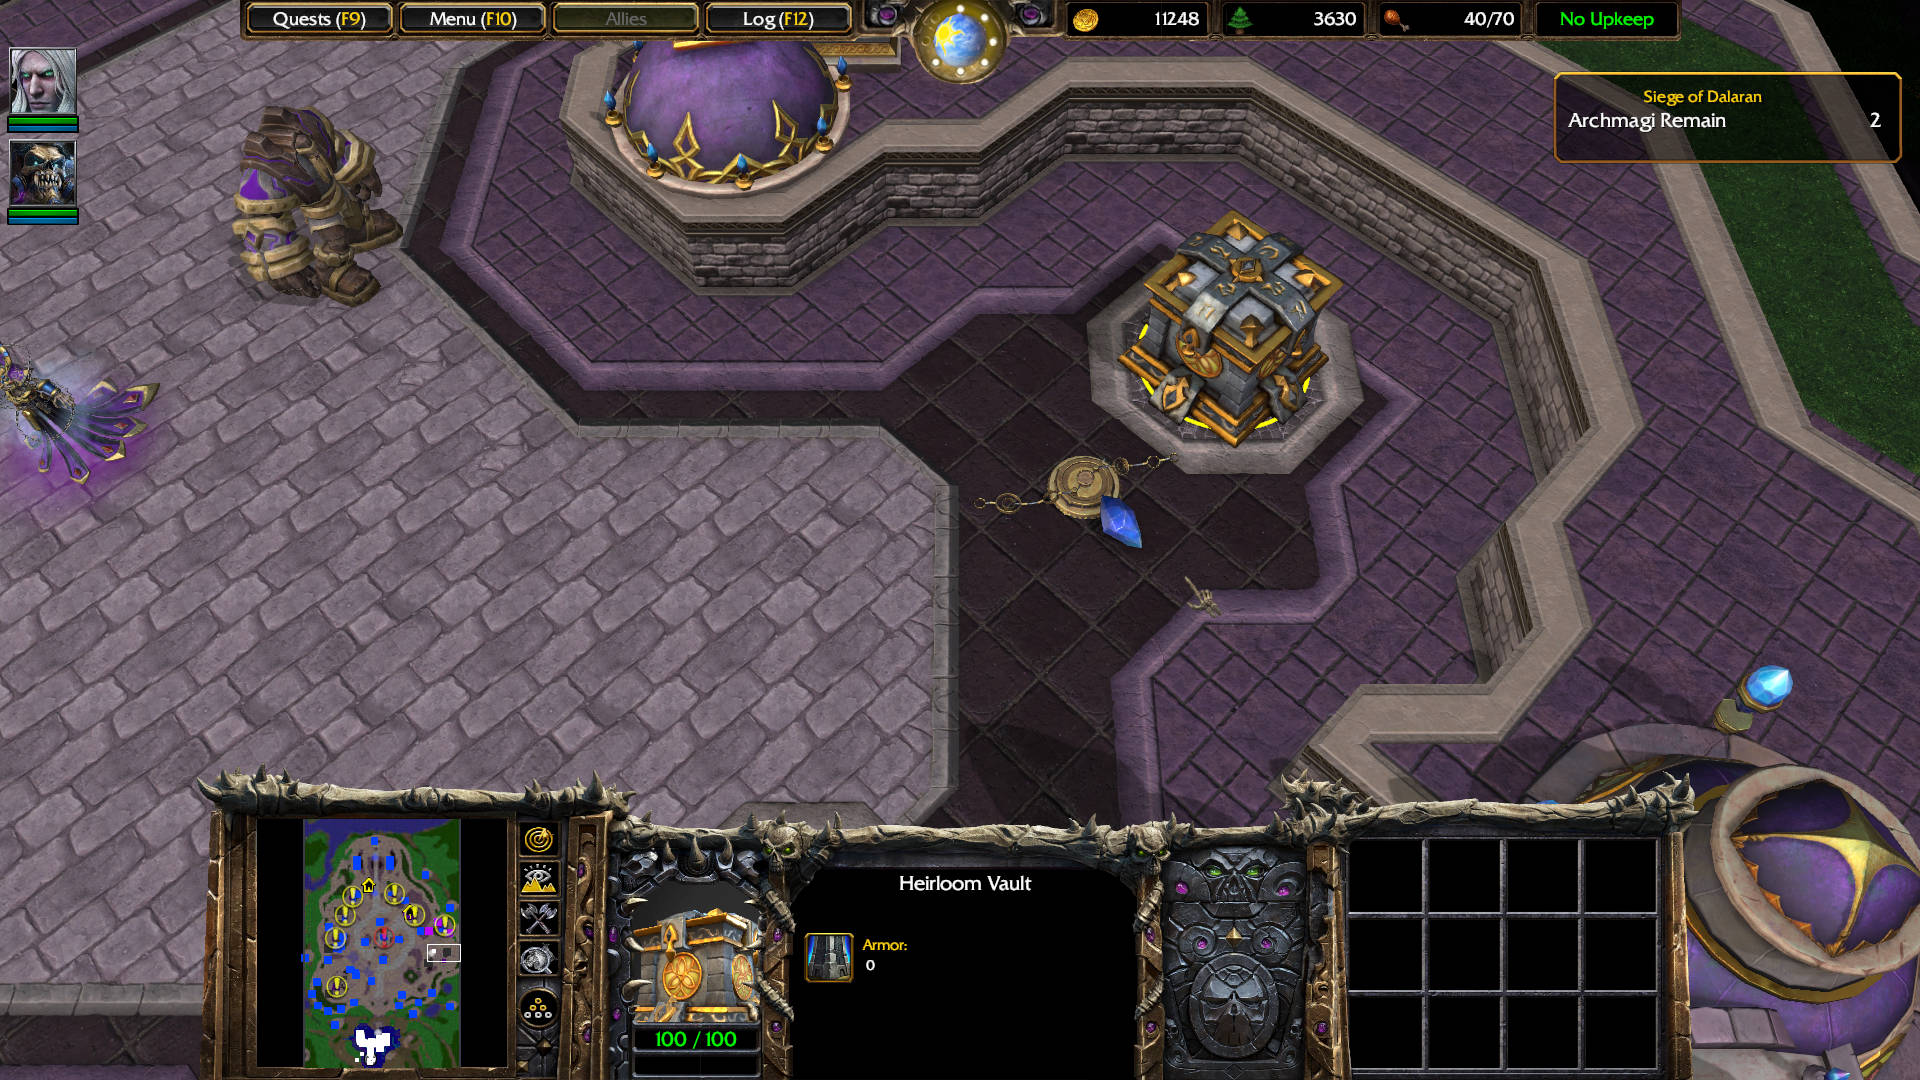
Head east from the Council Wizard, and kill a single Priest and a Council Wizard — he summons more units, though: 3 Footman, and 2 Void Walkers. There are 3 Gold Vaults here. Each contains coins that provide 250 gold each.
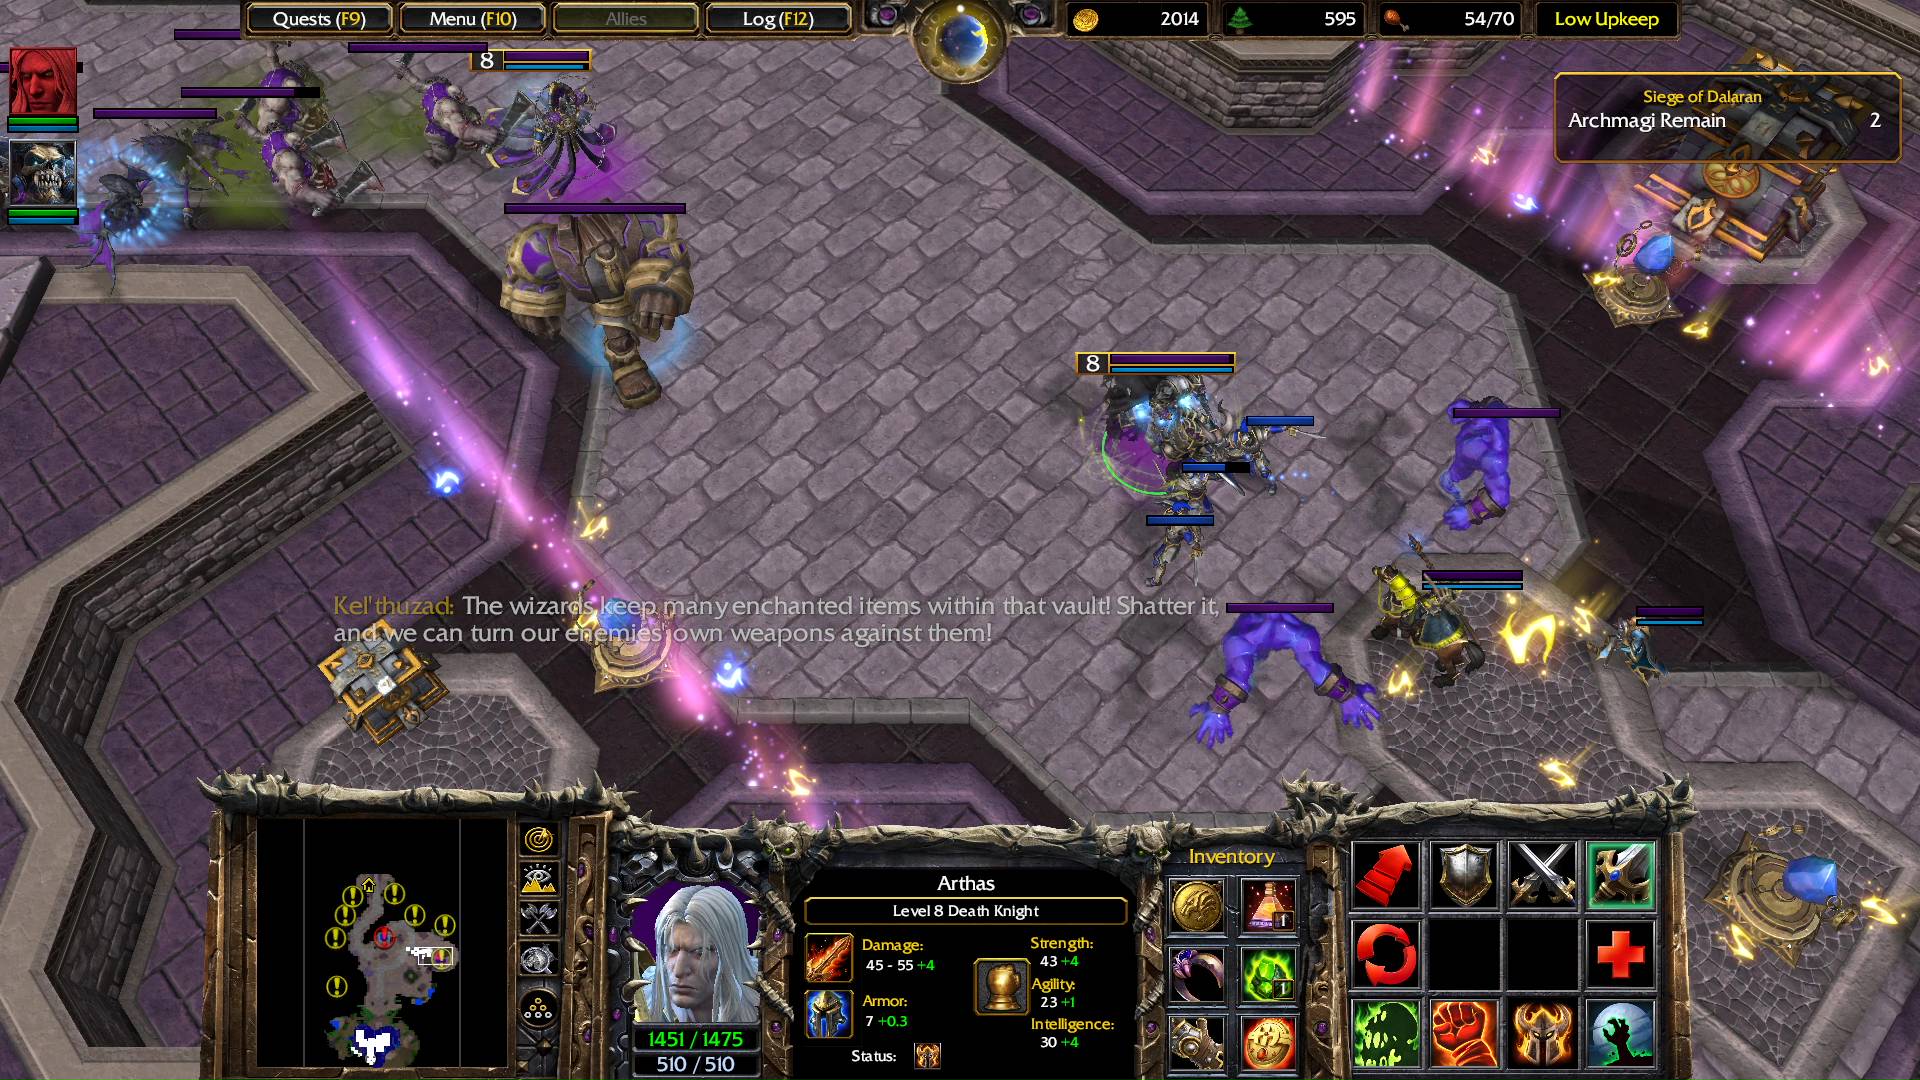
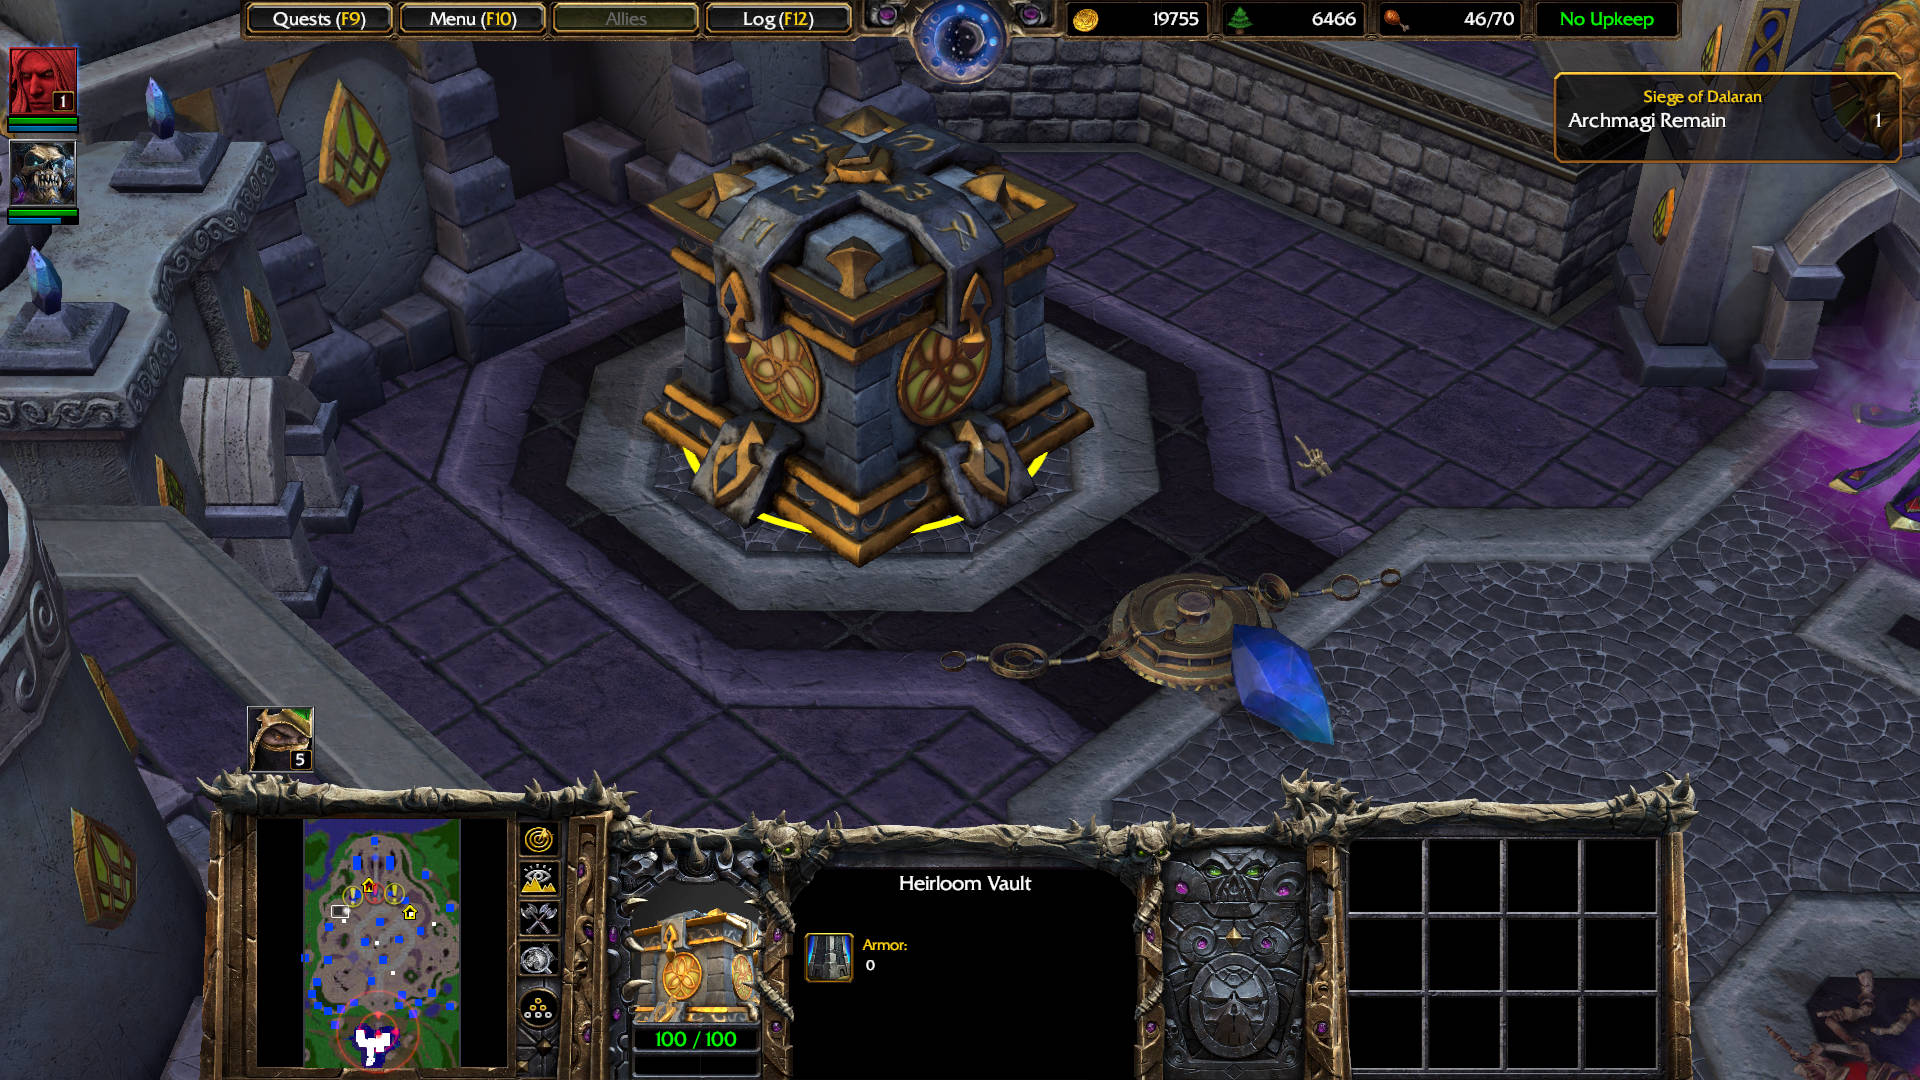
Kel’Thuzad: The wizards keep many enchanted items within that vault! Shatter it, and we can turn our enemies’ own weapons against them!

The Heirloom Vault drops Khadgar’s Pipe of Insight: Grants the Hero and friendly nearby units 0.8 bonus mana regeneration. Does not stack with Brilliance Aura.
Build 2 Crypt Fiends (F).
Select the Graveyard. Upgrade to Improved Unholy Armor (U): Further increases the armor of Ghouls, and Abominations.
Select the Graveyard. Upgrade to Unholy Strength (S): Increases the attack damage of Ghouls, Meat Wagons, and Abominations.
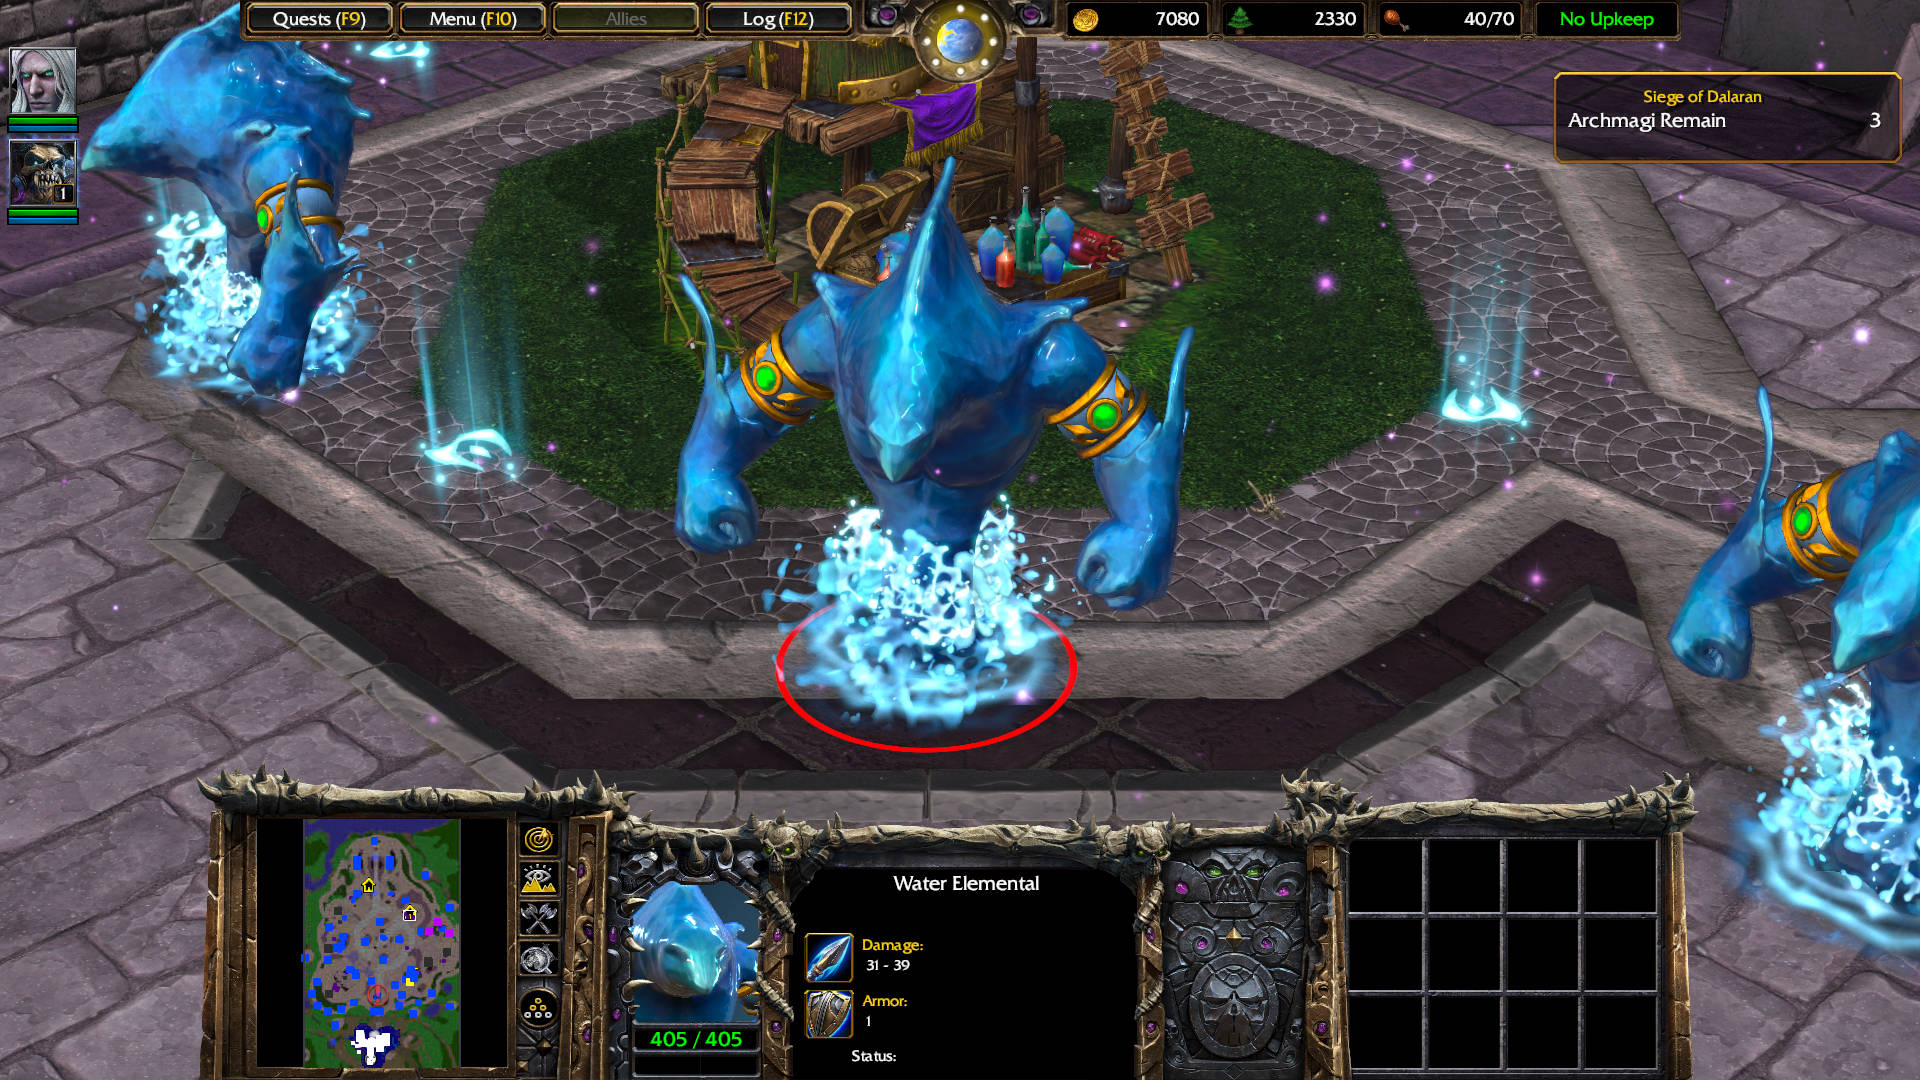
Go back to the main road and head northeast. You will find this area with the third Council Wizard, a captain, a footman, a rifleman, and 2 Water Elementals.
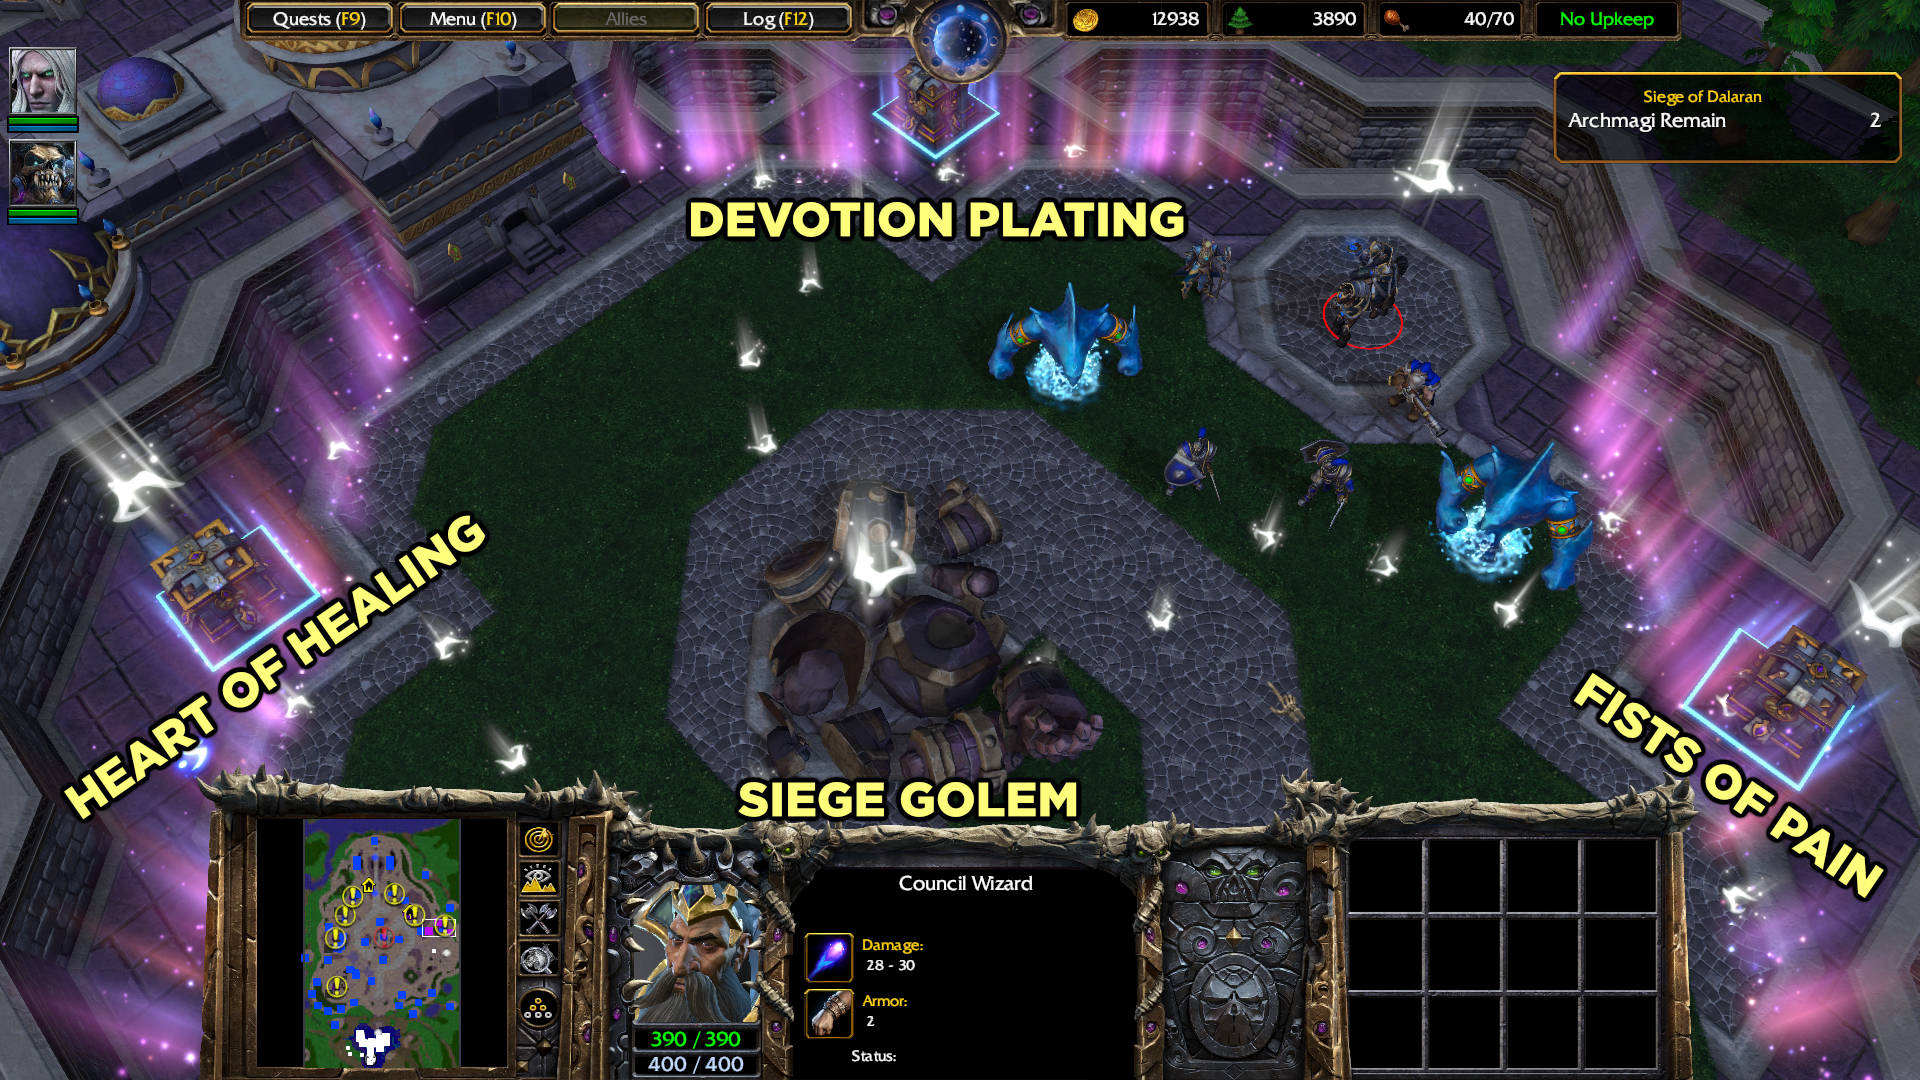
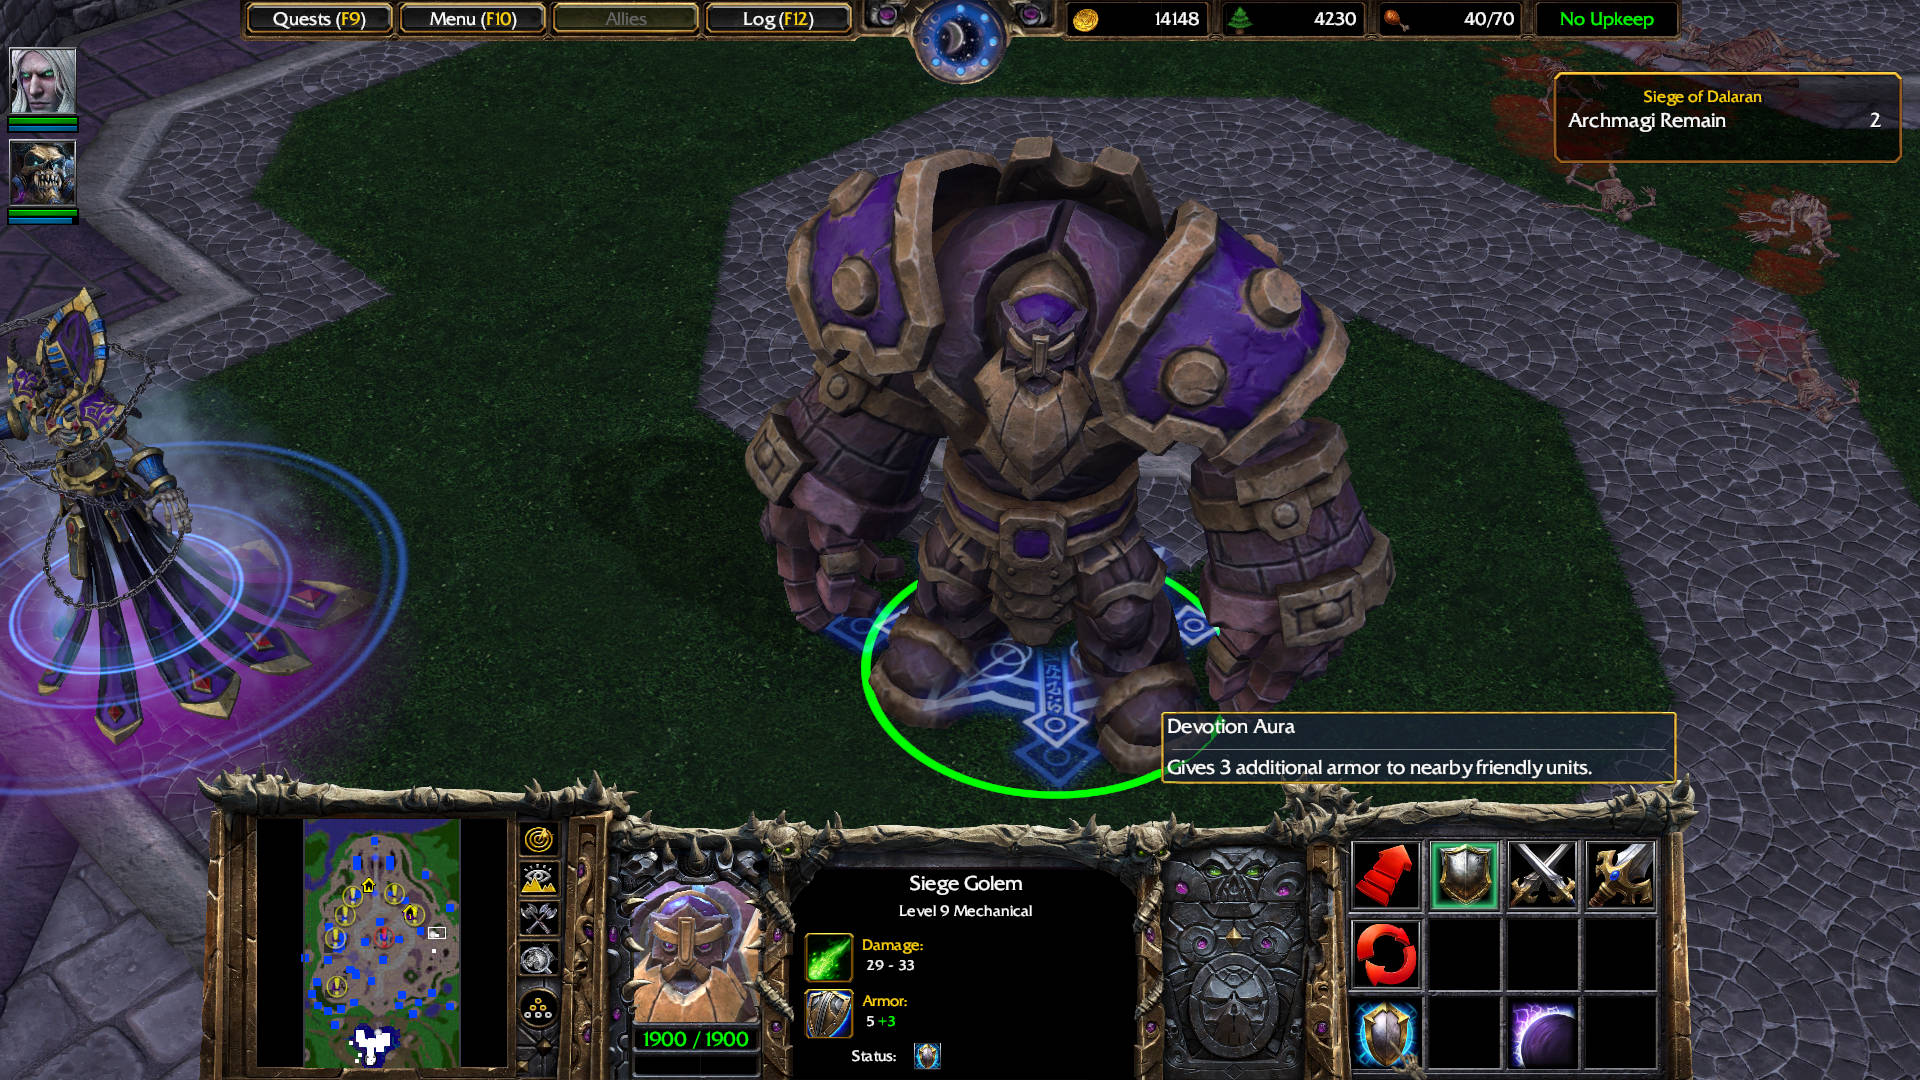
When the Council Wizard dies, the purple force fields deactivate. Destroying the mini vaults activates a Siege Golem that joins your team. It has a Devotion Aura: gives 3 additional armor to nearby friendly units. It is immune to all spells.
Build a Temple of the Damned (T).
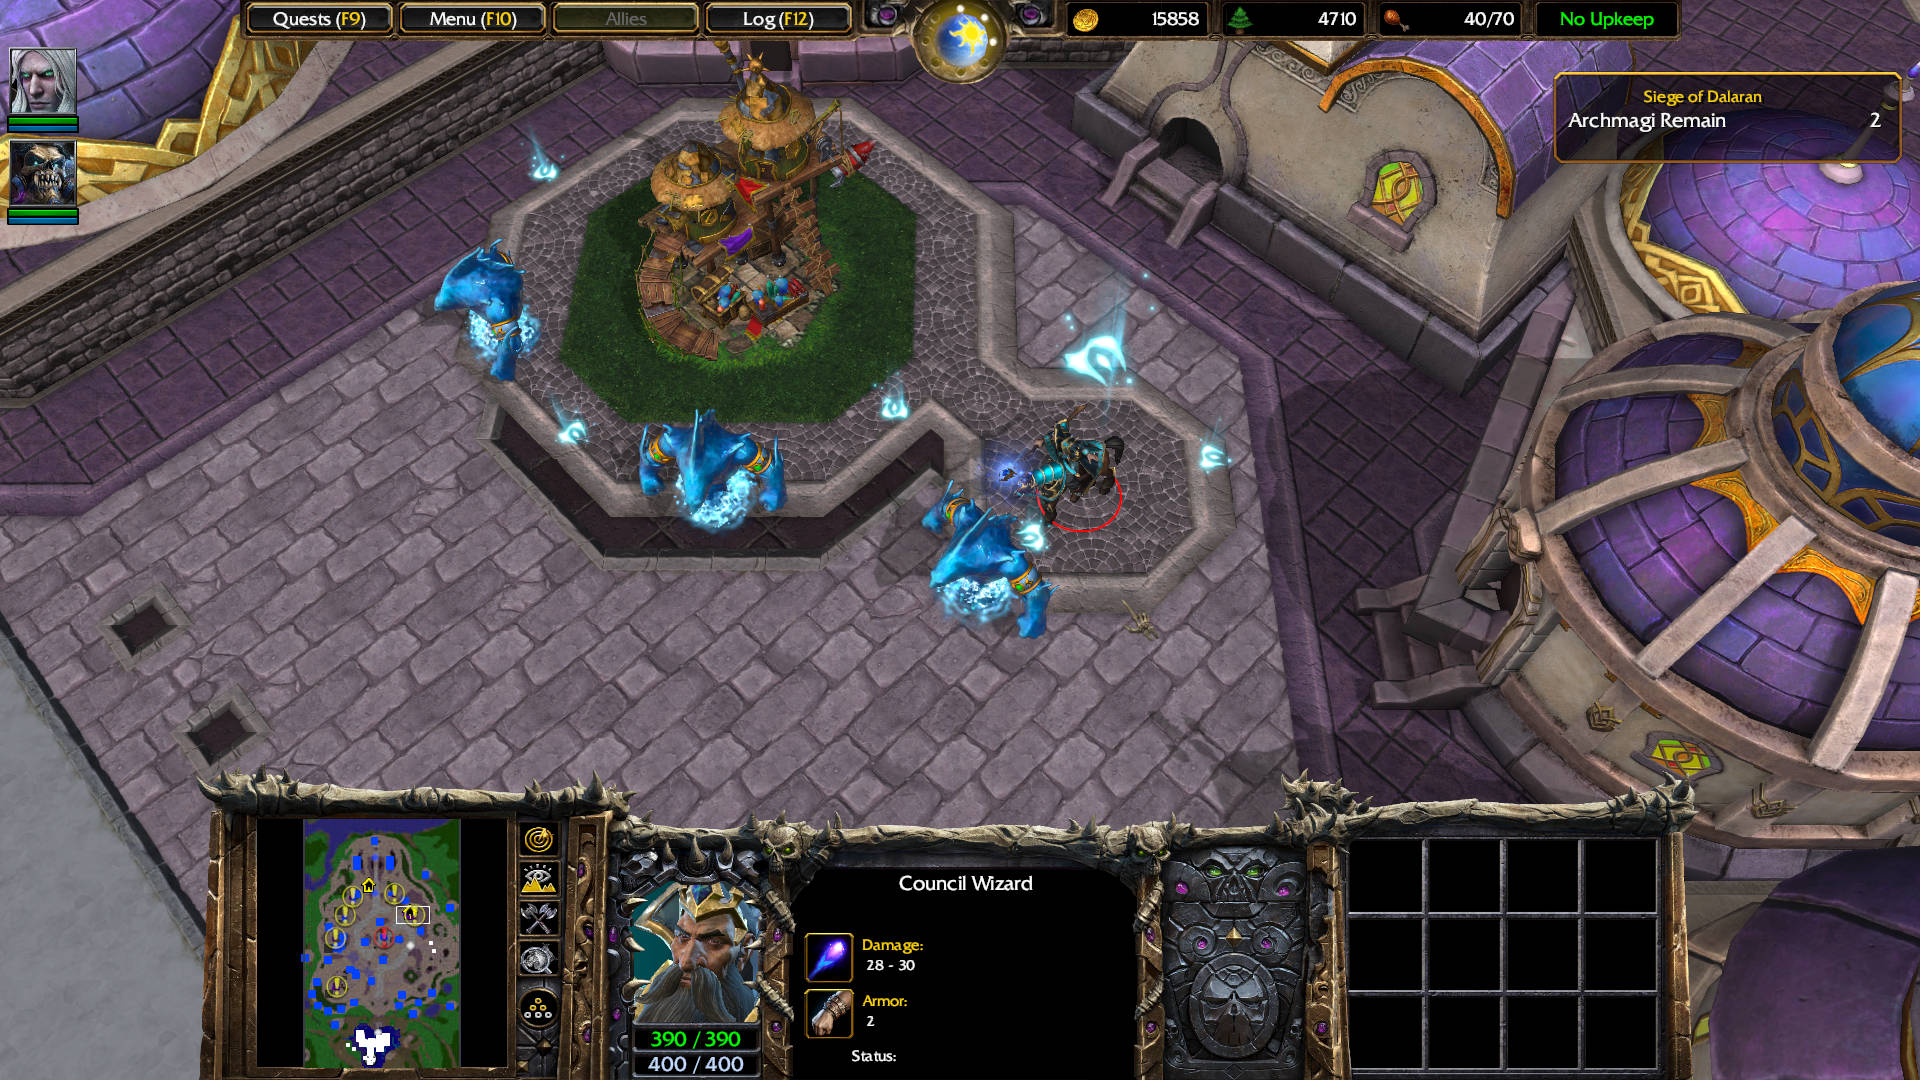
Head further north to find the fourth Council Wizard. He has 3 Water Elementals. Behind him is a Goblin Merchant.
GOBLIN MERCHANT
- Scroll of Protection (R): Increases the armor of all friendly units in an area around your Hero by 2 for 30 sec. 150

- Potion of Healing (P): Heals 250 hit points when used. 150
- Potion of Mana (M): Restores 150 mana when used. 200
- Scroll of Town Portal (T): Teleports the Hero and any of its nearby troops to a target friendly town hall. 350
- Wand of Negation (N): Dispels all magical effects in a target area. Contains 3 charges. Deals 200 damage to summoned units. 200
- Scroll of Healing (H): Heals 150 hit points to all friendly non-mechanical units around the Hero when used. 250
Build 2 Gargoyles (A).
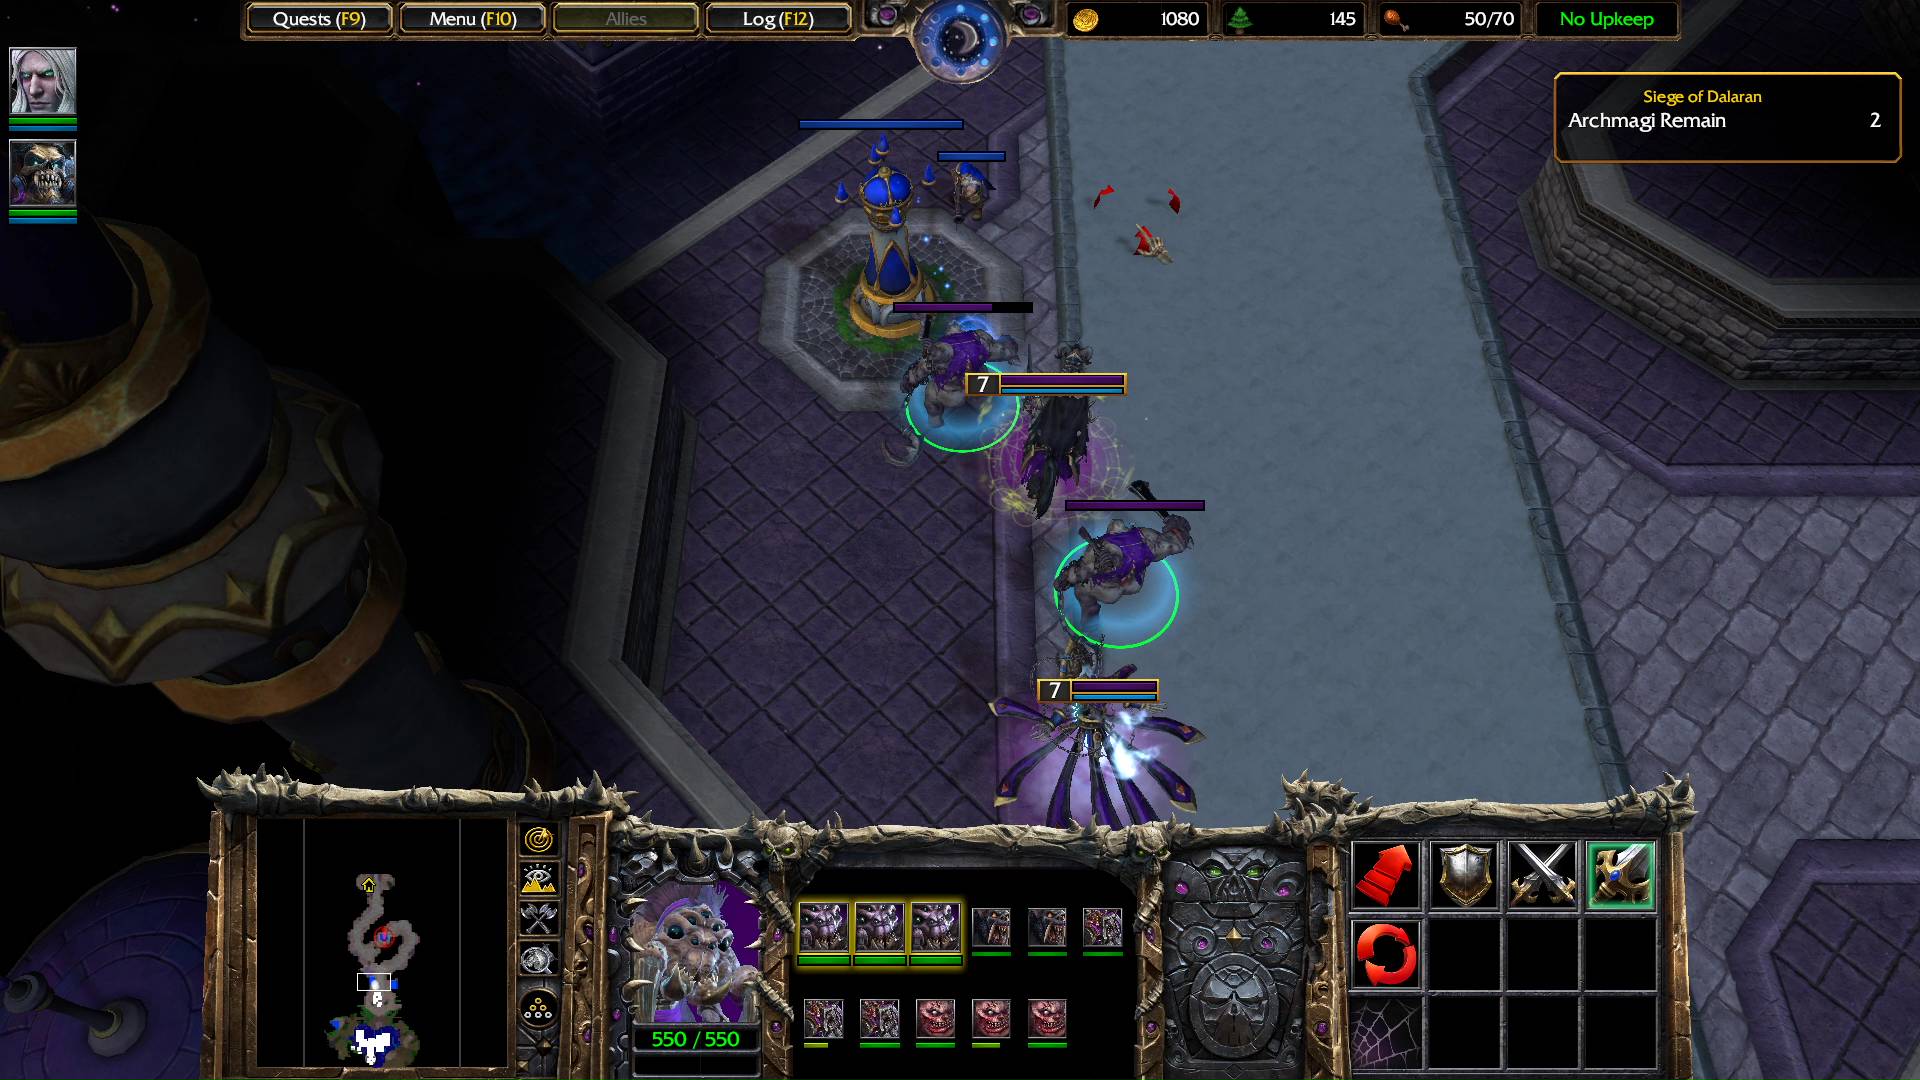
Send your forces southwest toward the red circle in the minimap. Here is the second Archmage channeling an aura on a large area of Dalaran. He is guarded by a fotman, 3 Rifleman, and a Priest. Kill the Priest first.
That Archmage teleports and summons a Water Elemental and two Void Walkers. After he dies, a nearby War Golem with spell immunity joins your team.
Kel’Thuzad: The second wizard has fallen! Only one cursed aura remains!
Build 2 Ziggurats (Z).
Go straight south for the fifth Council Wizard. You will find a Captain, two Footman, 2 Rifleman, and two Dalaran Guard Towers behind them. Command the Meat Wagons to destroy the towers, while you fight the melee units.
Past them, you will encounter the fifth Council Wizard who is guarded by two Priests and 2 Water Elementals. Kill the Priests first.

In case you don’t recognize this area of Dalaran, this is the… Violet Hold. The Council Wizard here is the one constantly freeing a random prisoner to attack your main base. After the Council Wizard dies, destroy the cage found here.
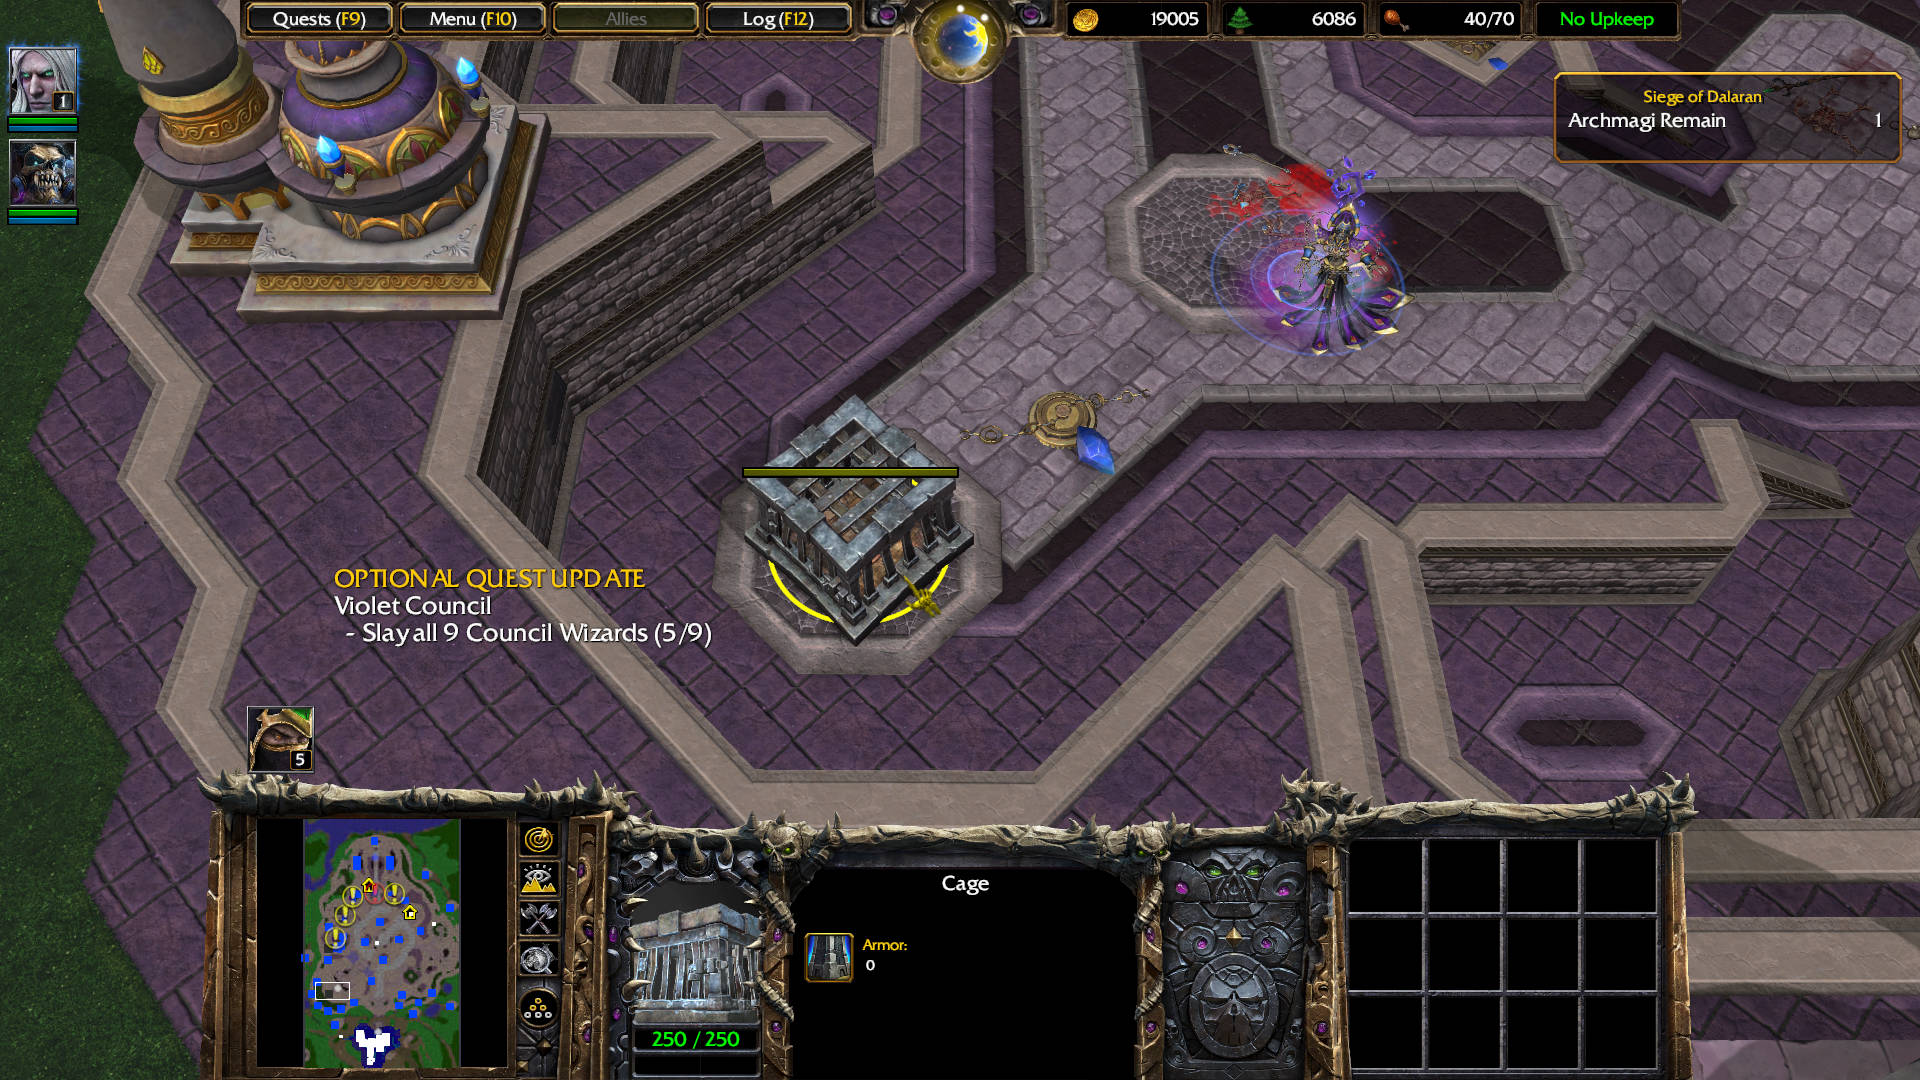
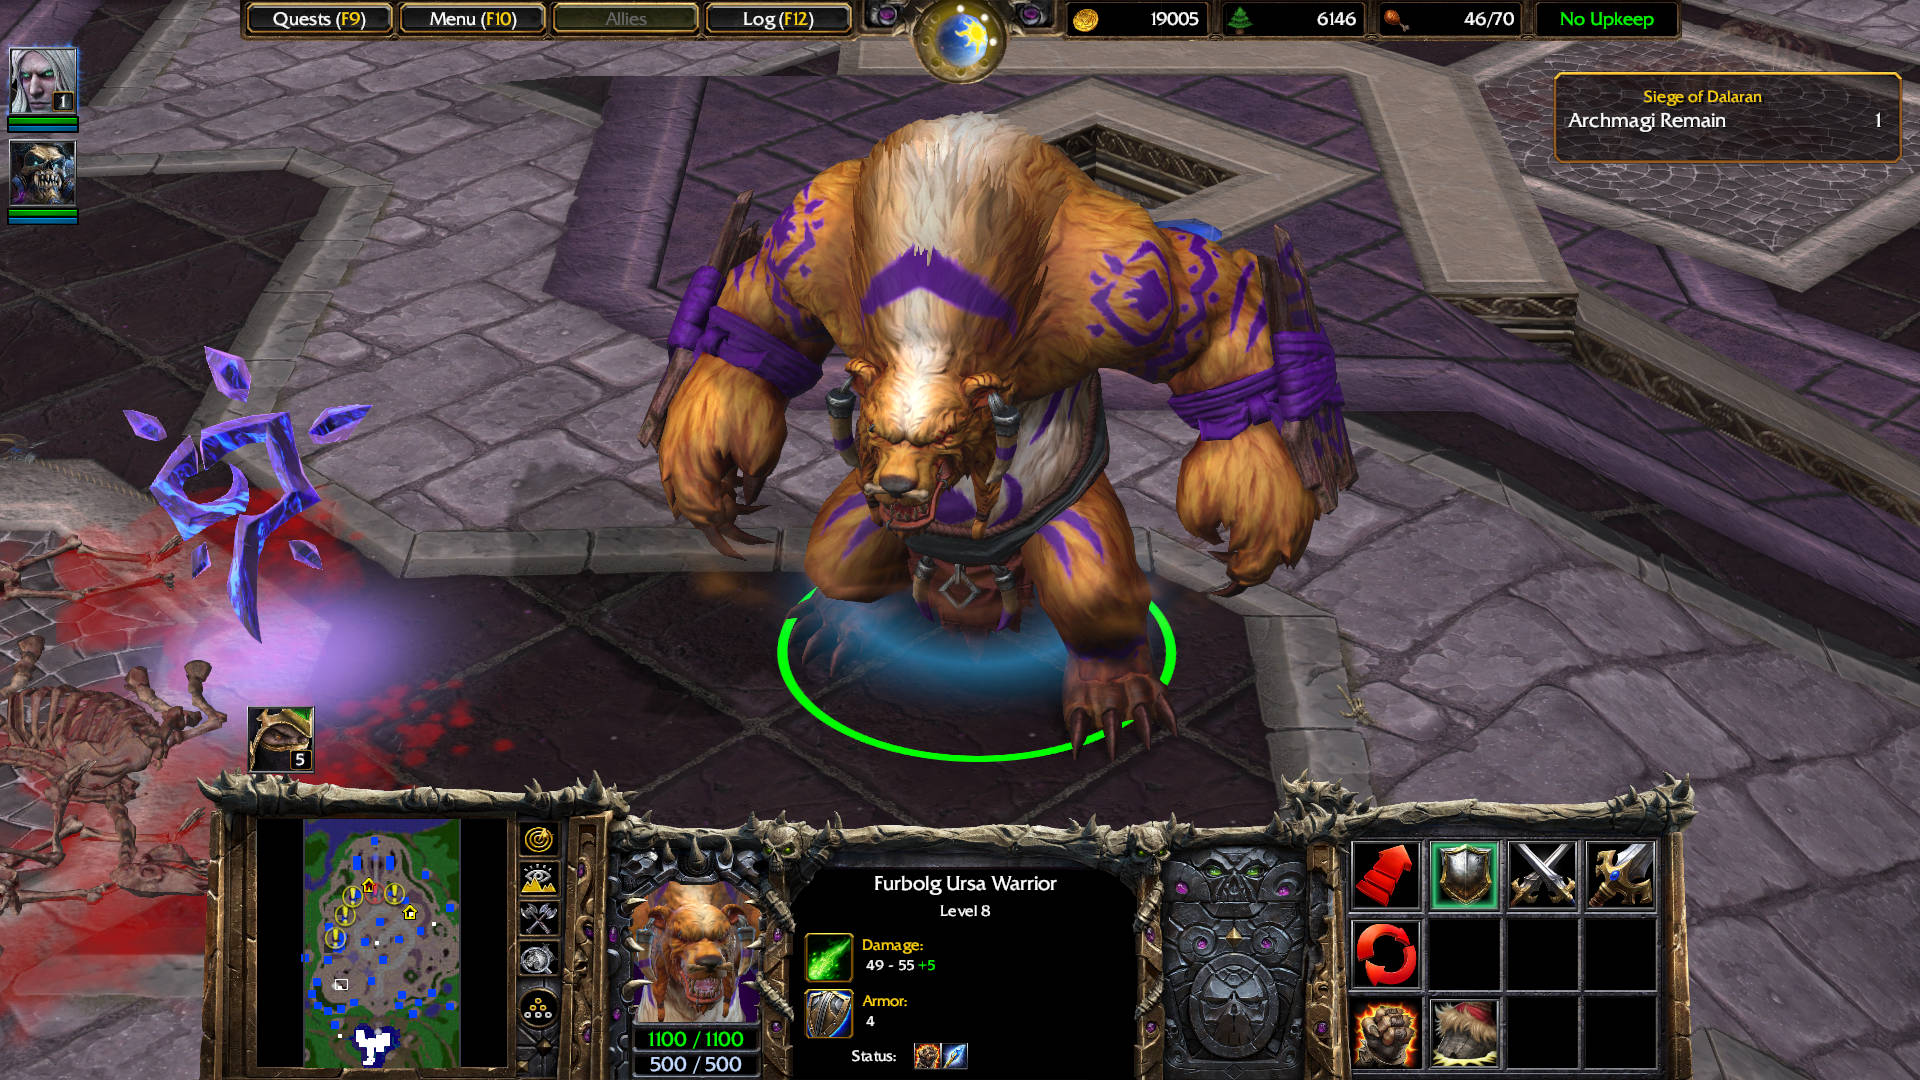
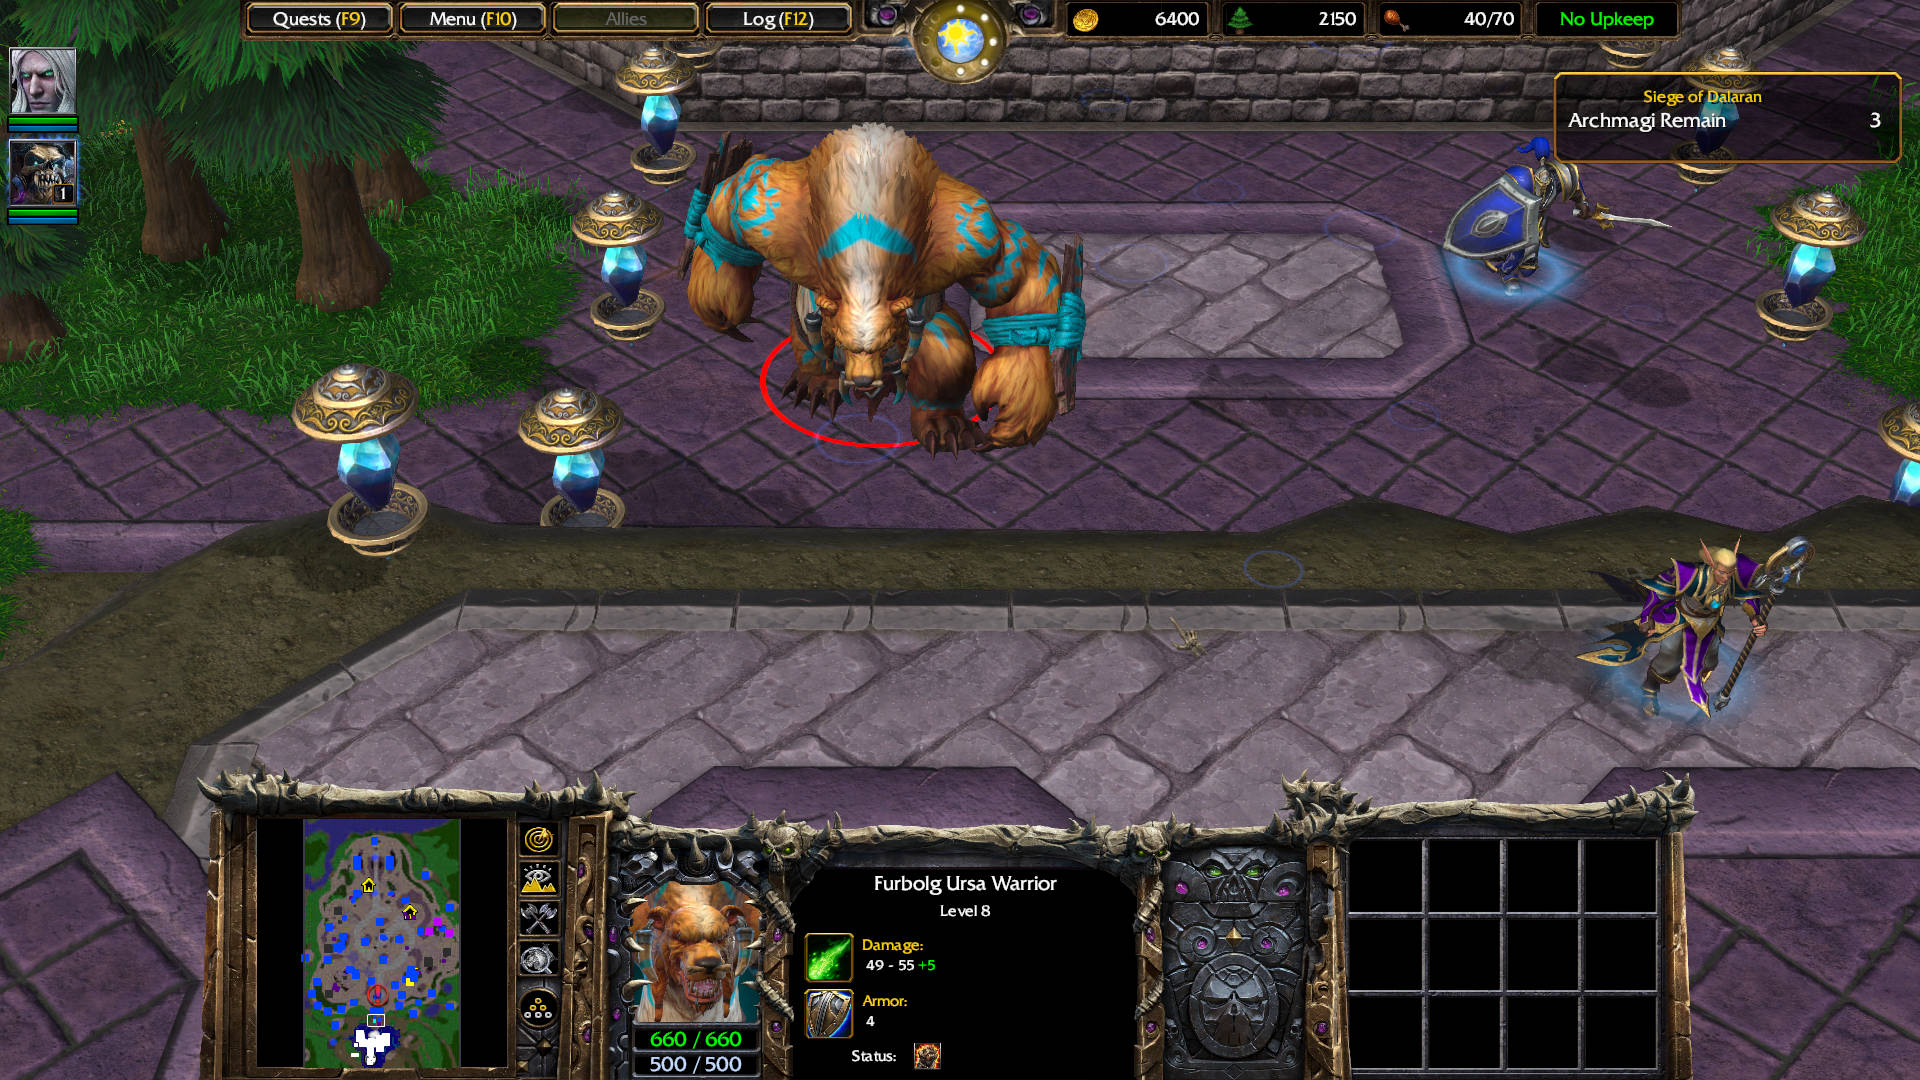
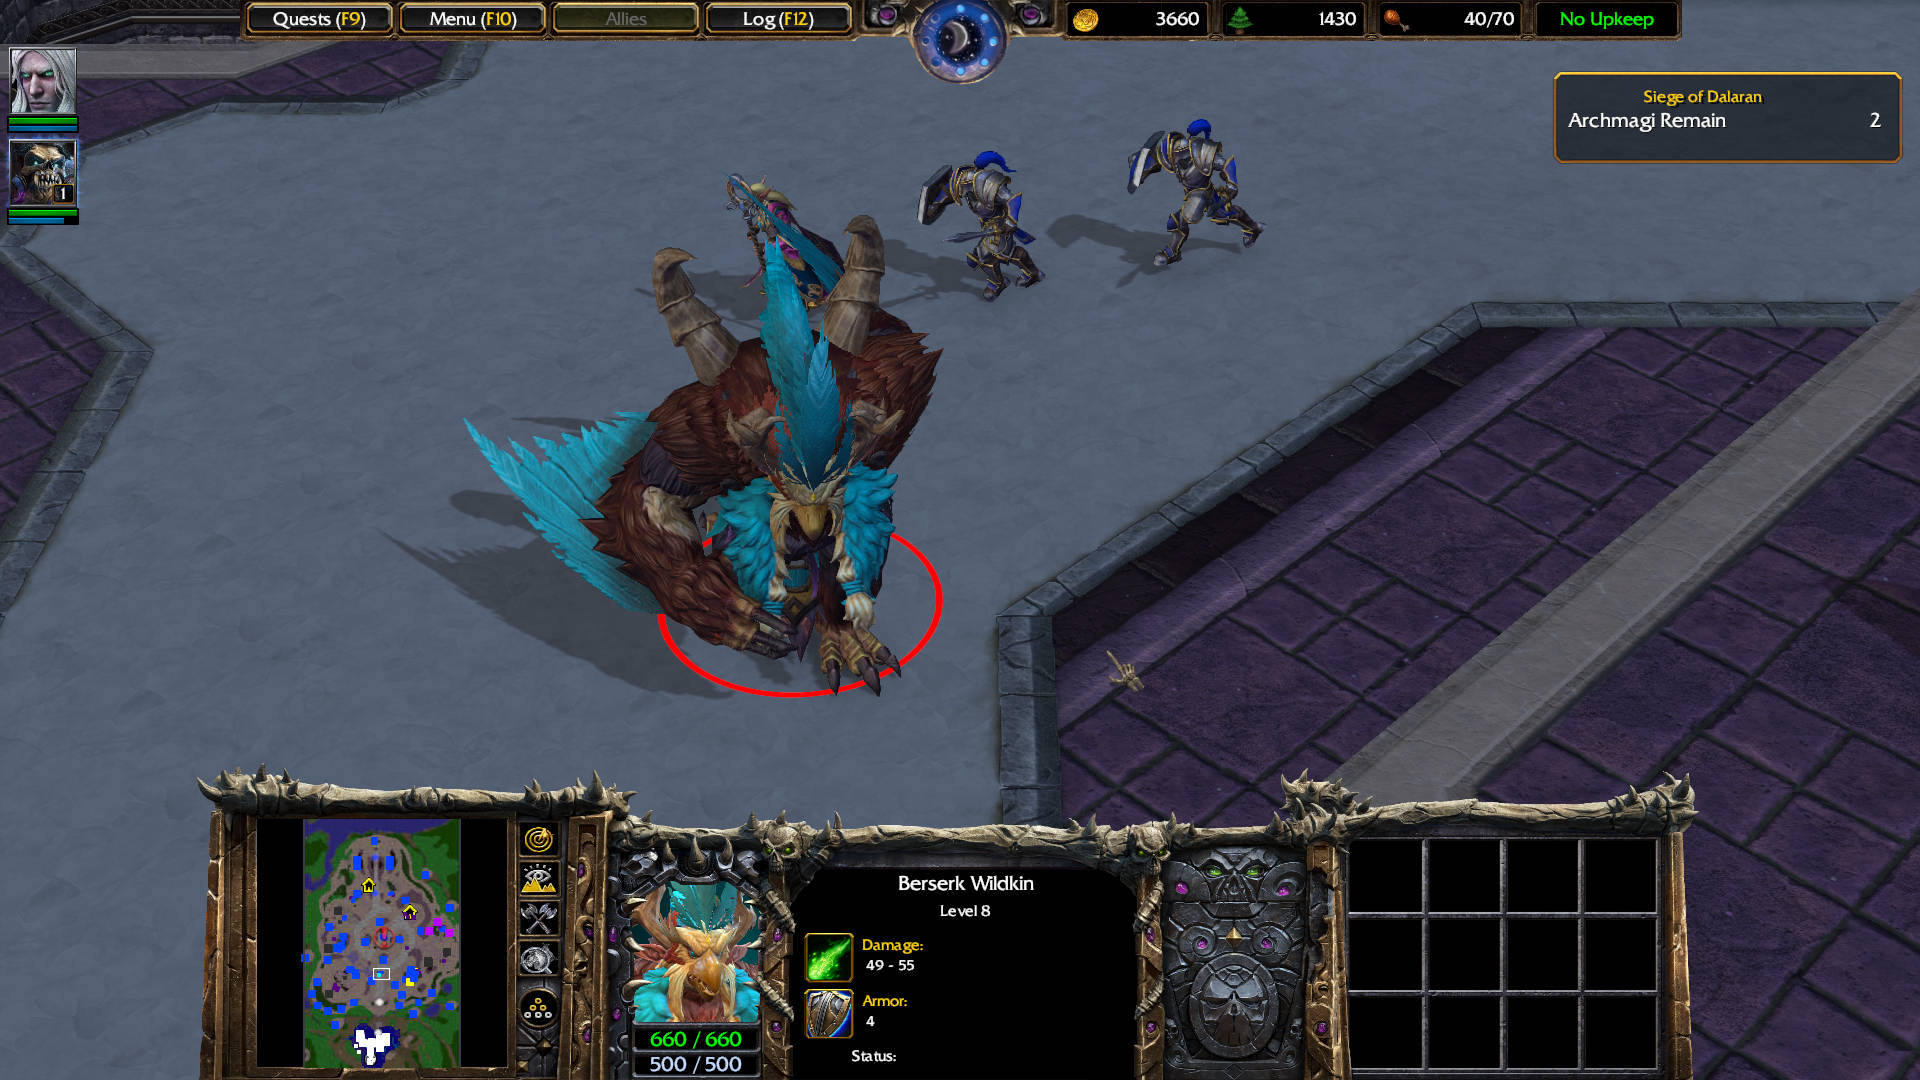
A Furbolg Ursa Warrior level 8 joins your team. He has two abilities:
- Command Aura (passive): Gives extra damage to the attacks of nearby friendly units.
- War Stomp (T): Slams the ground, dealing 25 damage to nearby enemy land units and stunning them for 3 sec.
By now you should have a lot of gold and wood. Research all your Graveyard upgrades.
Go back to the crossroads. Head northwest. The sixth Council Wizard is guarded by a Captain, 2 Footman, a Mortar Team, and a Dalaran Watch Tower. Use the Meat Wagons on the tower, and kill the minions.
Now destroy the 3 Coin Vaults and loot the Gold Coins.
Head north and turn to the left. The seventh Council Wizard has some pink runes on the ground. These are invisible walls that don’t allow any of your melee units to walk inside at all.
The only way to do this is to use the meat wagons and/or command Kel’Thuzad to cast Death and Decay (D).
Destroy the Magic Vault in the back. It drops Bladebane Armor: Grants nearby units 1 bonus defense. Enhances the Hero’s armor by 7.
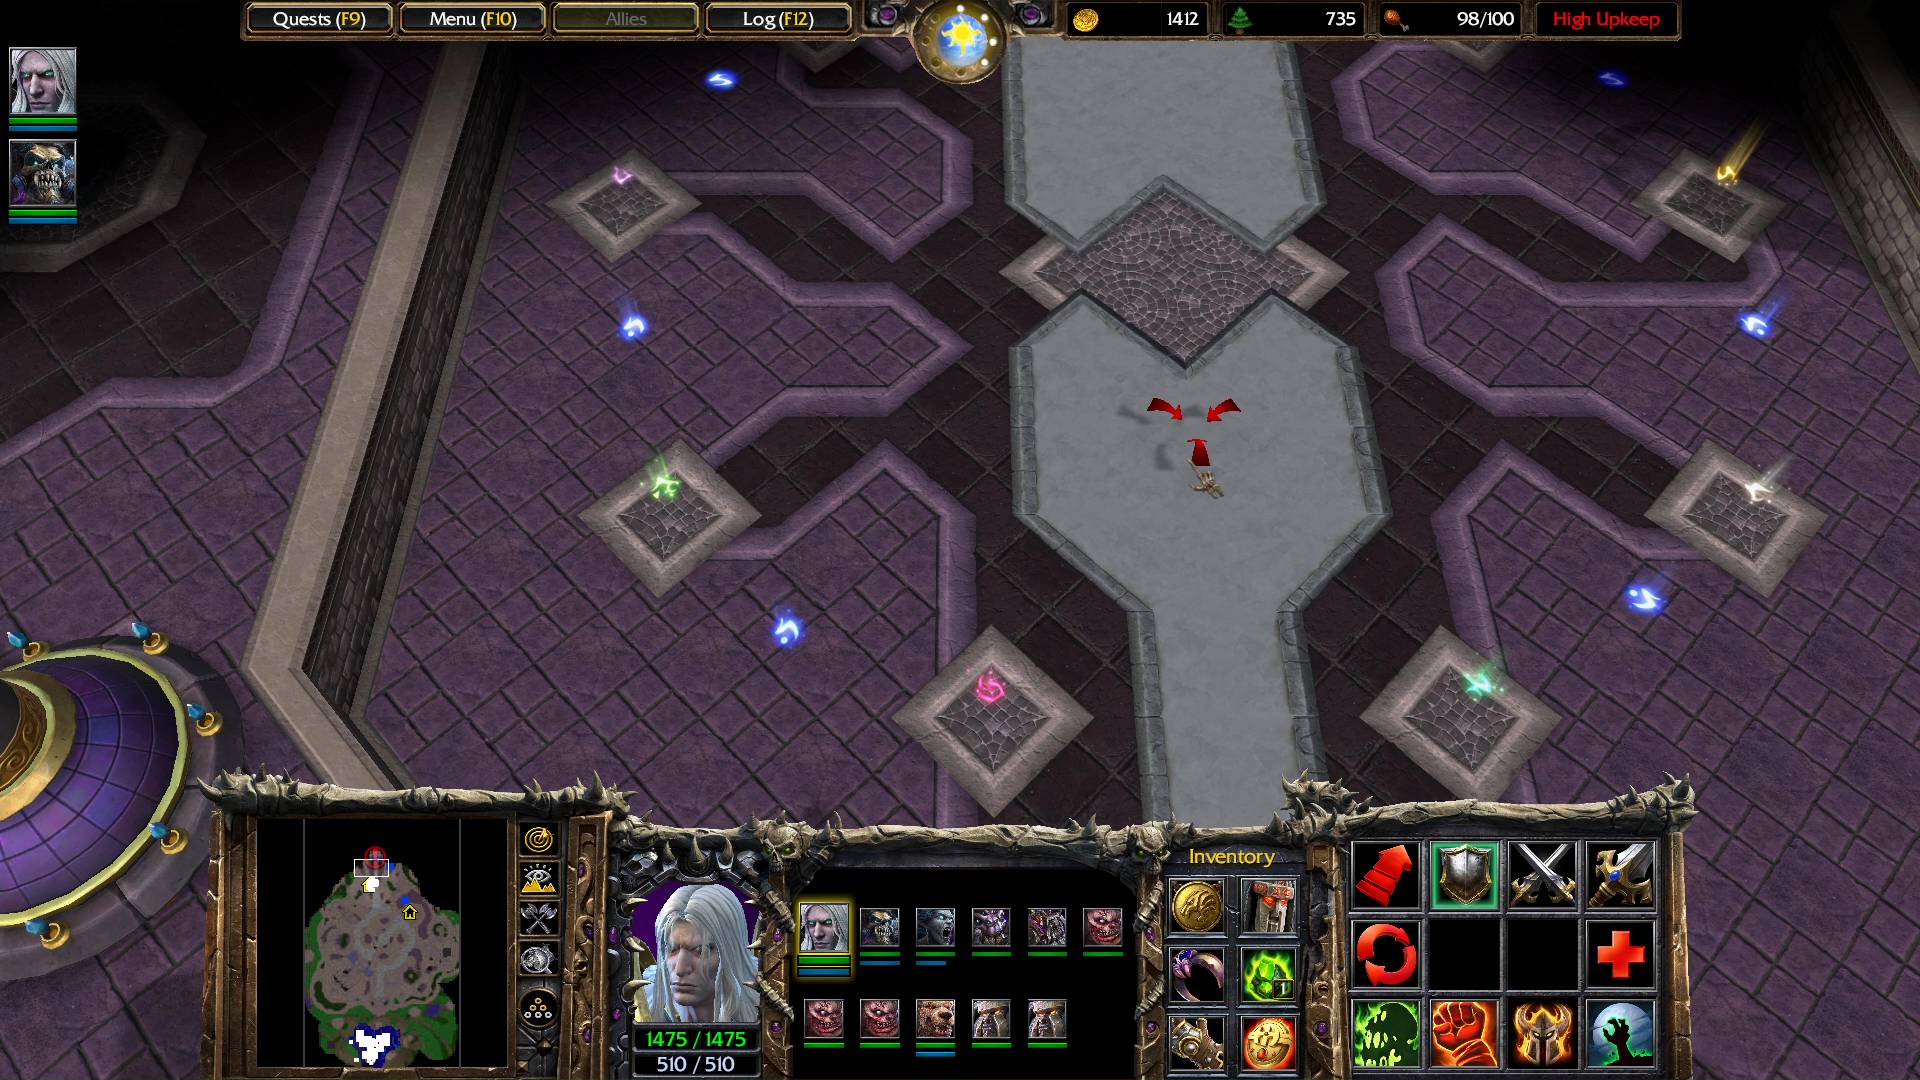
The eighth Council Wizard is around the corner to the north, at the back of a narrow hallway. He is guarded by a Gryphon Rider and a Footman. There is a chance that he might cast a tornado.
Any friendly unit caught by the tornado will be incapacitated for a few seconds swirling around atop the tornado (image below: poor Crypt Fiend).

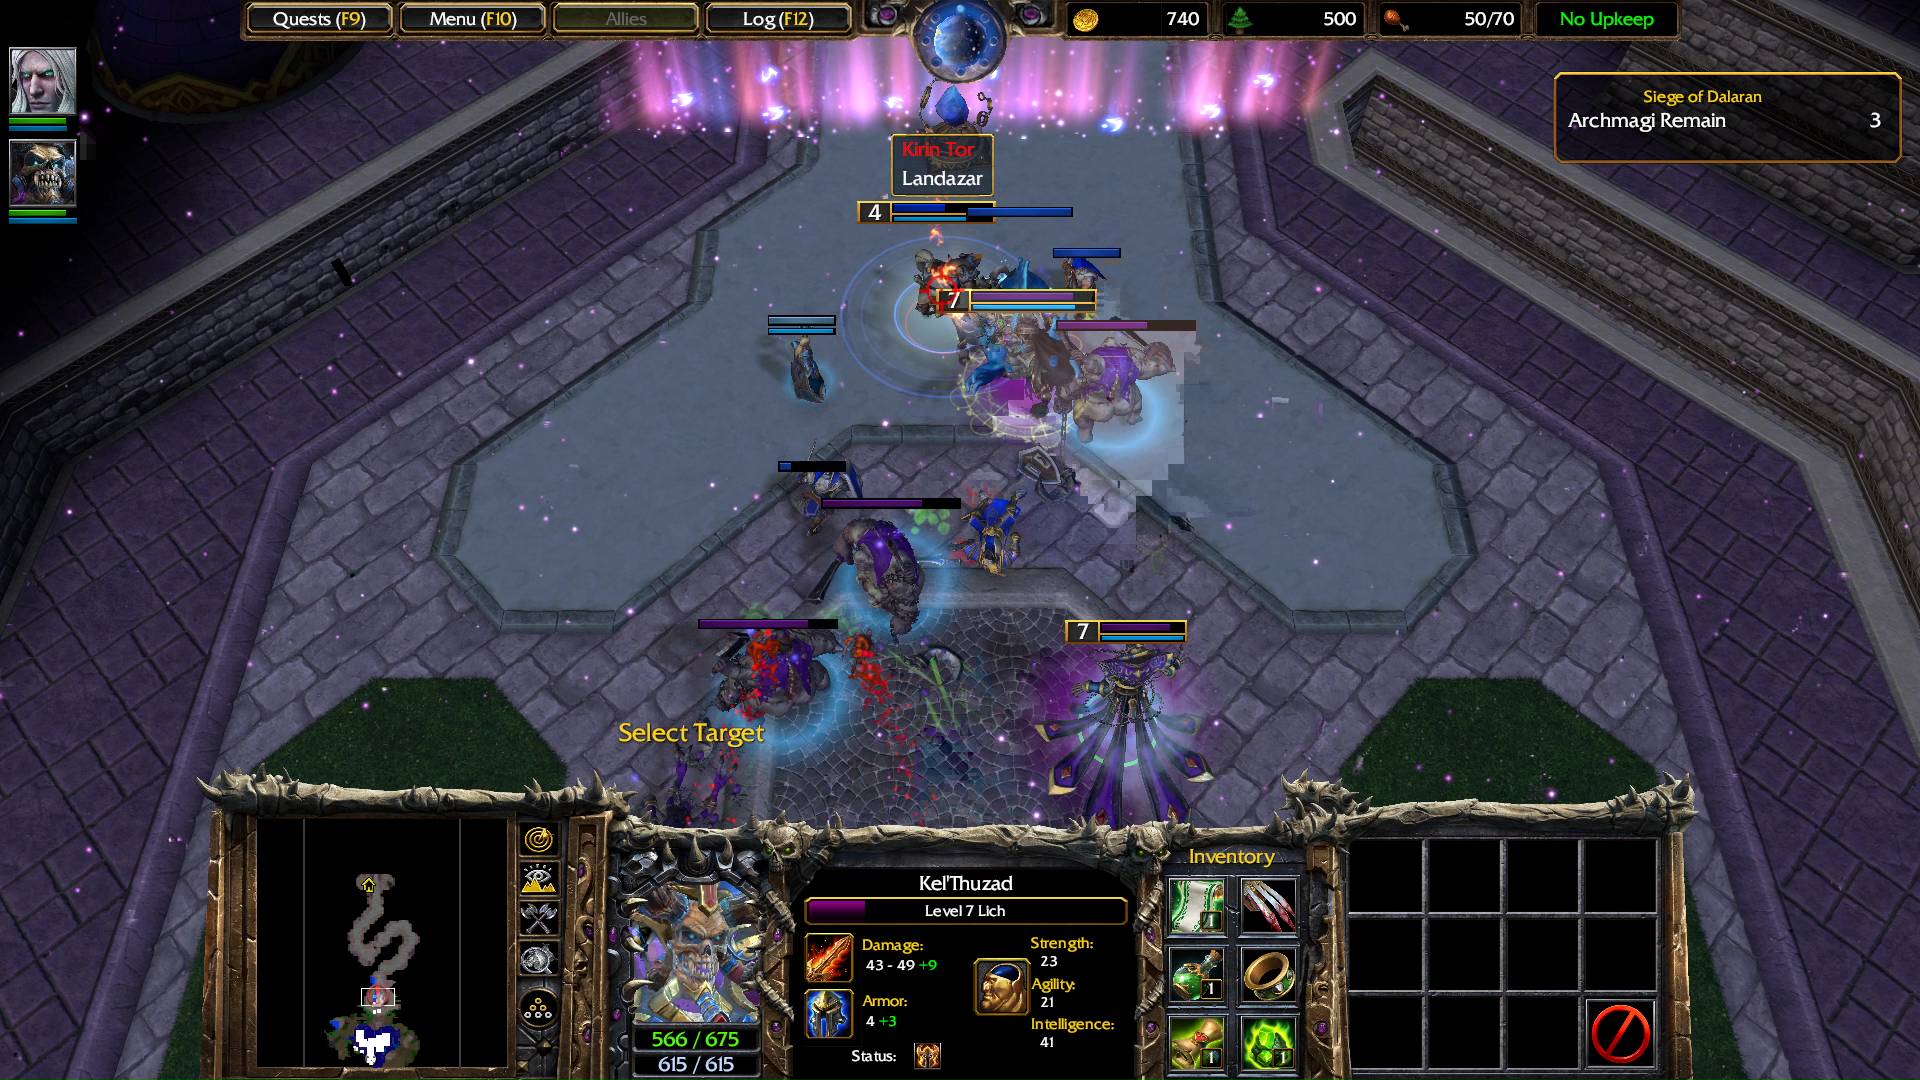
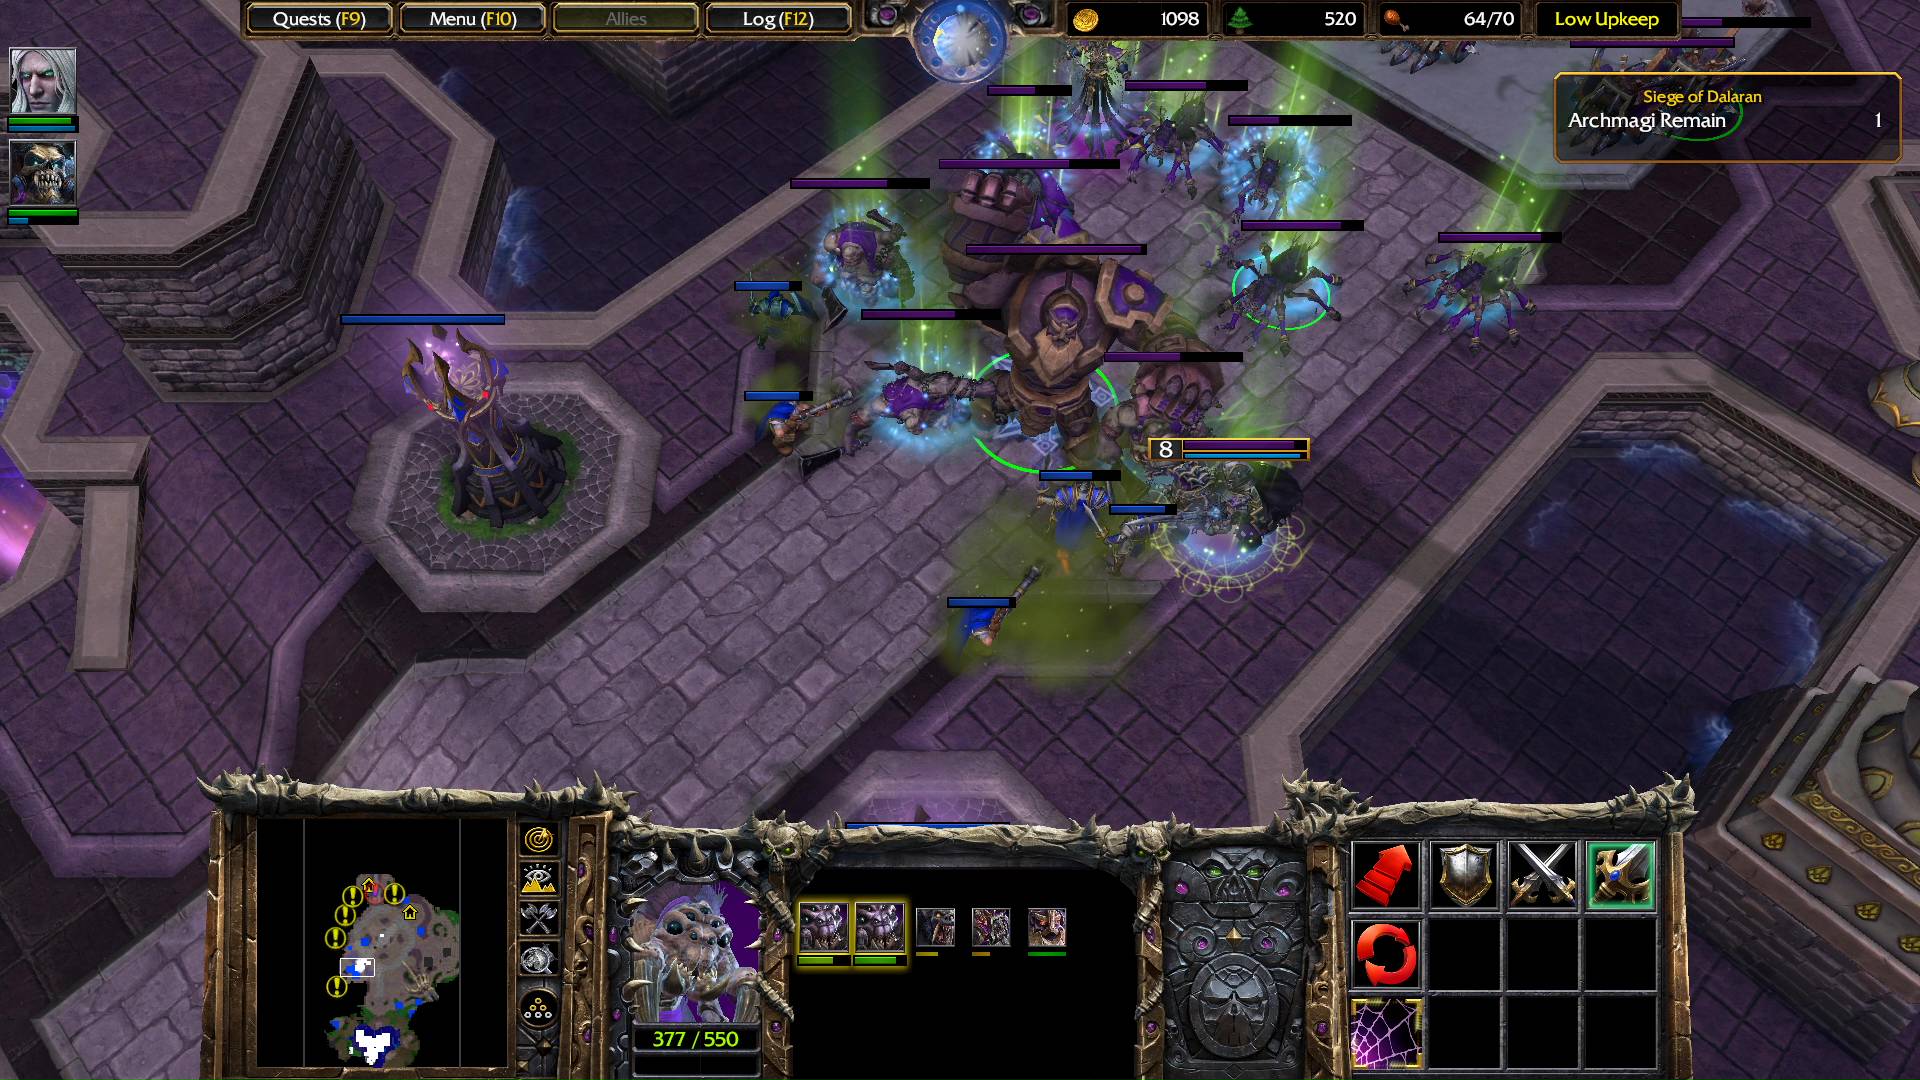
Now head north to kill the last Wizard channeling the anti-undead aura. Again, these Archmage’s names are random each time you play this same map — all except Antonidas.
OBJECTIVES UPDATE
Retrieve Medivh’s Book
- Enter the Violet Citadel and kill Antonidas
For the aura damage, you will find a Fountain of Health to heal your forces, north of him.
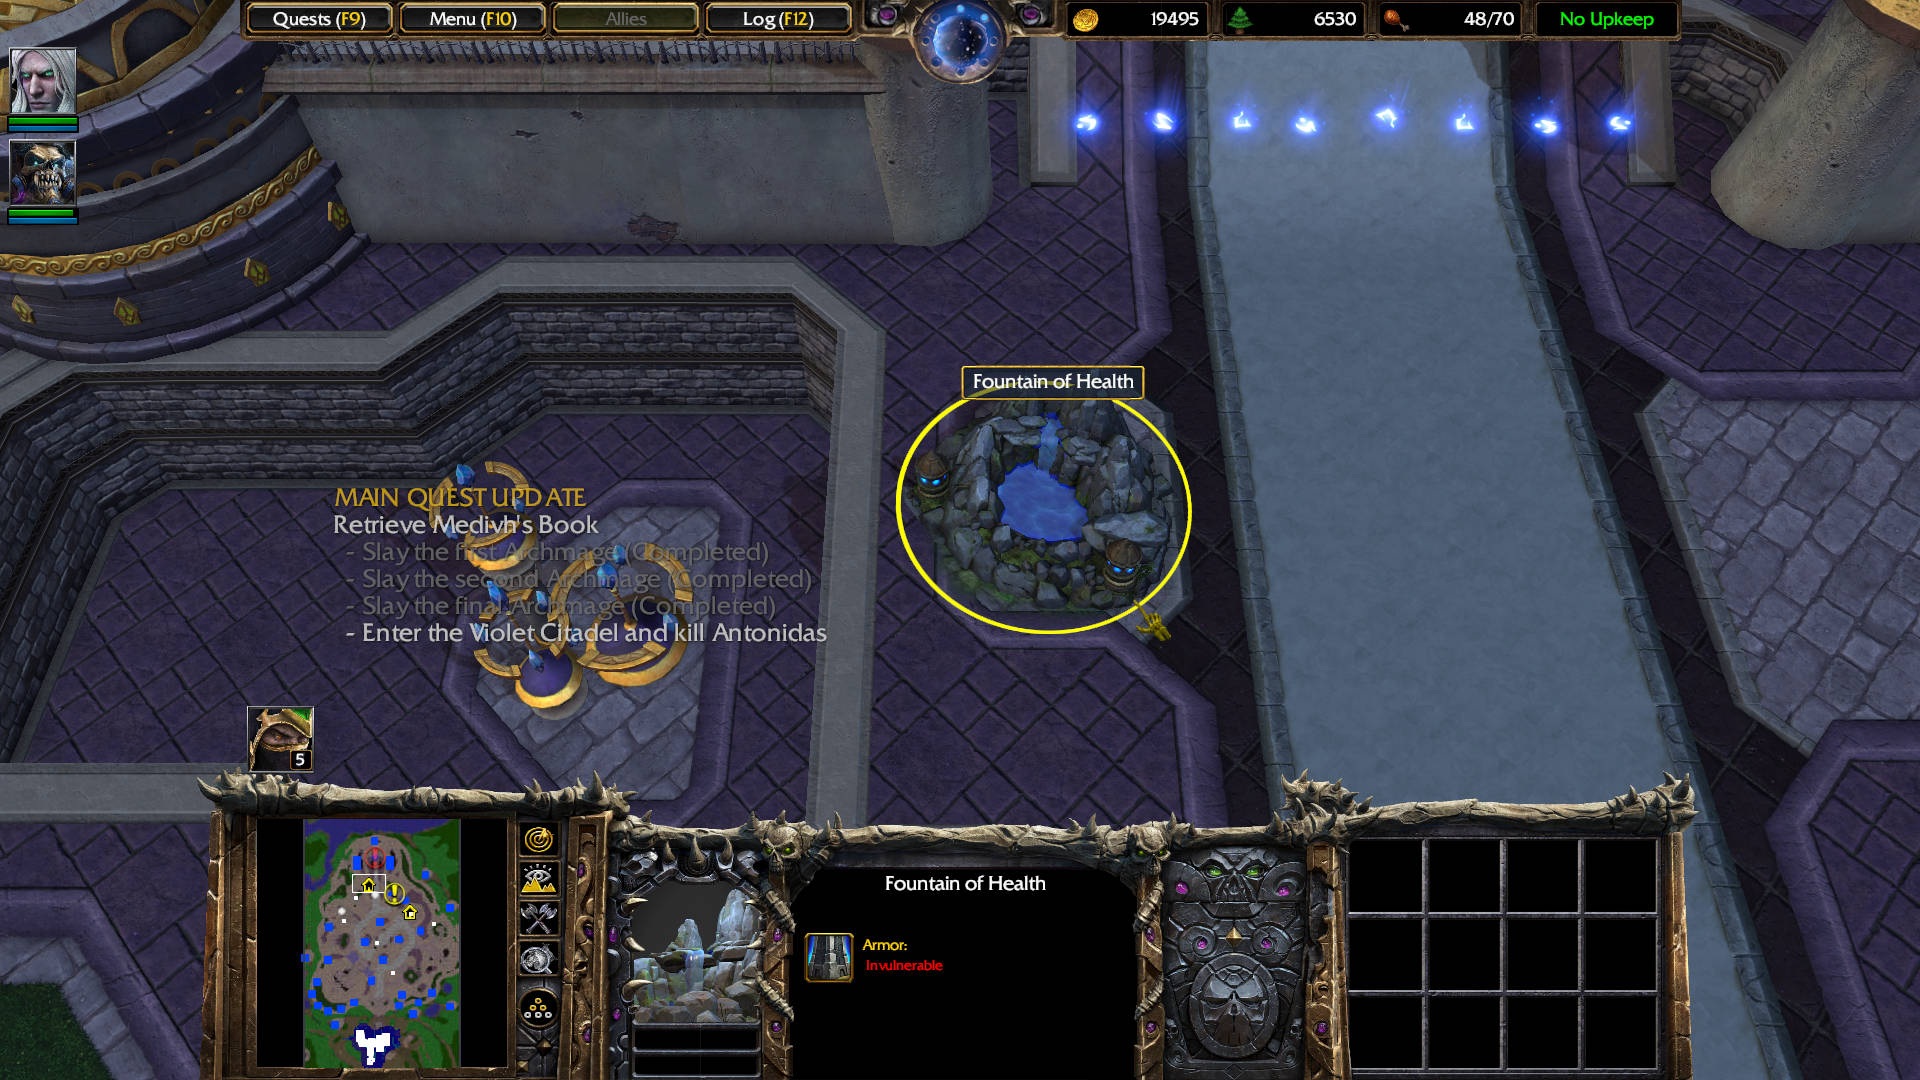
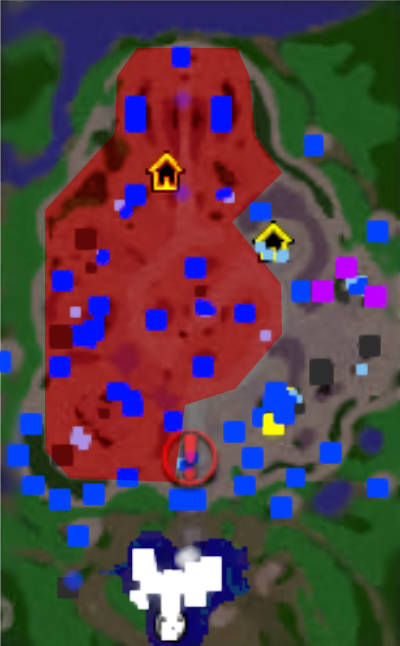
VERY IMPORTANT: Don’t go past those blue runes on the ground, before killing the last Council Wizard. If you go past those runes, the Optional Quest automatically fails, and a cutscene plays. After the cutscene your Heroes are teleported into a sort of circle gauntlet.
Do yourself a favor, and turn to the right, then south, to kill the last Council Wizard. He casts Frostbolts and sometimes a Lightning Bolt.
Afterwards, the War Golem joins your team.
OPTIONAL QUEST COMPLETED
Violet Council
Now you can go past the runes on the ground to enter this peculiar circle of runes.
CUTSCENE
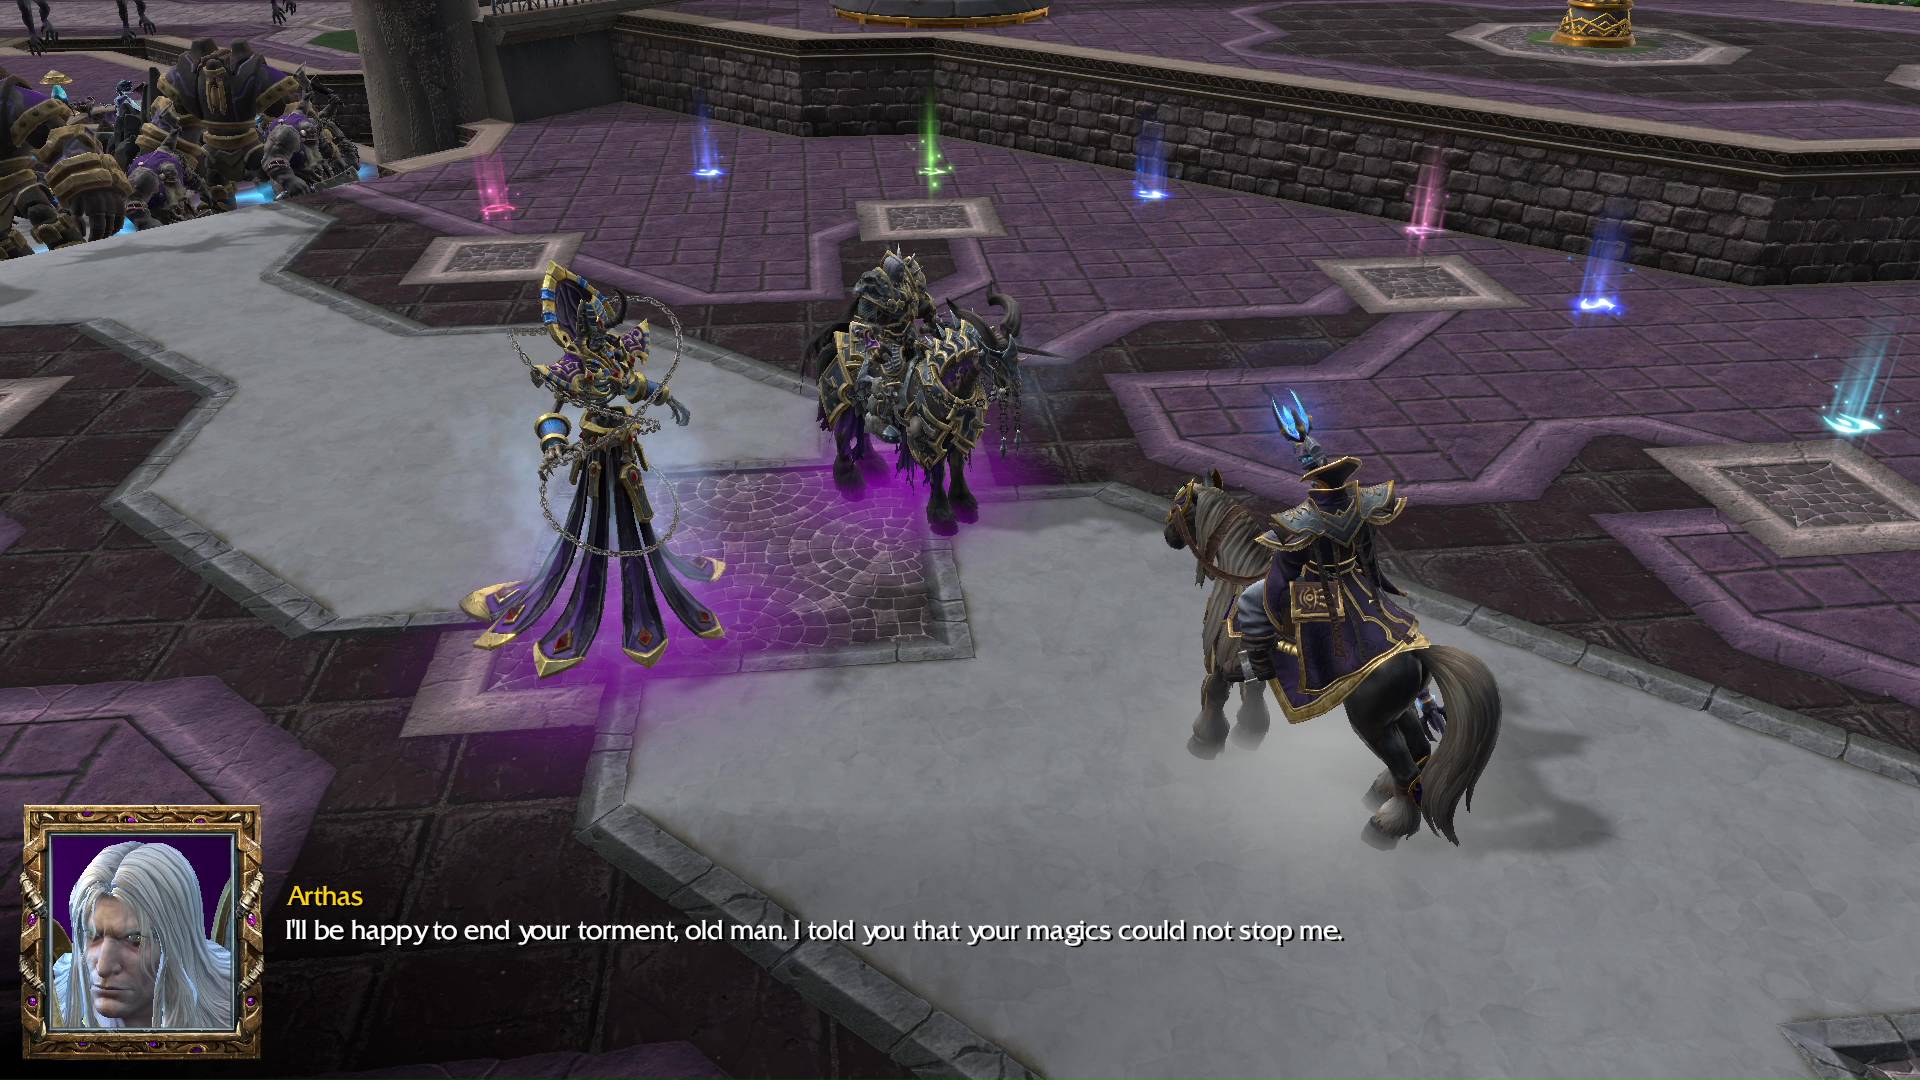
Antonidas: It pains me to even look at you, Arthas.
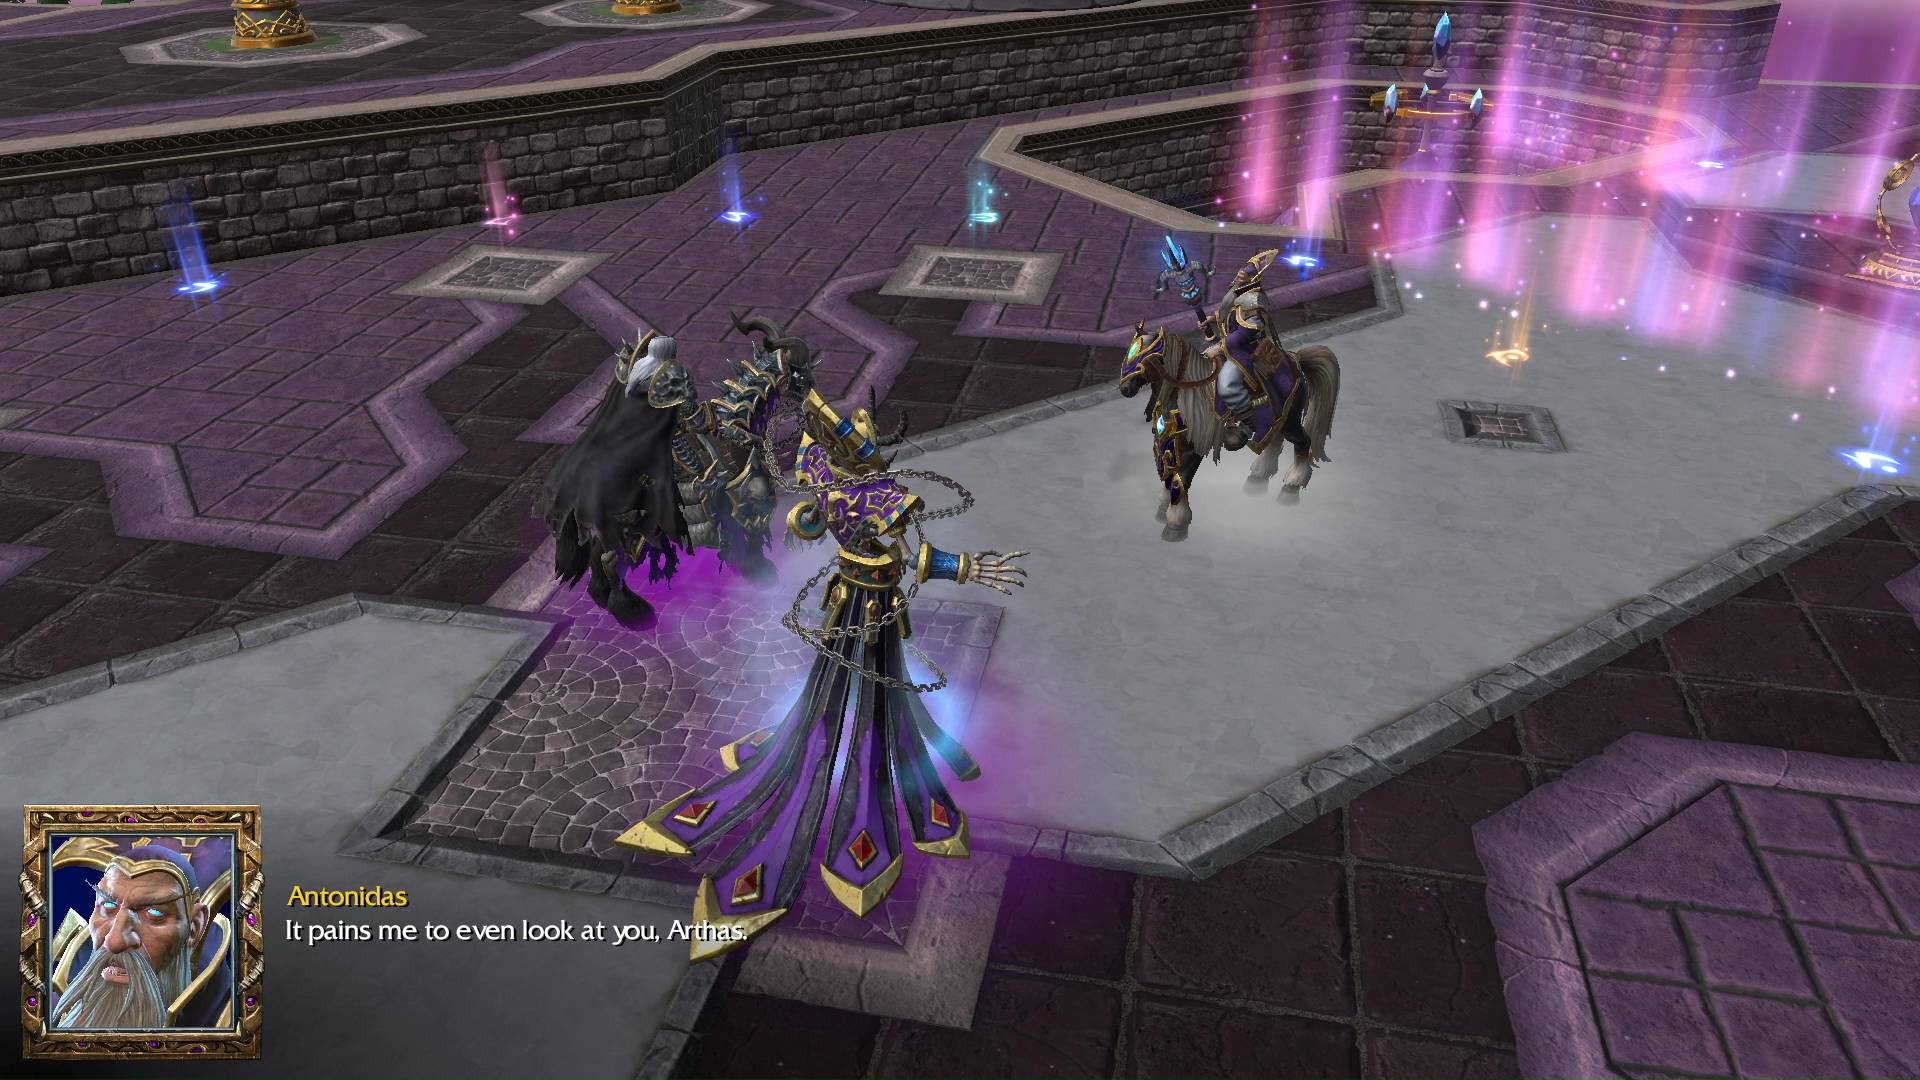
Arthas: I’ll be happy to end your torment, old man. I told you that your magics could not stop me.
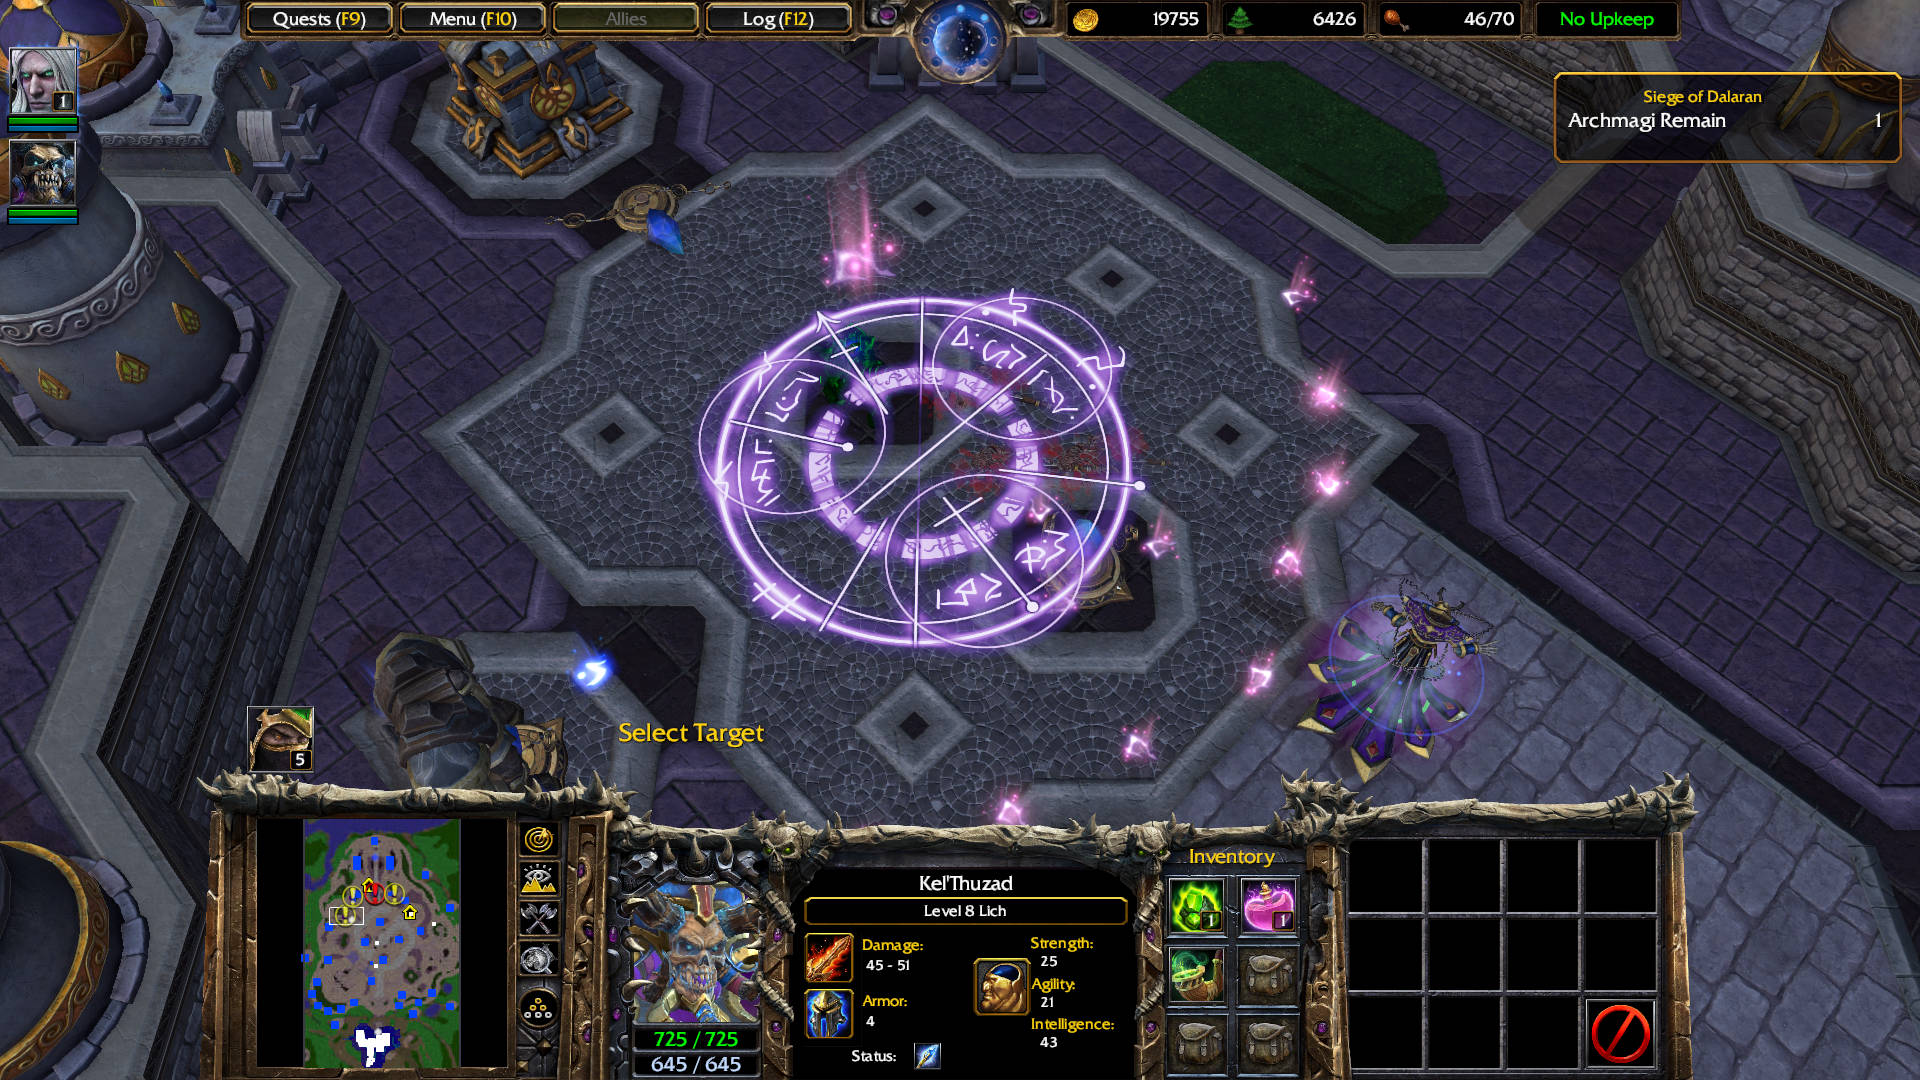
Now comes the fun. Each rune is replaced by a War Golem. You are surrounded.
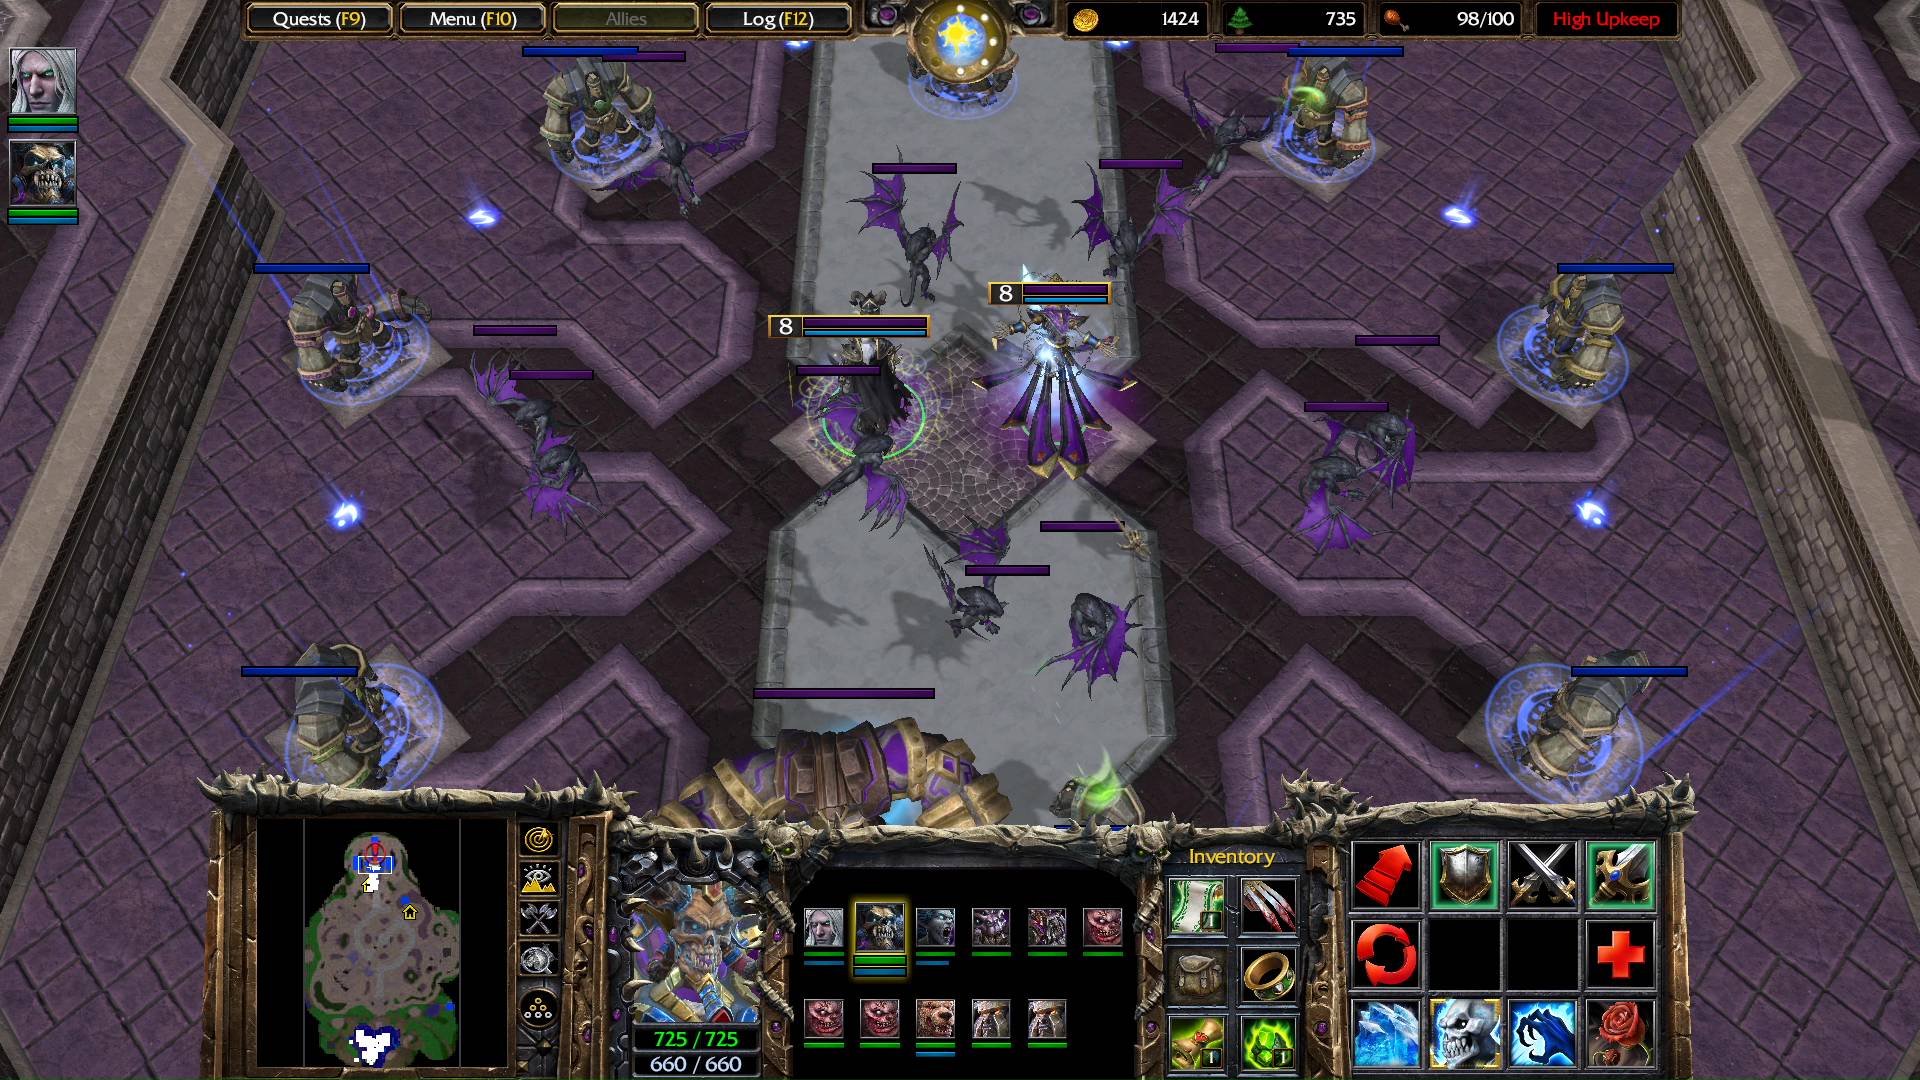
The best strategy is to move to a corner so that all the enemy War Golems pile up in the same spot so that they die quick. The second phase starts when they die. The War Golems are replaced by Water Elementals. Now… things get interesting in the chaos of getting nuked by ranged Water Elementals.

Select all your units and press A on Antonidas to focus him. There is a catch, though. Antonidas teleports every 3 seconds. So you need to keep moving around the room continuously to tag him. Ignore the Water Elementals. Kill Antonidas as fast as you can. The Water Elementals despawn when he dies.
MAIN QUEST COMPLETED
Retrieve Medivh’s Book
CUTSCENE
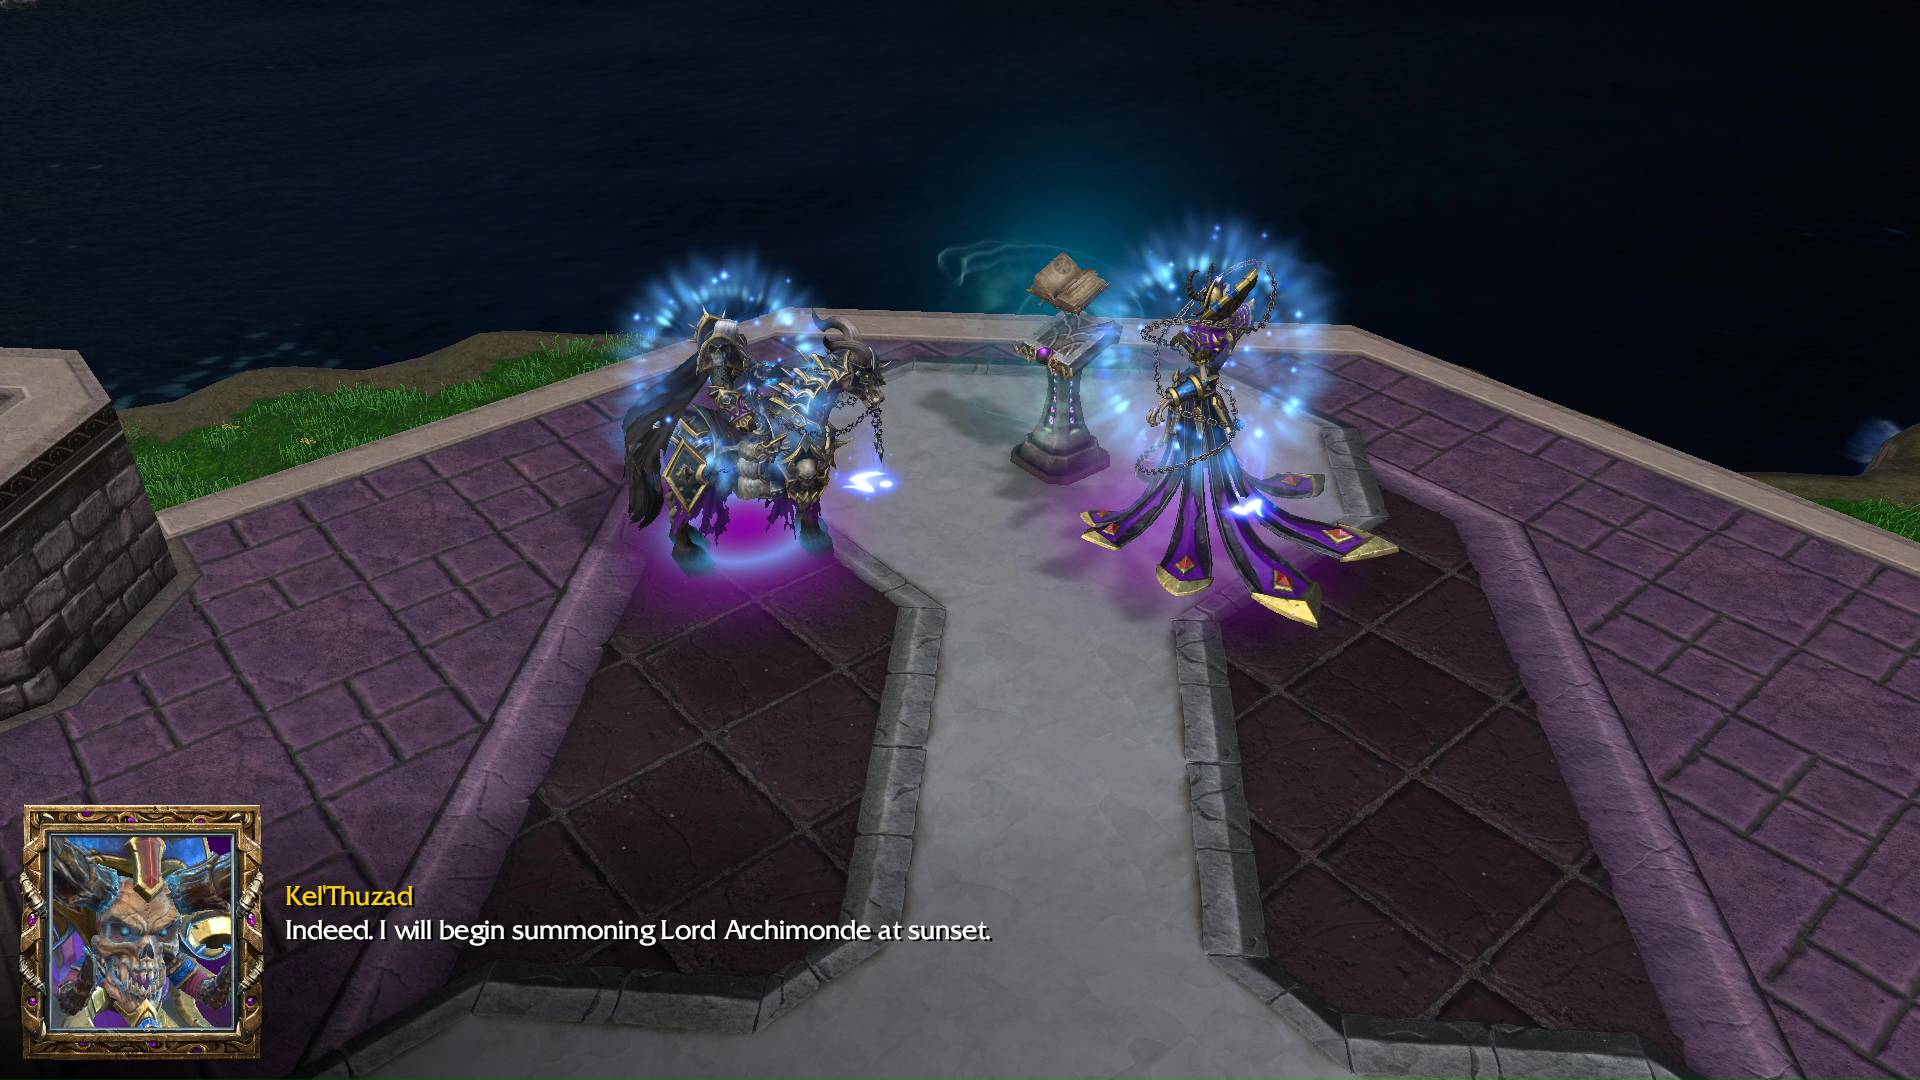
Arthas: The spellbook is all yours, lich. Let’s take it and leave before the wizards amass for their final attack.
Kel’Thuzad: Indeed. I will begin summoning Lord Archimonde at sunset.
VICTORY
BESTIARY
KIRIN TOR HEROES
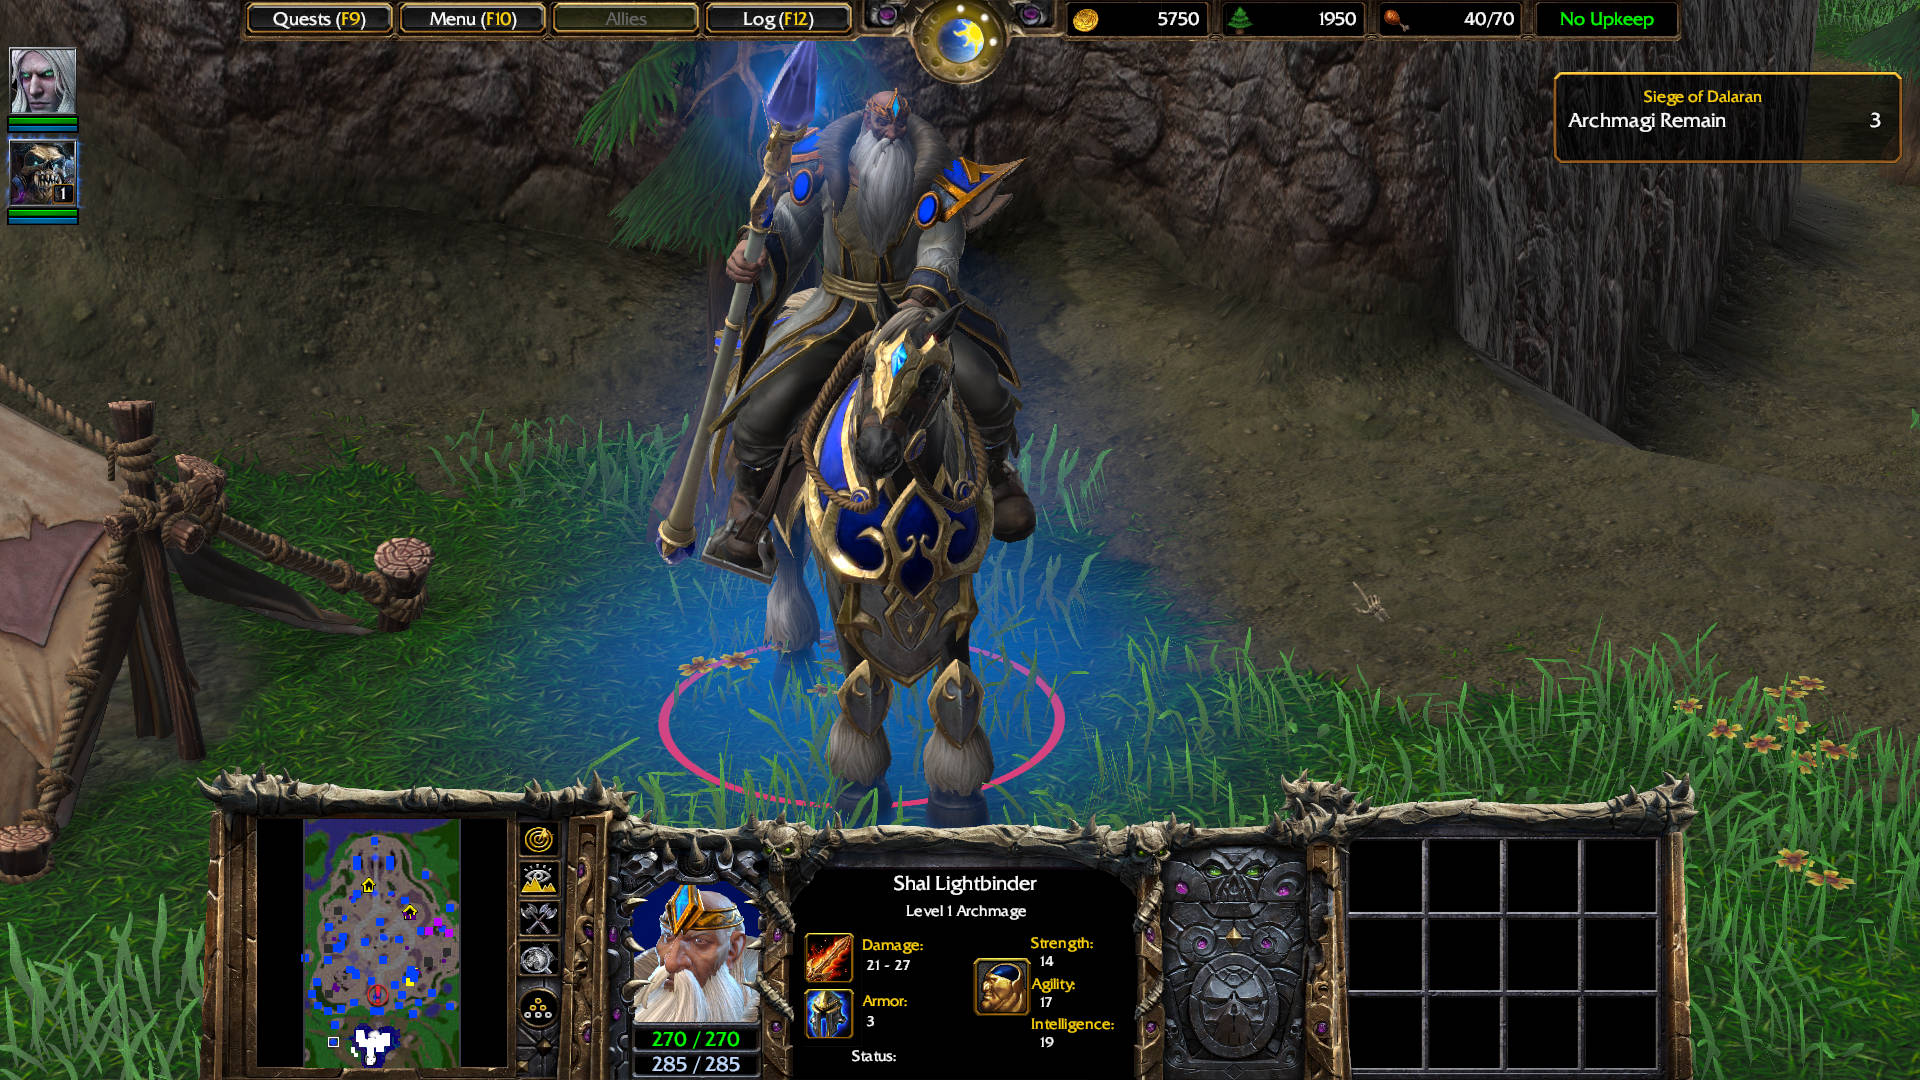
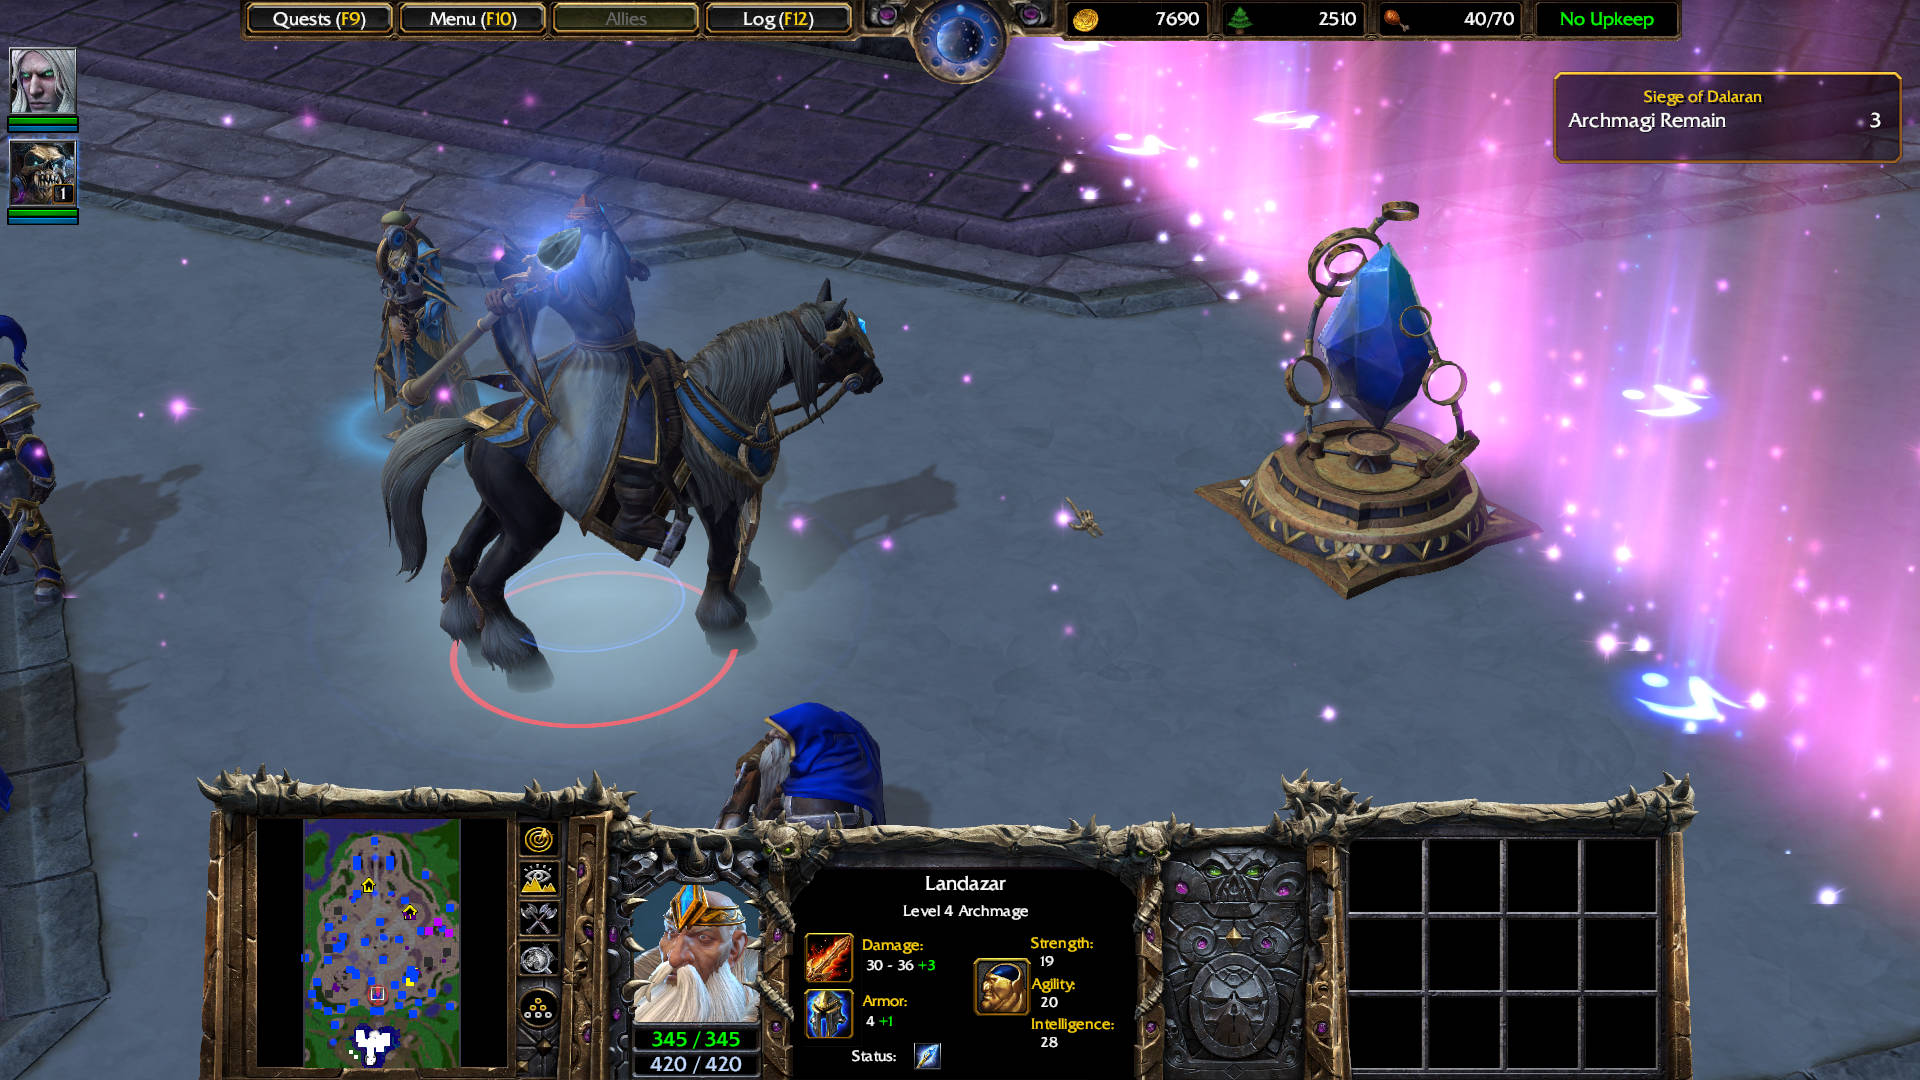
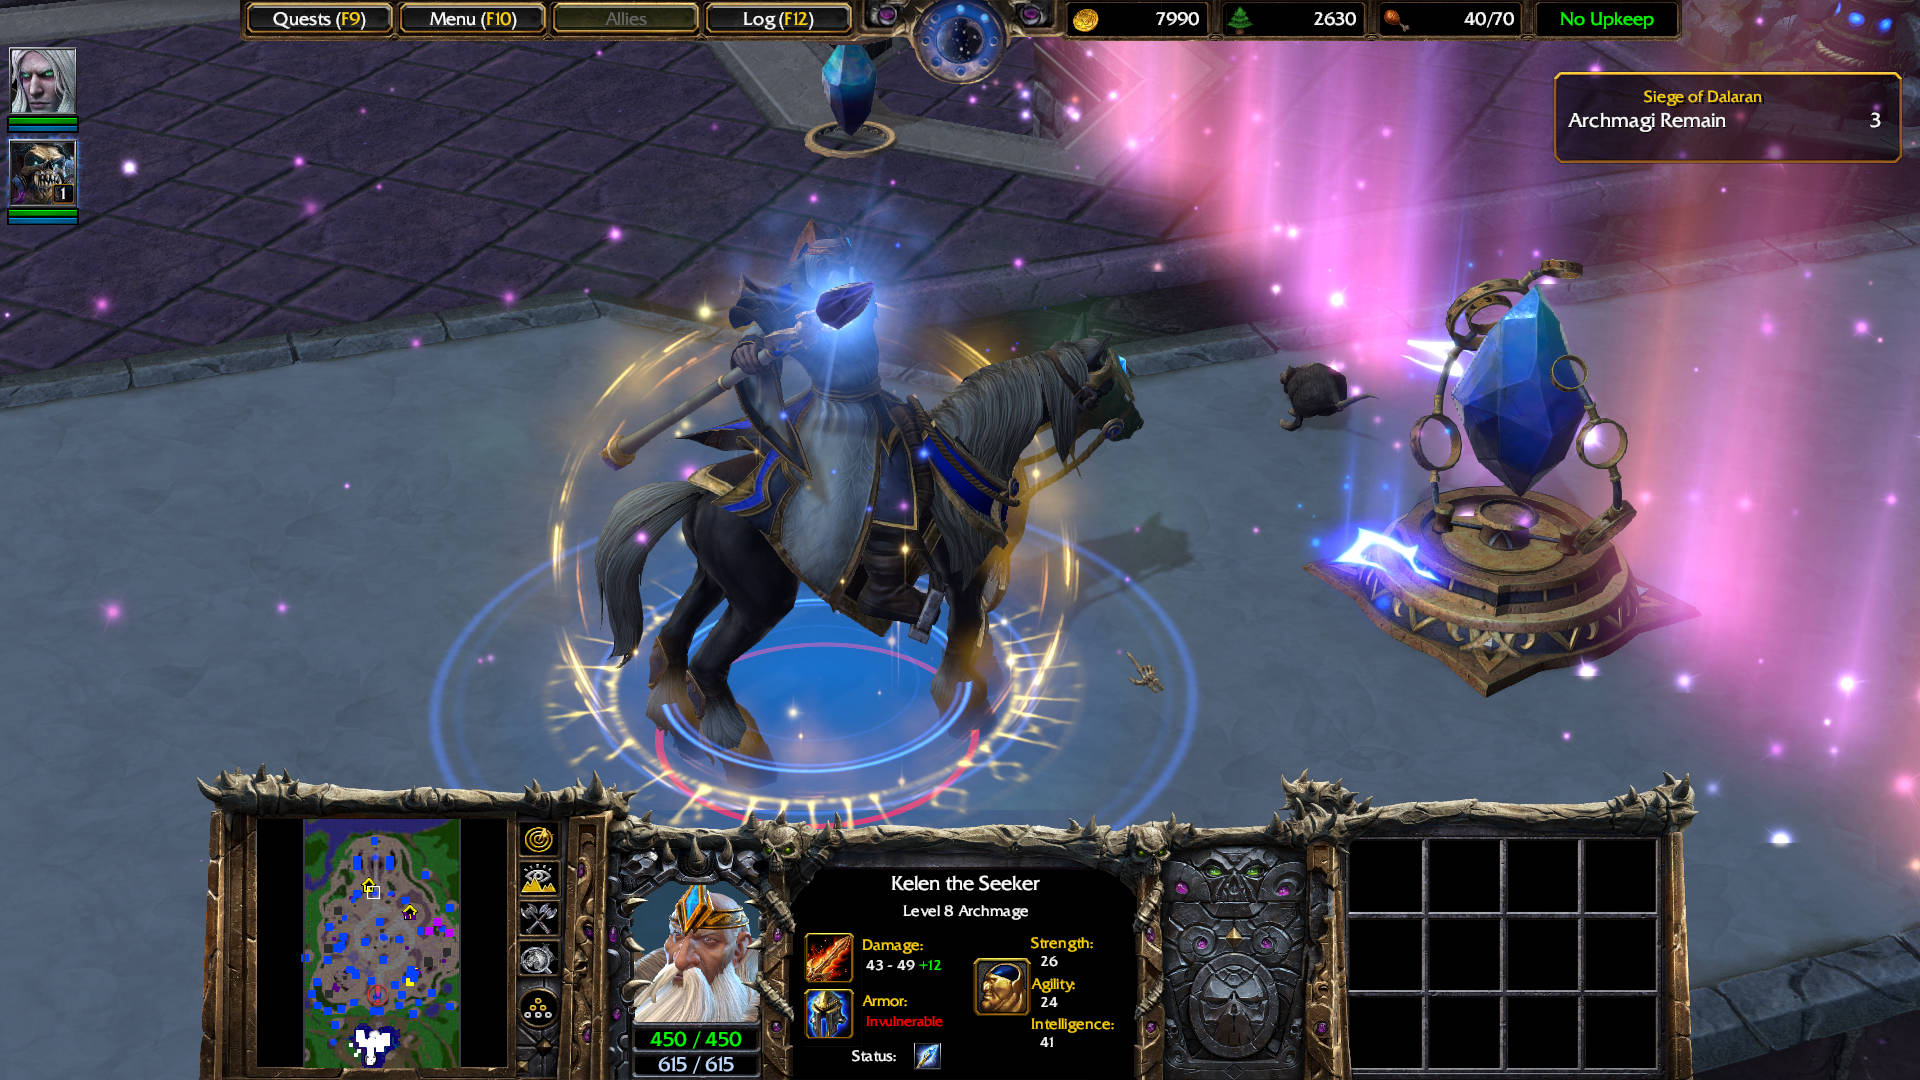
These are 4 random archmages from a fixed list that spawn per game. If you restart, they will be different names and different locations around the map. Only Antonidas remains the same. Curiously, some of these were in The Fall of Silvermoon mission.
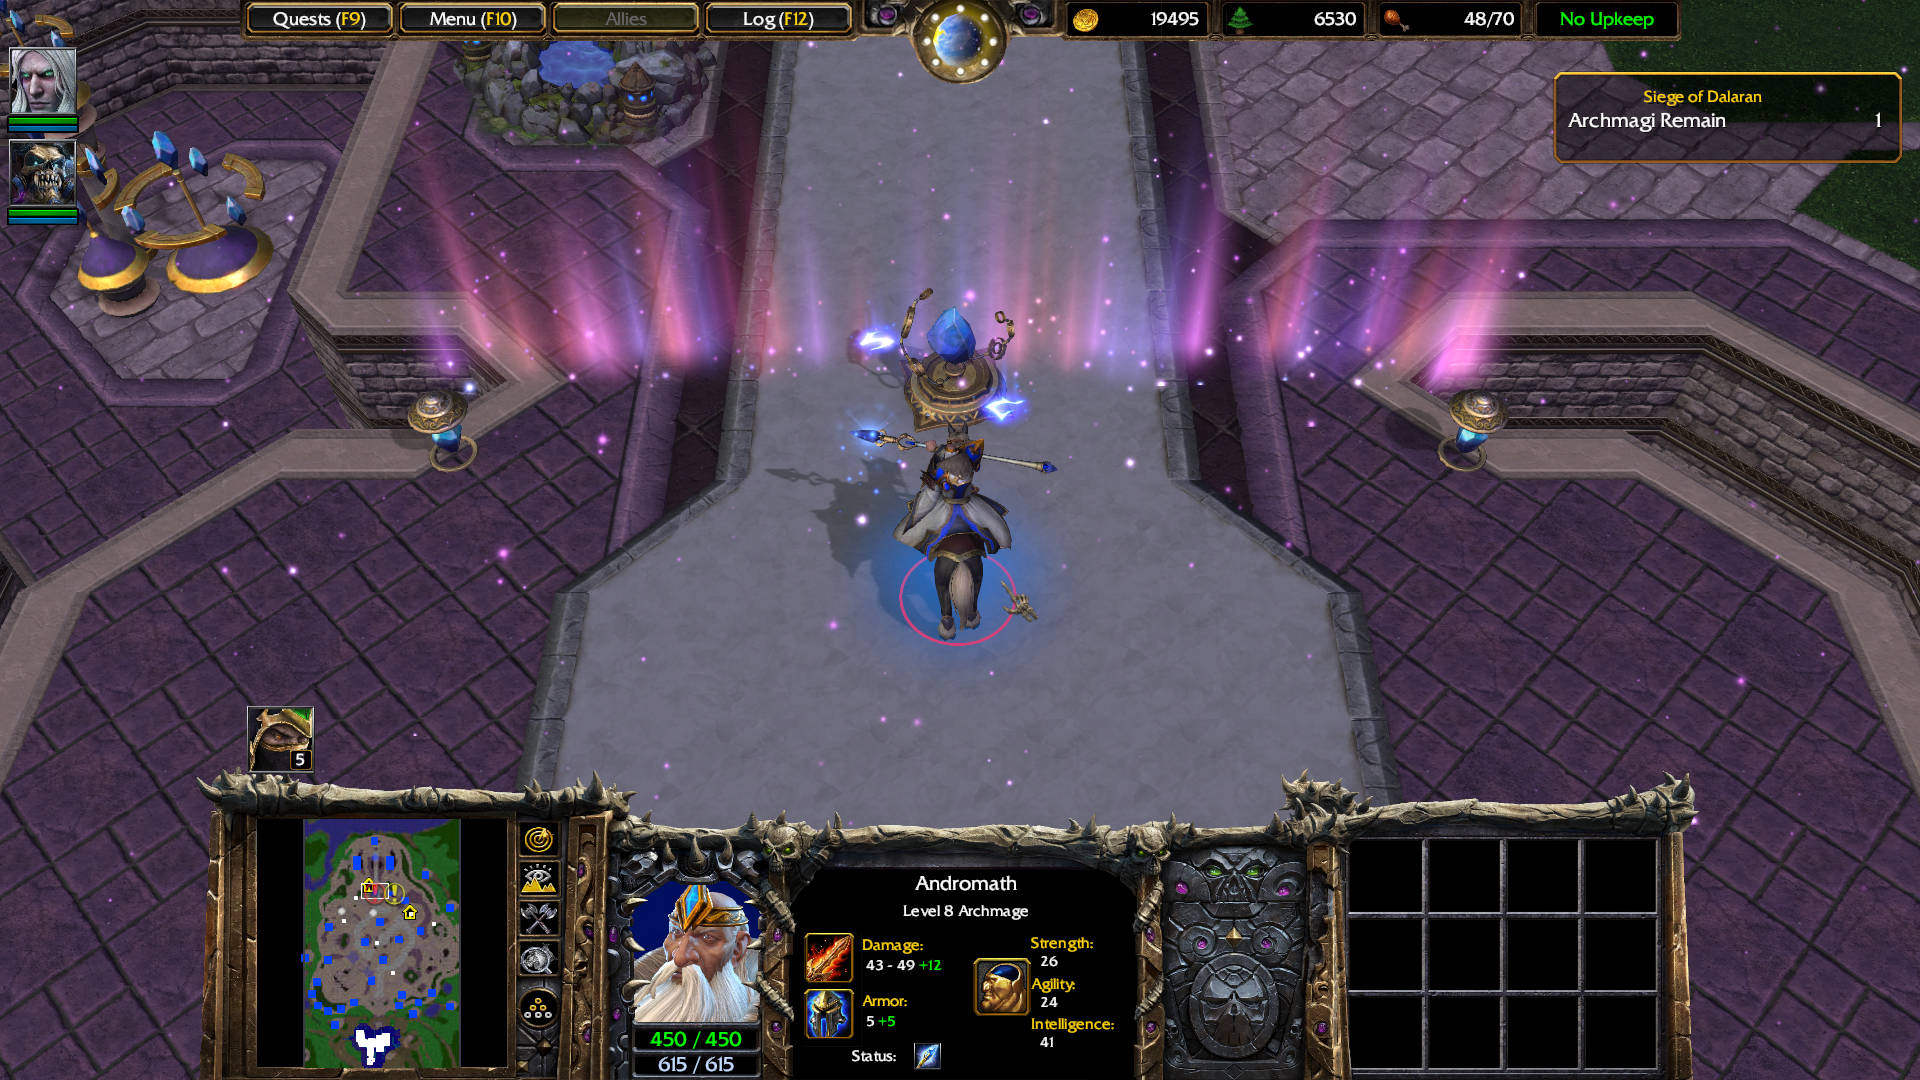
- Andromath
- Antonidas
- Aran Spellweaver
- Conjurus Rex
- Dalar Dawnweaver
- Doril Magefont
- Fordred Aran
- Kelen the Seeker
- Landazar
- Manath Magesinger
- Nilas Arcanister
- Peril Spellbinder
- Shal Lightbinder
- Tenn Flamecaster
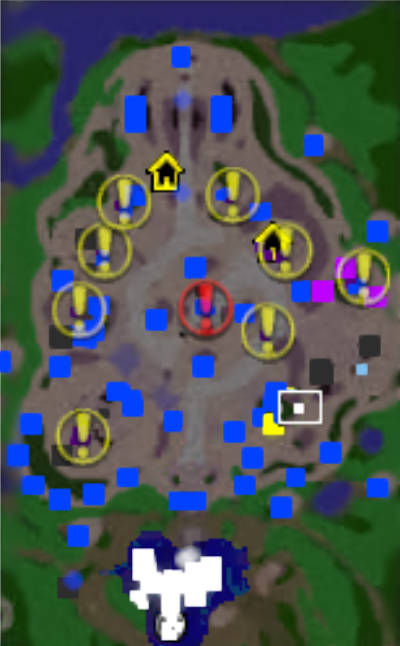
MAP
GALLERY


Hope you enjoyed this article. Please, support Blizzplanet via PayPal, and follow us on Twitter, Facebook, YouTube, and Twitch for Blizzard games news updates. |
 |