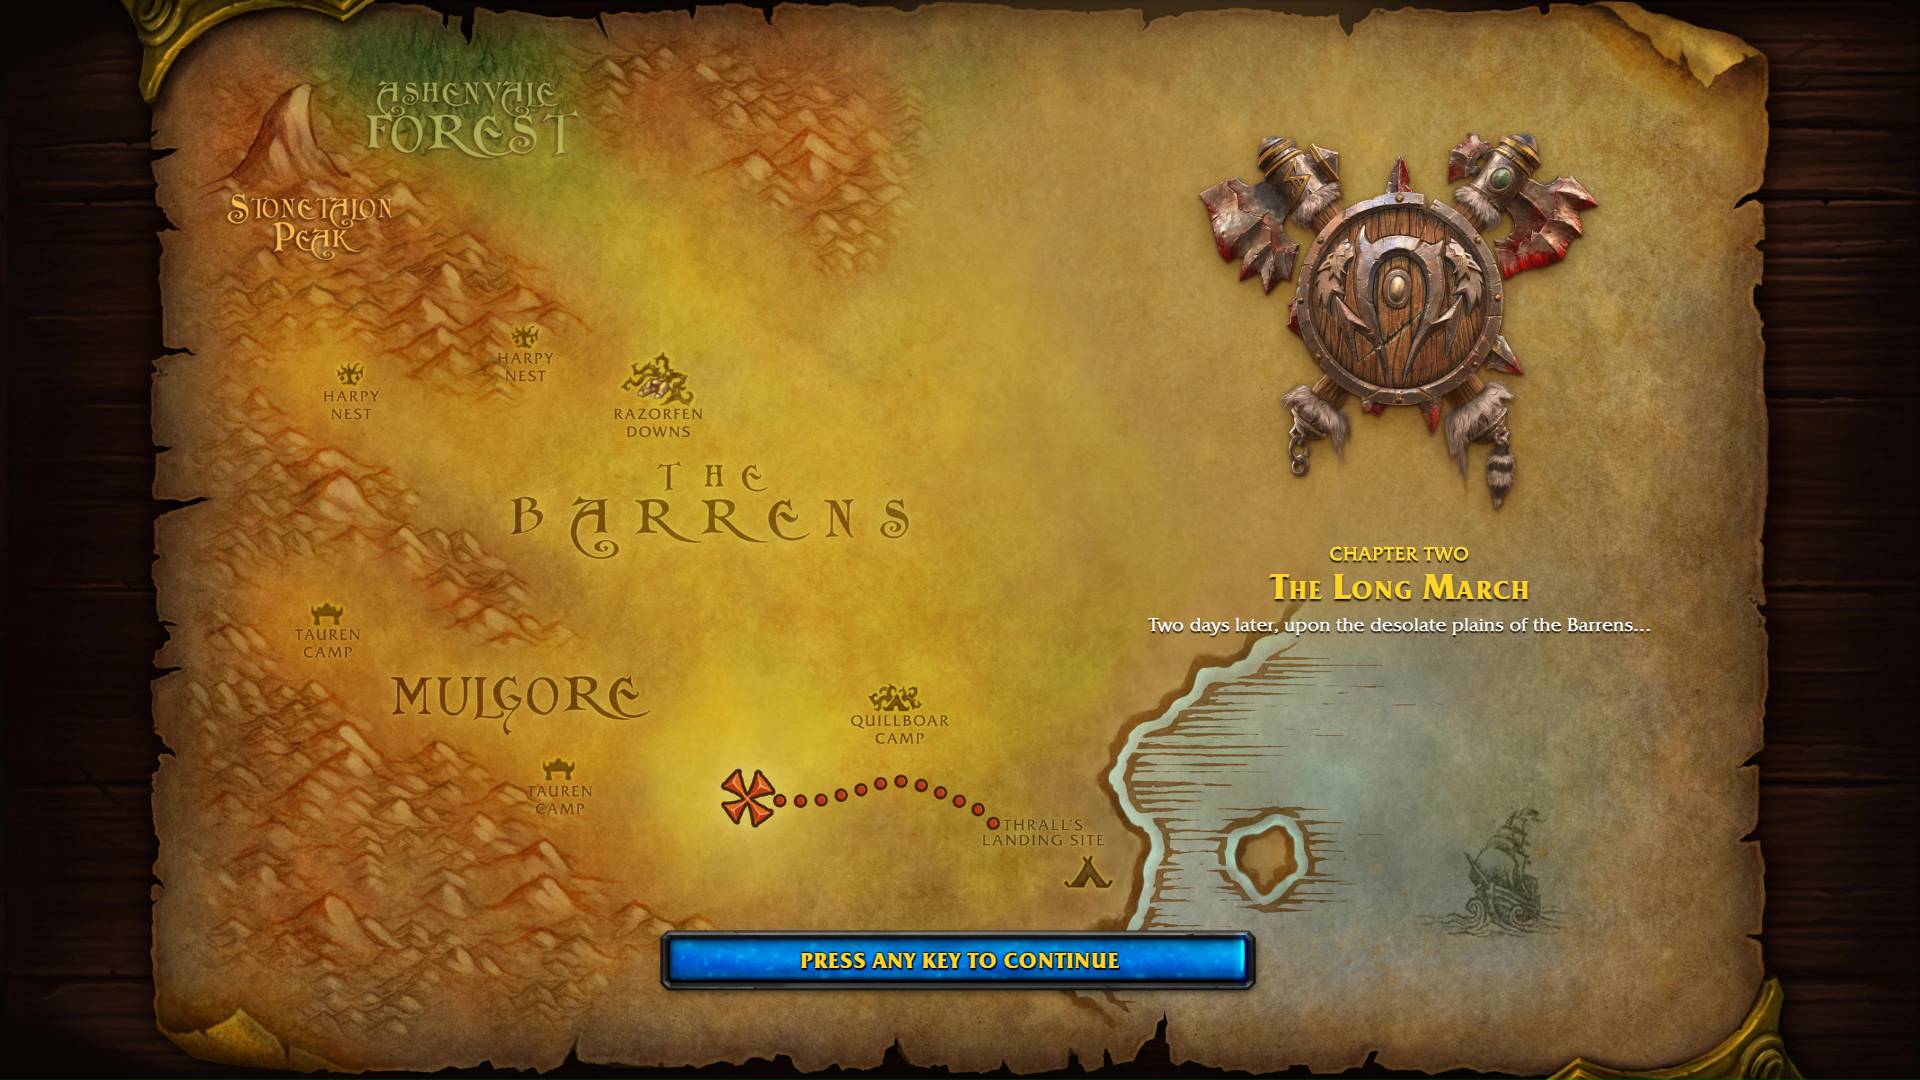
Two days later, upon the desolate plains of the Barrens…
YOUTUBE VIDEO
CUTSCENE
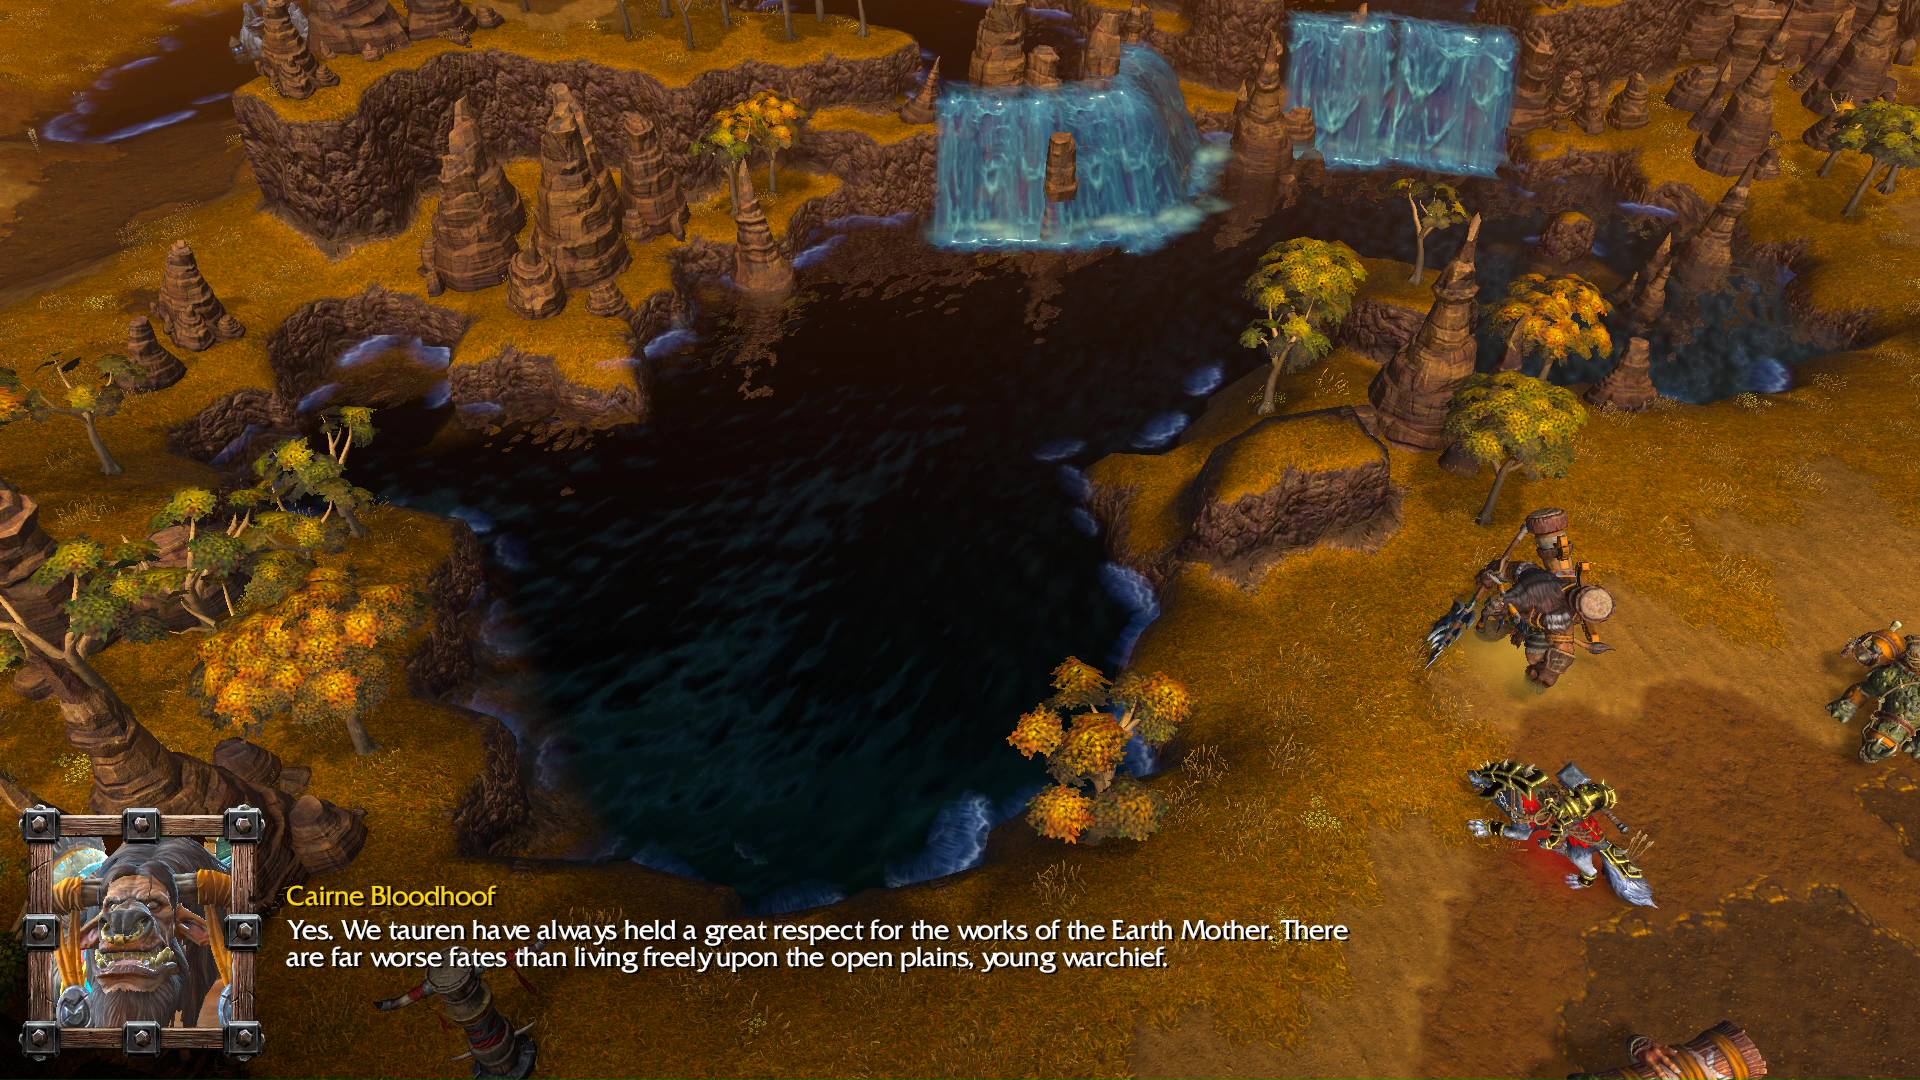
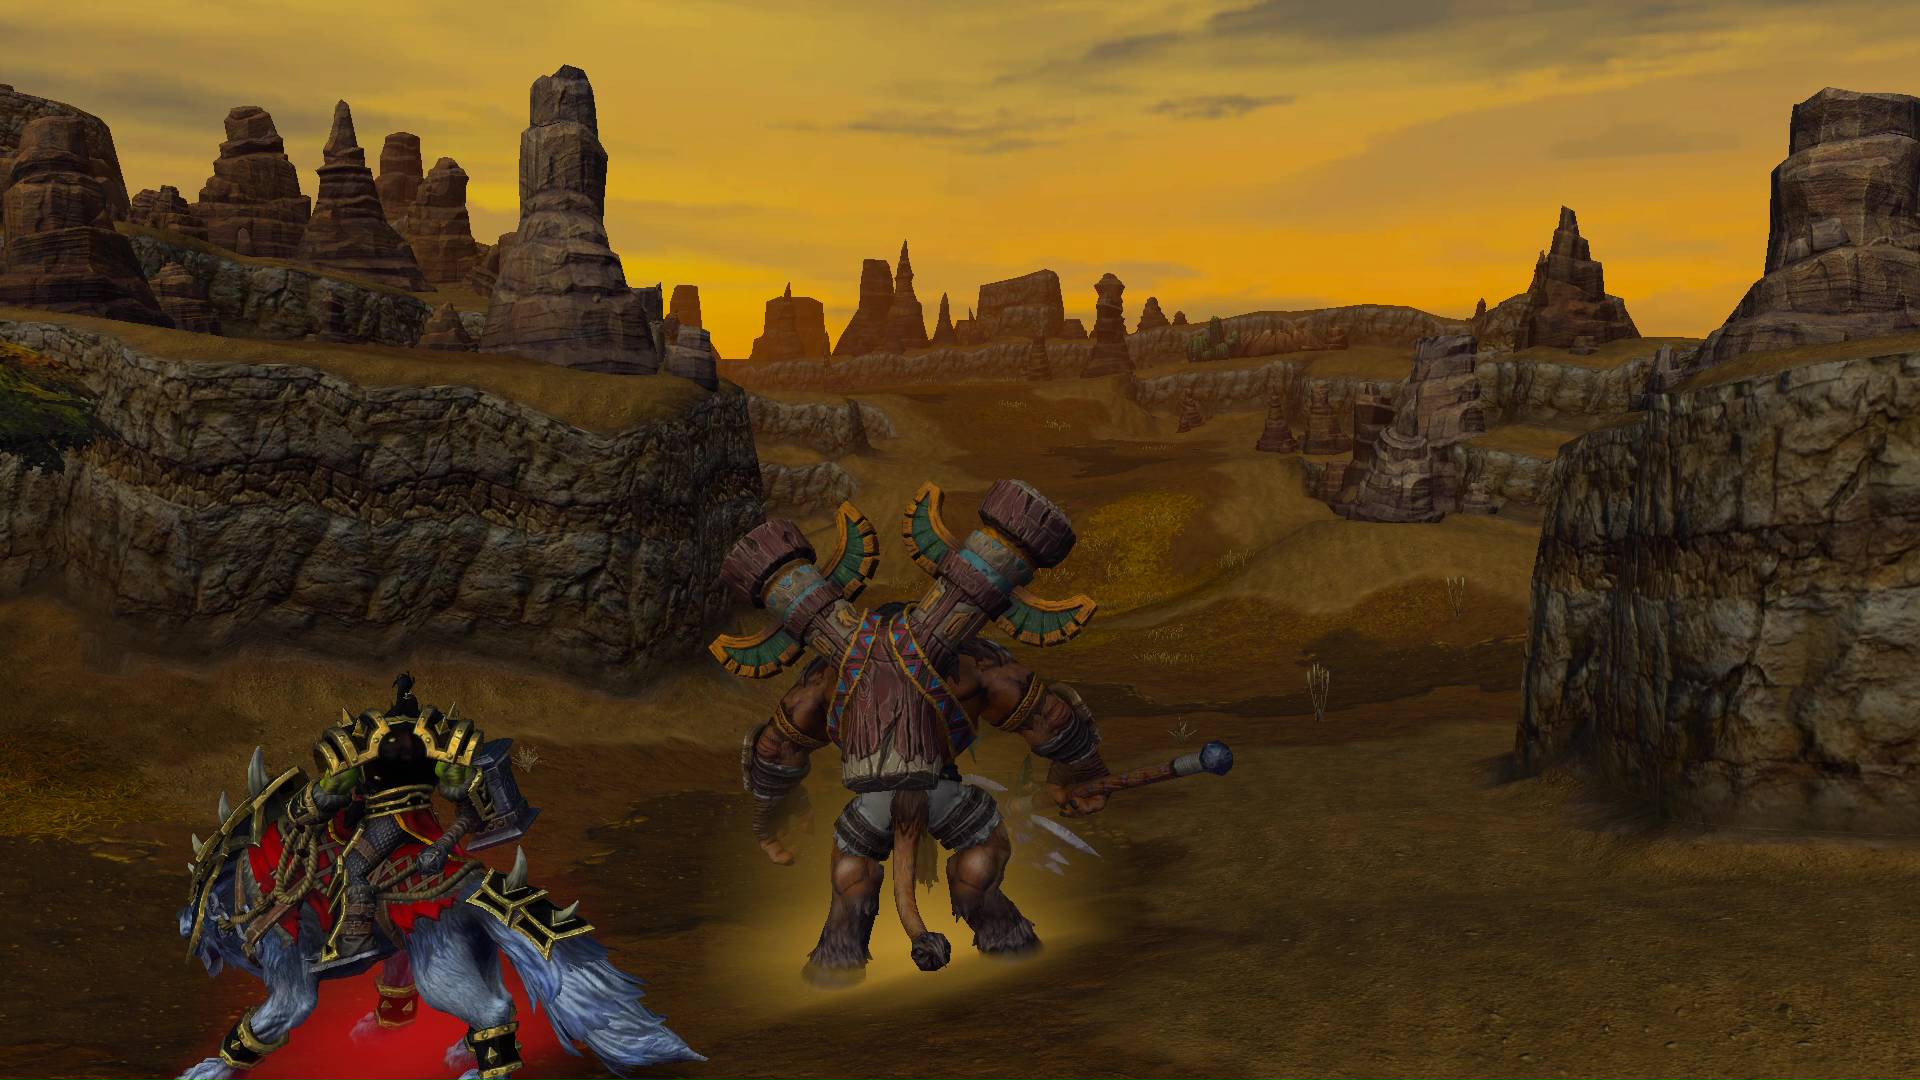
Thrall: This land is rugged and beautiful, much like the place from which my people originally come.

Cairne Bloodhoof: Yes. We tauren have always held a great respect for the works of the Earth Mother. There are far worse fates than living freely upon the open plains, young warchief.
Thrall: Perhaps. But my people deserve a land to call their own, Cairne.
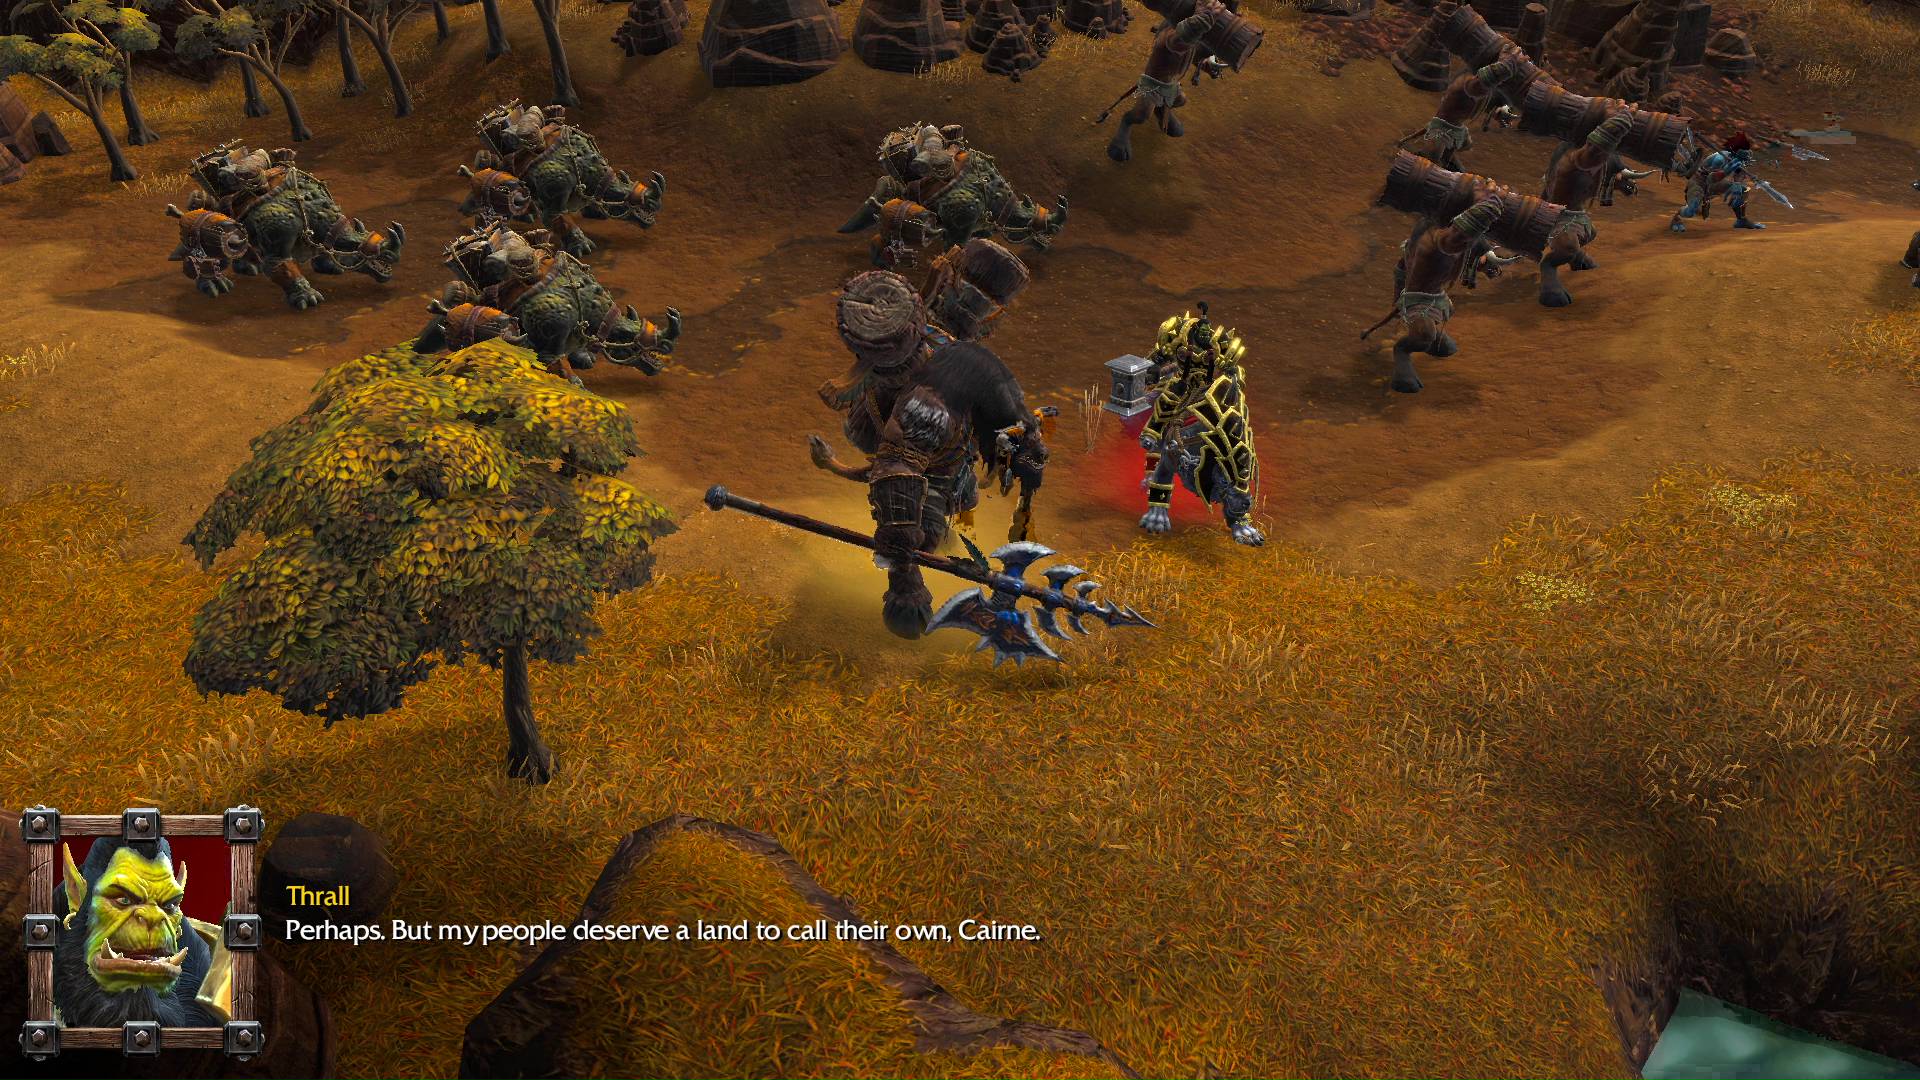
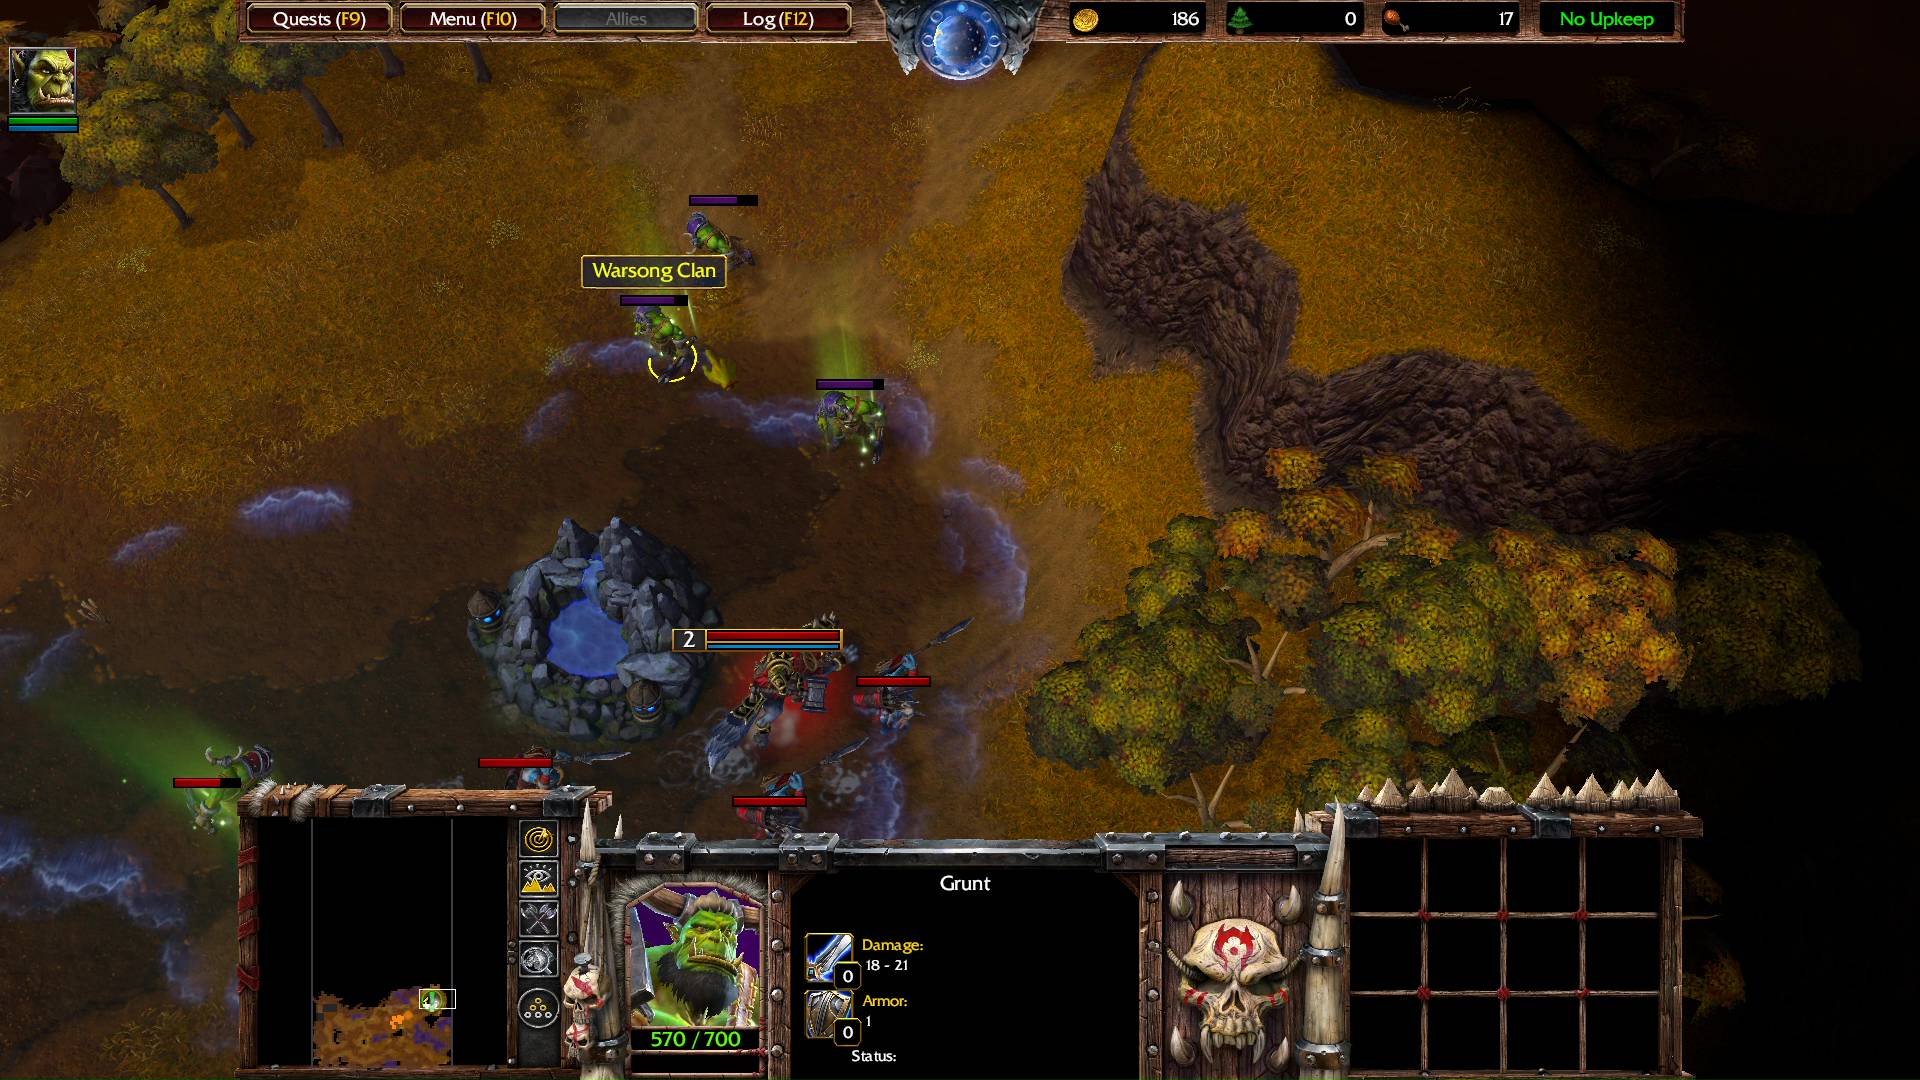
Grunt: Warchief! We’ve spotted a herd of marauders bearing down on us.
Thrall: Cairne. The Kodos are overburdened and must rest. Why don’t you remain here and protect the caravan while we search for suitable oasis?
Cairne Bloodhoof: Ha! There’s no need to coddle me, boy. I may be old, but I’m not helpless.
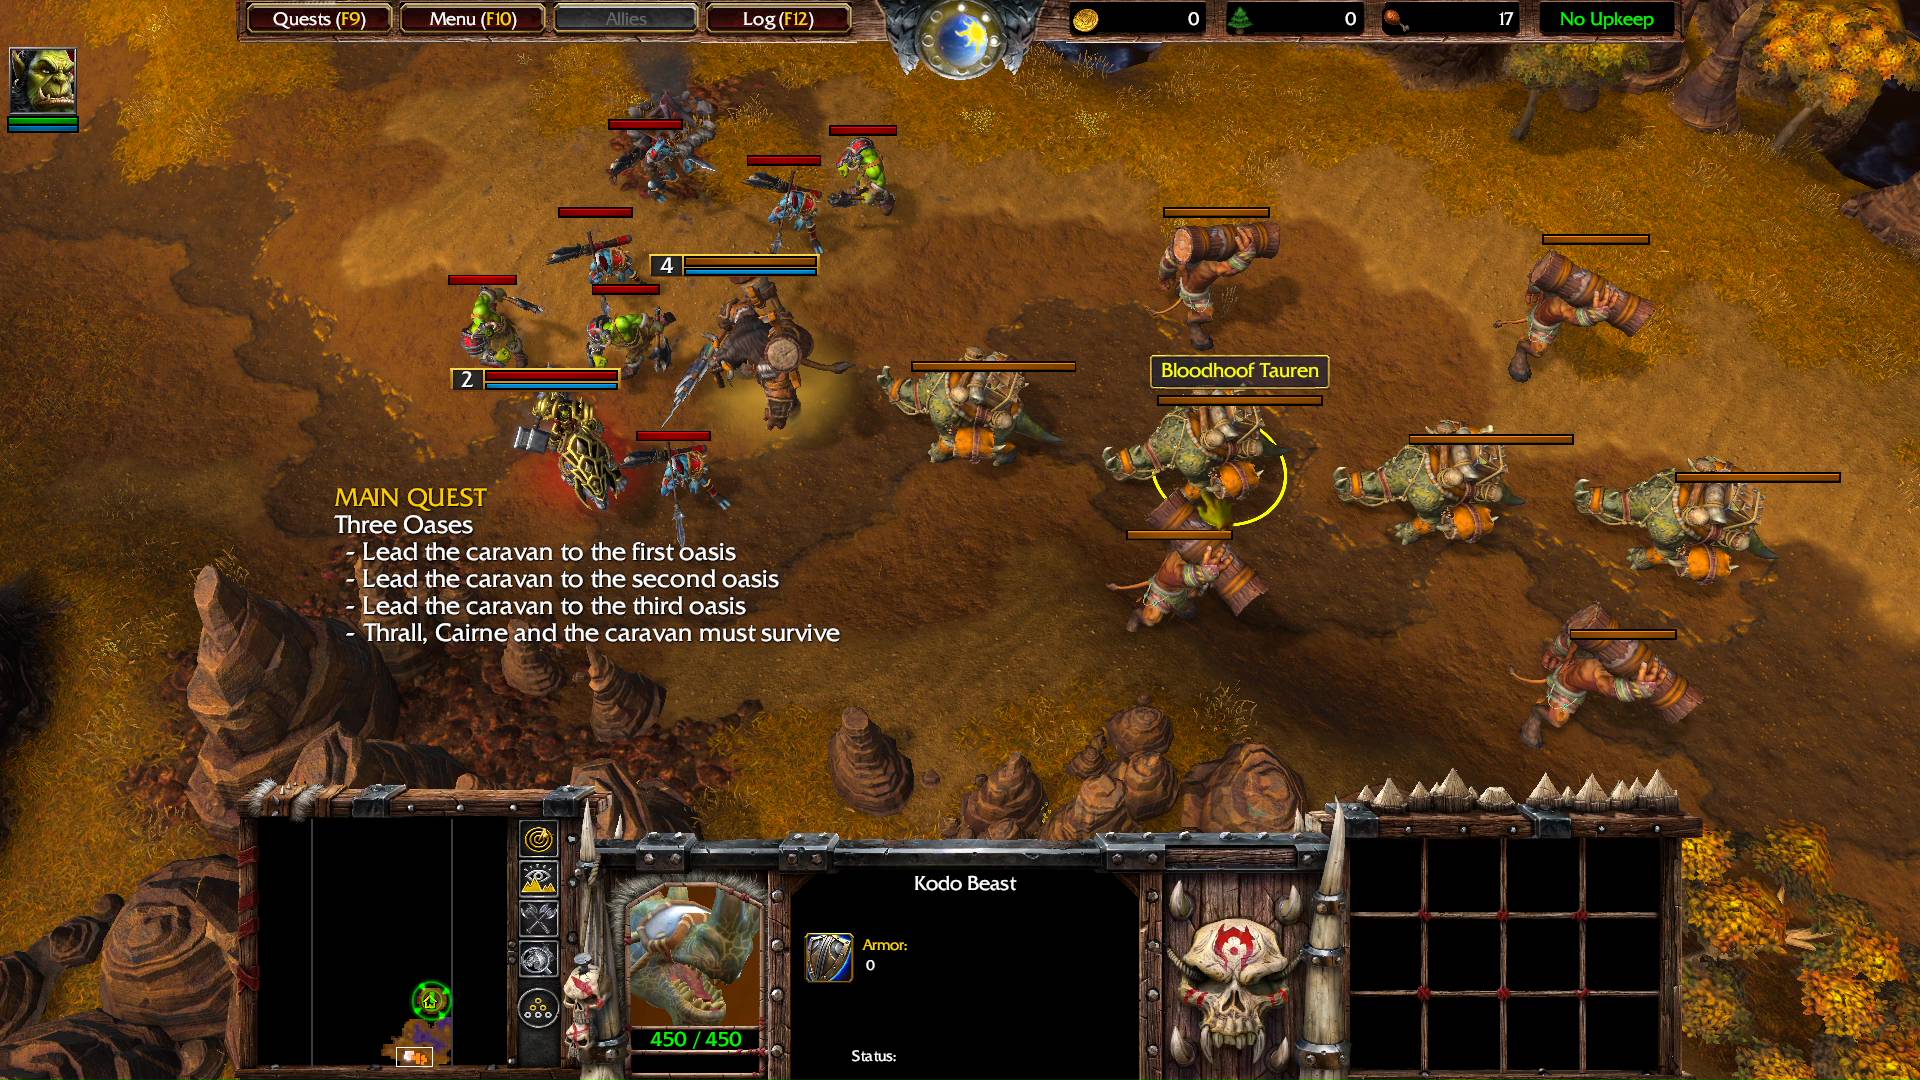
MAIN QUEST
Three Oases
- Lead the caravan to the first oasis
- Lead the caravan to the second oasis
- Lead the caravan to the third oasis
- Thrall, Cairne and the caravan must survive
NOTE: This is an escort mission. The caravan won’t move until you move. The caravan follows you and stops when you do.
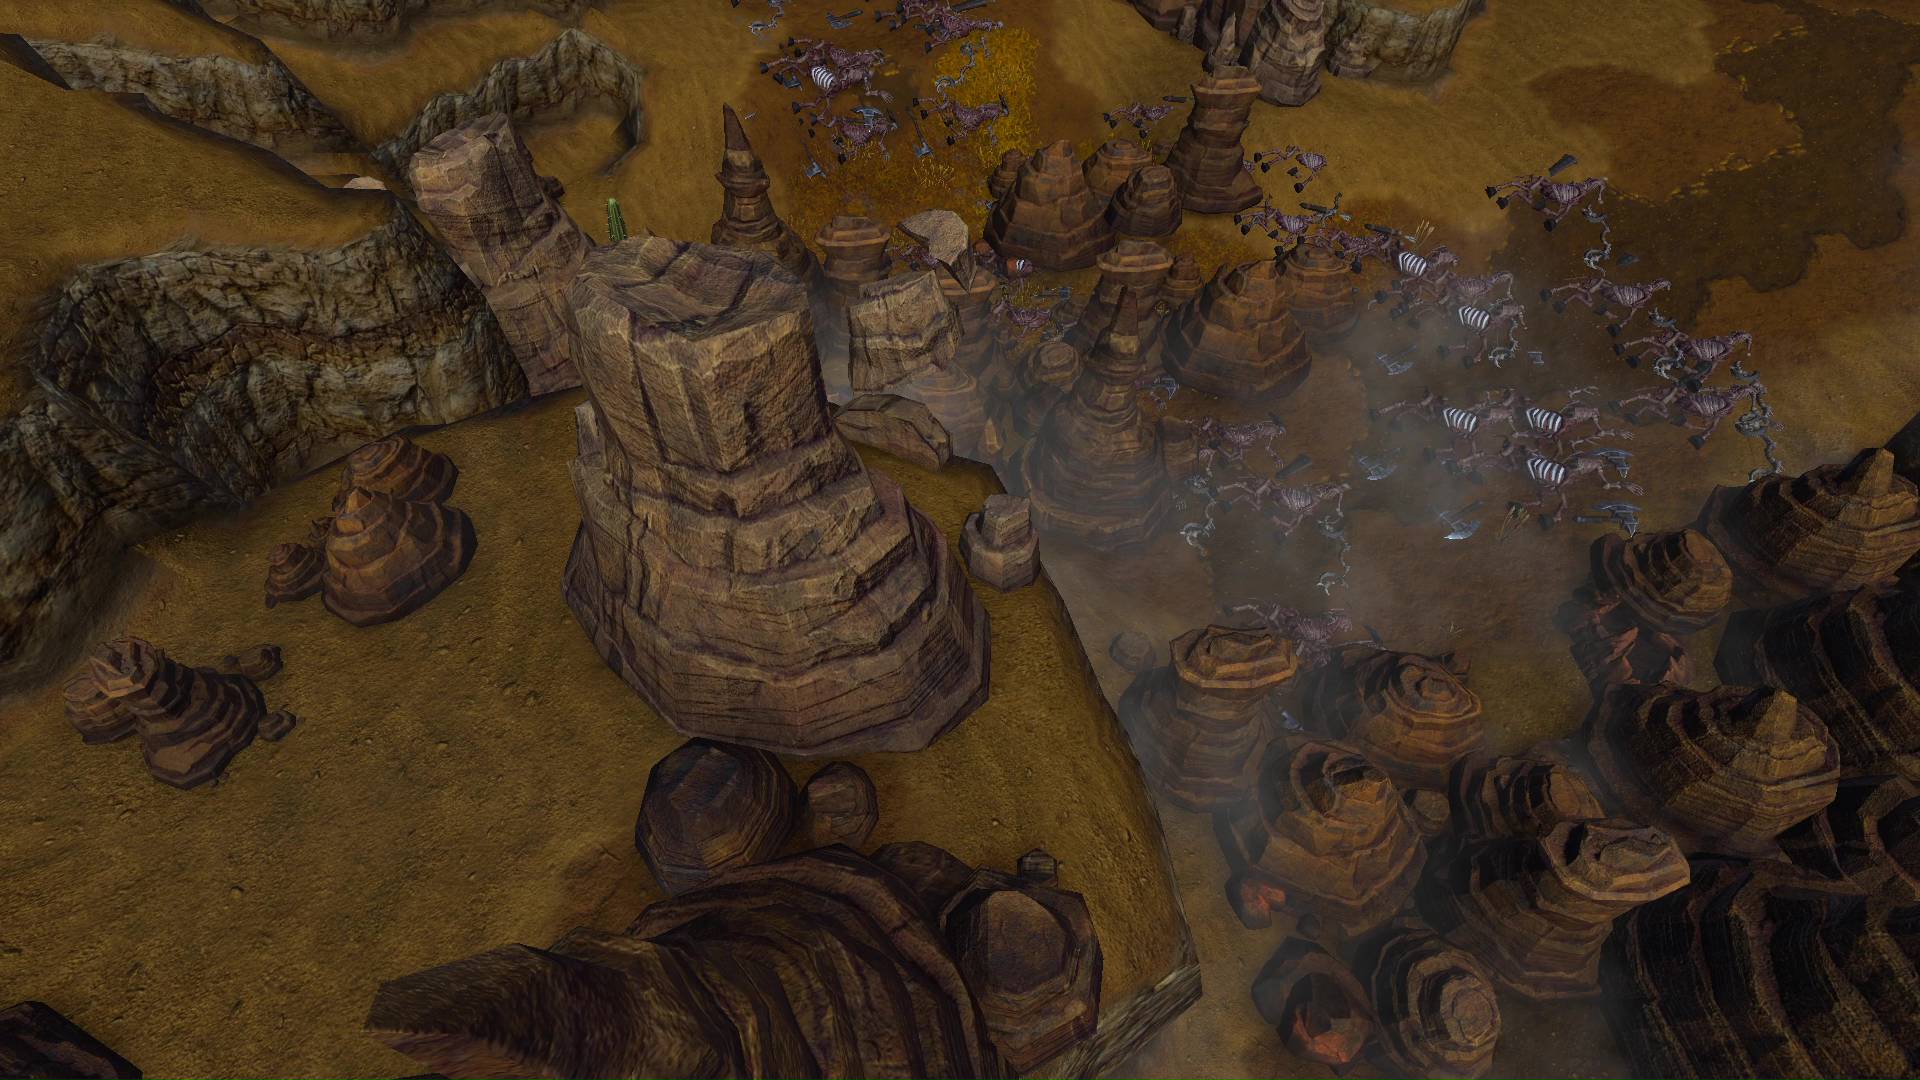
NOTE 2: Three Centaurs who always ride toward you will spawn near the middle of the map. It takes them 37 second to reach you at the starting location. It takes them 39 seconds to respawn after the last one dies. Since you are moving forward along the road, each time, it will take them less time to reach you after respawning.
Thrall: Assume defensive positions! Lok-Tar Ogar! Let none stand in our way!
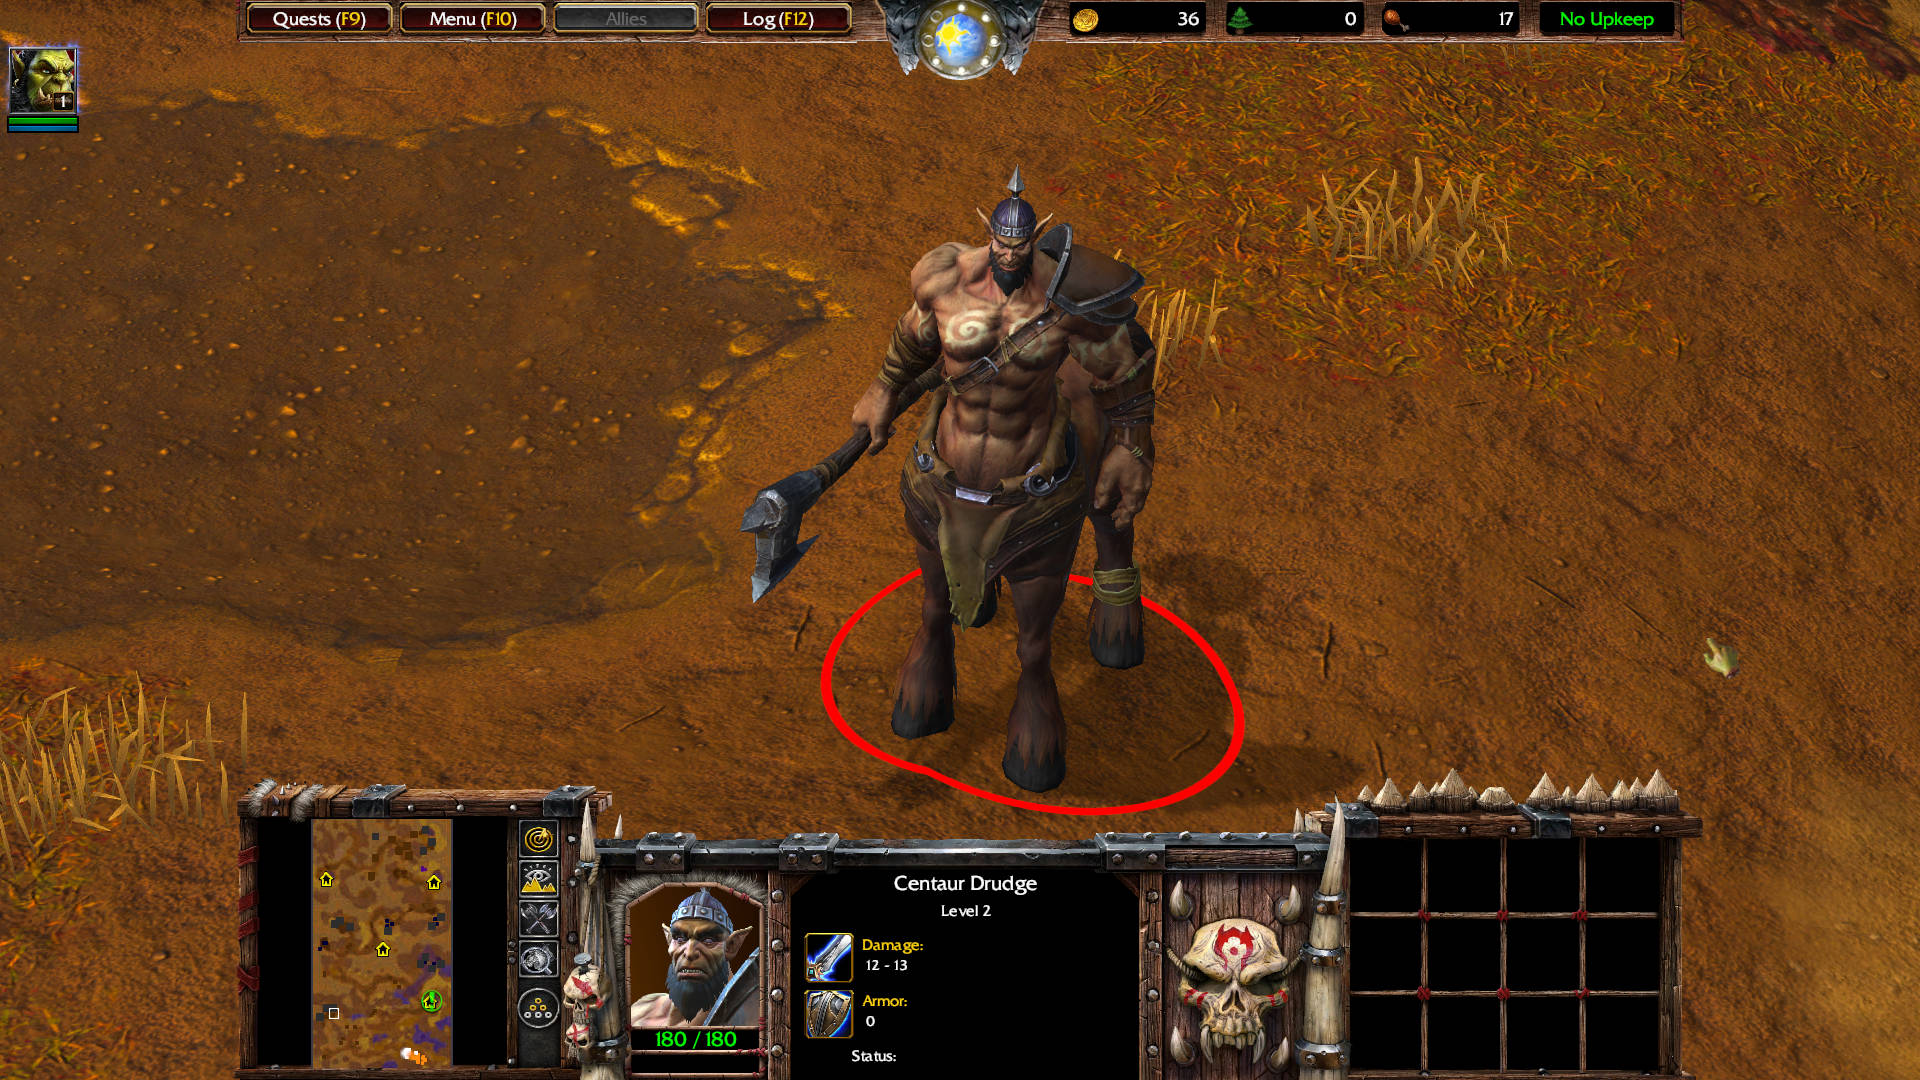
Note: There are two Centaur Drudge level 2 in this area, and a Centaur Archer. If you attack the ones to the left, for some reason another Centaur Outrunner level 2 aggros from the north. The patrol will likely appear by the time you get here, too — so expect at least 7 centaur. Might be better to wait until the 3 patrollers come to you alone.
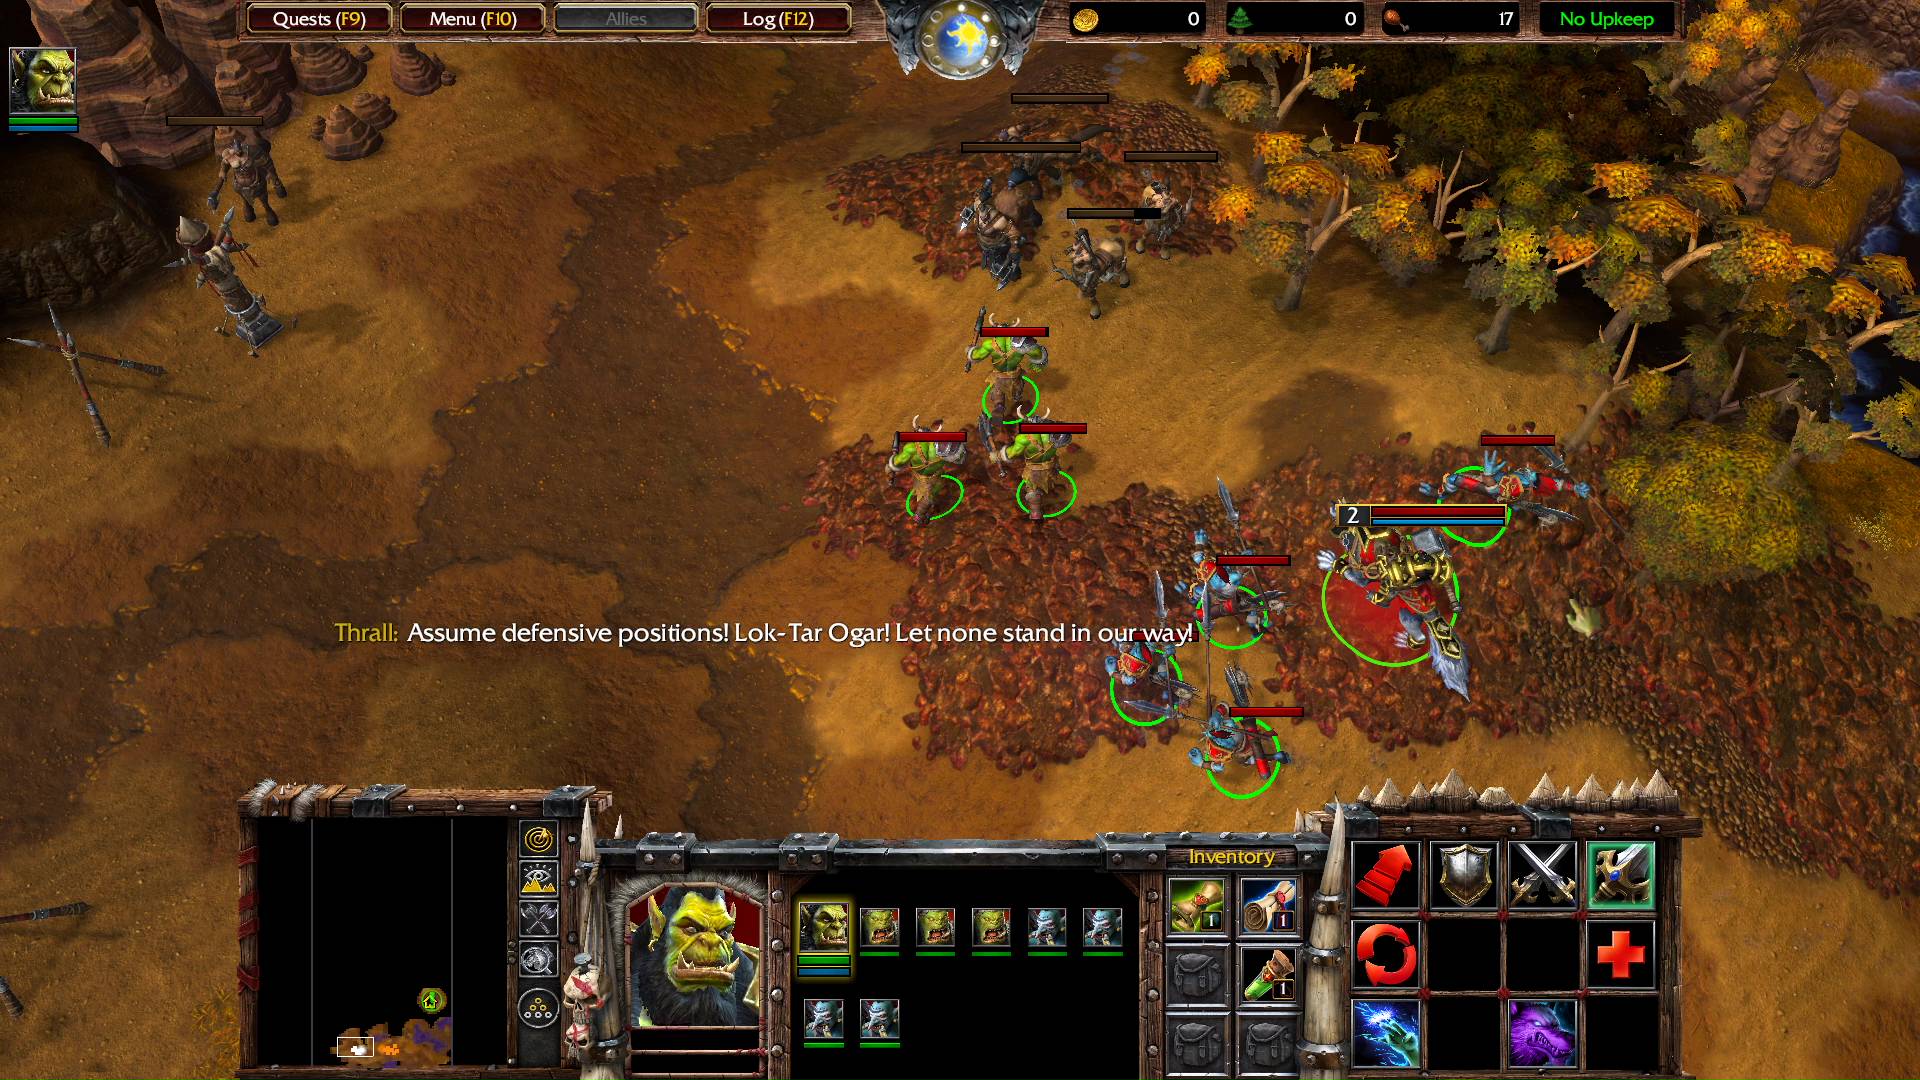
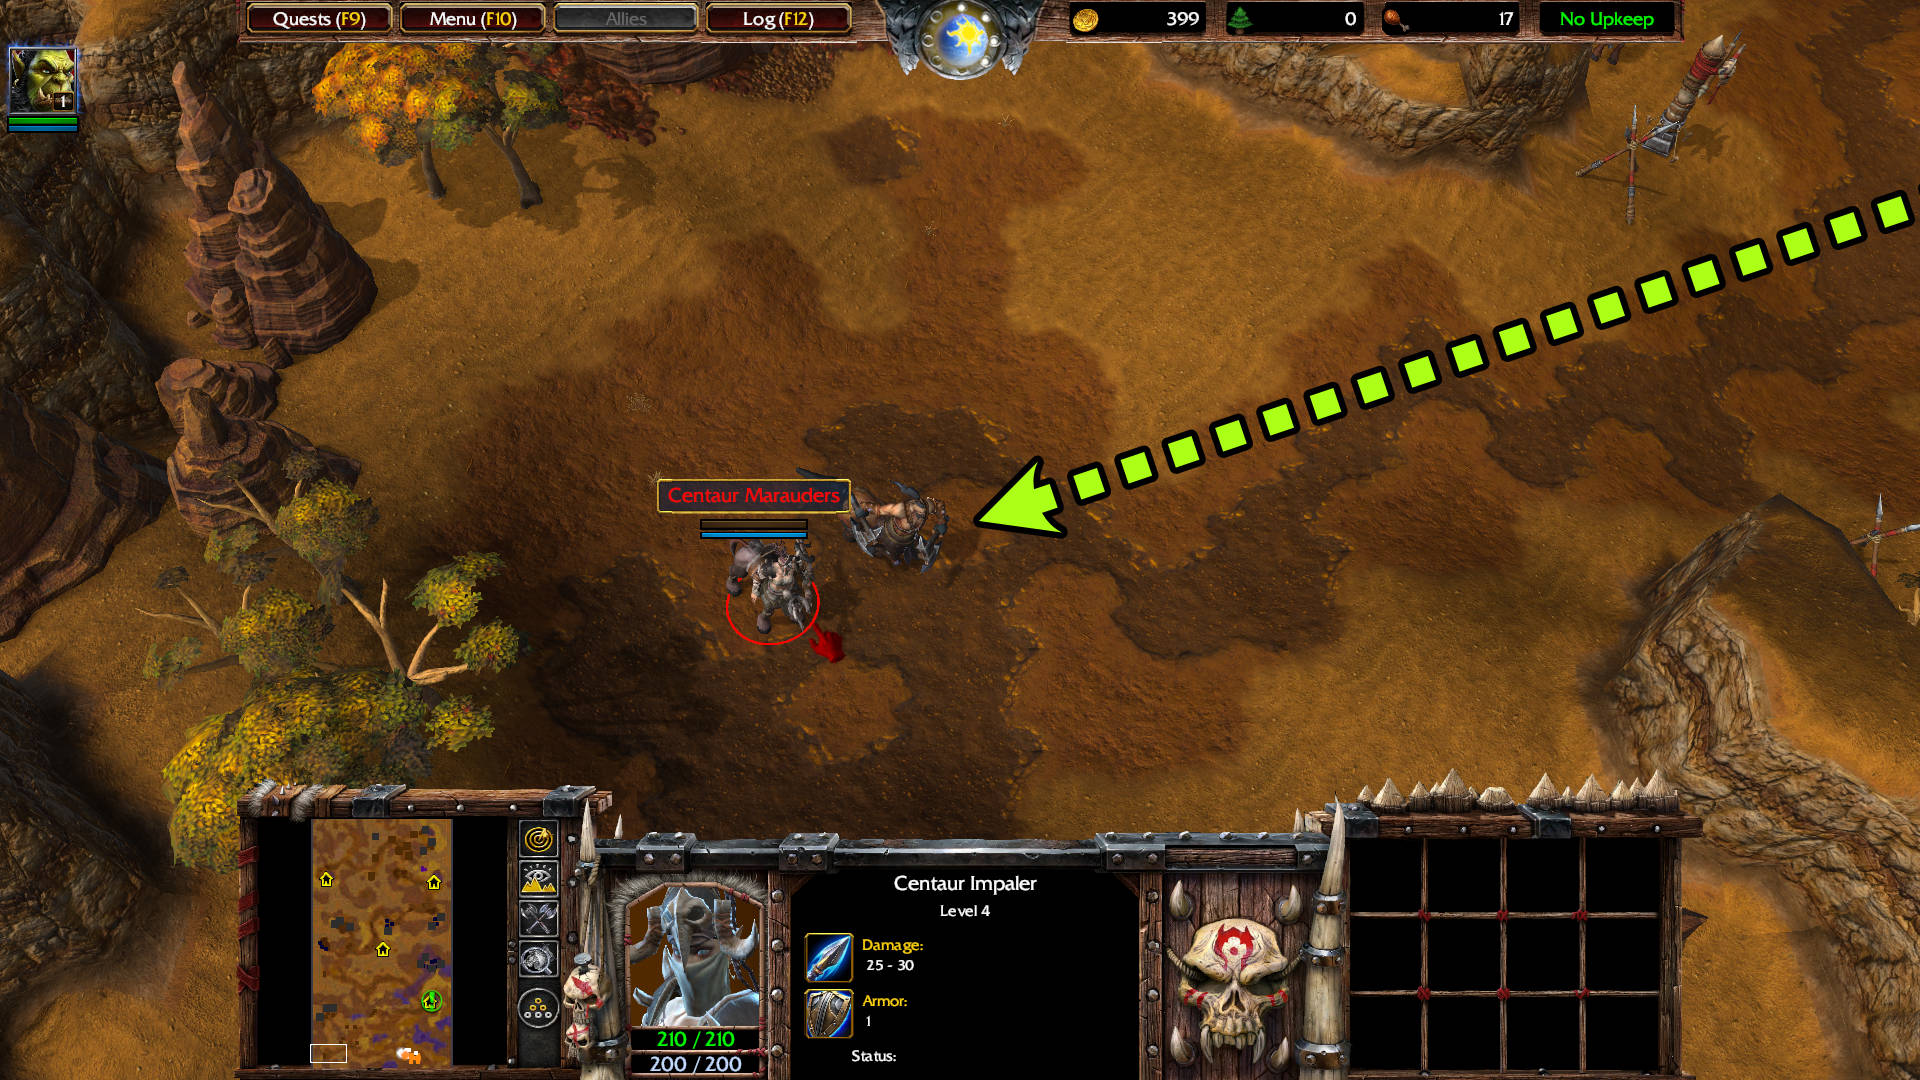
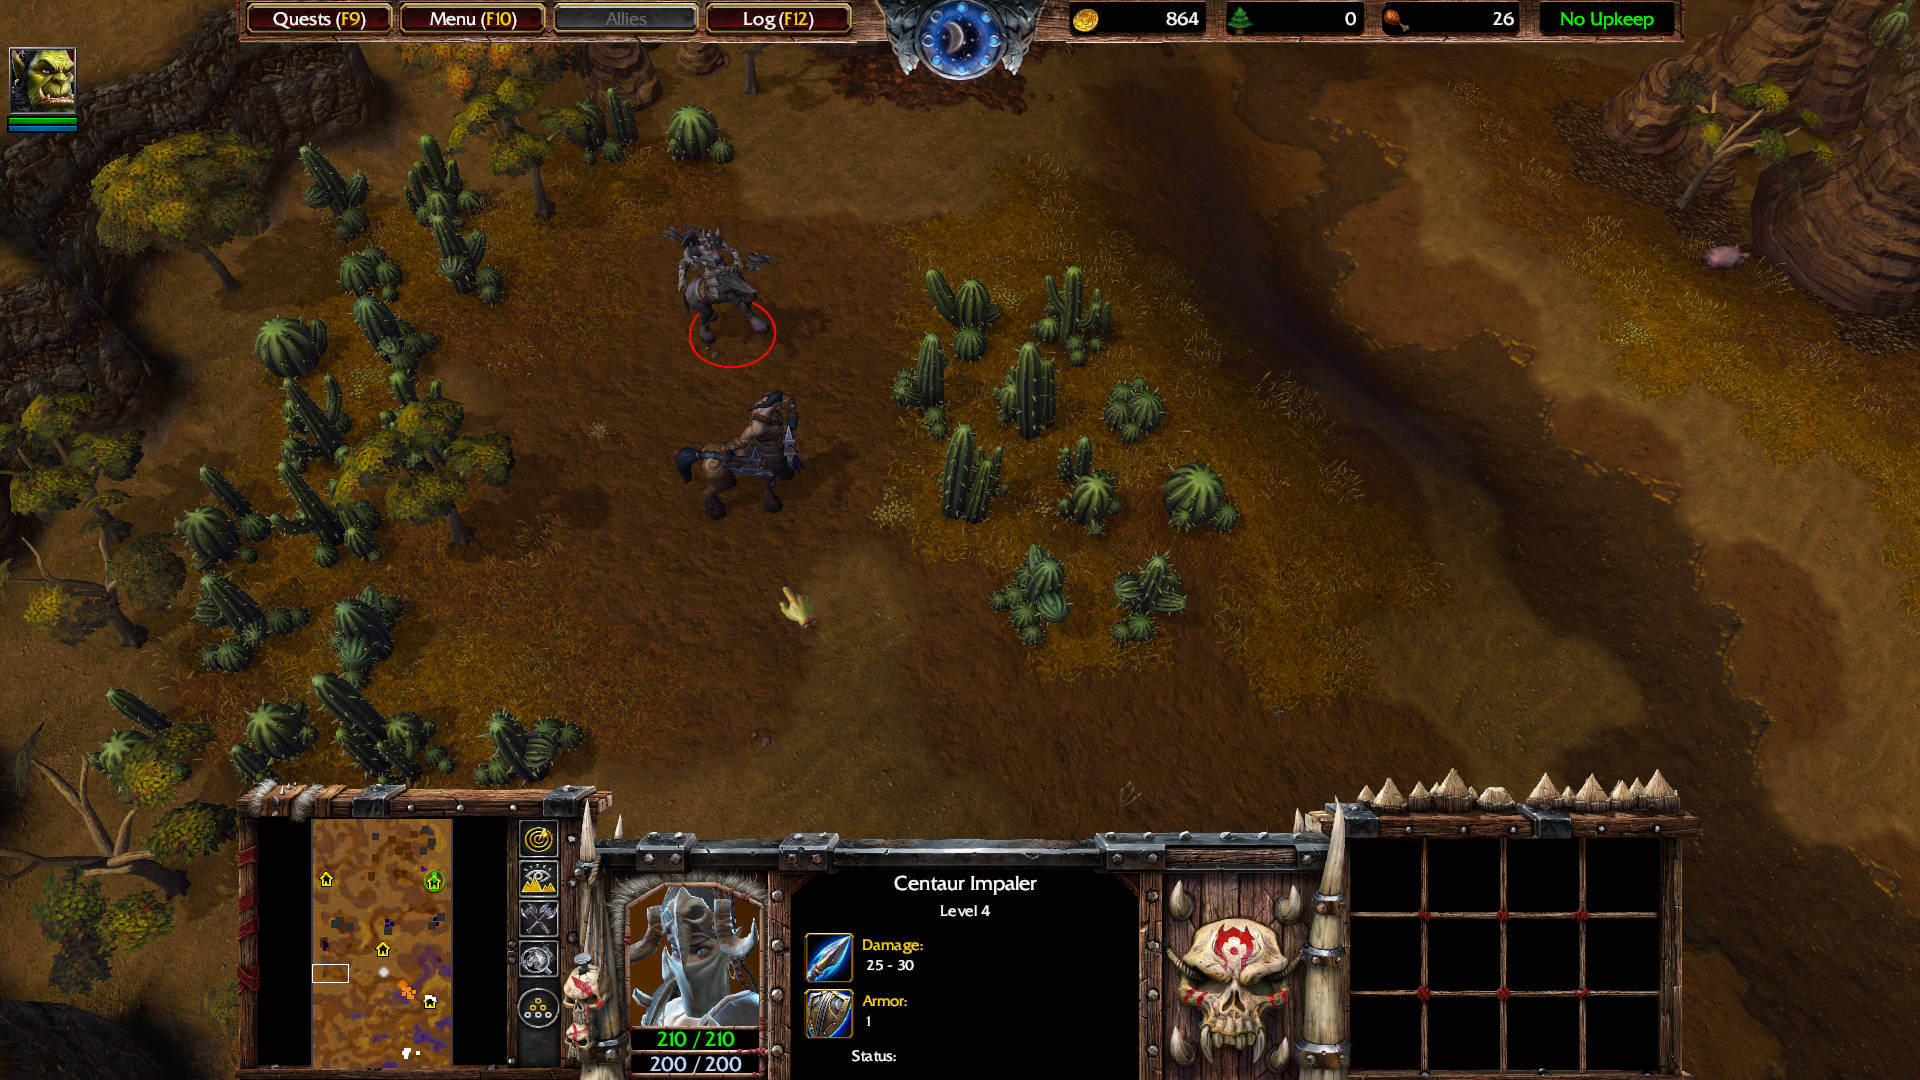
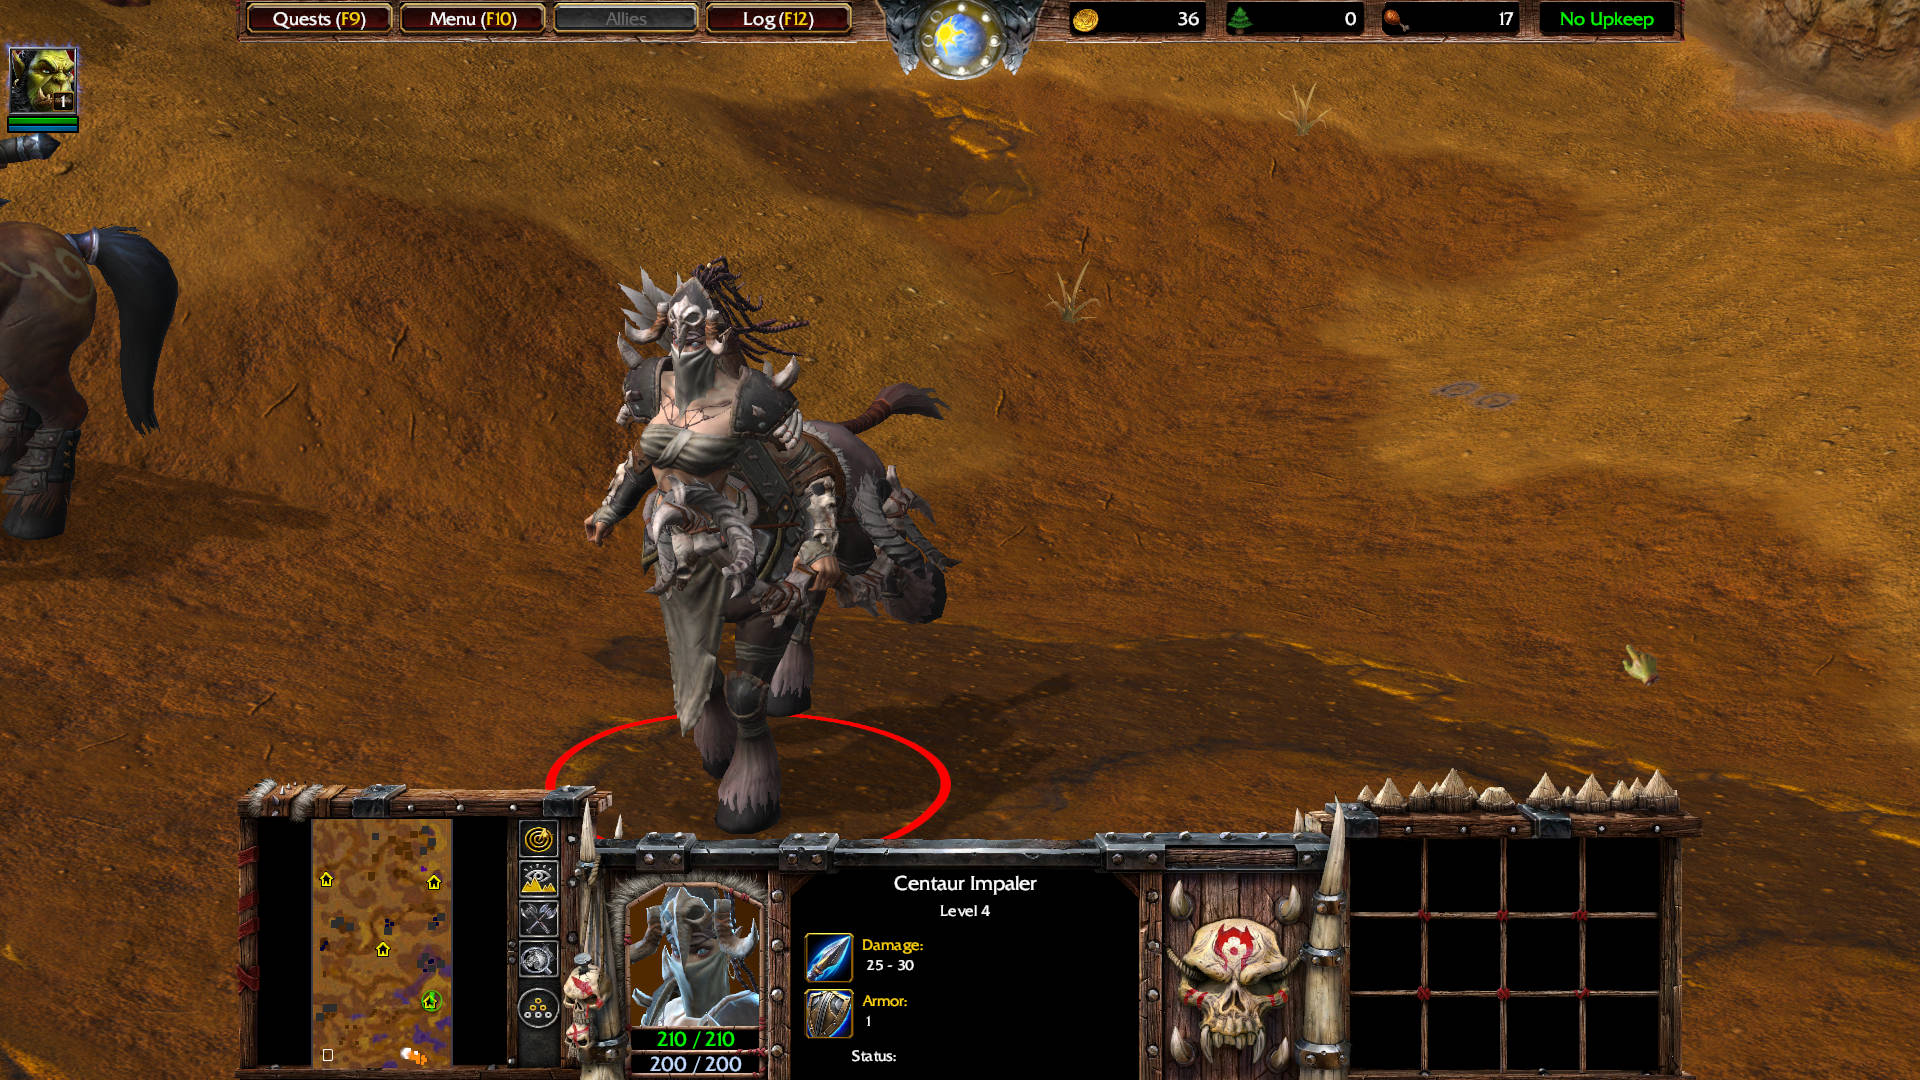
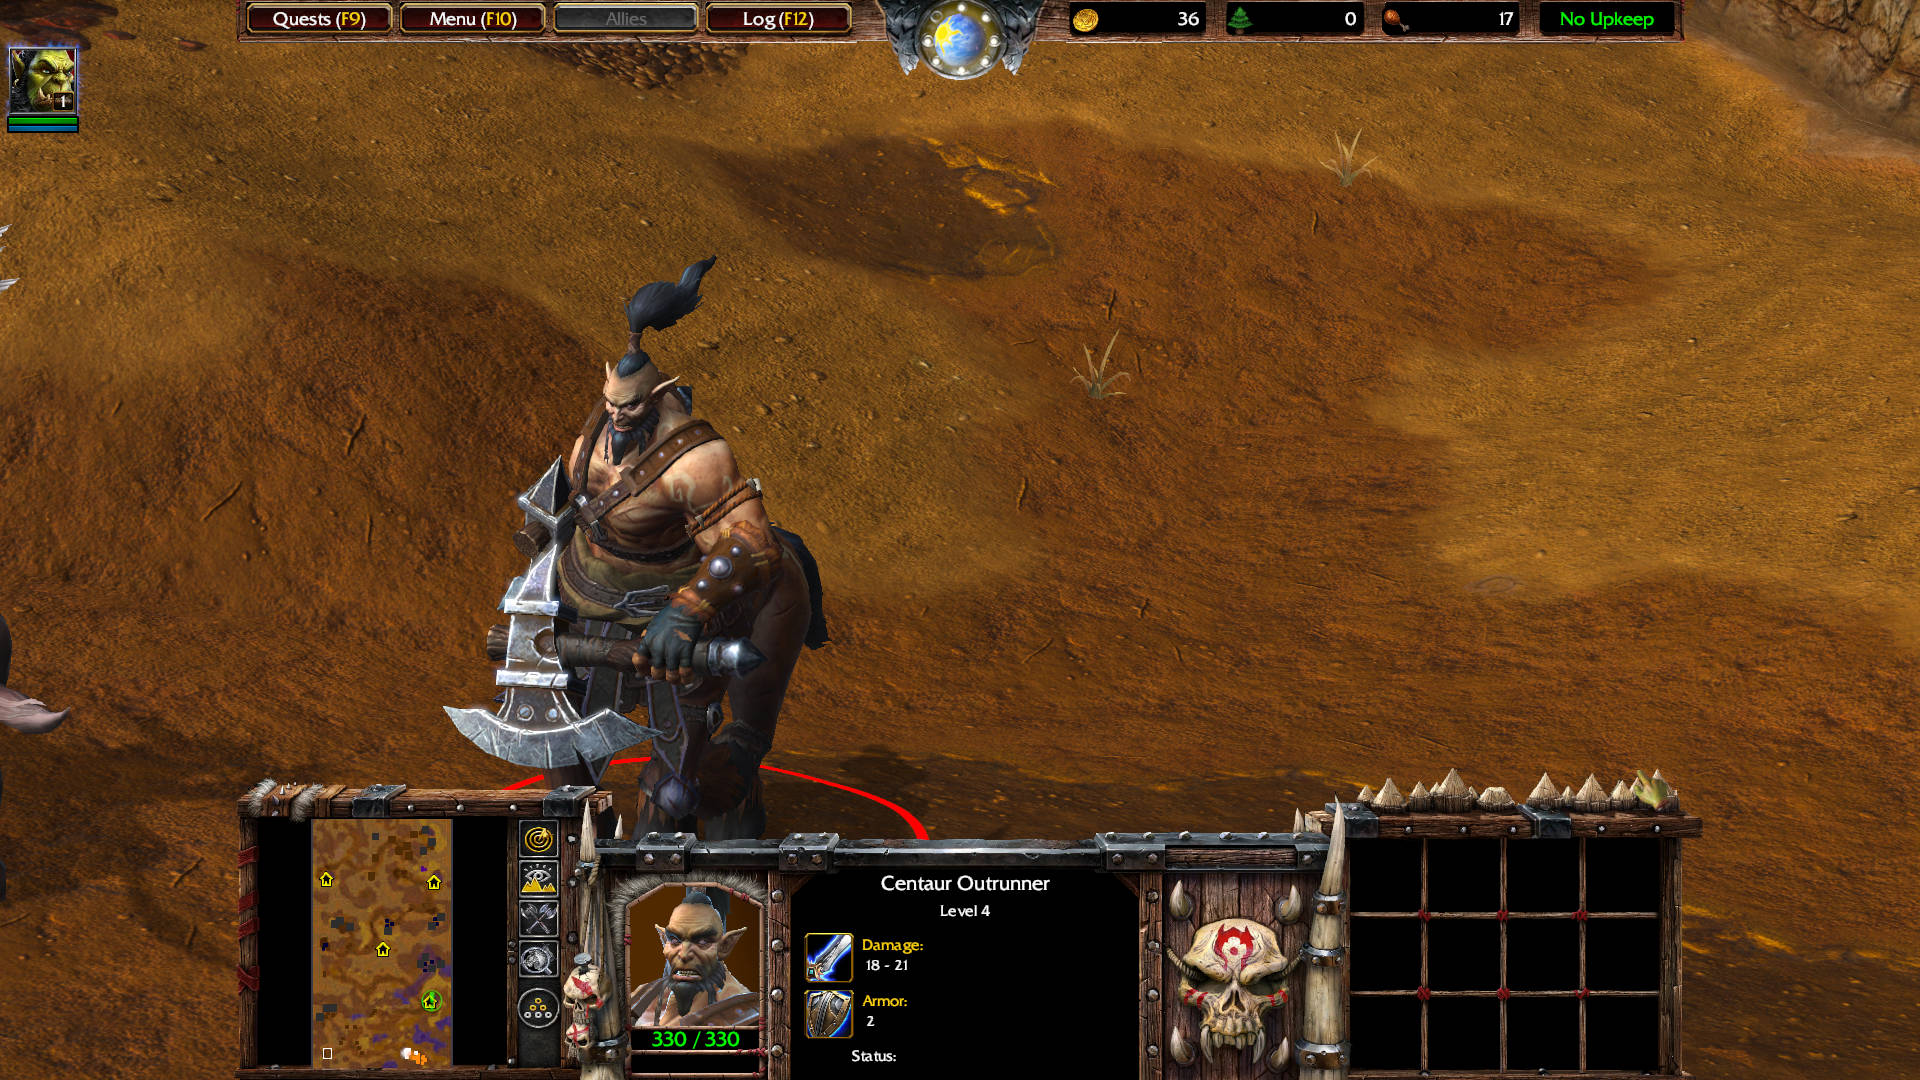
From that spot, go west to kill a Centaur Impaler level 4 and a Centaur Outrunner level 4 (bottom-left corner of the mini-map).
Cairne Bloodhoof: Hold your formations! The kodos must be protected!
MAIN QUEST UPDATE
The Caravan
- Protect the caravan
- At least 2 Kodo Beasts must survive
- Cairne must survive
Cairne Bloodhoof: They shall not catch the tauren unprepared!
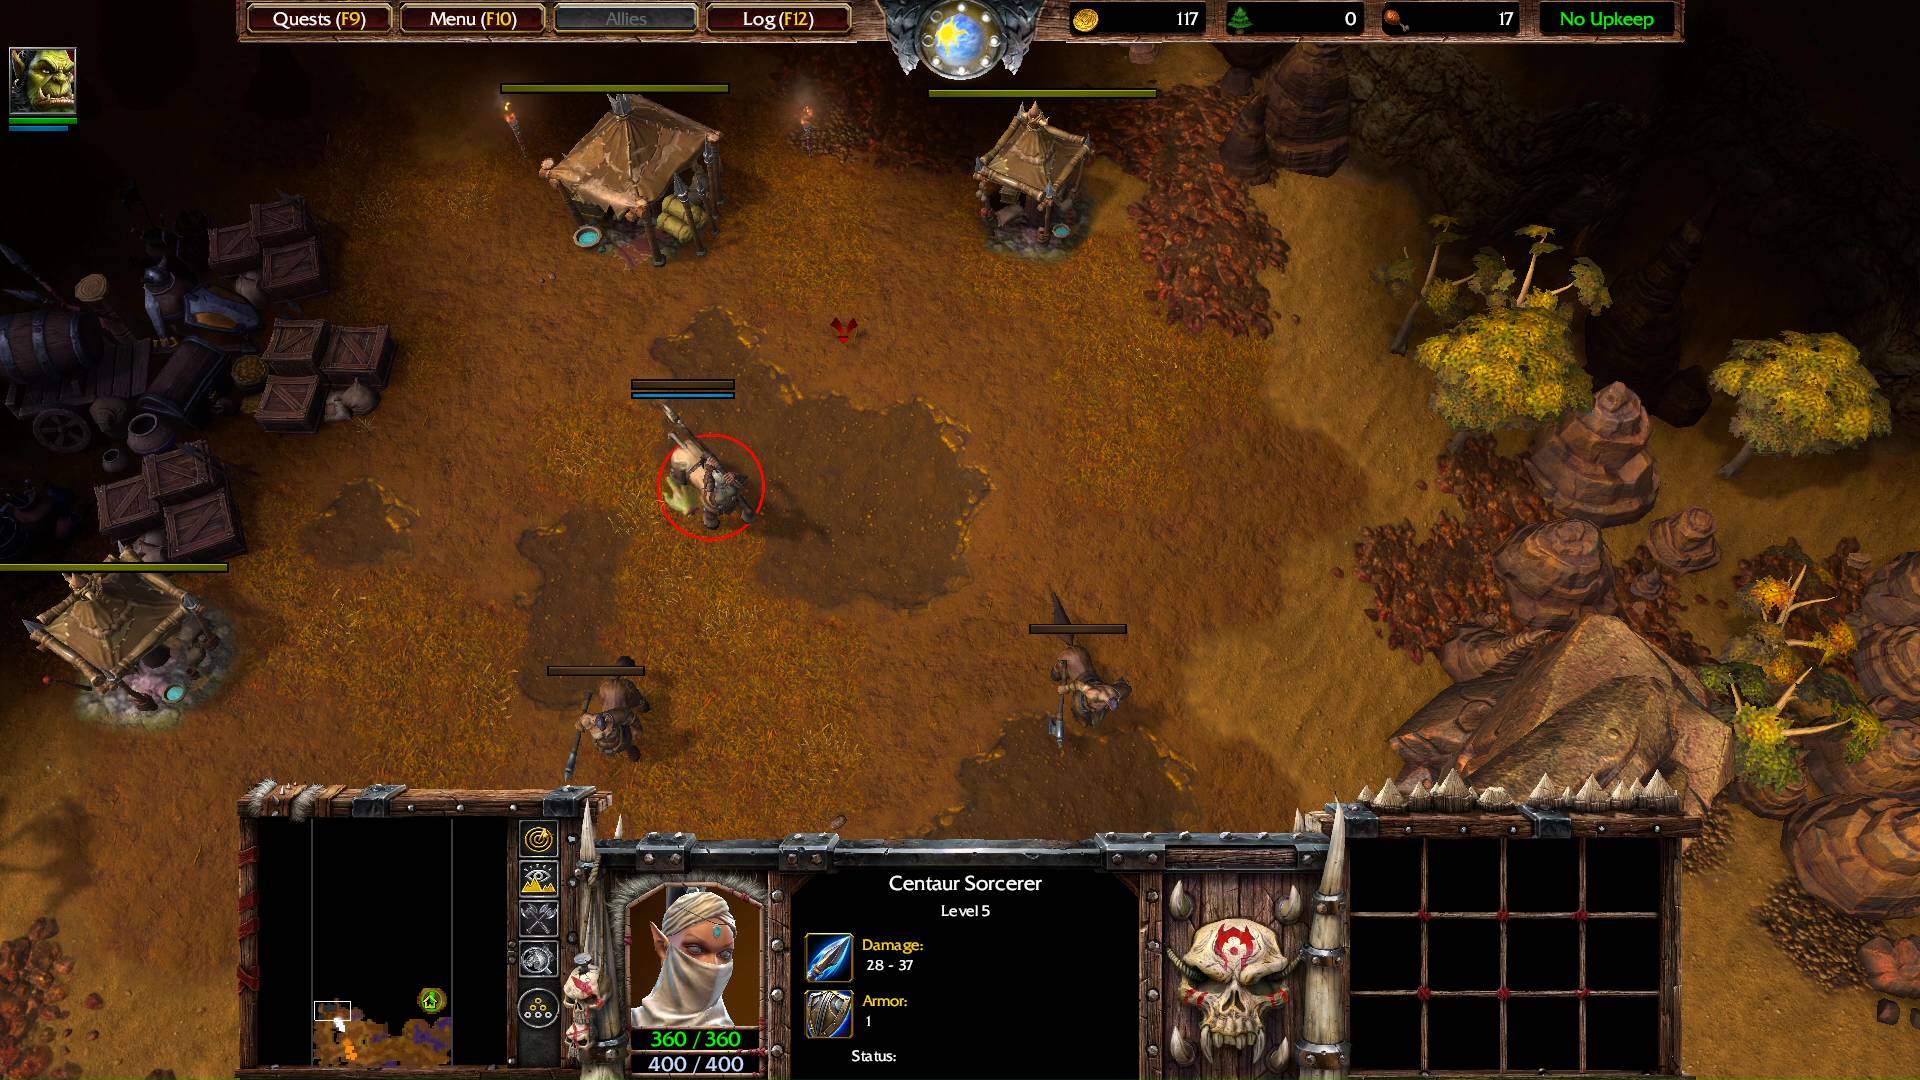
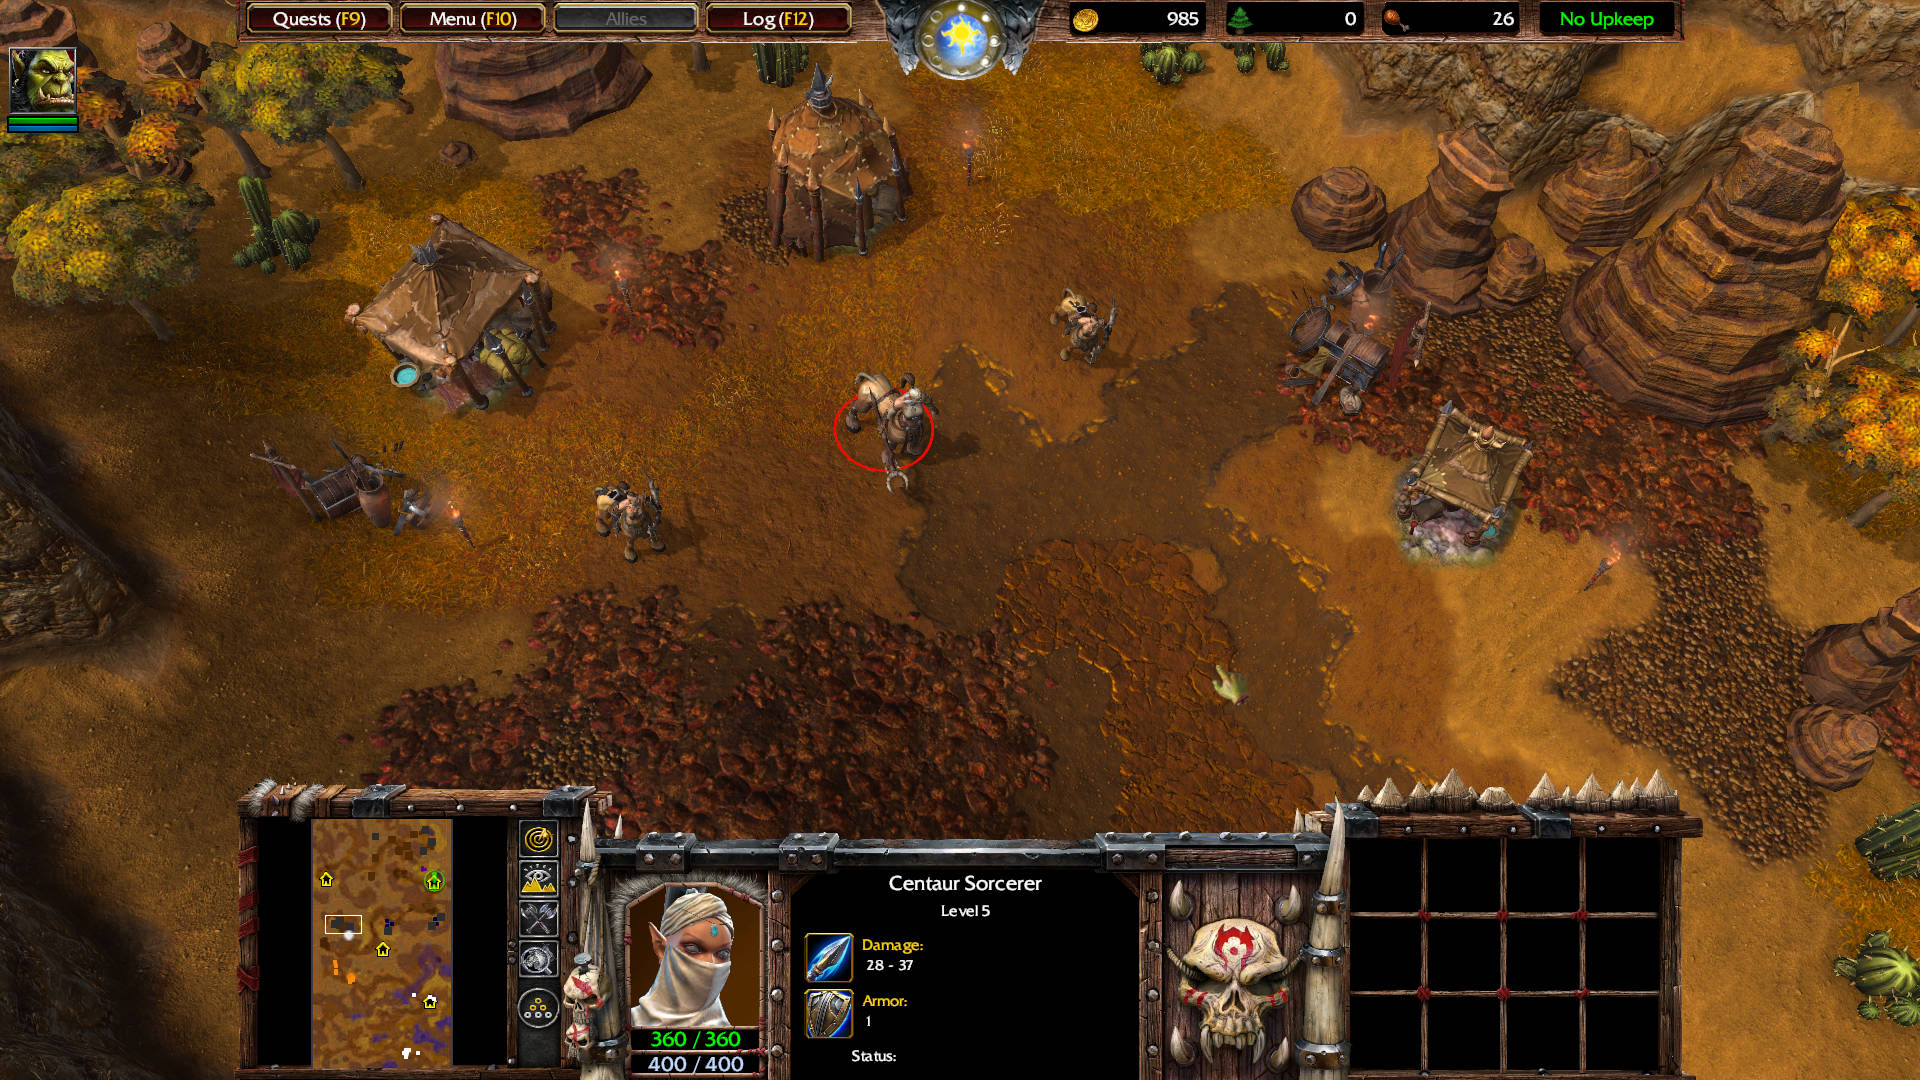
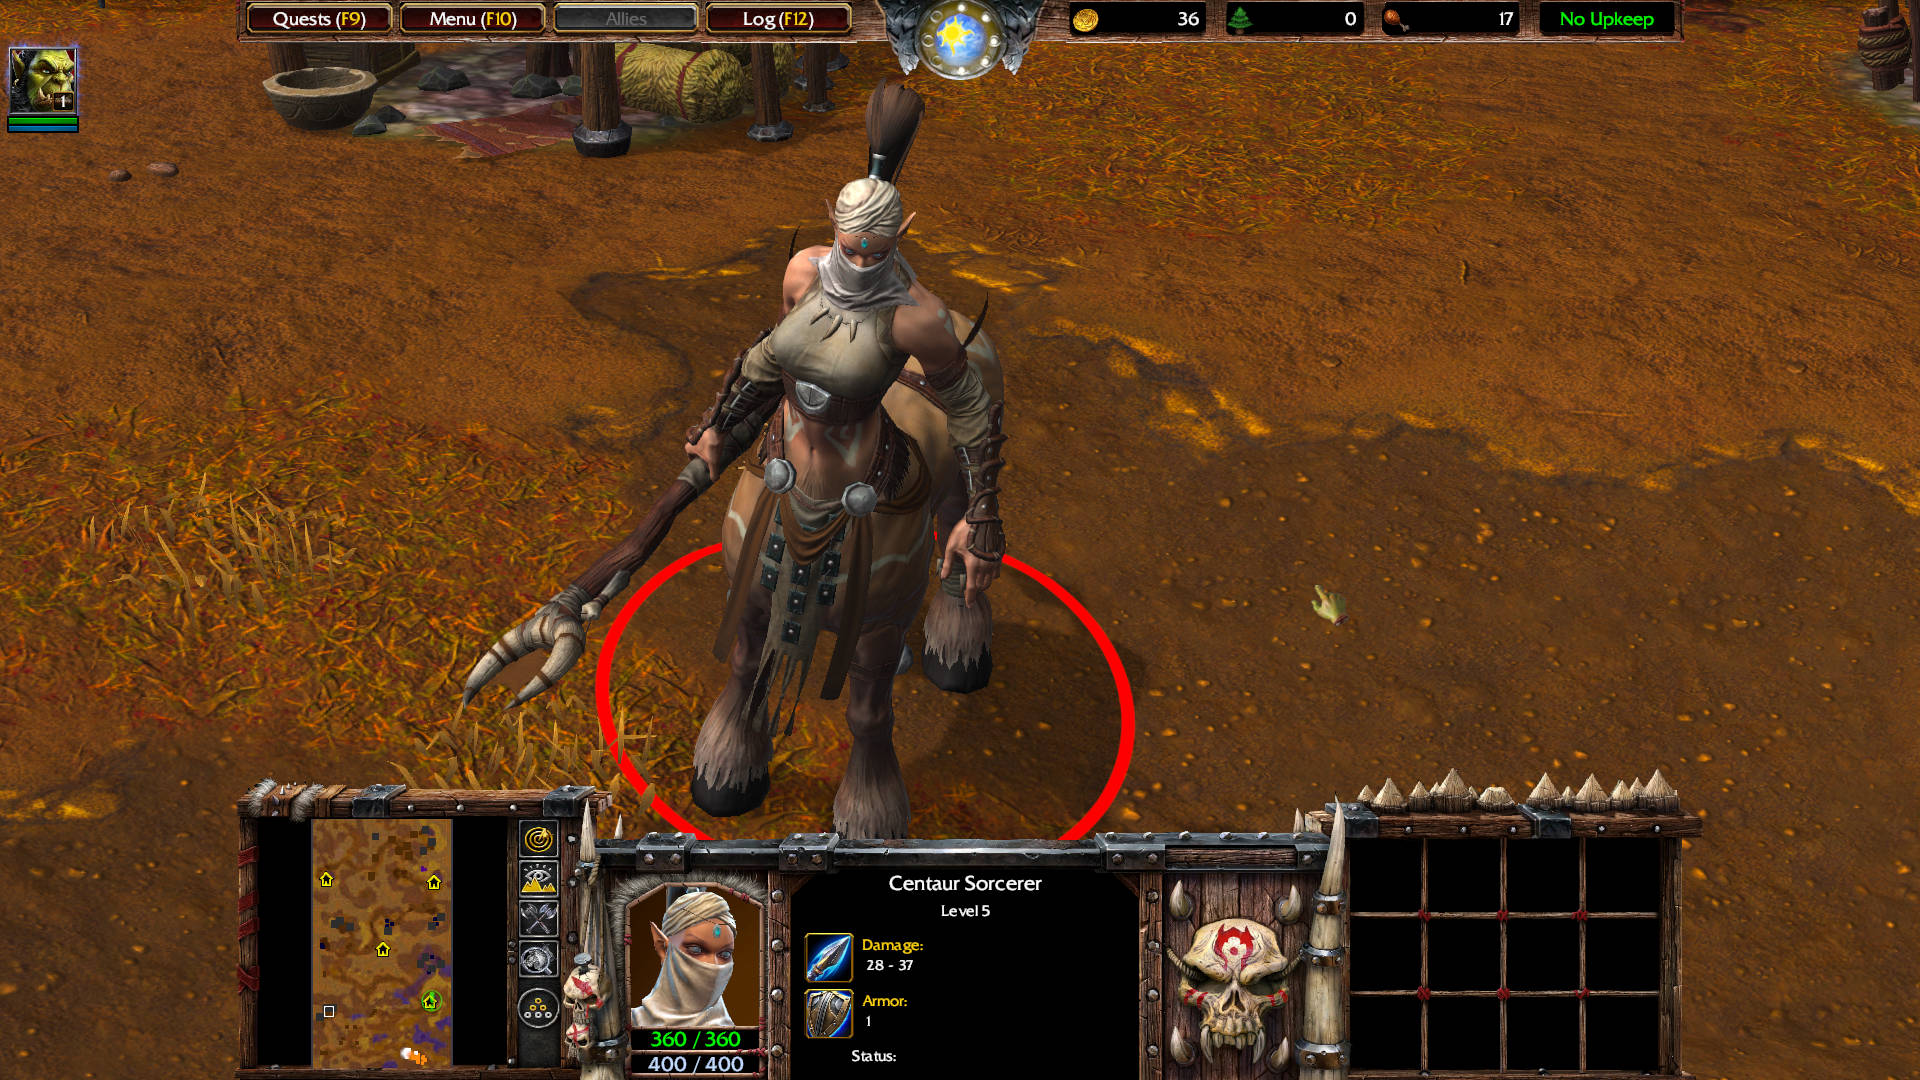
Go north after killing those two Centaur. You will encounter a Centaur Sorcerer level 5 and two Centaur Drudge level 2. The Sorcerer casts Bloodlust on one of the Drudge. Kill that drudge first. The Sorcerer drops a Scroll of Healing: Heals 150 hit points to all friendly non-mechanical units around the Hero when used.
Destroy the crates behind them. A crate drops Potion of Mana: Restores 150 mana when used.
South of the arch, you should find a single Centaur Outrunner level 4. For some reason the second one aggroed earlier when you killed the pack to the south.
Go back to the Caravan to the south for it to start following you again. Then head east. Not far from the single centaur, there is a Centaur Outrunner level 4, a Centaur Drudge level 2 and a Centaur Archer level 2 — hidden along the northern wall.

Cairne Bloodhoof: The centaur have returned! We’re under attack!
Continue heading east until you find the Fountain of Health. Three Warsong grunts spawn to join your team.
Thrall: Throm-Ka, warrior. You’re from the Warsong, are you not?
Warsong Orc: Yes, Warchief. Hellscream sent our party to find you, but we were separated when the horse men attacked.
Thrall: Don’t worry. We’ll find them. For now, drink from the pool. The spirits of this place will replenish your strength.
Cairne Bloodhoof: The marauders attack again! Stand and fight, my brethren!
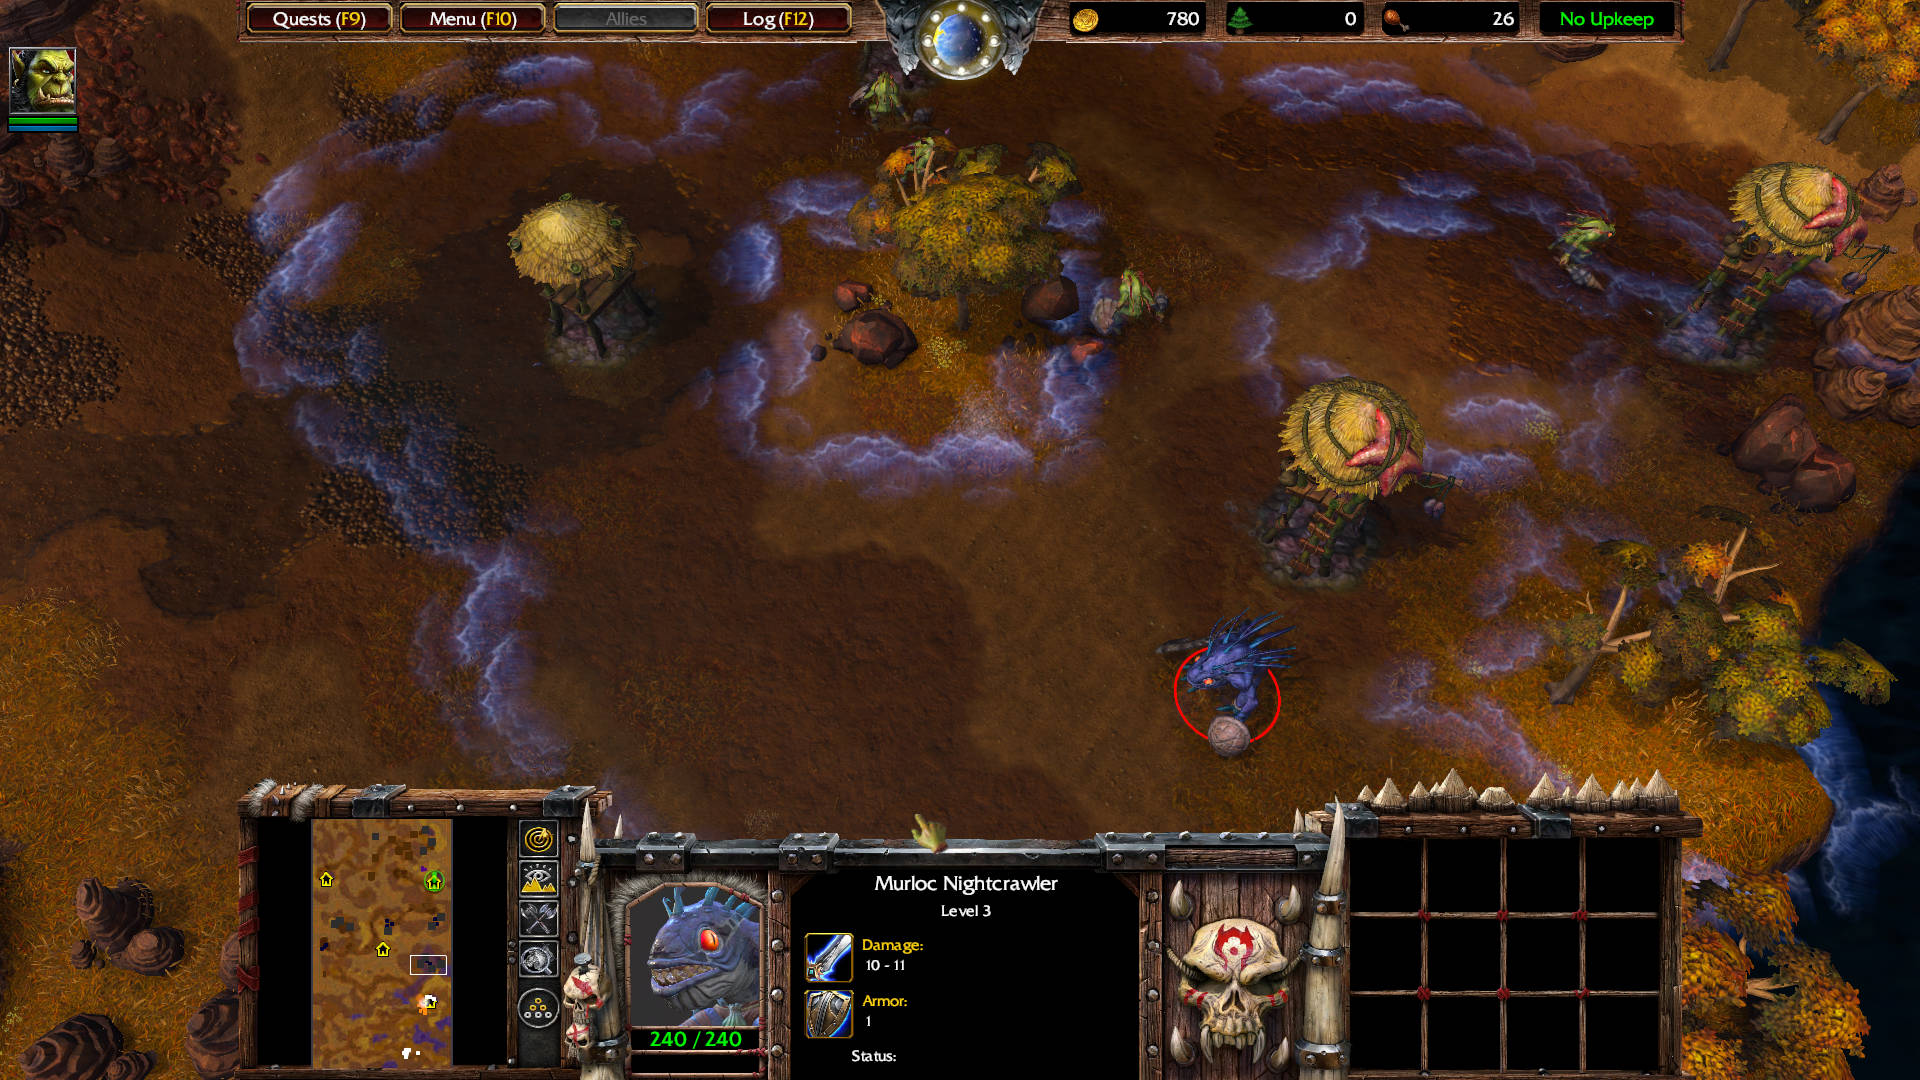
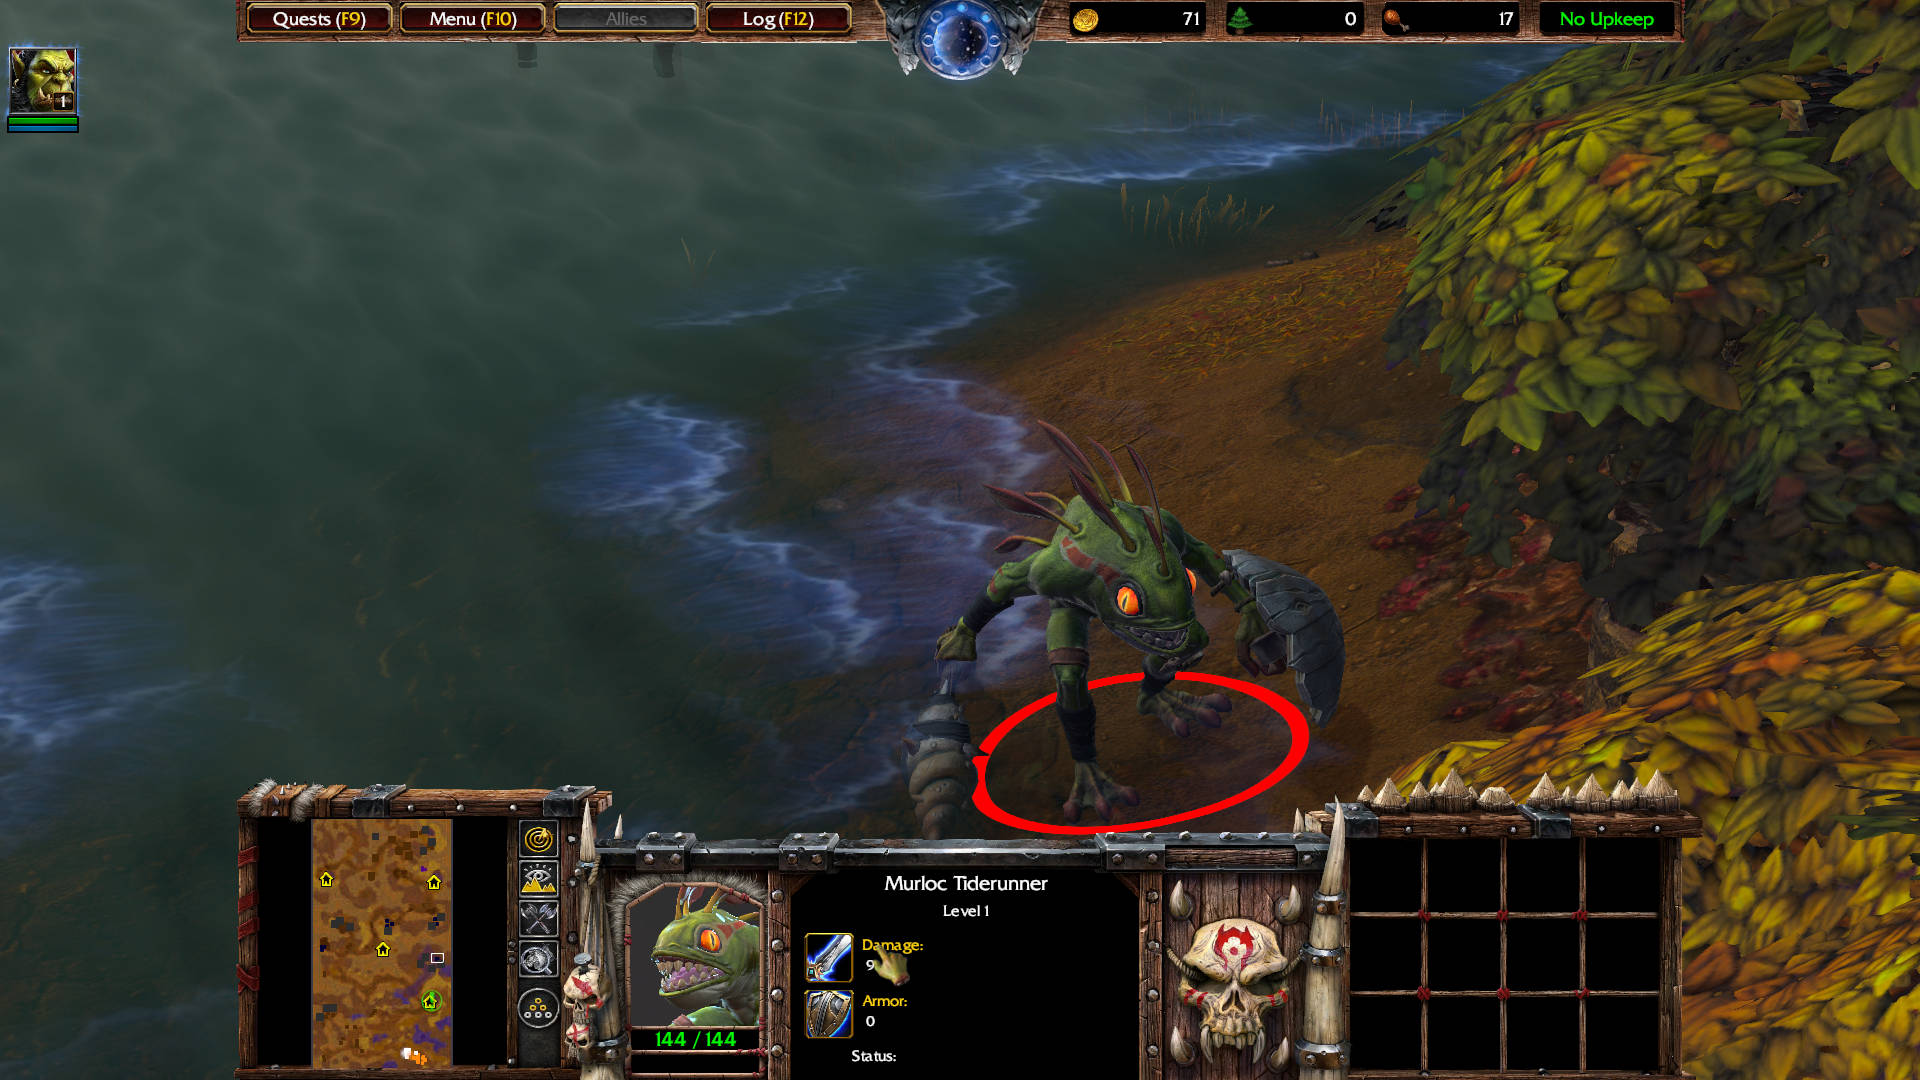
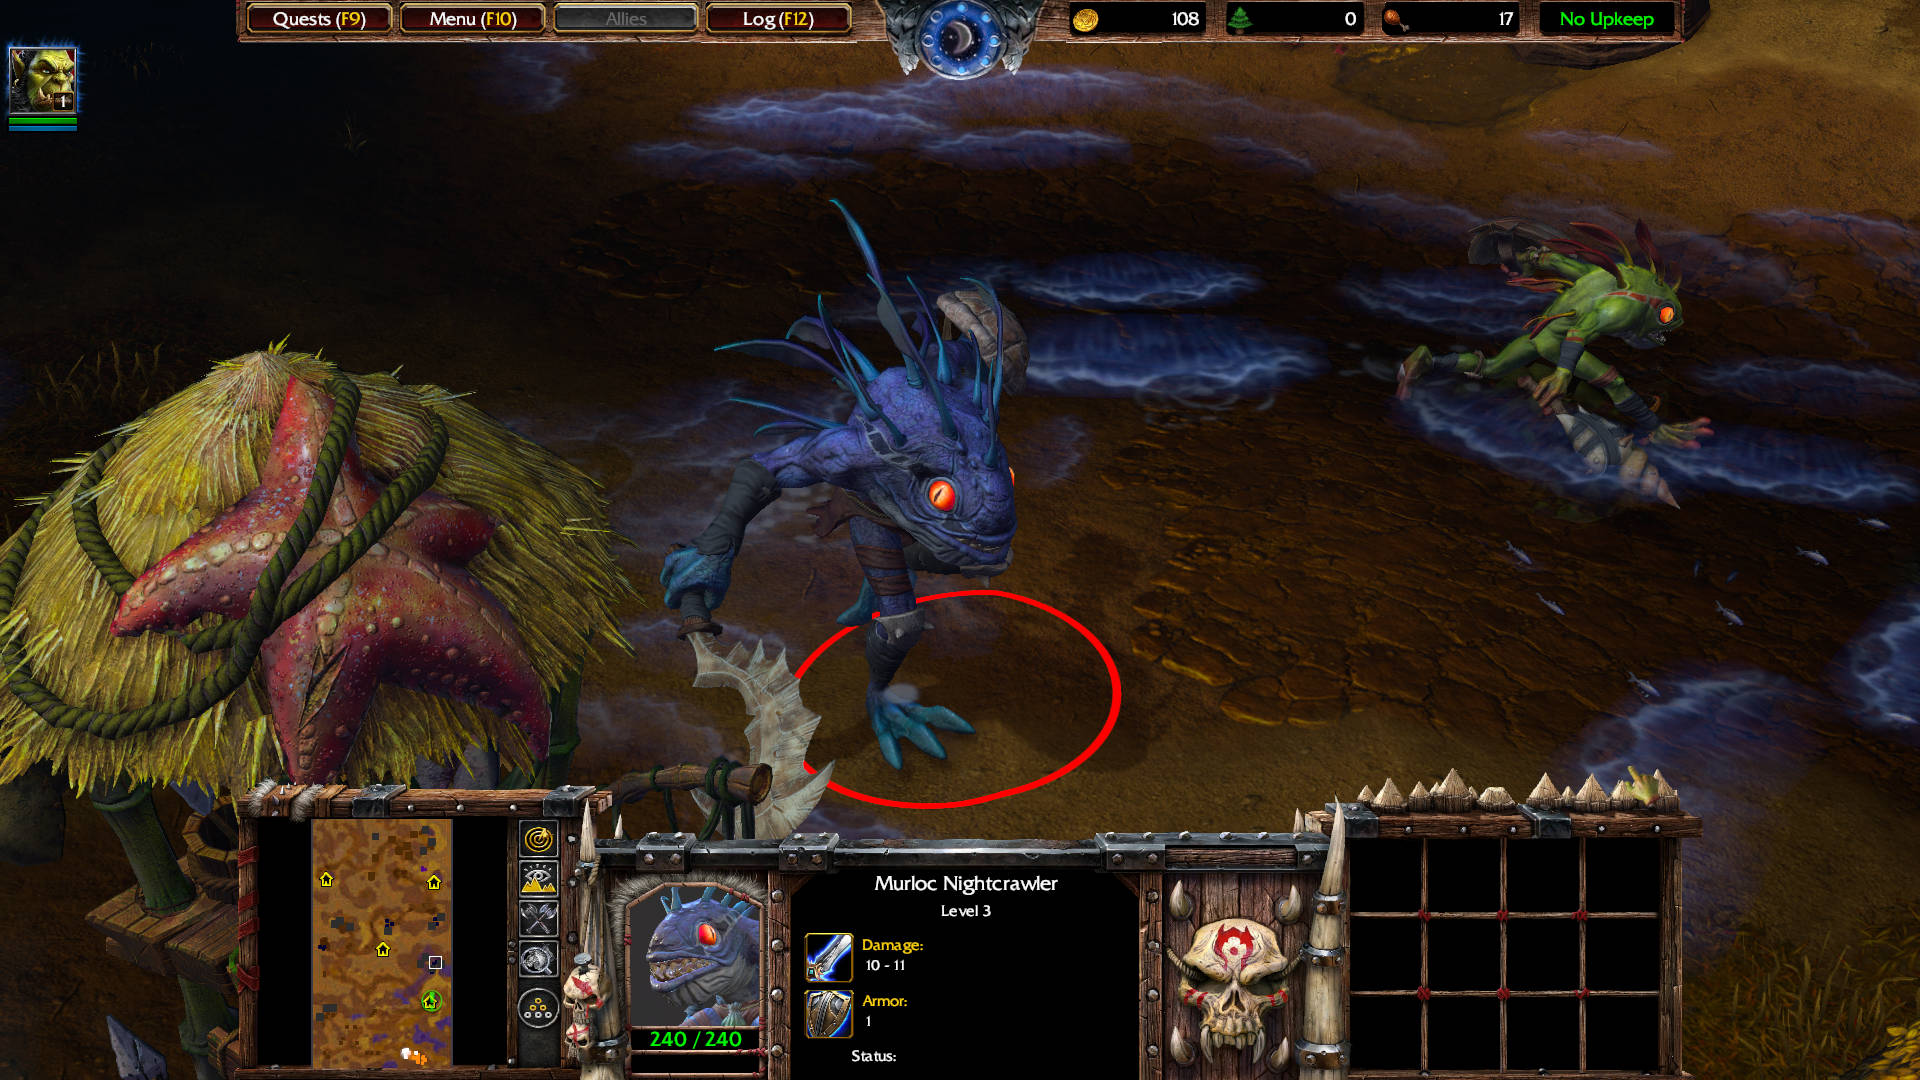
Note: Not far from the Fountain of Health, you will find a river. Follow the river to the northeast. There you will find a Murloc Nightcrawler level 4. If it is evening, it will be invisible until it aggros. He has 4 Murloc Tiderunner level 1 nearby.
After you kill them, destroy all the huts. Two of them drop items:
- Ancient Figurine: Increases the Intelligence of the Hero by 1 when carried.
- Potion of Mana: Restores 150 mana when used.
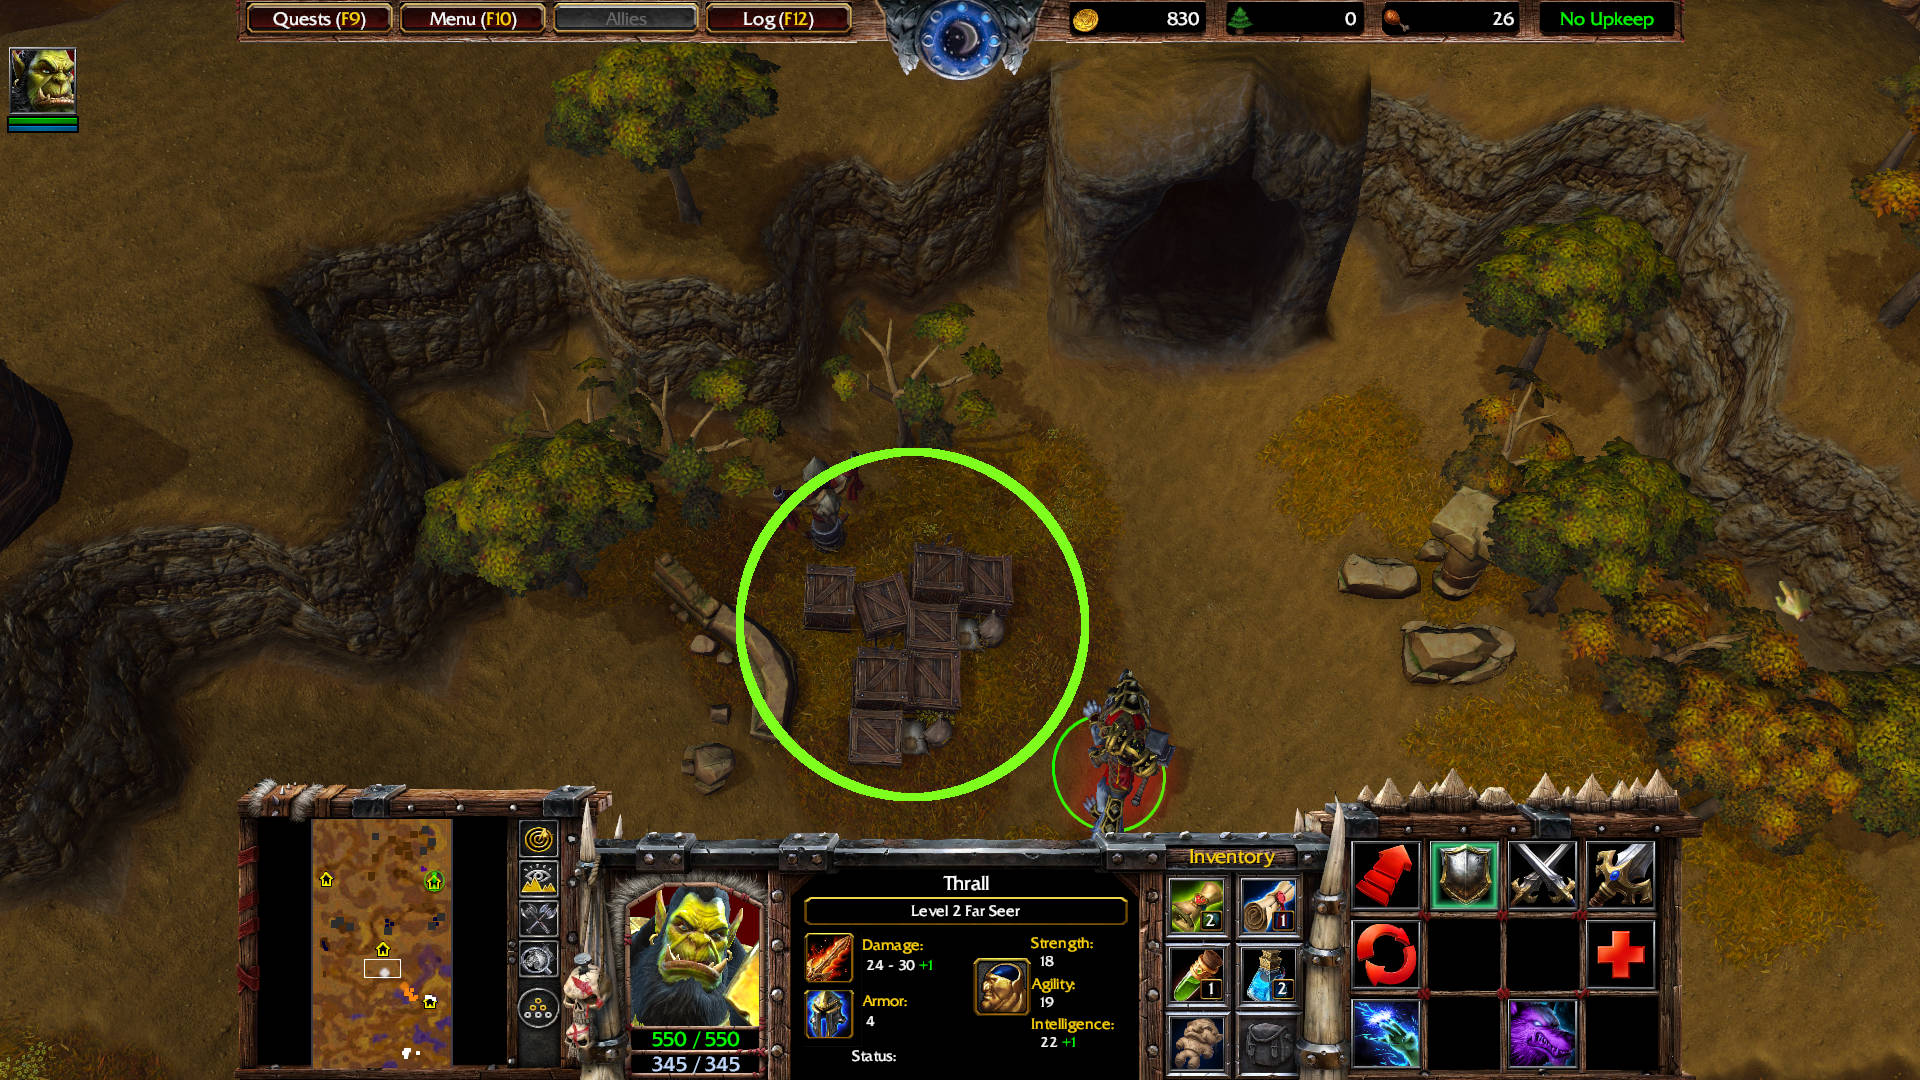
Continue to move west. In the middle of that road, you will find a cave. This is where the patrol spawns. Next to the cave are a few crates. Destroy them to loot a Lesser Replenishment Potion: Regenerates 150 hit points and 50 mana of the Hero over 30 sec.
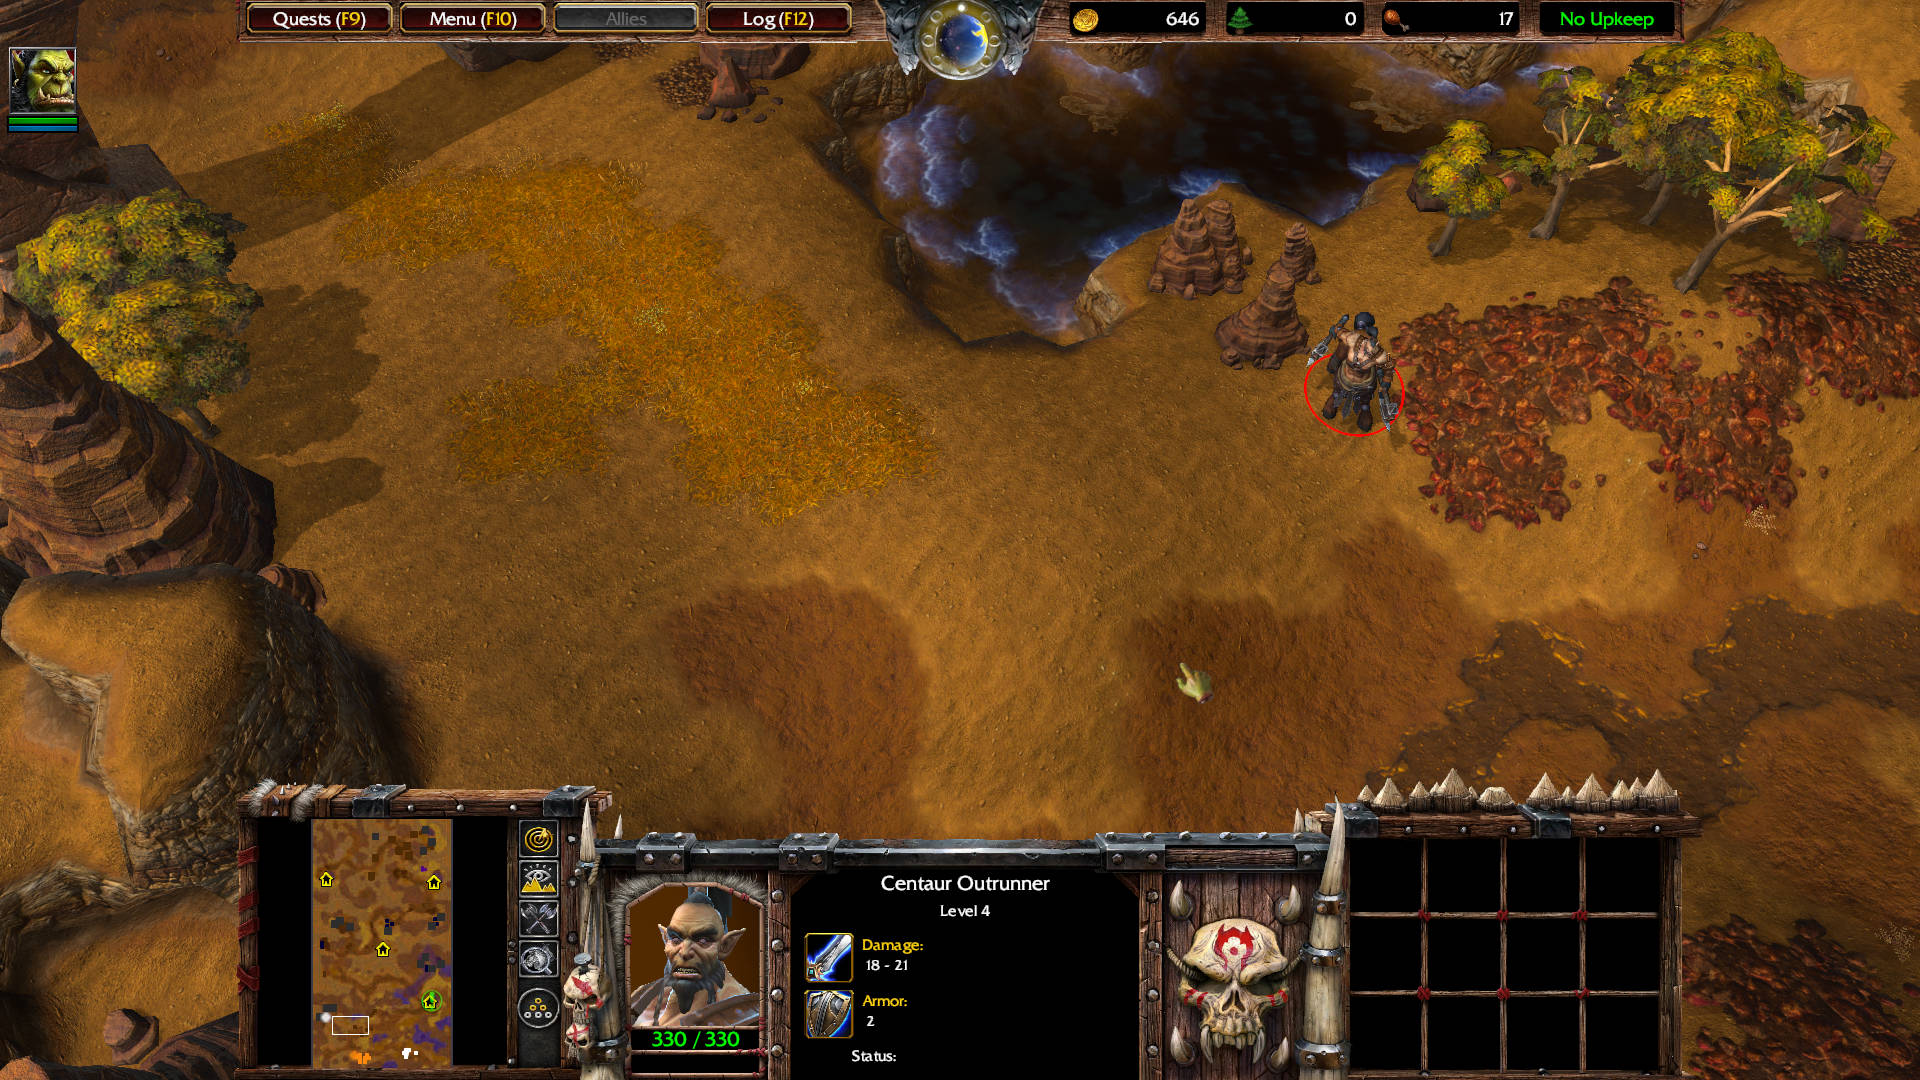
Further to the west you will encounter a Centaur Outrunner level 4 and a Centaur Impaler level 4.
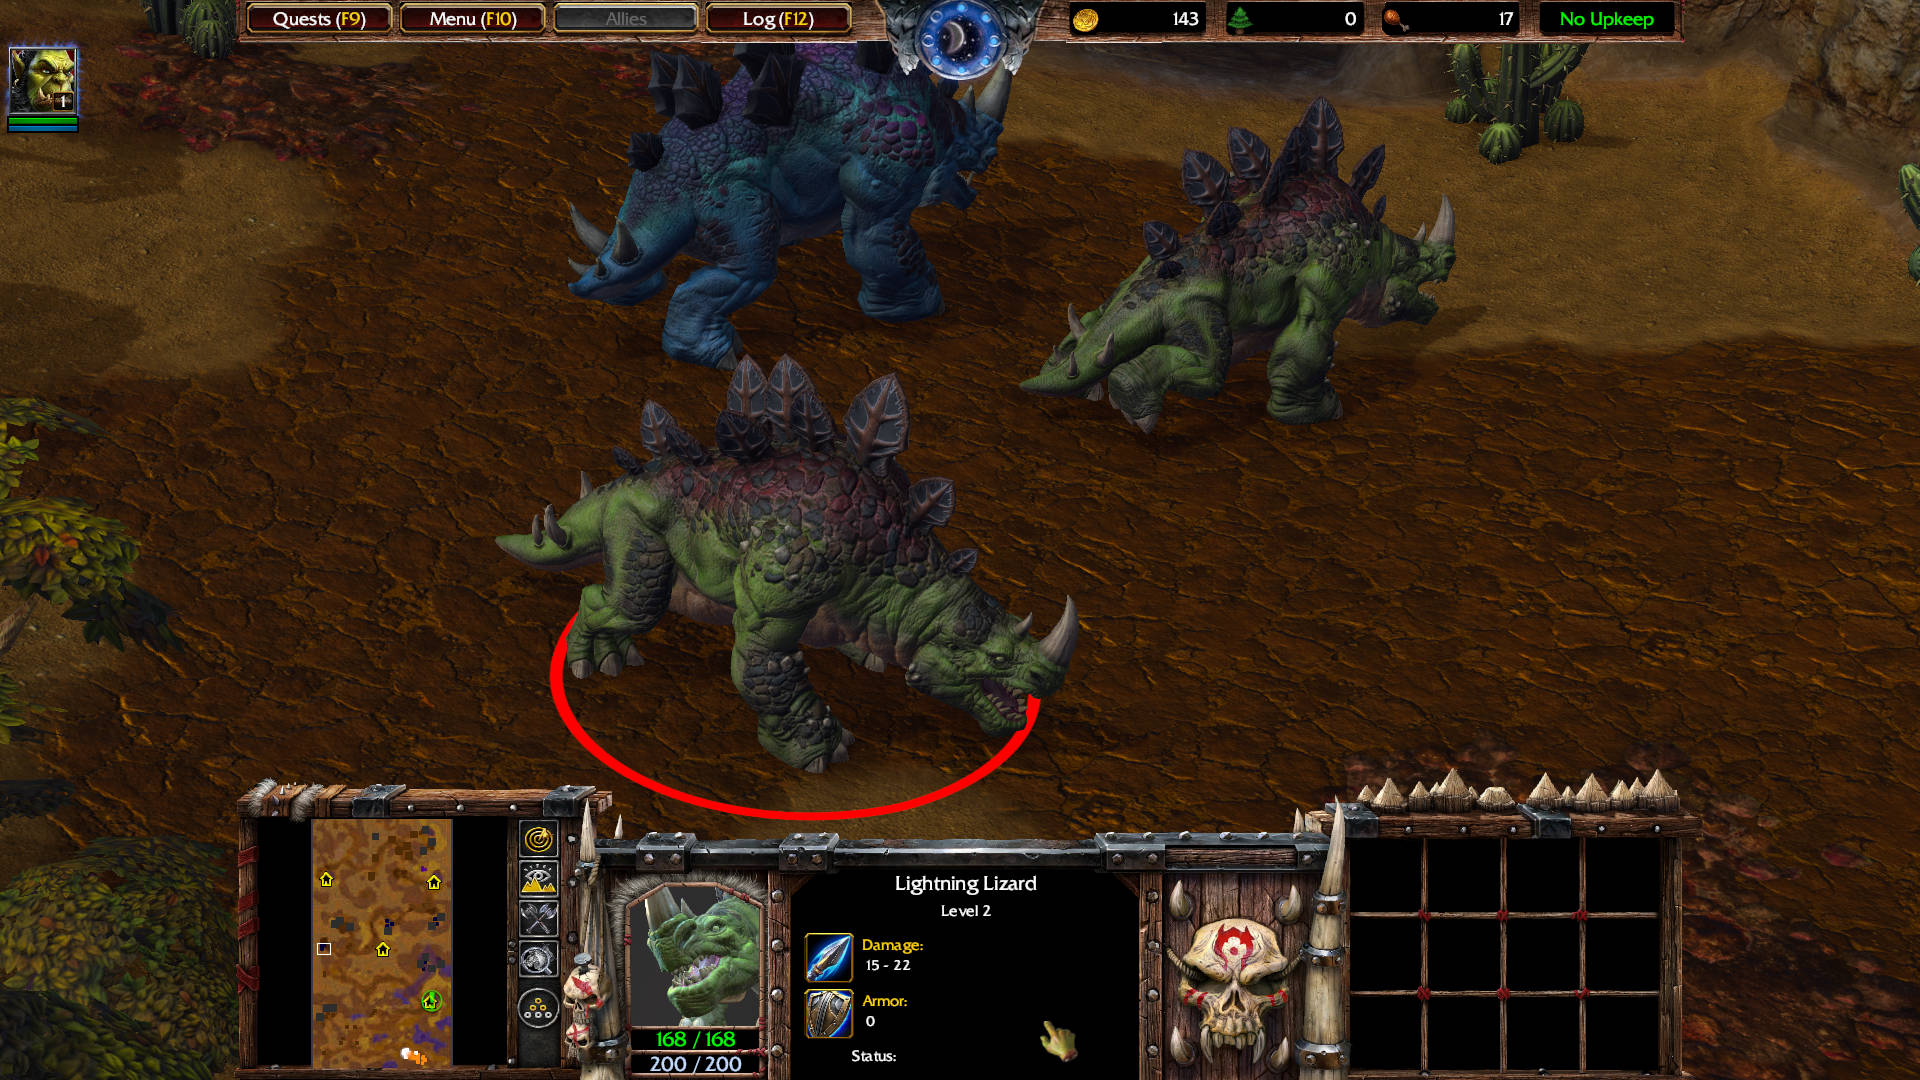
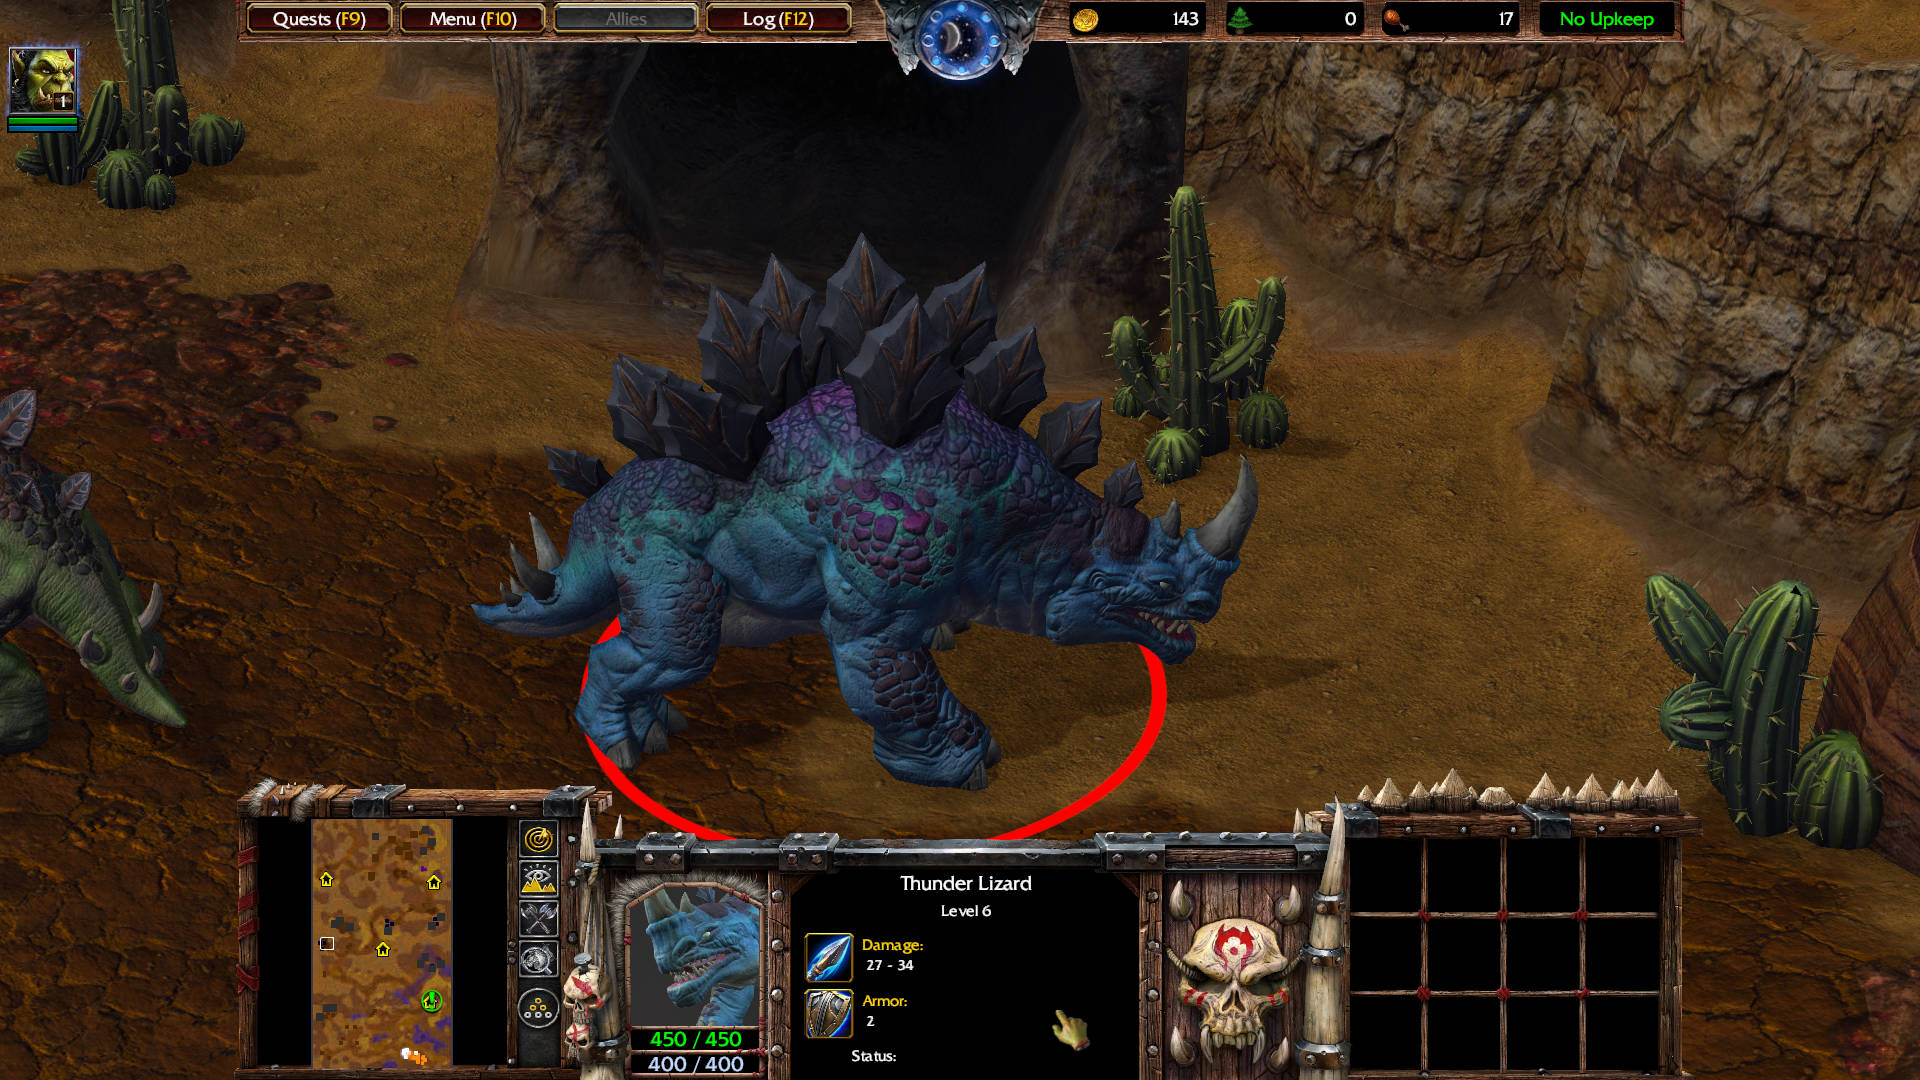
Go straight north, and follow the wall to the northwest. There is a deadend here with a Thunder Lizard level 6 and two Lightning Lizard level 2 — drops Claws of Attack: Increases the attack damage of the Hero by 3 when worn.
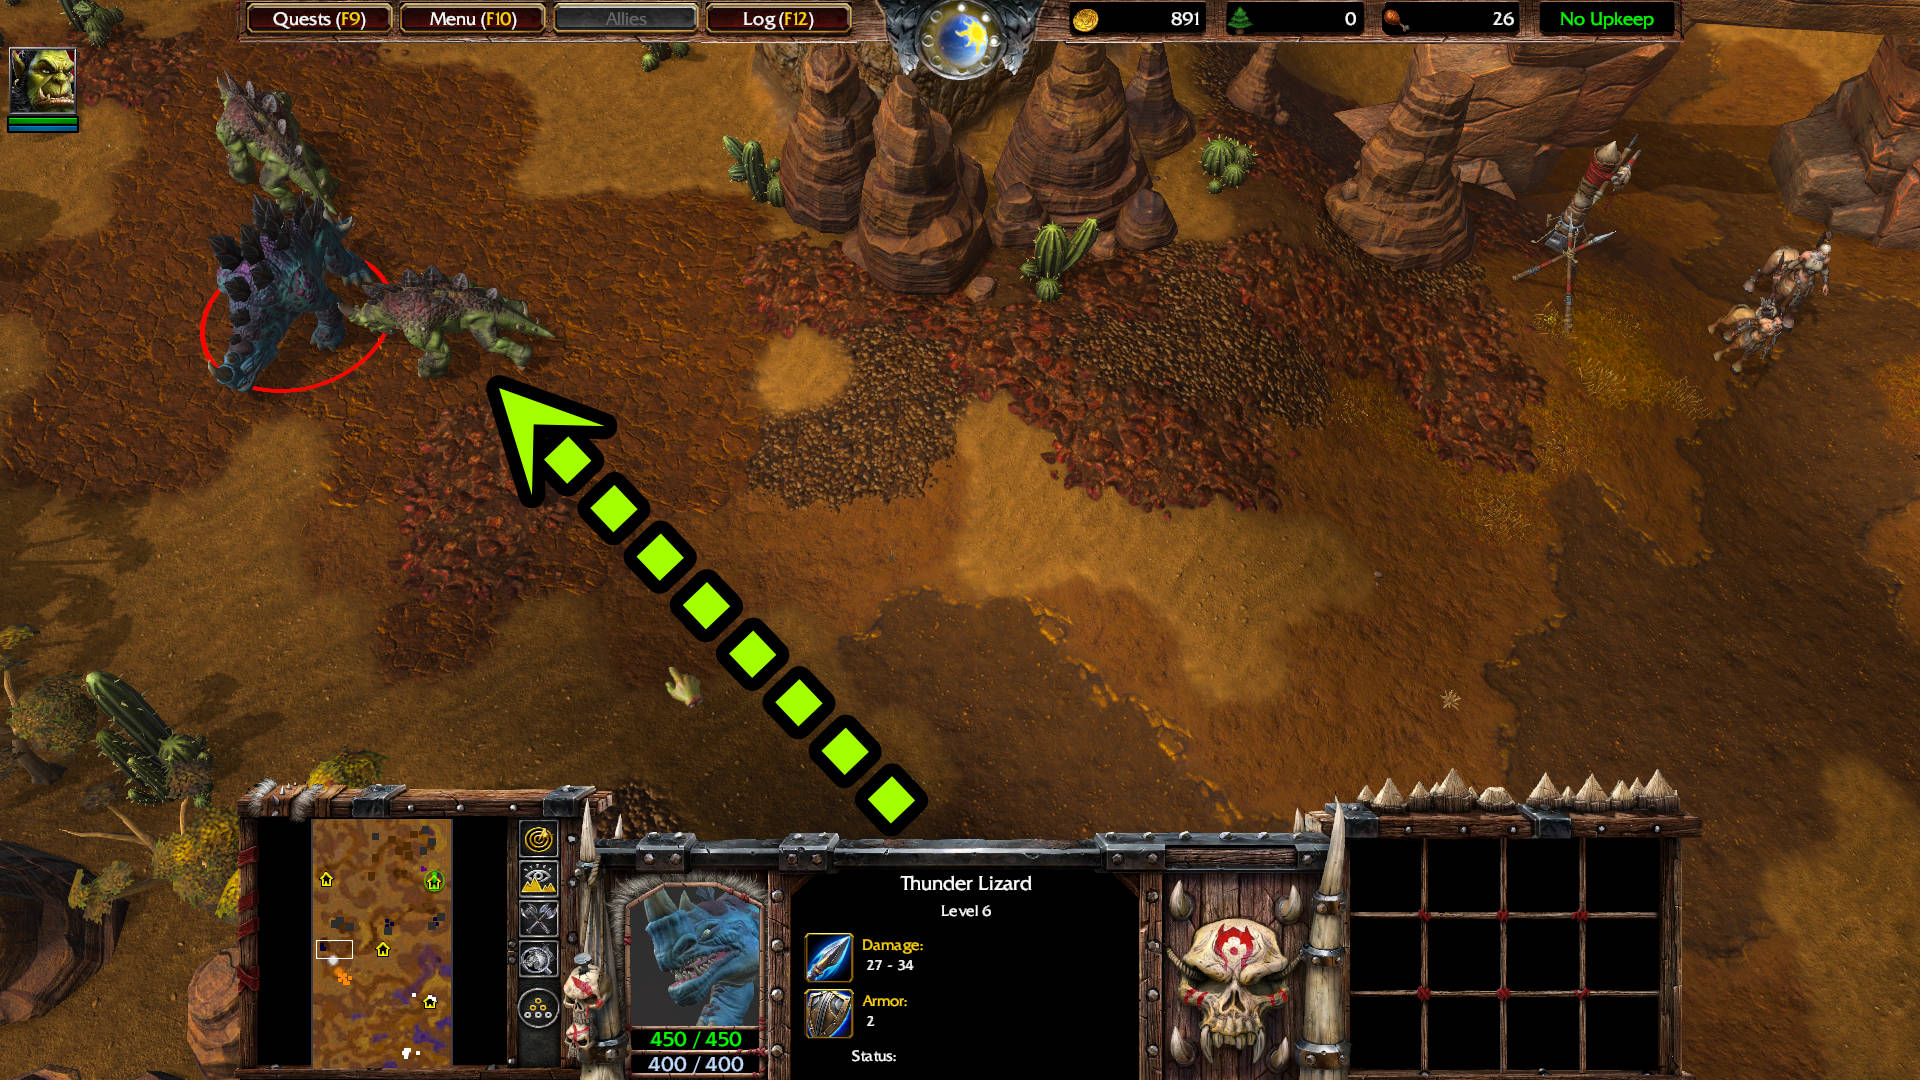
Cairne Bloodhoof: Hold your formations! The kodos must be protected!
A few yards to the right of those Lizards are a Centaur Sorcerer level 5 and a Centaur Archer level 2. Just behind them is an arch. Follow the path northwest past that arch. It leads to a centaur camp with a Centaur Sorcerer level 5 and two Centaur Archer level 2. The Sorcerer drops Potion of Greater Mana: Restores 300 mana when used. Destroy the tents. One of them drops Scroll of Healing: Heals 150 hit points to all friendly non-mechanical units around the Hero when used.
Go back to the arch, and continue heading east until you find a Goblin Merchant building. Immediately, from the cave (to the right) spawn 3 Warsong Raiders who join your team.
Raider: Hail, Warchief! How may we serve you?
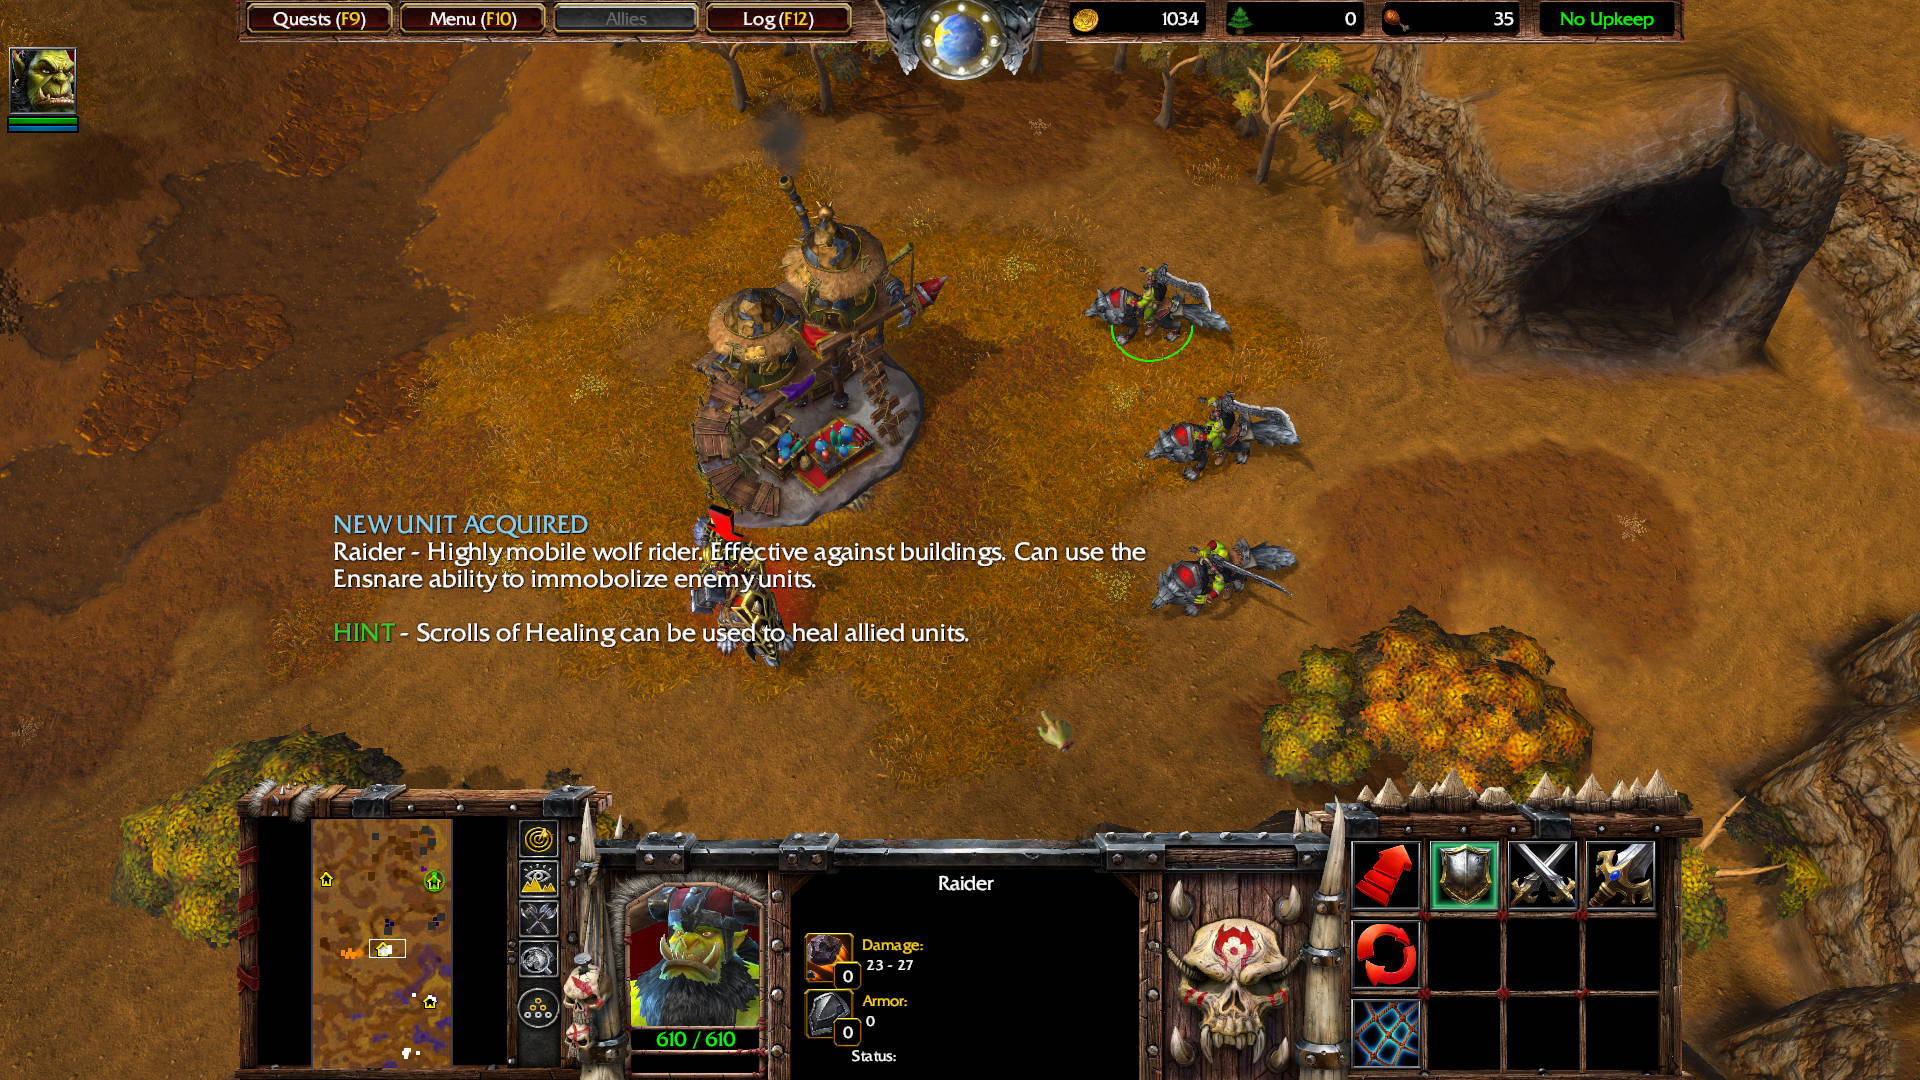
NEW UNIT ACQUIRED
Raider – Highly mobile wolf rider. Effective against buildings. Can use the Ensnare ability to immobilize enemy units.
GOBLIN MERCHANT
This is the only Goblin Merchant in this map. You can buy up to 3 of each of these items. From left to right, these are the items it sells:
- Scroll of Protection (R): Increases the armor of all friendly units in an area around your Hero by 2 for 30 sec.
- Potion of Healing (P): Heals 250 hit points when used.
- Potion of Mana (M): Restores 150 mana when used.
- Wand of Negation (N): Dispels all magical effects in a target area. Contains 3 charges. Deals 200 damage to summoned units.
- Scroll of Healing (H): Heals 150 hit points to all friendly non-mechanical units around the Hero when used.
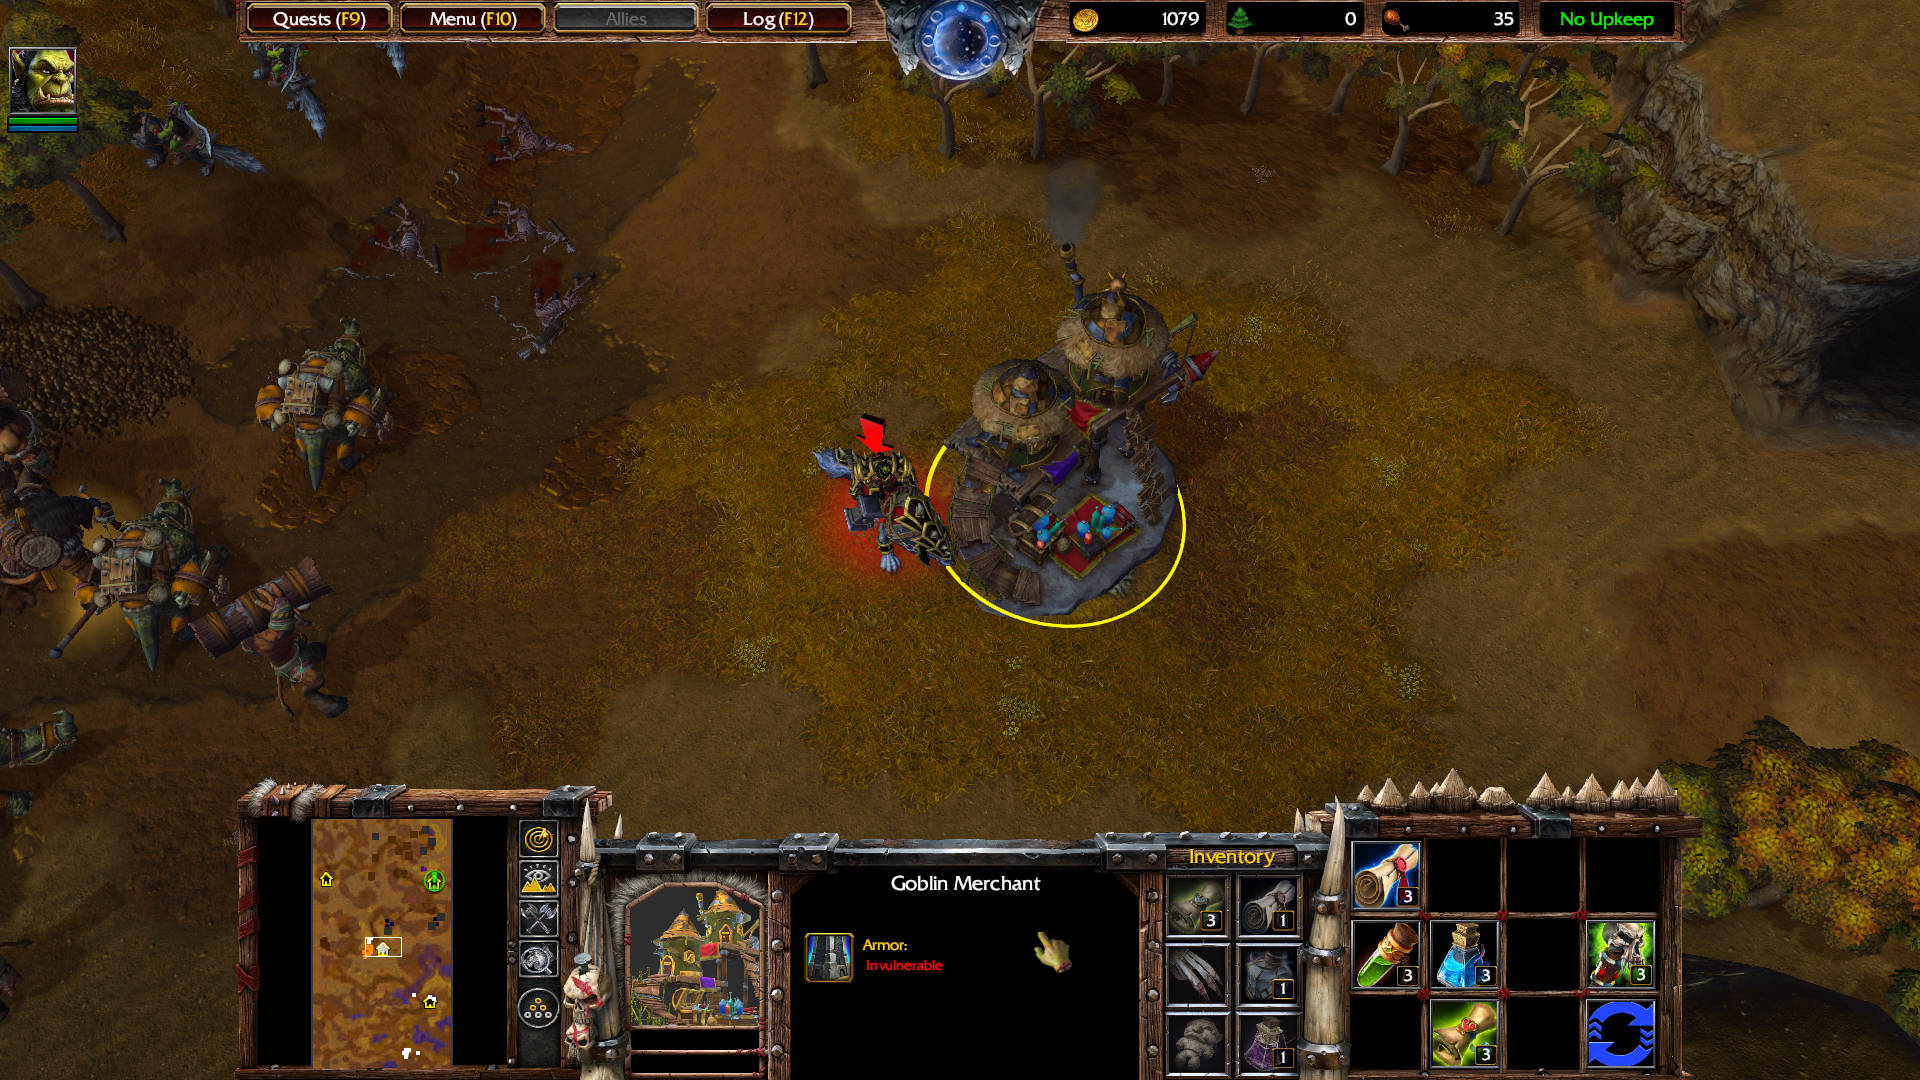
HINT – Scrolls of Healing can be used to heal allied units.
That means it heals the Tauren even if you can’t control them.
Follow the road north, then it leads you eastward. You will encounter three Harpies. Destroy the Harpy Nest below them — drops Mantle of Intelligence: Increases the Intelligence of the Hero by 3 when worn.
HINT – Use your Raider’s Ensnare ability to bring enemy air units to the ground.
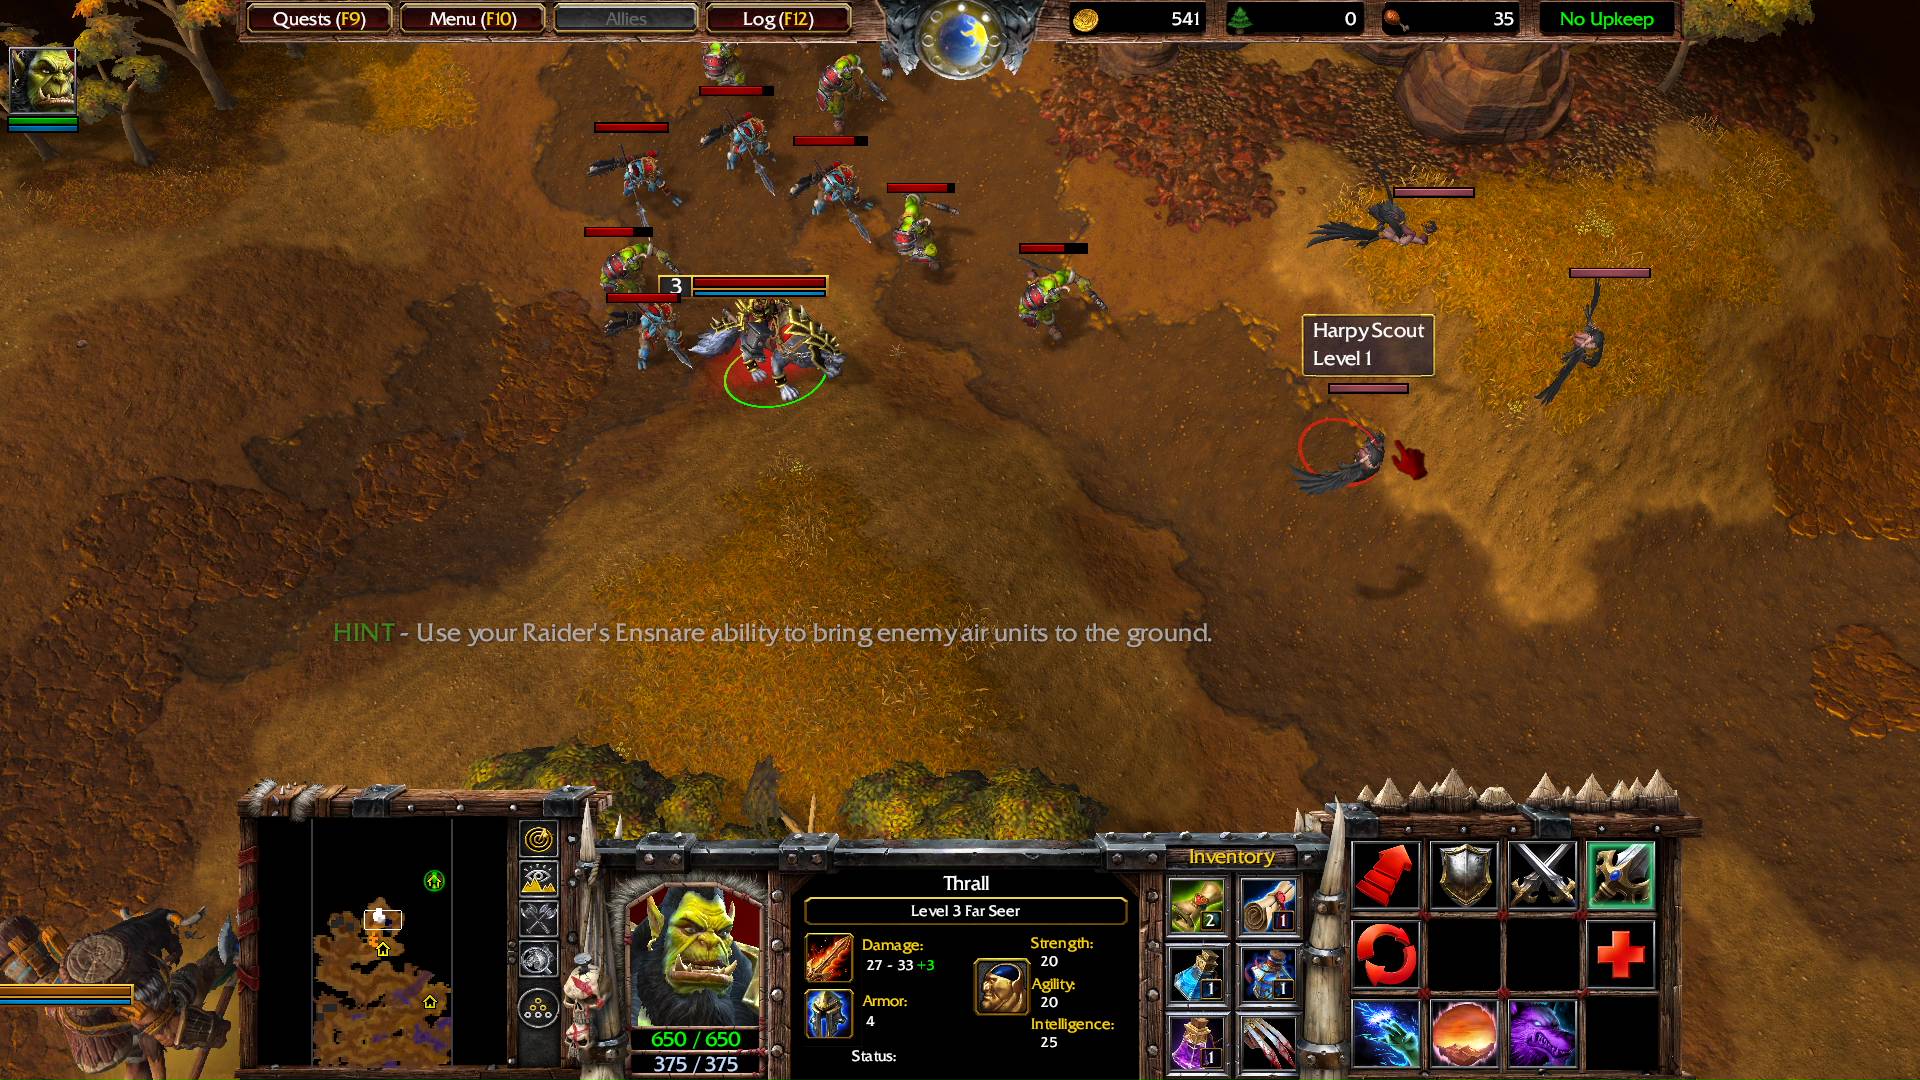
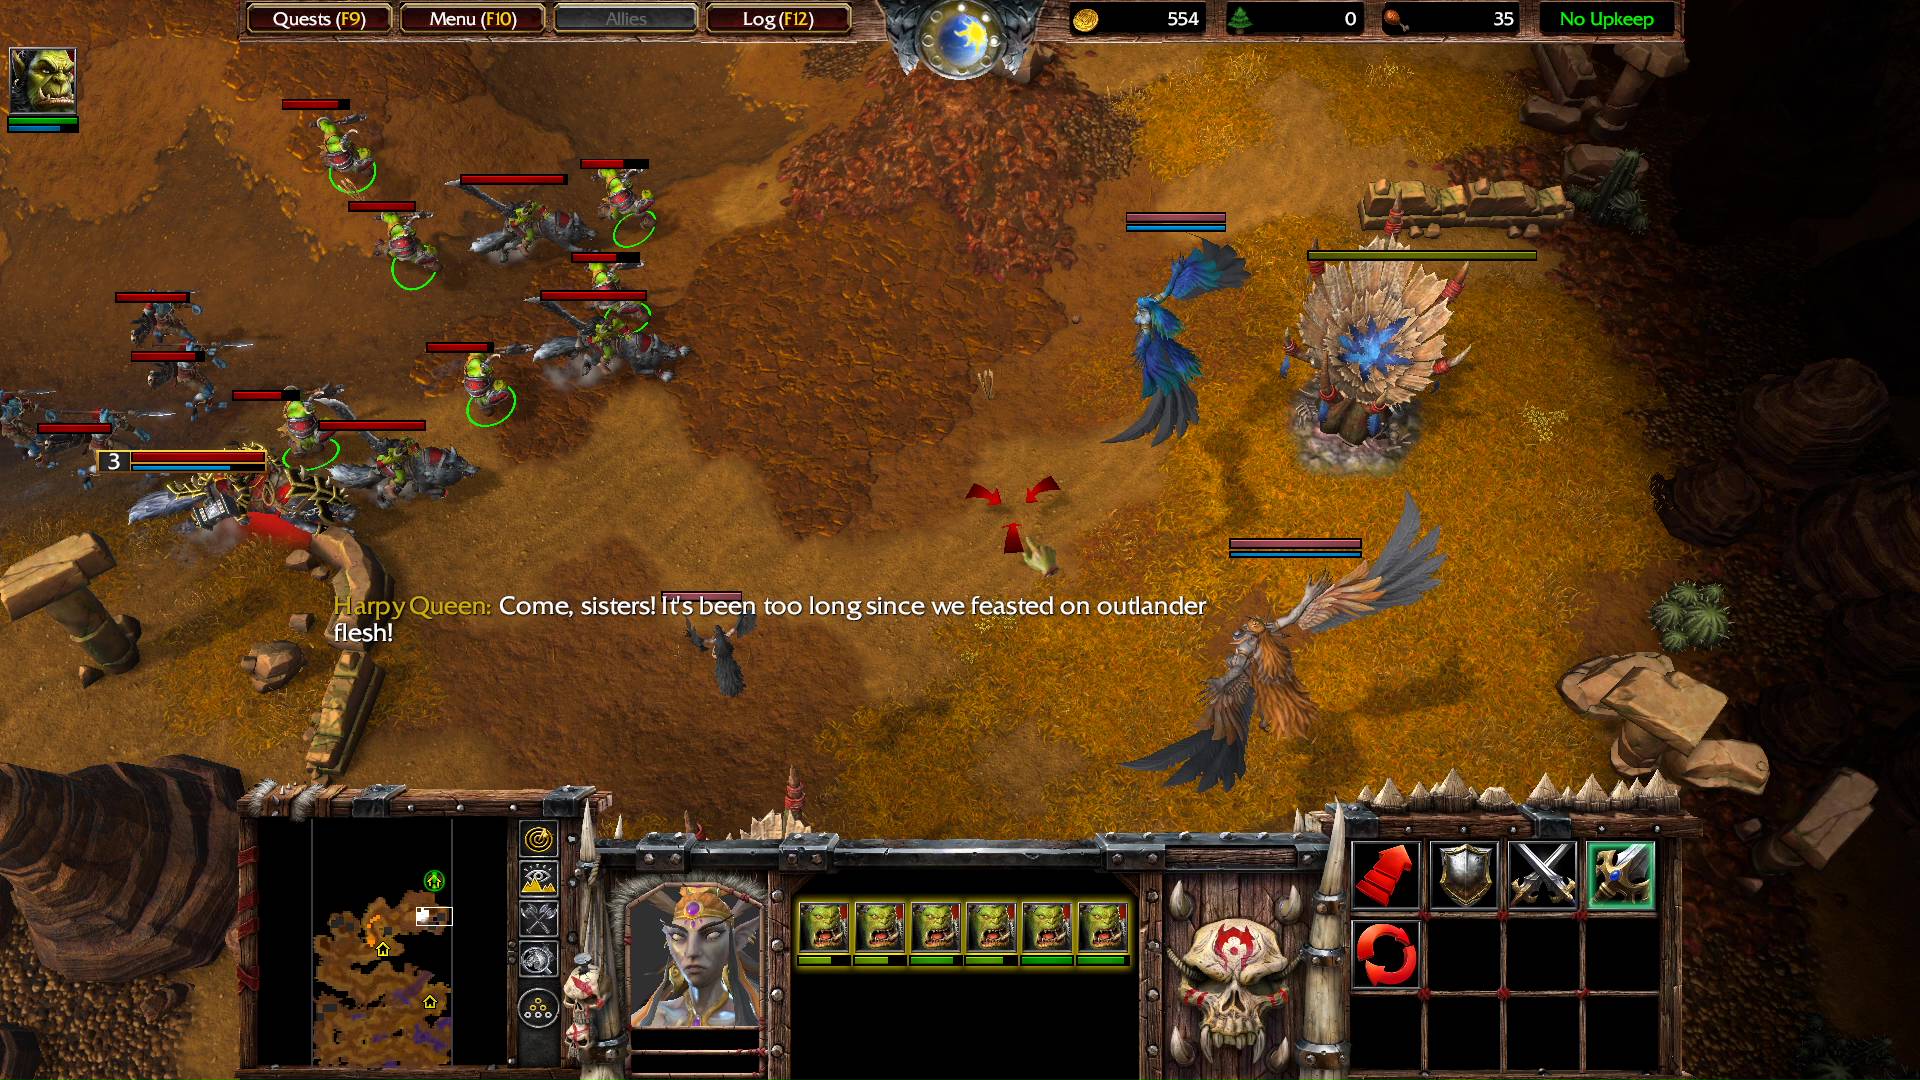
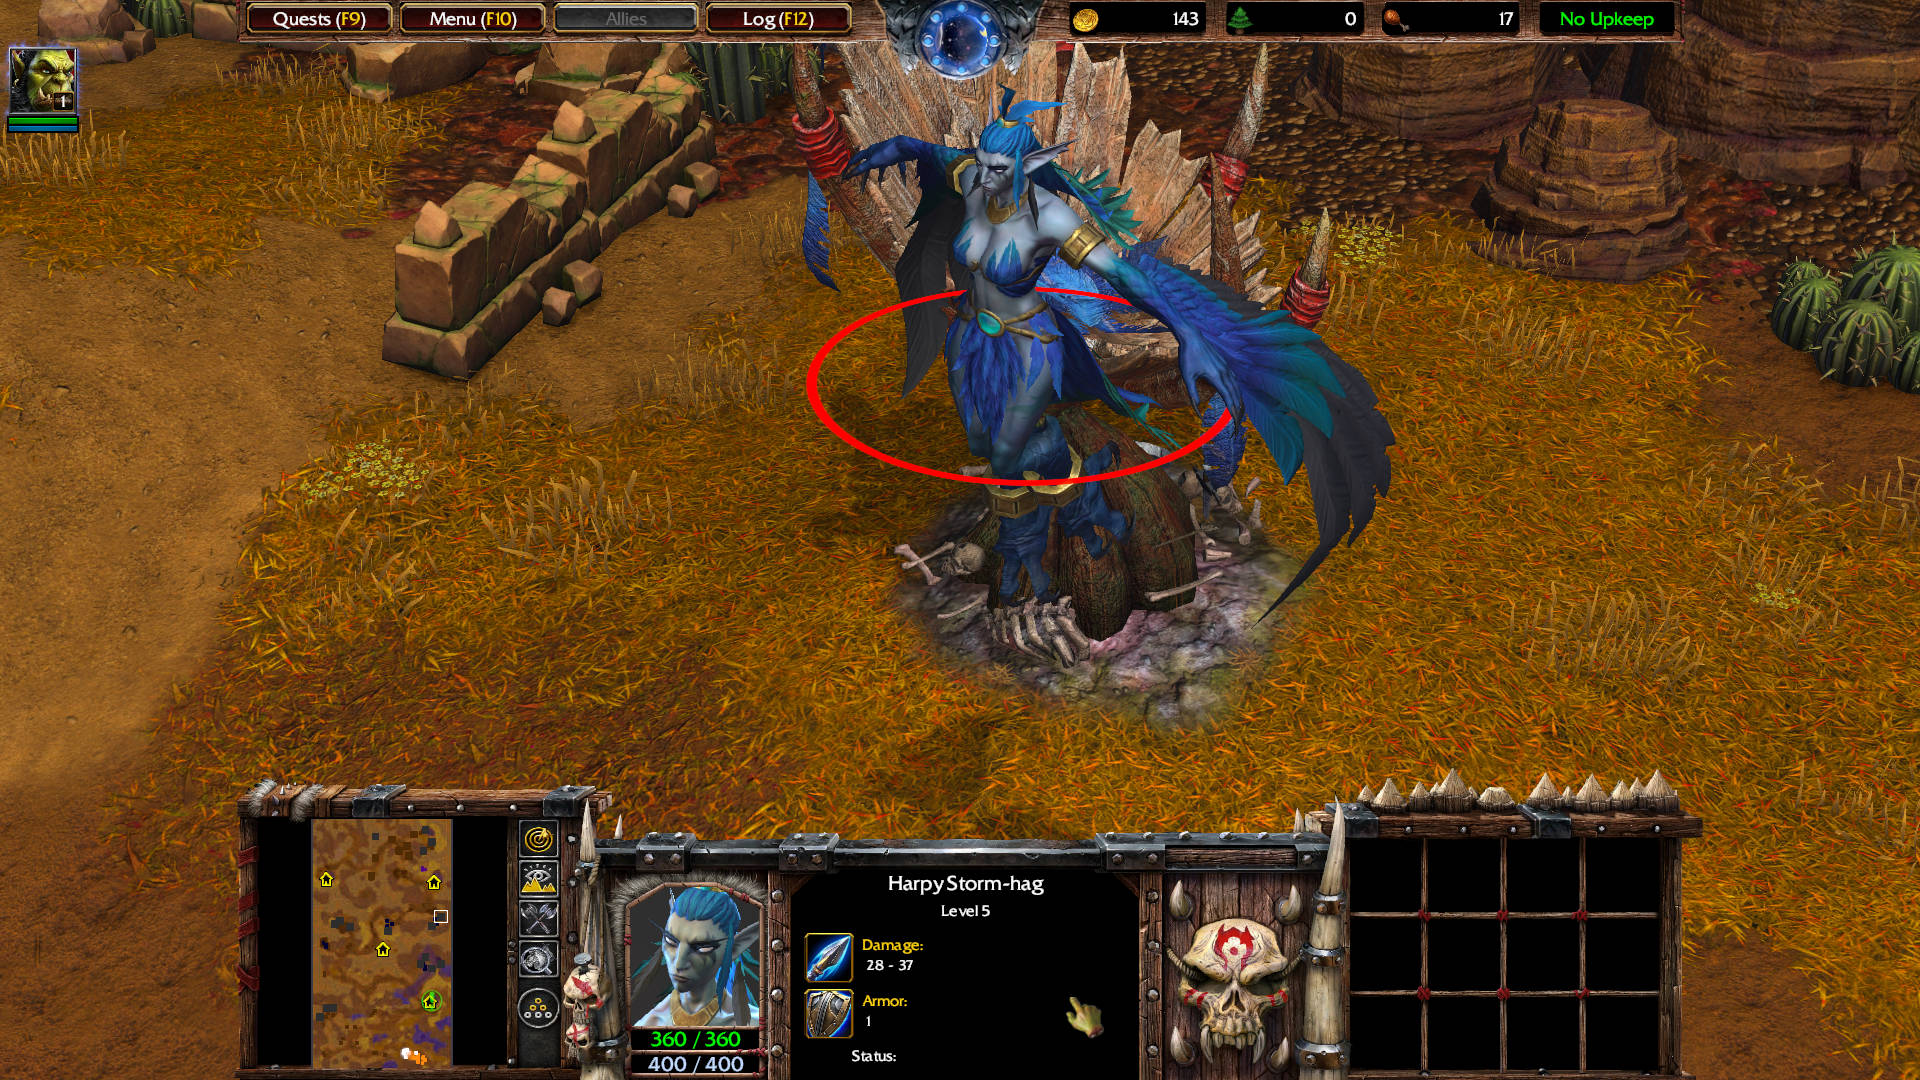
Further east, you will encounter a Harpy Queen level 5, Harpy Storm-hag level 5, and a Harpy Scout level 1 — drops Gauntlets of Ogre Strength: Increases the Strength of the Hero by 3 when worn. Destroy their nests. One drops Potion of Greater Mana: Restores 300 mana when used.
Note: The Harpy Storm-hag will cast Cyclone on a single target, immobilizing it for several seconds.
Harpy Queen: Come, sisters! It’s been too long since we feasted on outlander flesh!
Thrall: I wouldn’t advise it, ladies. Once my wolf riders bring you to the ground, you’ll have little chance against us!
Go north toward the next Oasis — marked as a green circle in the mini-map. Move a few yards north of the Fountain of Health to trigger a dialogue… Three Warsong Demolishers (catapults) join your team.
Thrall: Ah, the Oasis at last!
Thrall: Warsong Catapults! Those could be useful.

NEW UNIT ACQUIRED
Demolishers – The siege weapons of the Orcish horde.
HINT – Demolishers are the siege weapon of the Orcs. Use them to effectively destroy enemy buildings and towers.
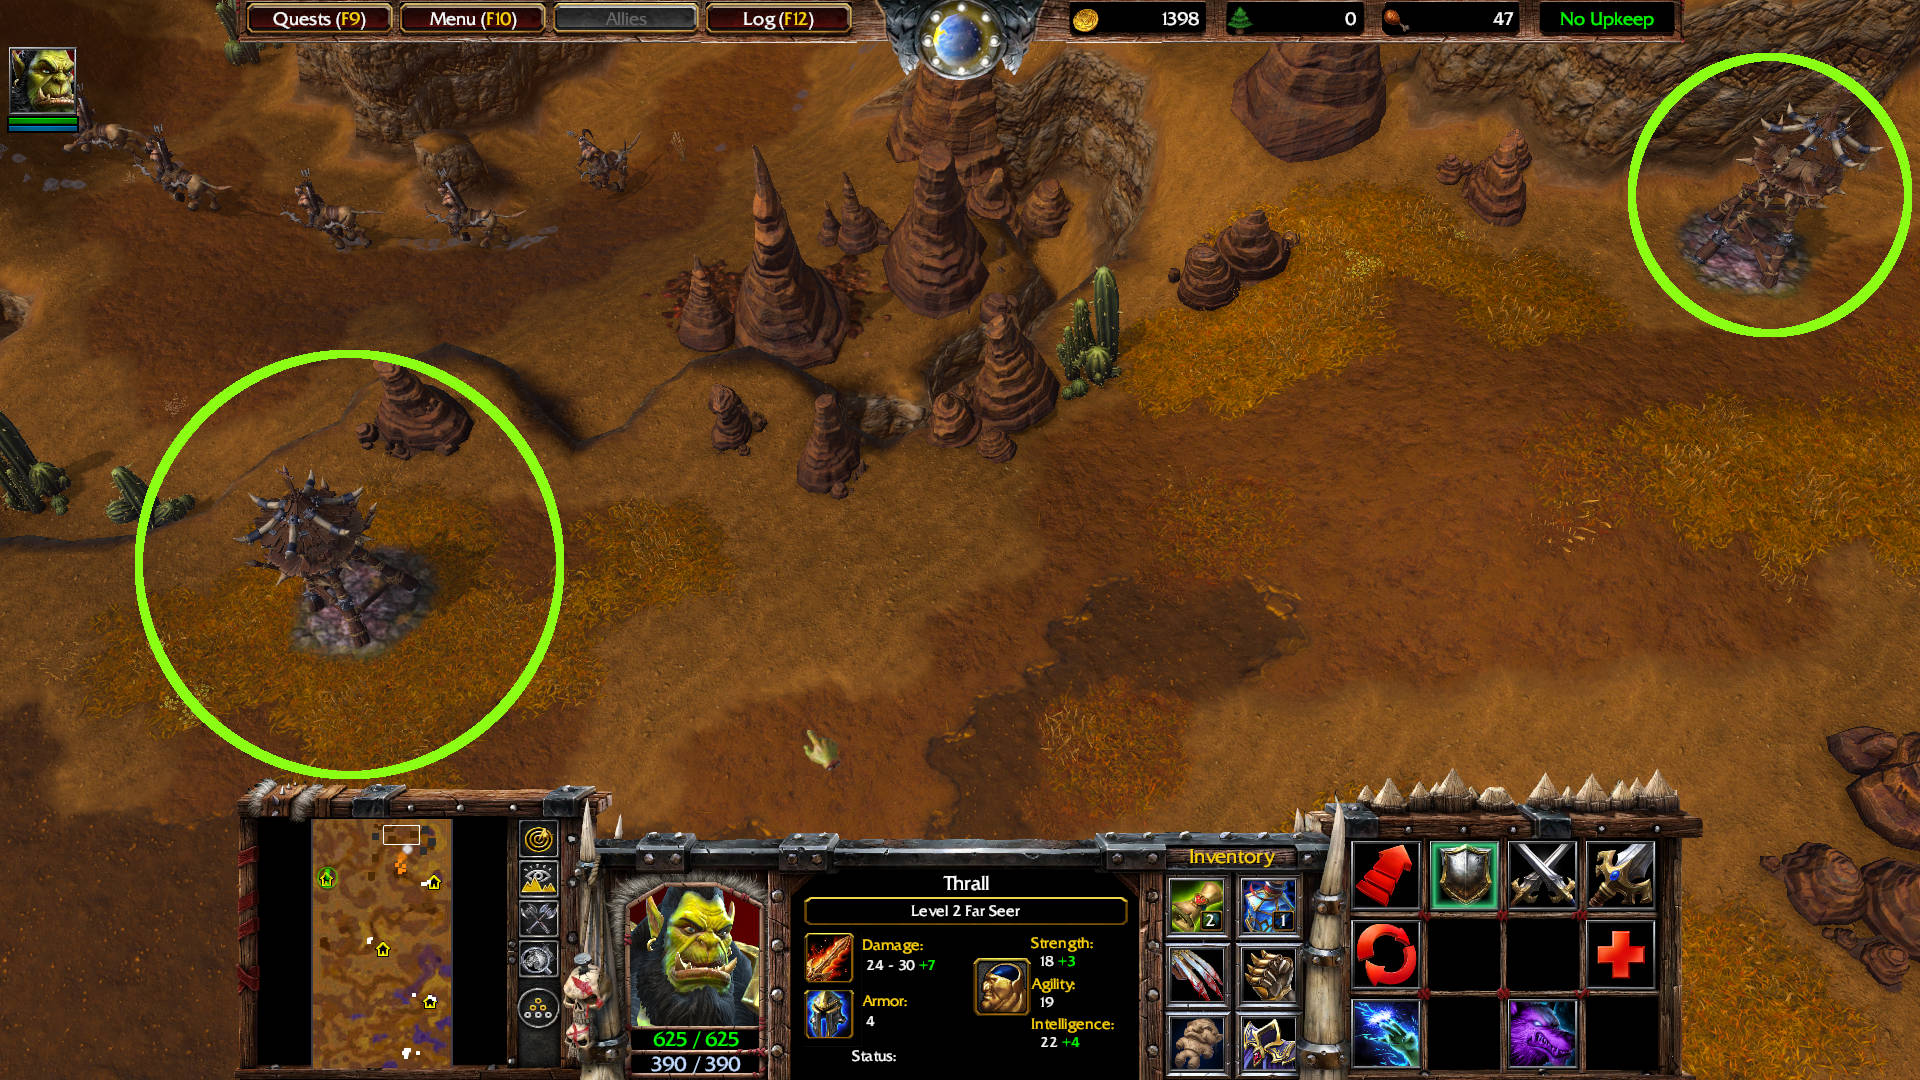
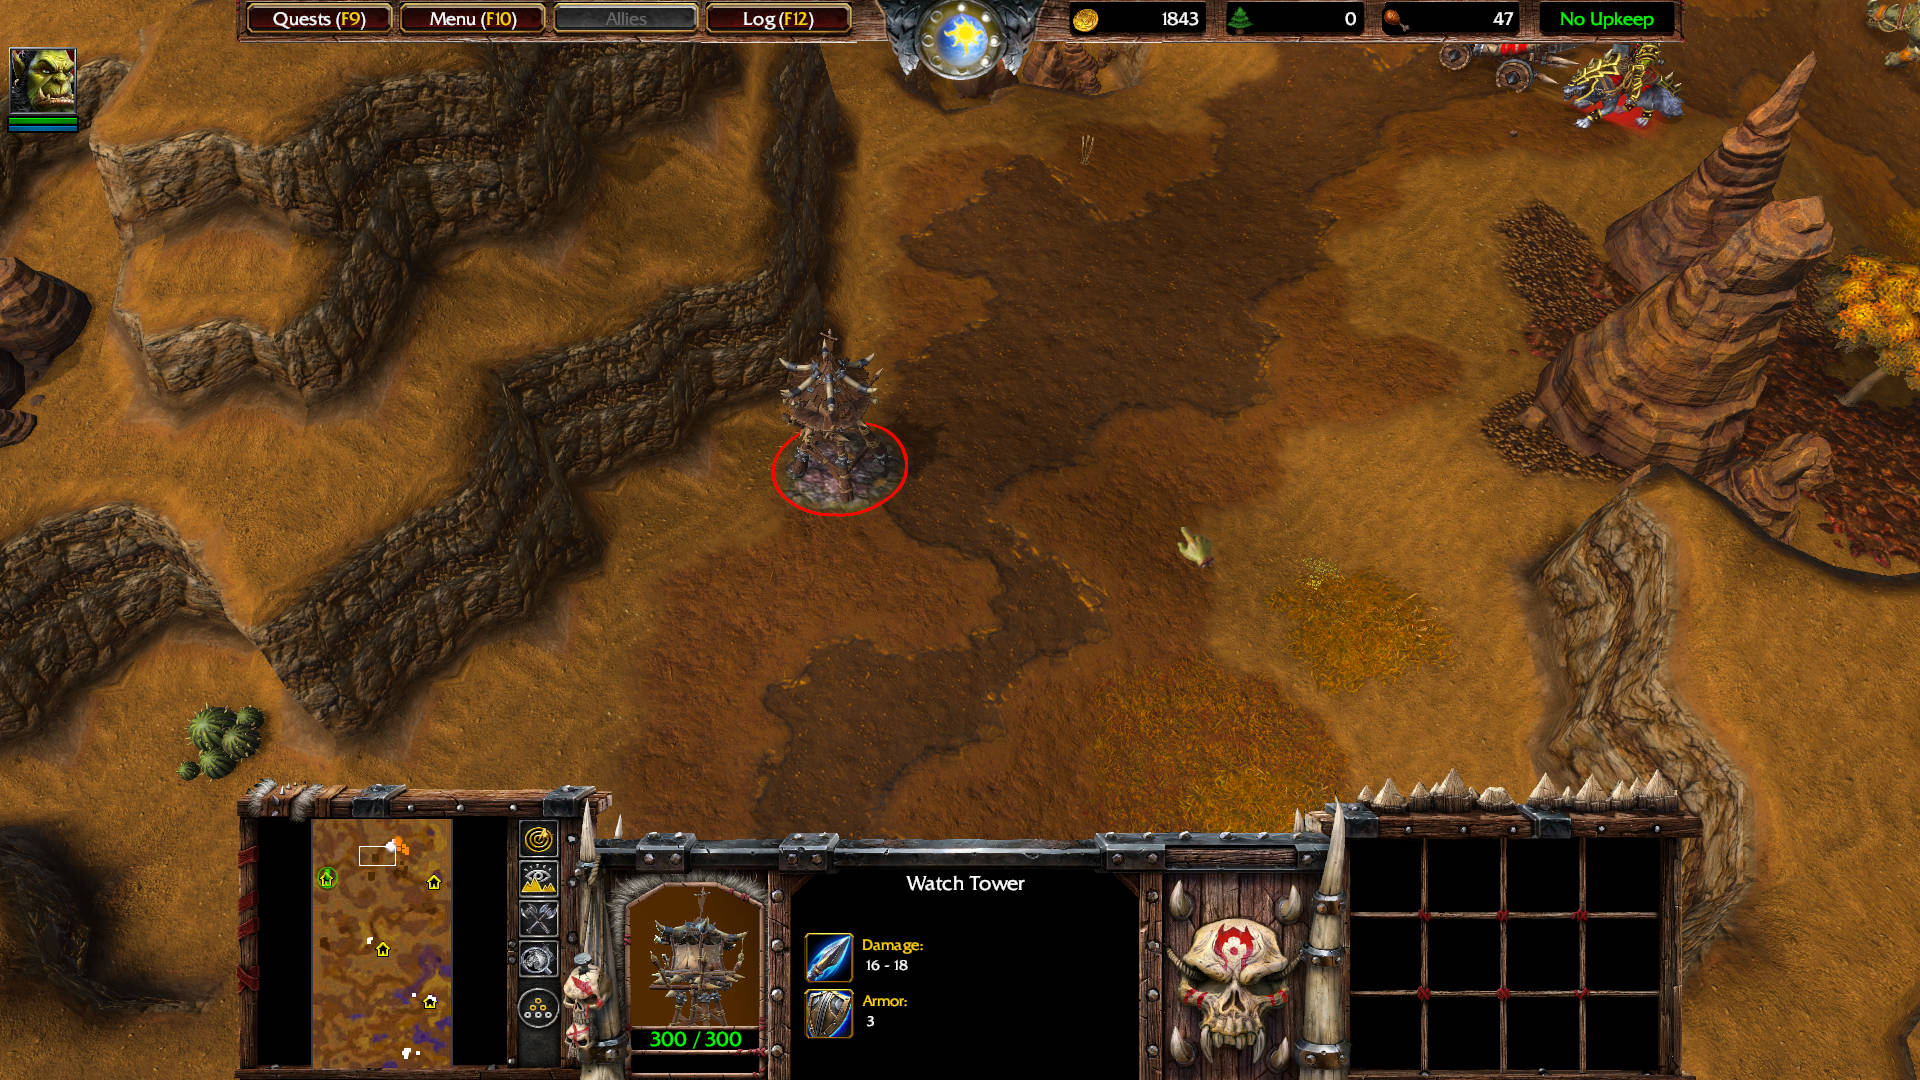
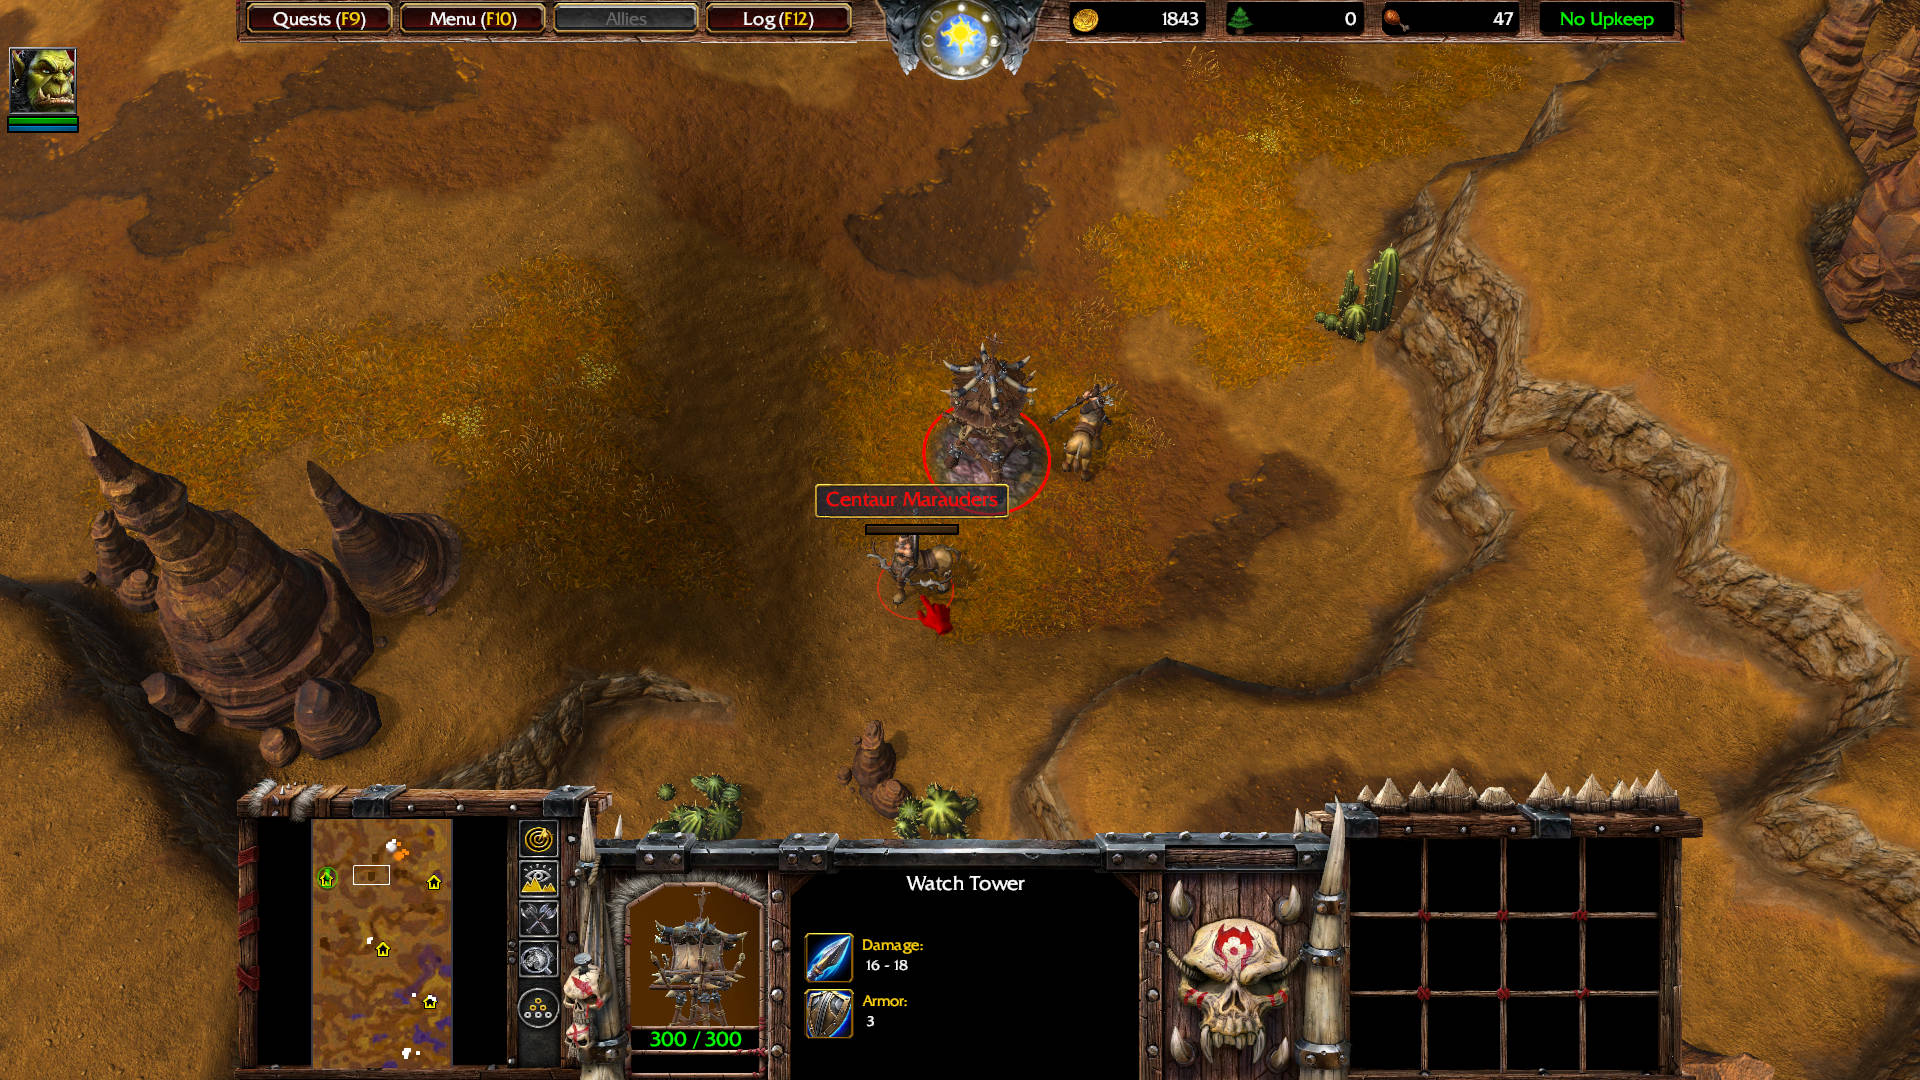
Use the Demolishers to destroy the three Watch Towers further north along the road, and kill the three Centaur Drudge level 2 guarding them.
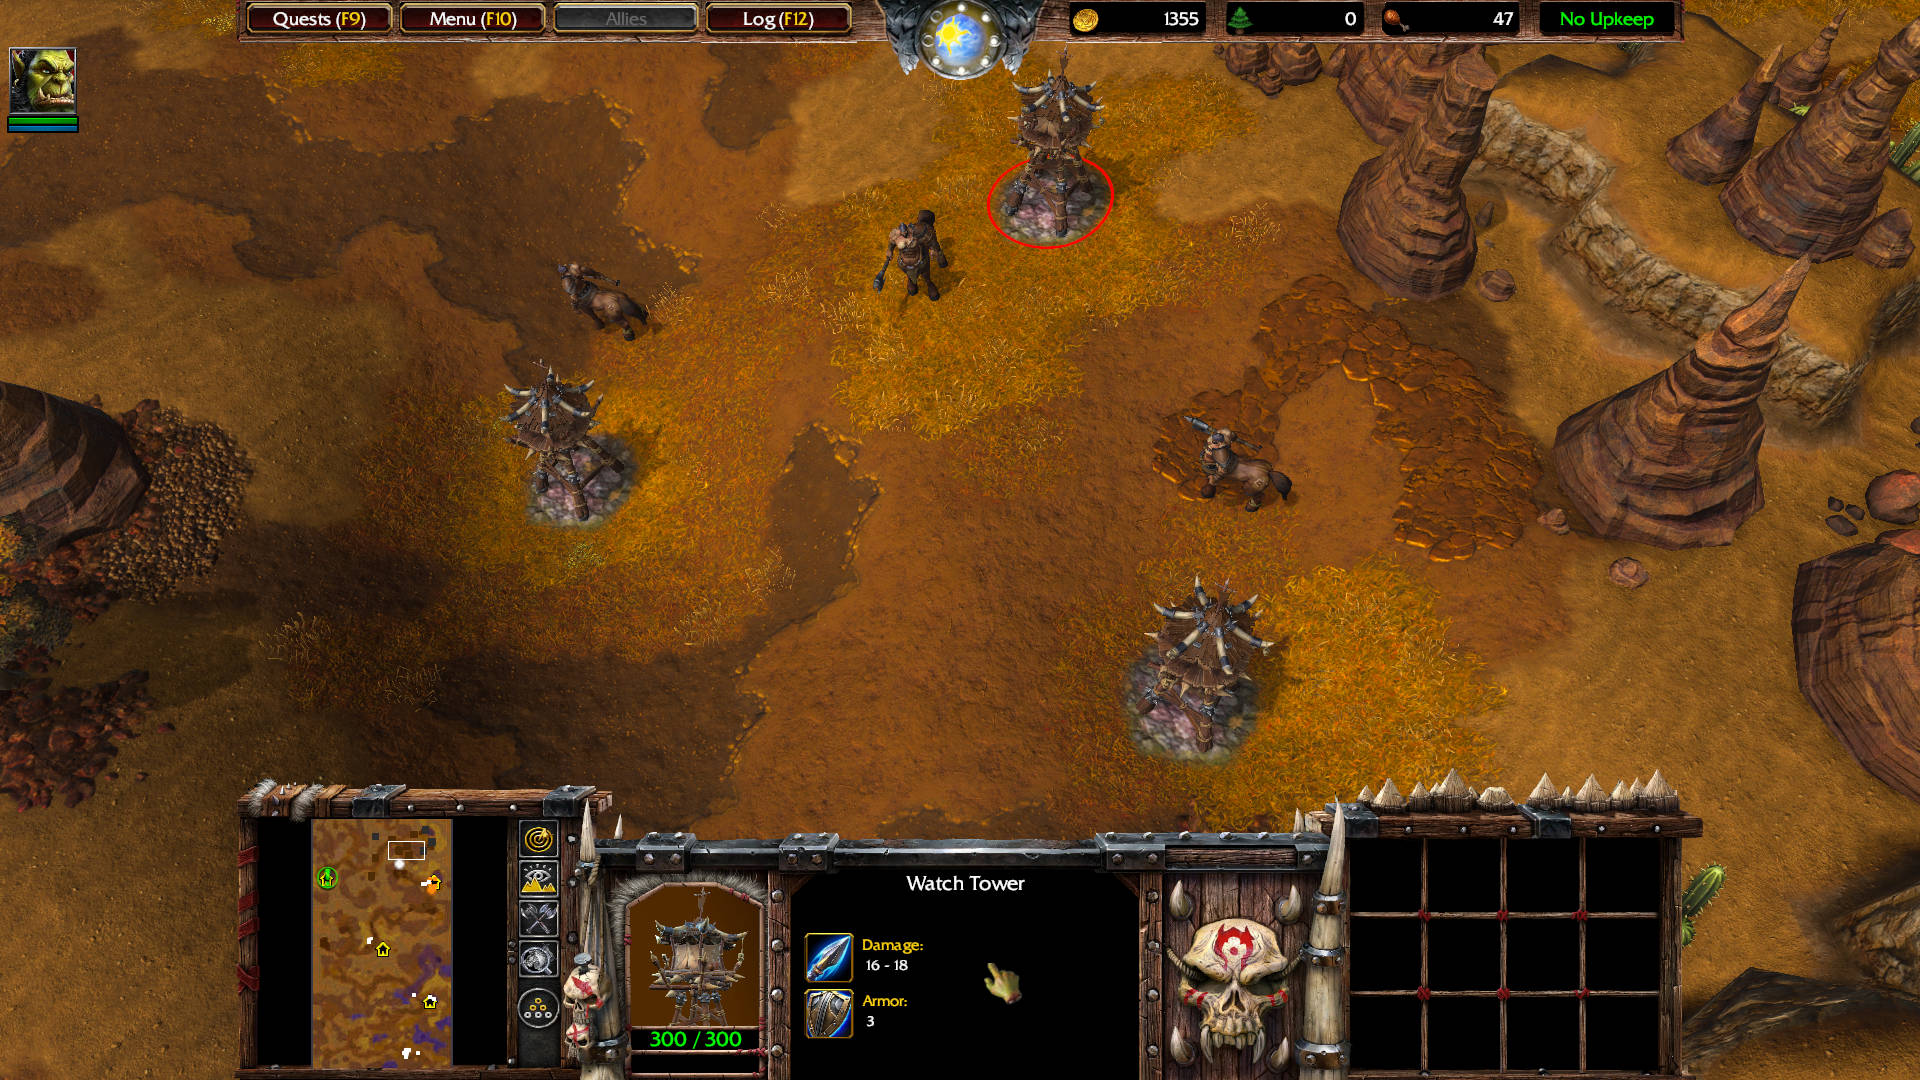
Use the Demolishers to destroy these two Watch Towers — located a few yards north of the previous three towers. A Centaur Outrunner and a Centaur Impaler (out of view) will aggro from the right.
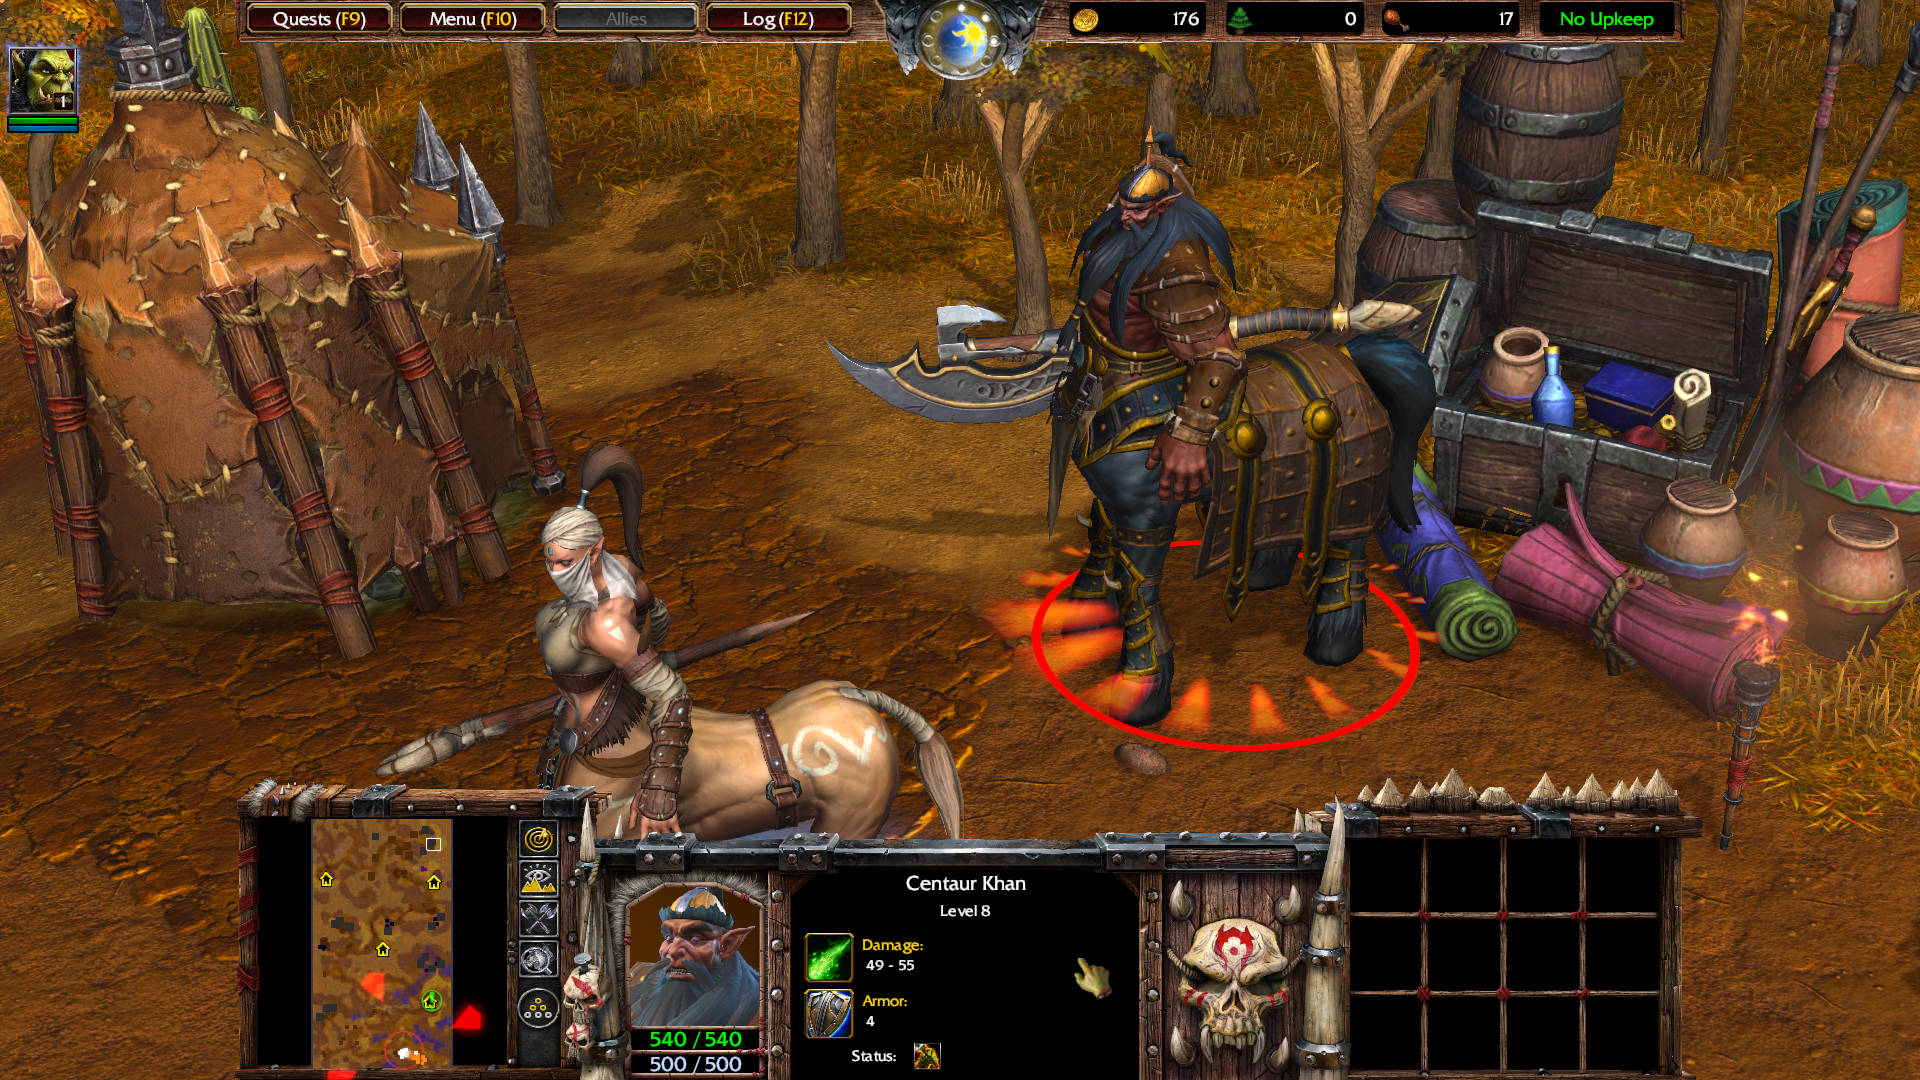
Go straight to the east. There you will encounter Centaur Khan level 8 and a Centaur Sorcerer level 5. After Khan dies, he drops an ankh. Khan resurrects a few seconds later. Loot his Pendant of Energy: Increases the mana capacity of the Hero by 150 when worn.
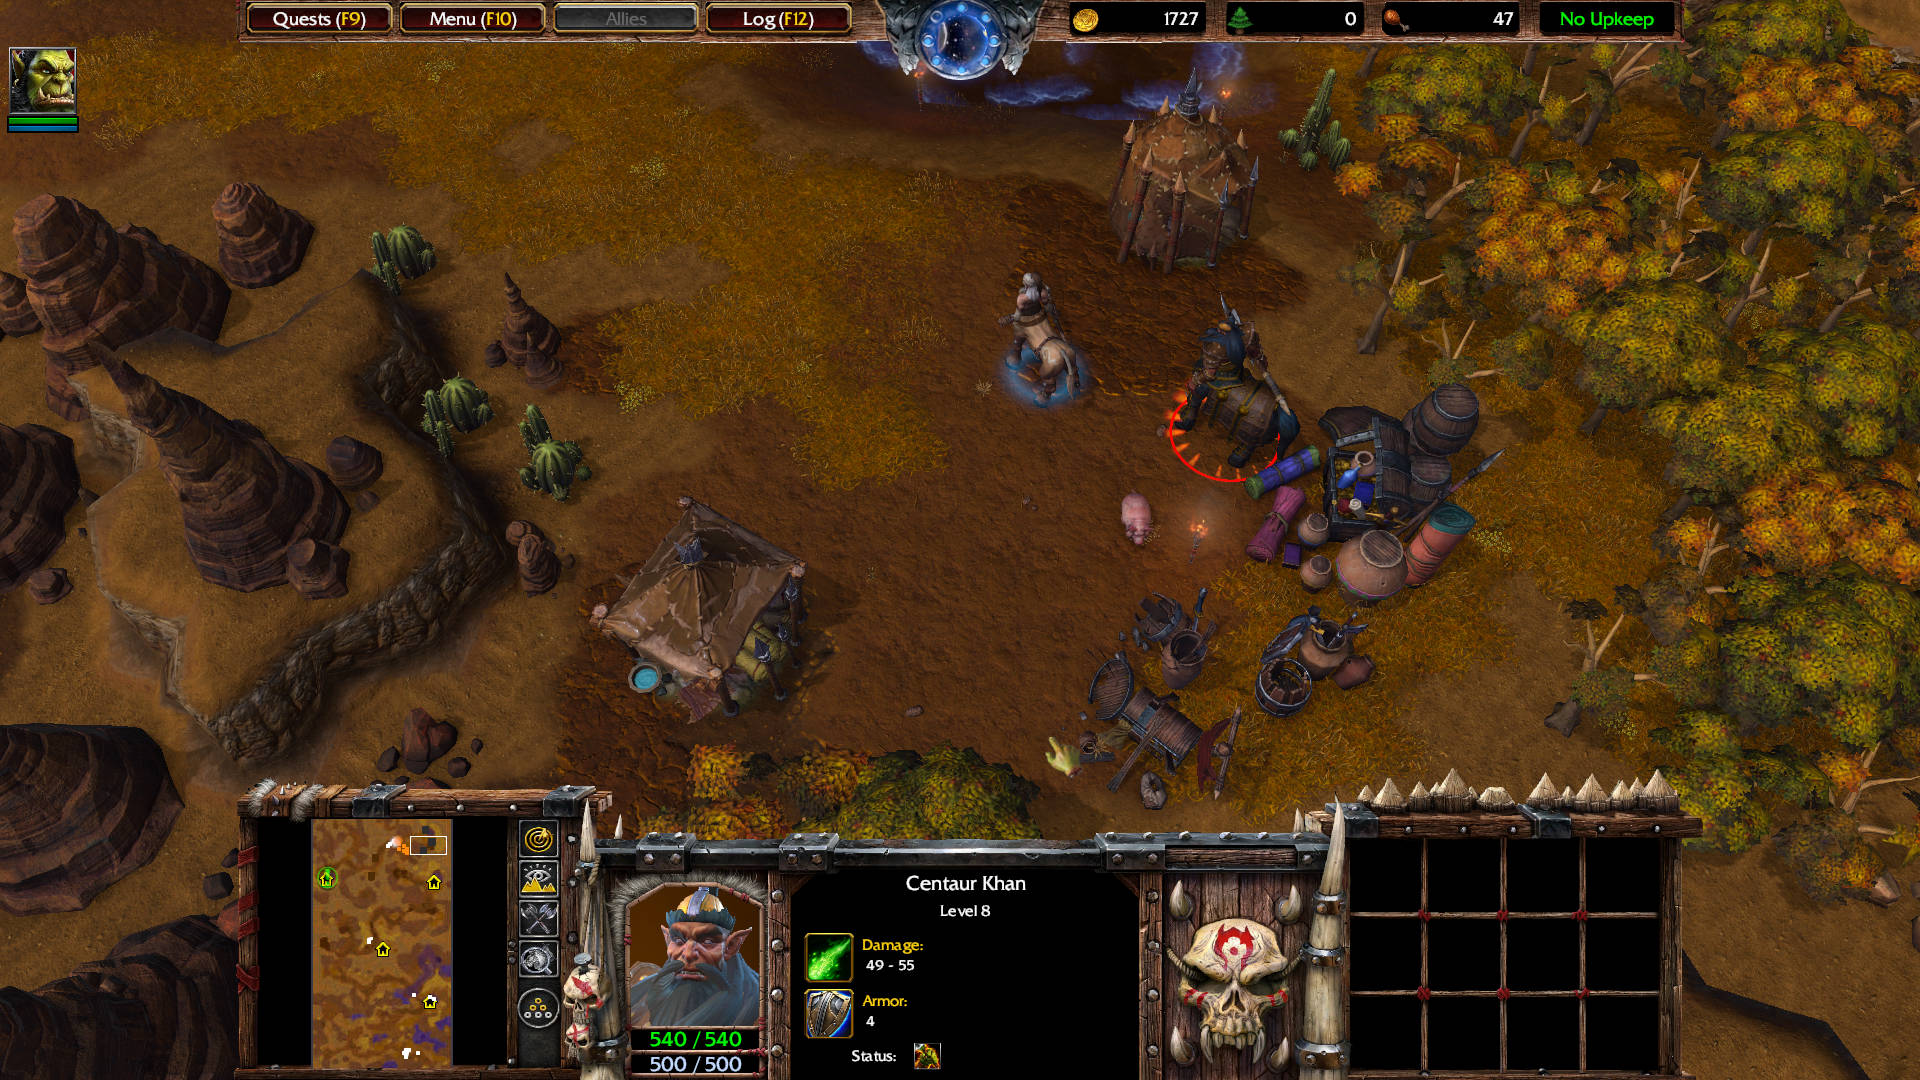
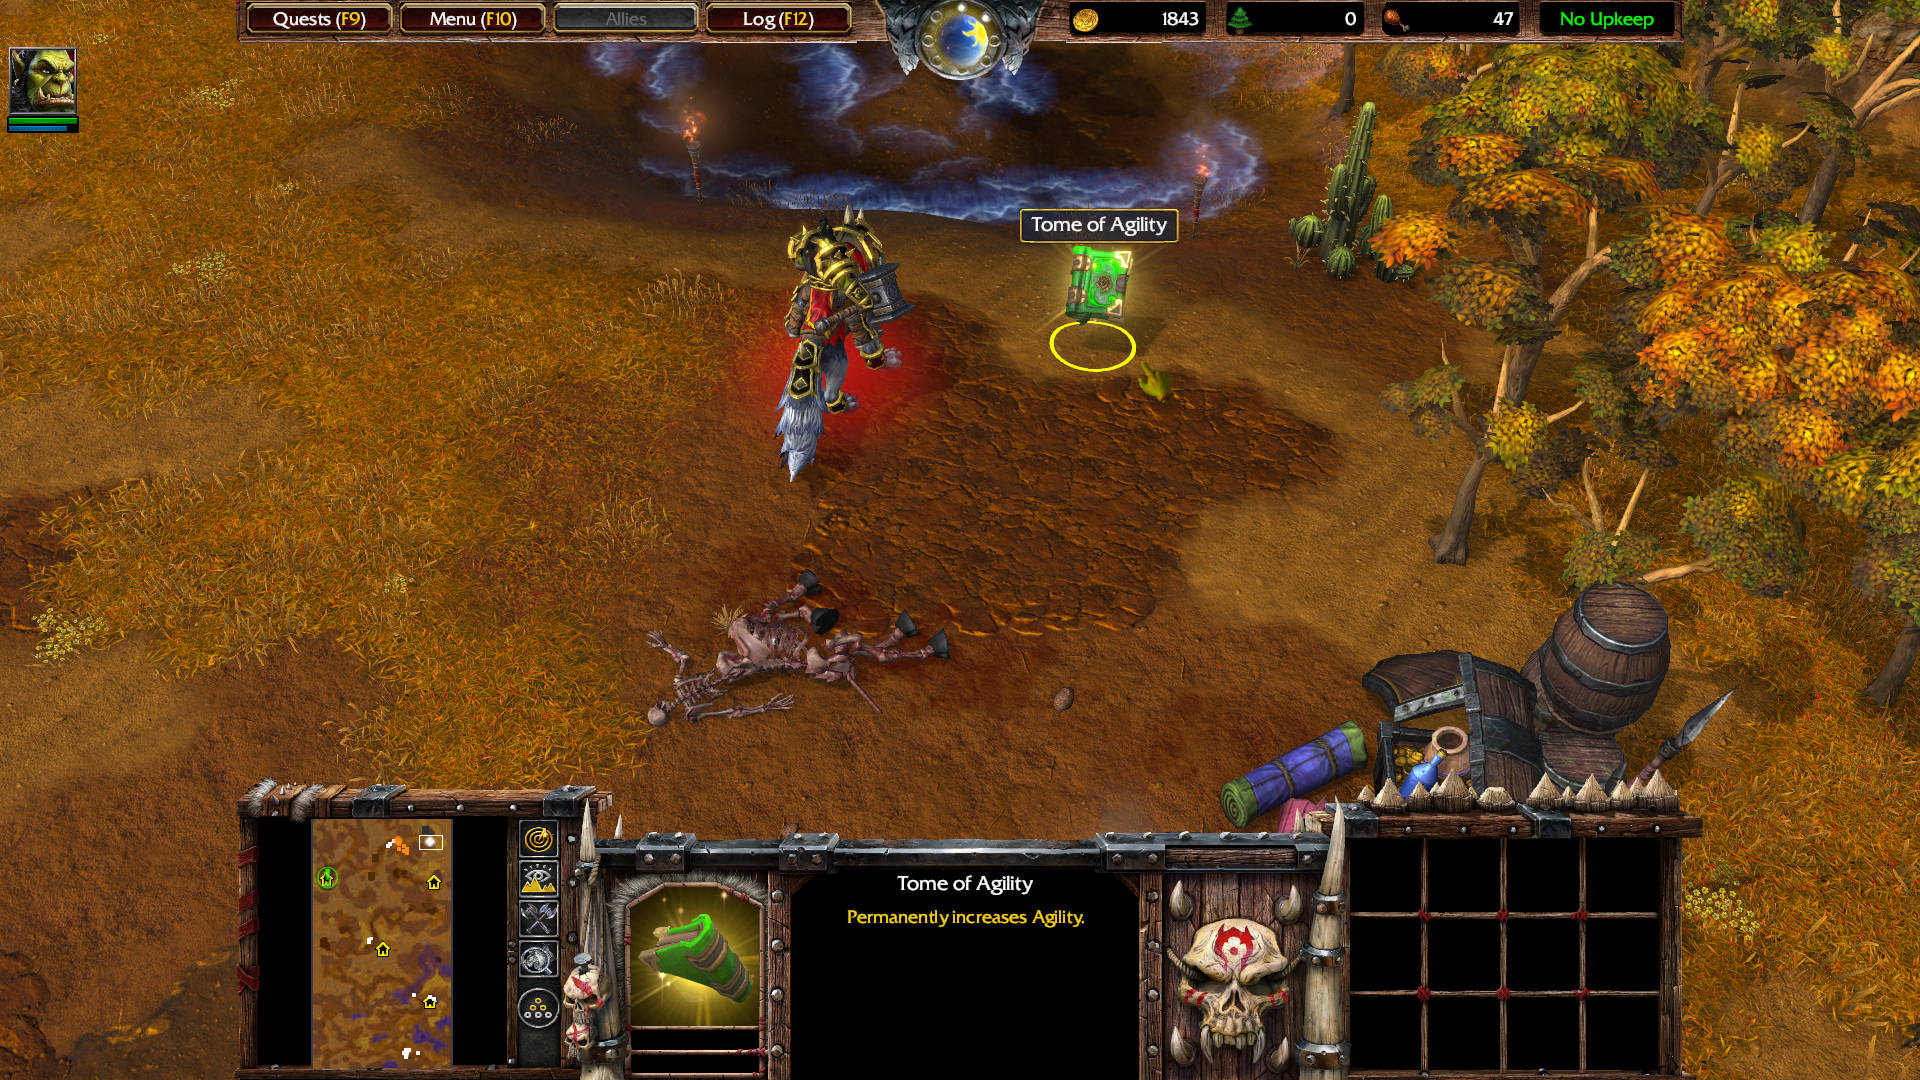
Destroy the Centaur Tent above Khan. It drops a Tome of Agility: Permanently increases Agility by 1.
Head west along the road. Use the Demolishers to destroy a single Watch Tower. Past that tower, Cairne starts a dialogue.
Cairne Bloodhoof: This pass leads straight to Mulgore, but I fear the caravan will be overrun before it reaches the other side.
A few yards south of that tower is another Watch Tower guarded by two Centaur Archers level 2.
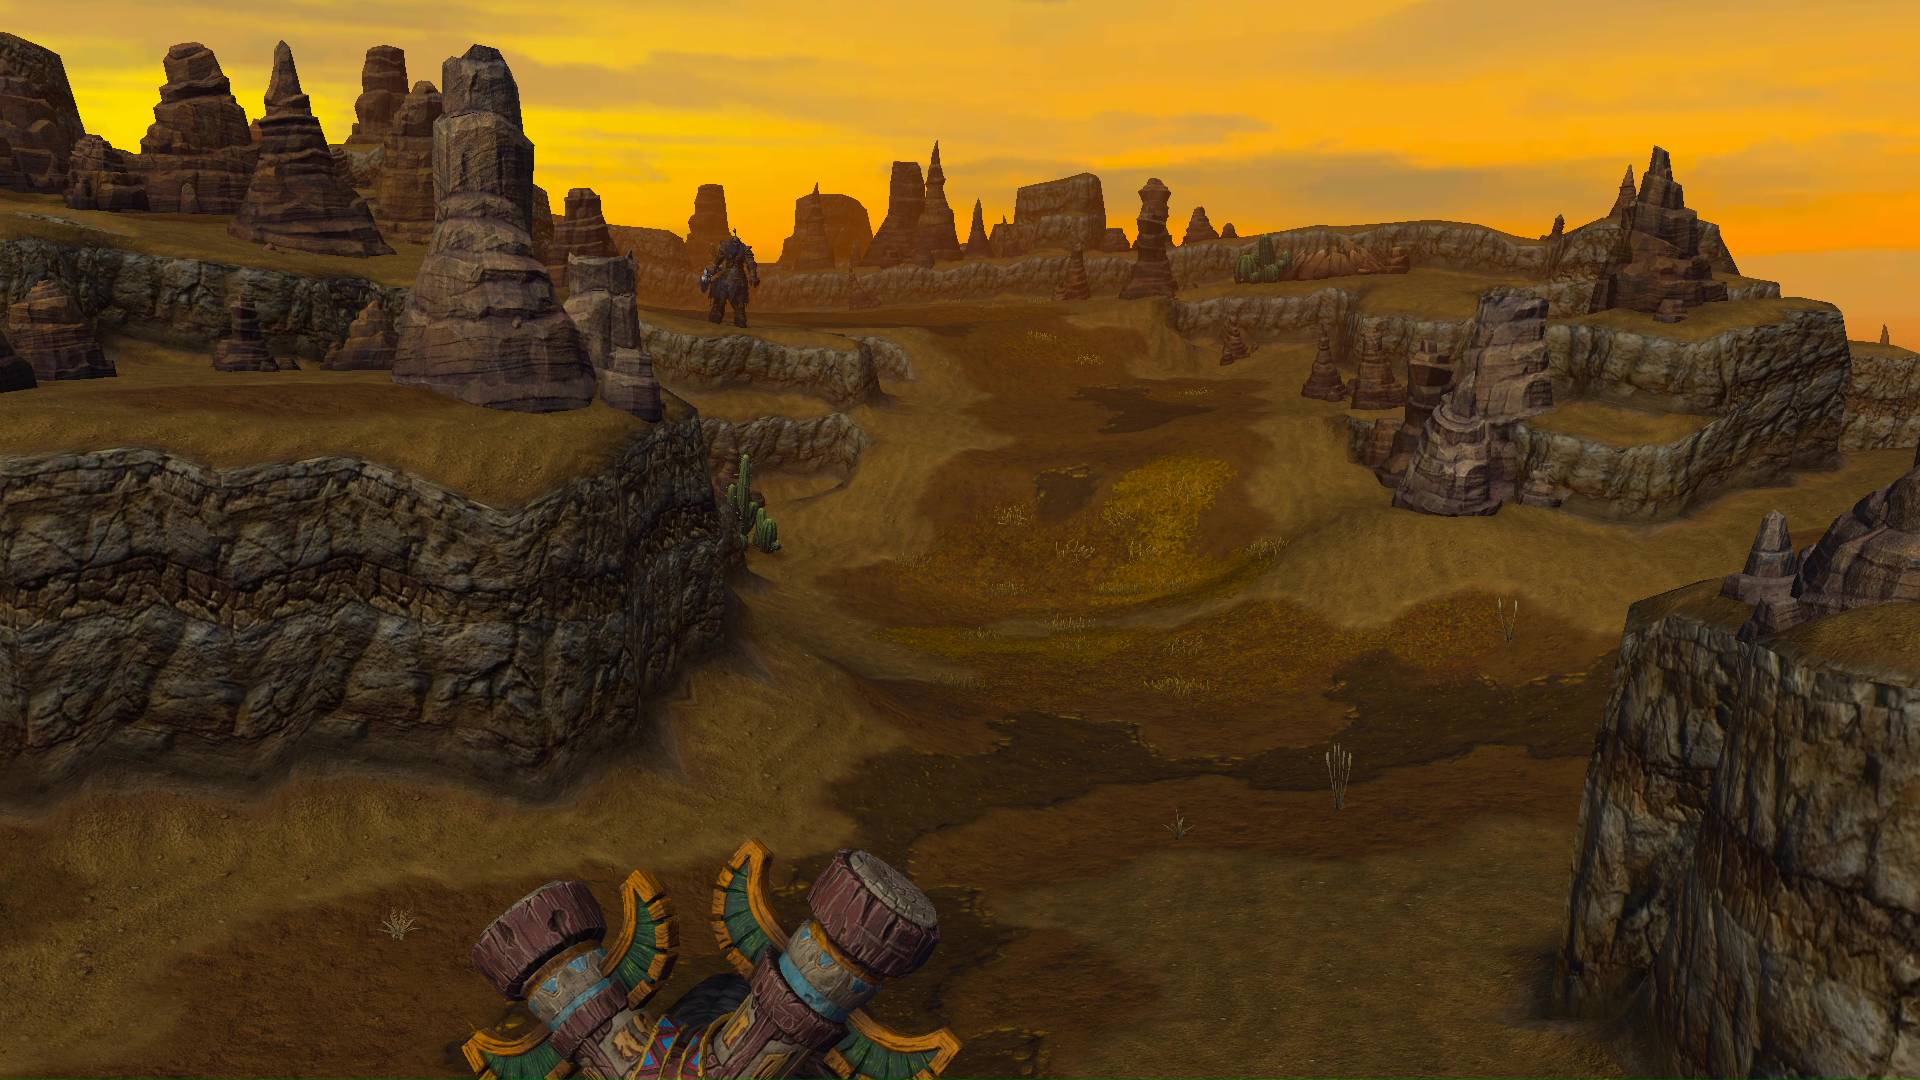
Move further west — but ignore the road leading north. Just keep going west. The mini-map marks the third and last Oasis with a green circle.
Thrall: Ah, the Oasis at last!

MAIN QUEST COMPLETE
Three Oases
MAIN QUEST COMPLETE
The Caravan
CUTSCENE
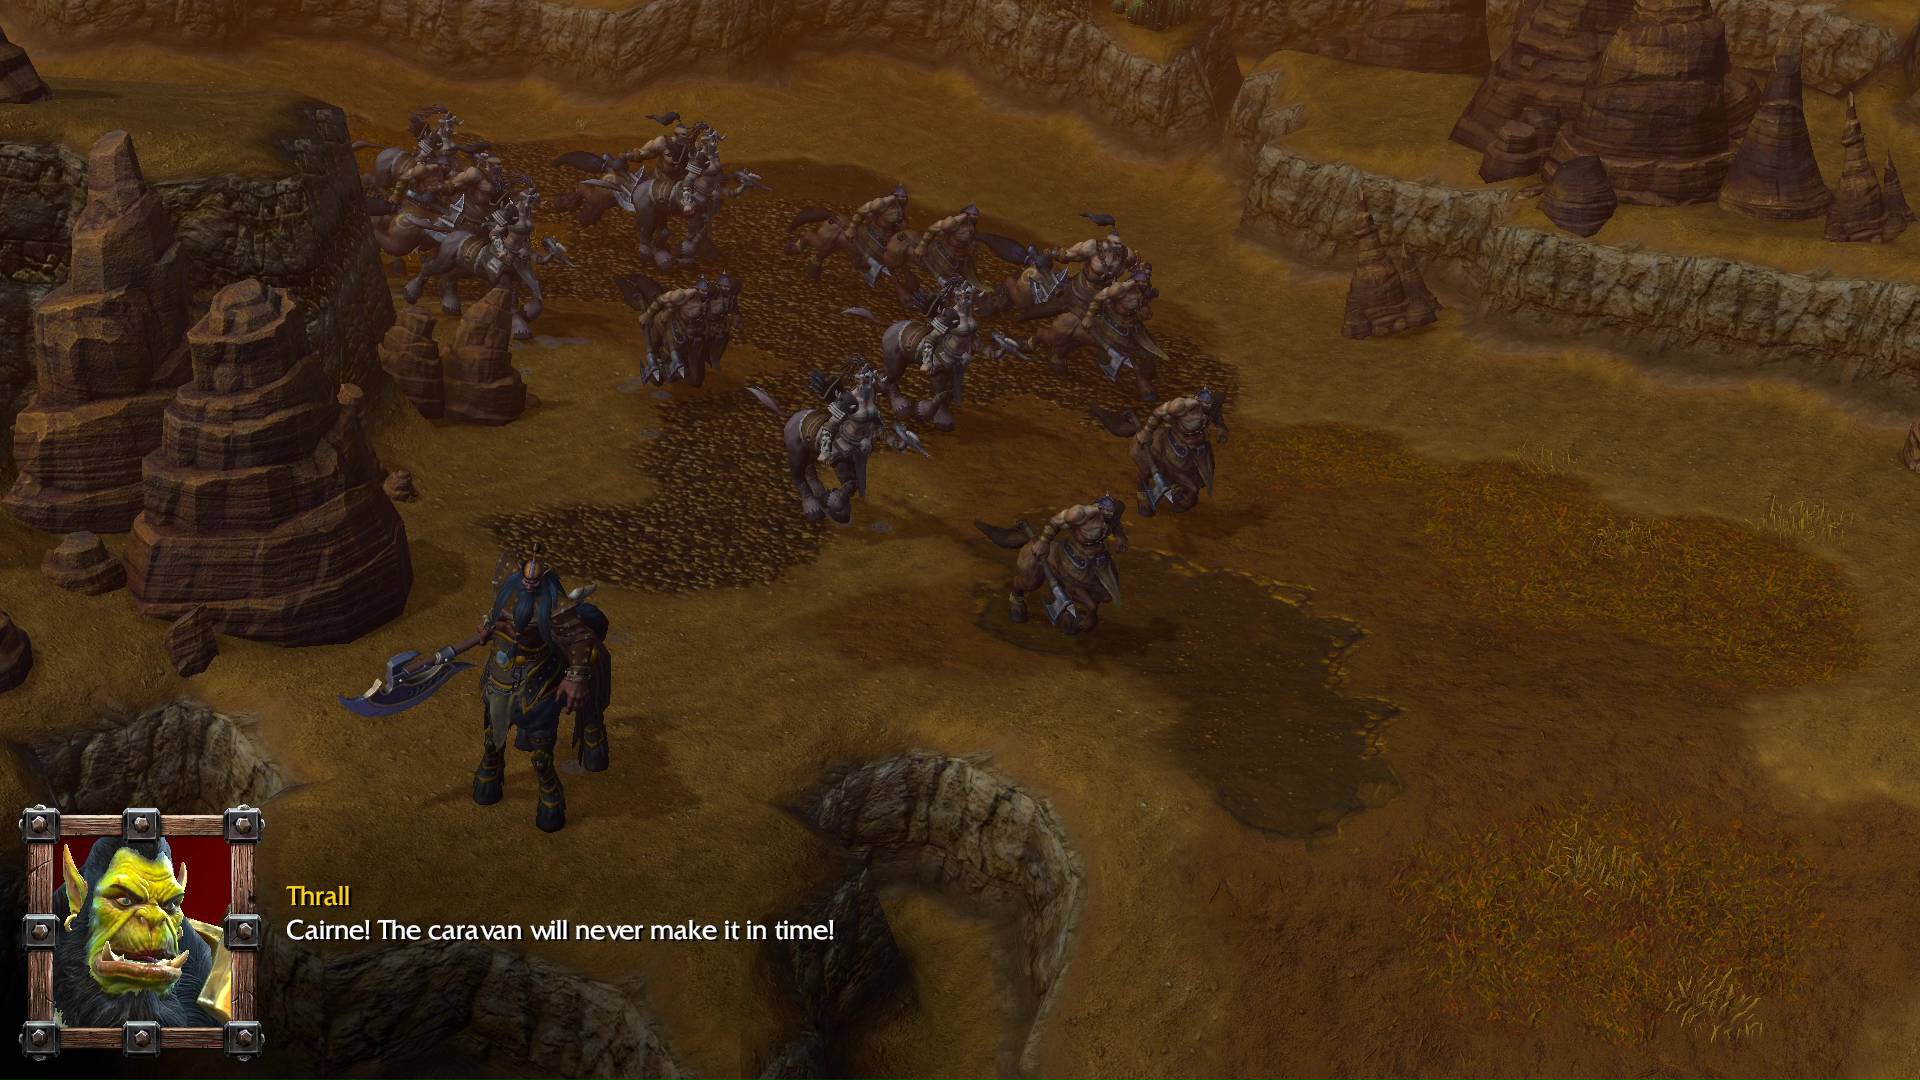
Thrall: Cairne! The caravan will never make it in time!
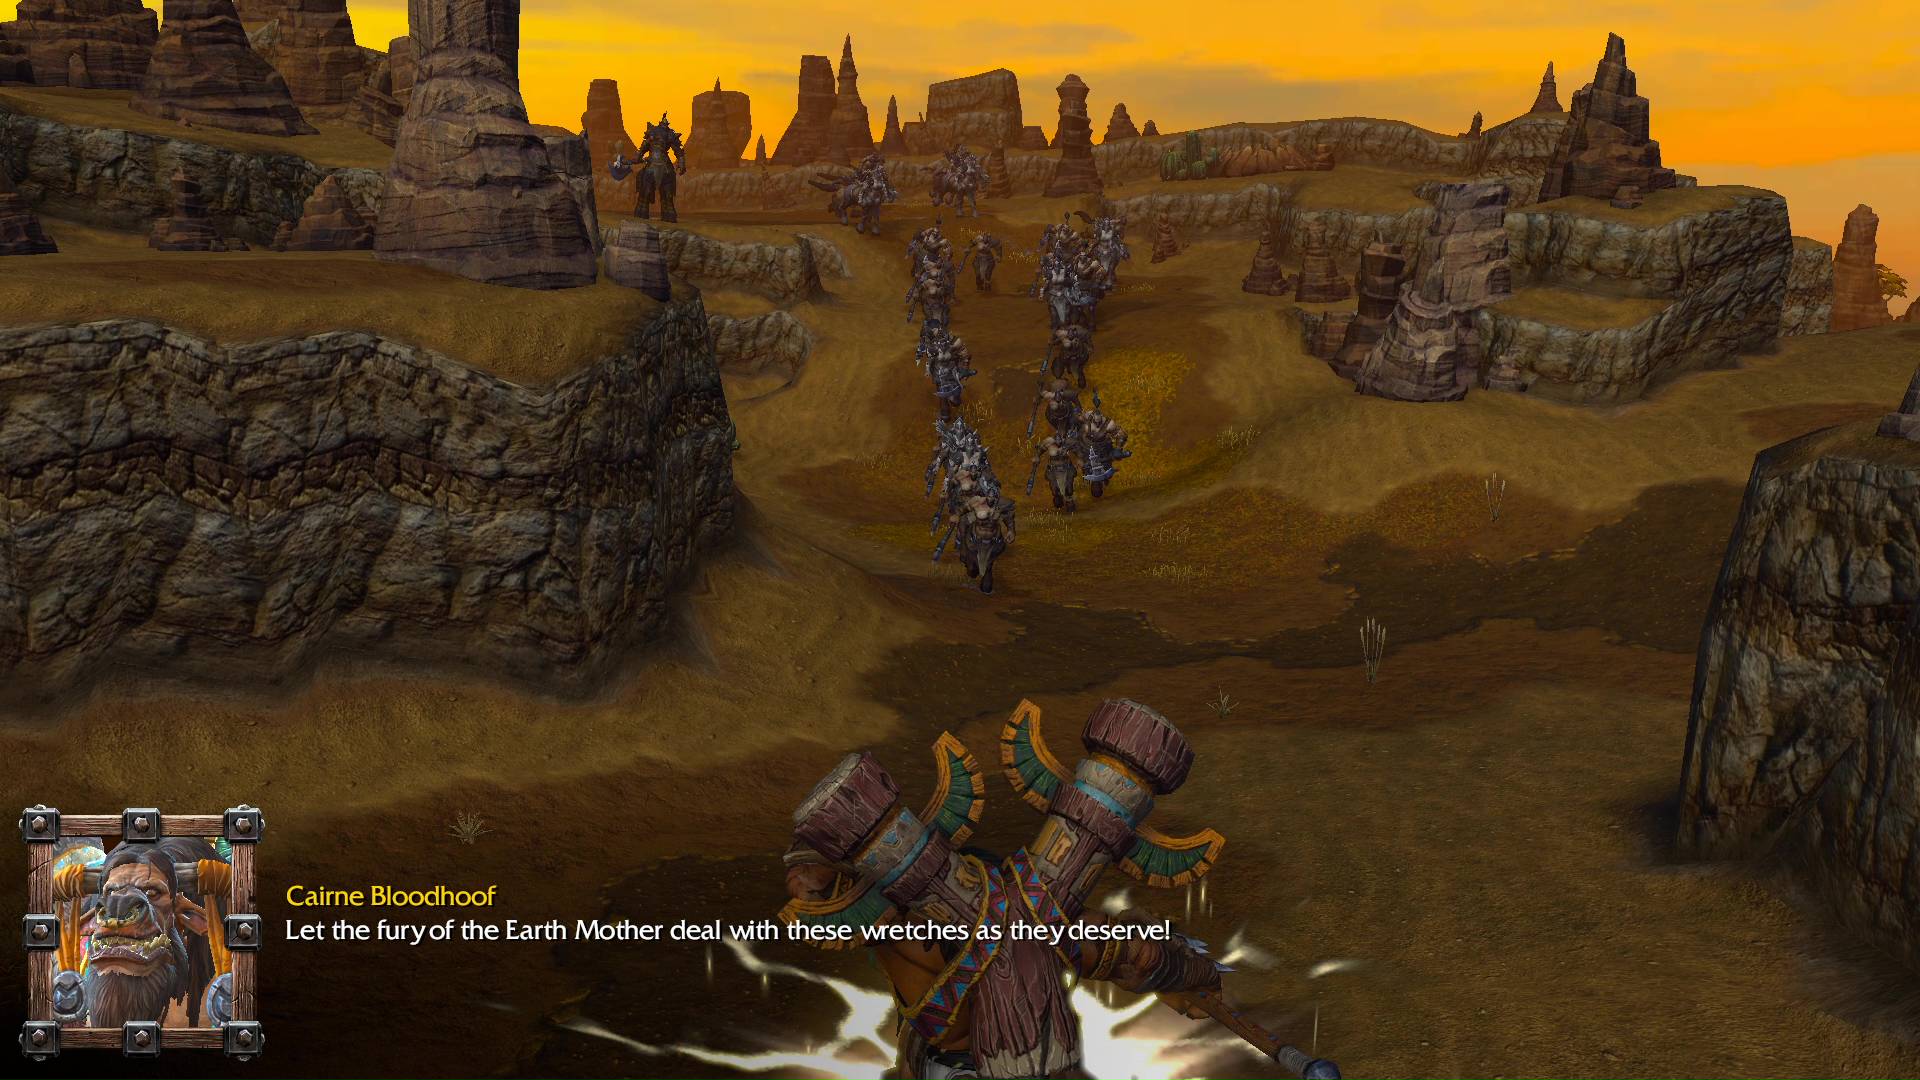
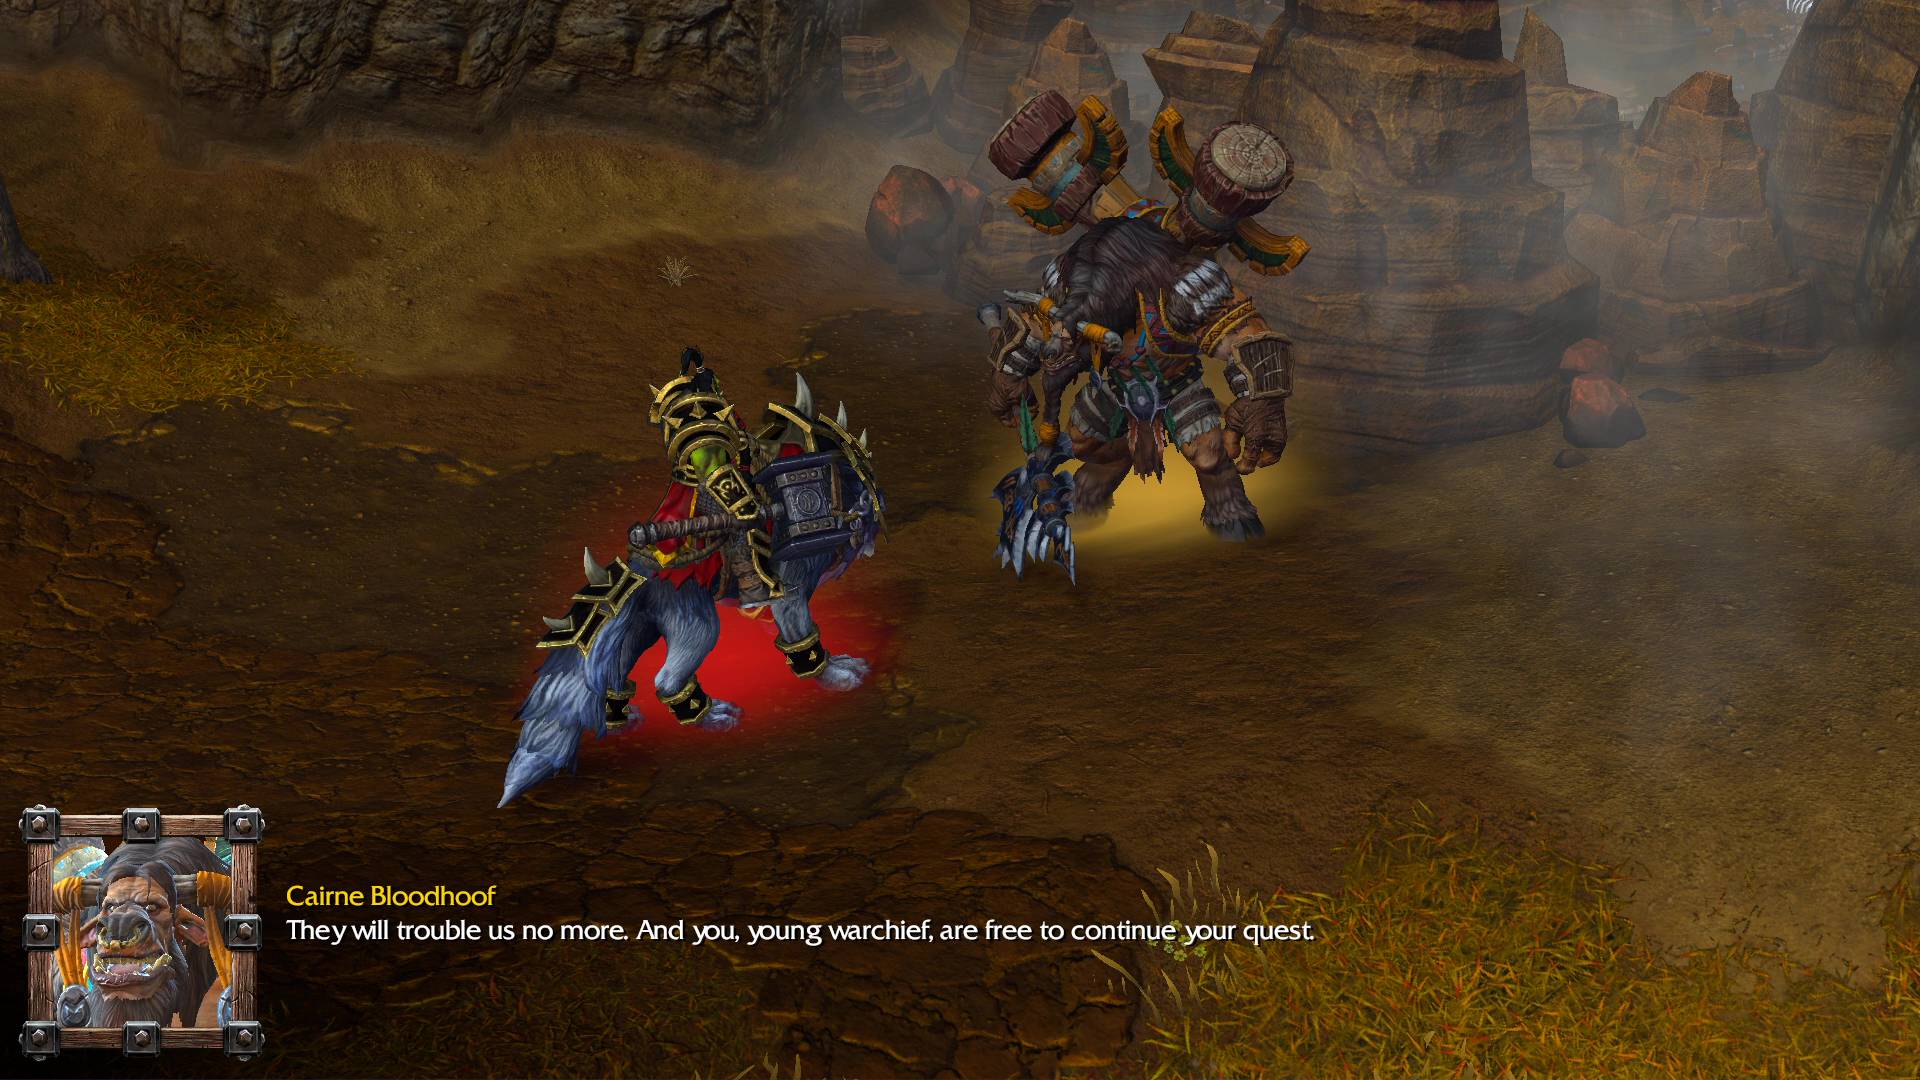
Cairne Bloodhoof: Let the fury of the Earth Mother deal with these wretches as they deserve!
Cairne Bloodhoof: They will trouble us no more. And you, young warchief, are free to continue your quest.
Thrall: To the Oracle. What is it?
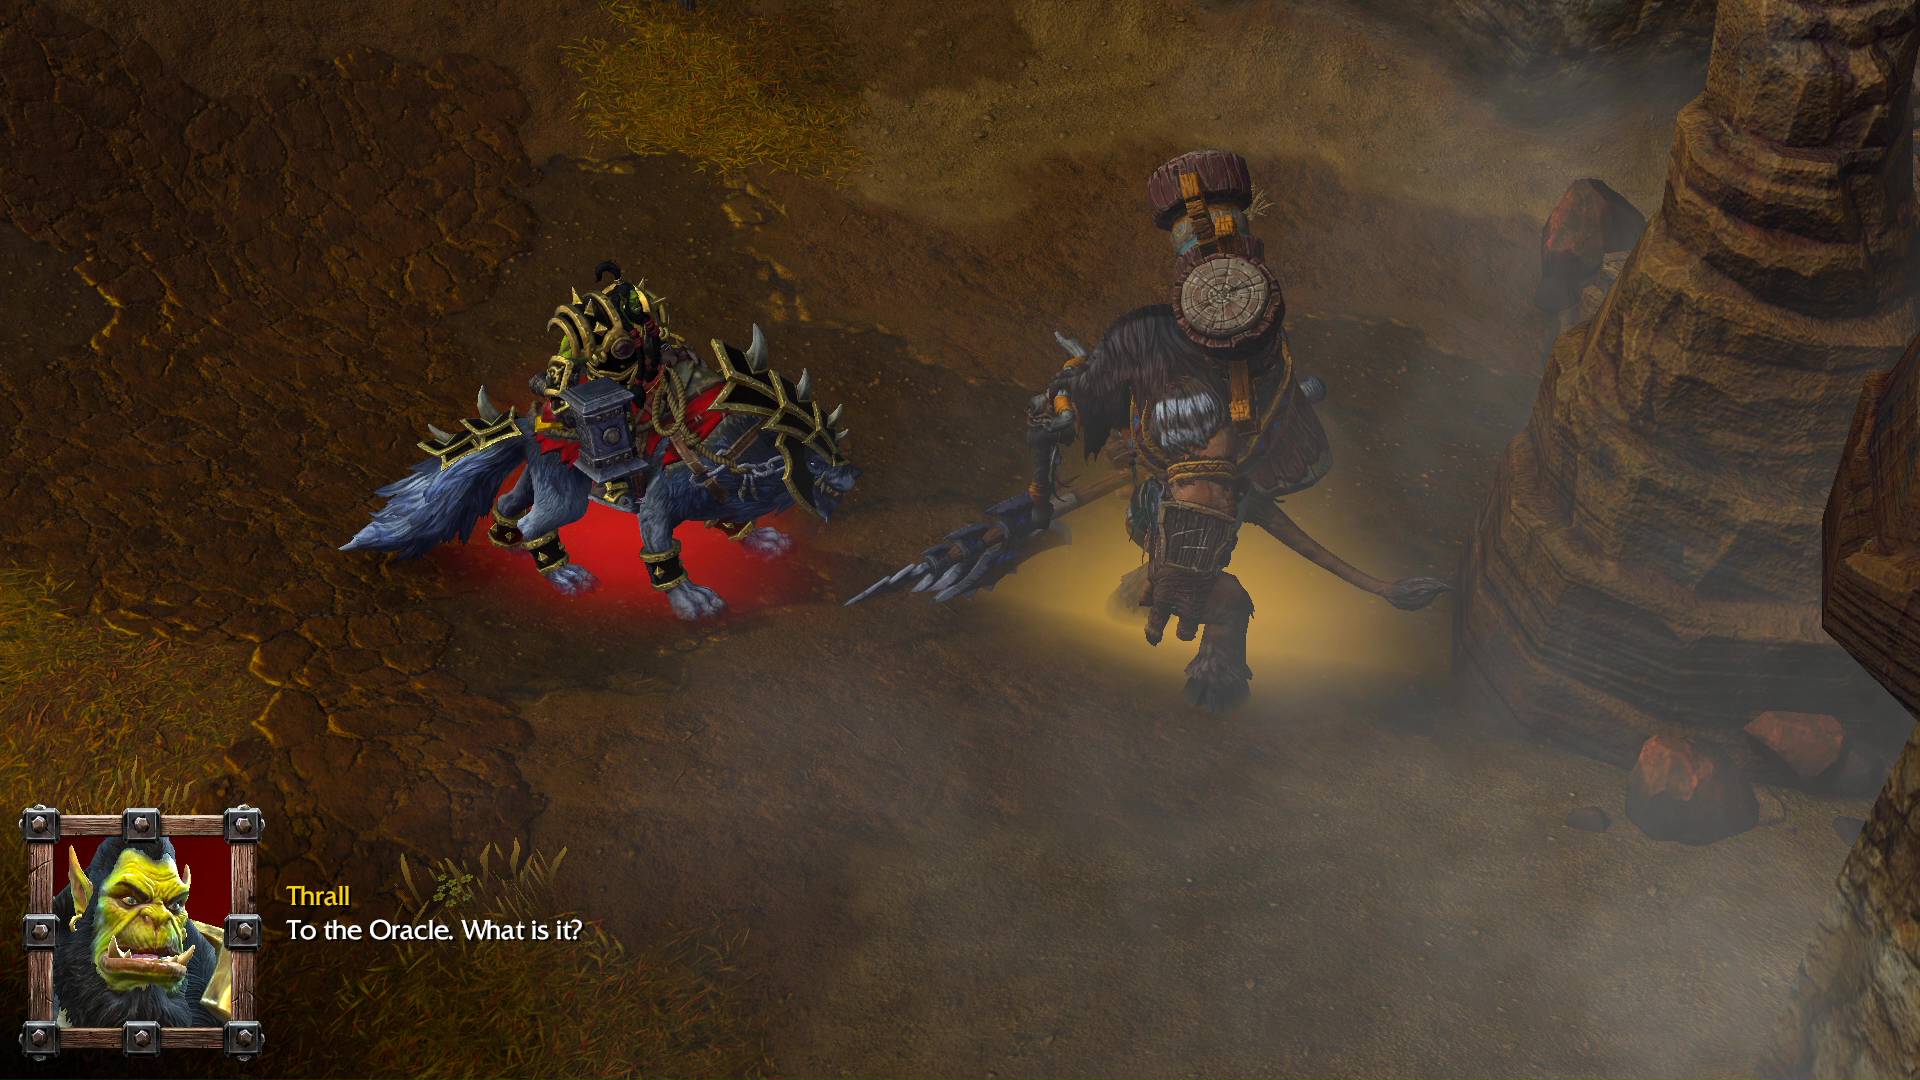
Cairne Bloodhoof: Legends say that it saw the strands of fate as they were woven by the Earth Mother. It alone can show you your destiny.
Thrall: Where will I find it?
Cairne Bloodhoof: Far to the north, near the shadowy base of Mount Hyjal, lies Stonetalon Peak. You will find the Oracle within the peak’s hollow. I will send my finest kodos to aid you in your journey.
Thrall: Thank you, Cairne. I will not forget you.
Cairne Bloodhoof: Go with honor, young warchief. May the Earth Mother smile upon you.
VICTORY
BESTIARY
- Centaur Drudge level 2 (2). Centaur Archer.
- Centaur Outrunner level 4. Centaur Impaler level 4.
- Centaur Sorcerer level 5. Centaur Drudge level 2 (2) — drops Scroll of Healing: Heals 150 hit points to all friendly non-mechanical units around the Hero when used.
- Centaur Outrunner level 4 (2).
- Centaur Outrunner level 4. Centaur Drudge level 2.
- Fountain of Health. 3 Grunts spawn to join your team.
- Murloc Nightcrawler level 3. Murloc Tiderunner level 1 (4). Destroy the huts — drops Ancient Figurine: Increases the Intelligence of the Hero by 1 when carried; and a Potion of Mana: Restores 150 mana when used.
- Cave, this is where the patrol spawns. Destroy the crates — drops Lesser Replenishment Potion: Regenerates 150 hit points and 50 mana of the Hero over 30 sec.
- Centaur Impaler level 4. Centaur Outrunner level 4.
- Thunder Lizard level 6. Lightning Lizard level 2 (2) — drops Claws of Attack: Increases the attack damage of the Hero by 3 when worn.
- Centaur Sorcerer level 5. Centaur Archer level 2.
- Centaur Sorcerer level 5. Centaur Archer level 2 (2). The Sorcerer drops Potion of Greater Mana: Restores 300 mana when used. Destroy the tents. One of them drops Scroll of Healing: Heals 150 hit points to all friendly non-mechanical units around the Hero when used.
- Goblin Merchant. Three Warsong Raiders join your team.
- Harpy Scout level 1 (3). Destroy the Harpy Nest below them — drops Mantle of Intelligence: Increases the Intelligence of the Hero by 3 when worn.
- Harpy Queen level 5. Harpy Storm-hag level 5. Harpy Scout level 1 — drops Gauntlets of Ogre Strength: Increases the Strength of the Hero by 3 when worn. Destroy their nests. One drops Potion of Greater Mana: Restores 300 mana when used.
- Fountain of Health. Three Warsong Demolishers join your team.
- Centaur Drudge level 2 (3). Watch Tower (3). Use the Demolishers to destroy those. There are 2 additional Watch Towers a few yards north of those three towers — a Centaur Impaler and a Centaur Outrunner will aggro from the right.
- Centaur Khan level 8. Centaur Sorcerer level 5. Khan resurrects a few seconds later — drops Pendant of Energy: Increases the mana capacity of the Hero by 150 when worn.
- Watch Tower.
- Watch Tower. Centaur Archer level 2 (2).
- Fountain of Health. Ends the mission. Cutscene plays onscreen.

GALLERY


Hope you enjoyed this article. Please, support Blizzplanet via PayPal, and follow us on Twitter, Facebook, YouTube, and Twitch for Blizzard games news updates. |
 |