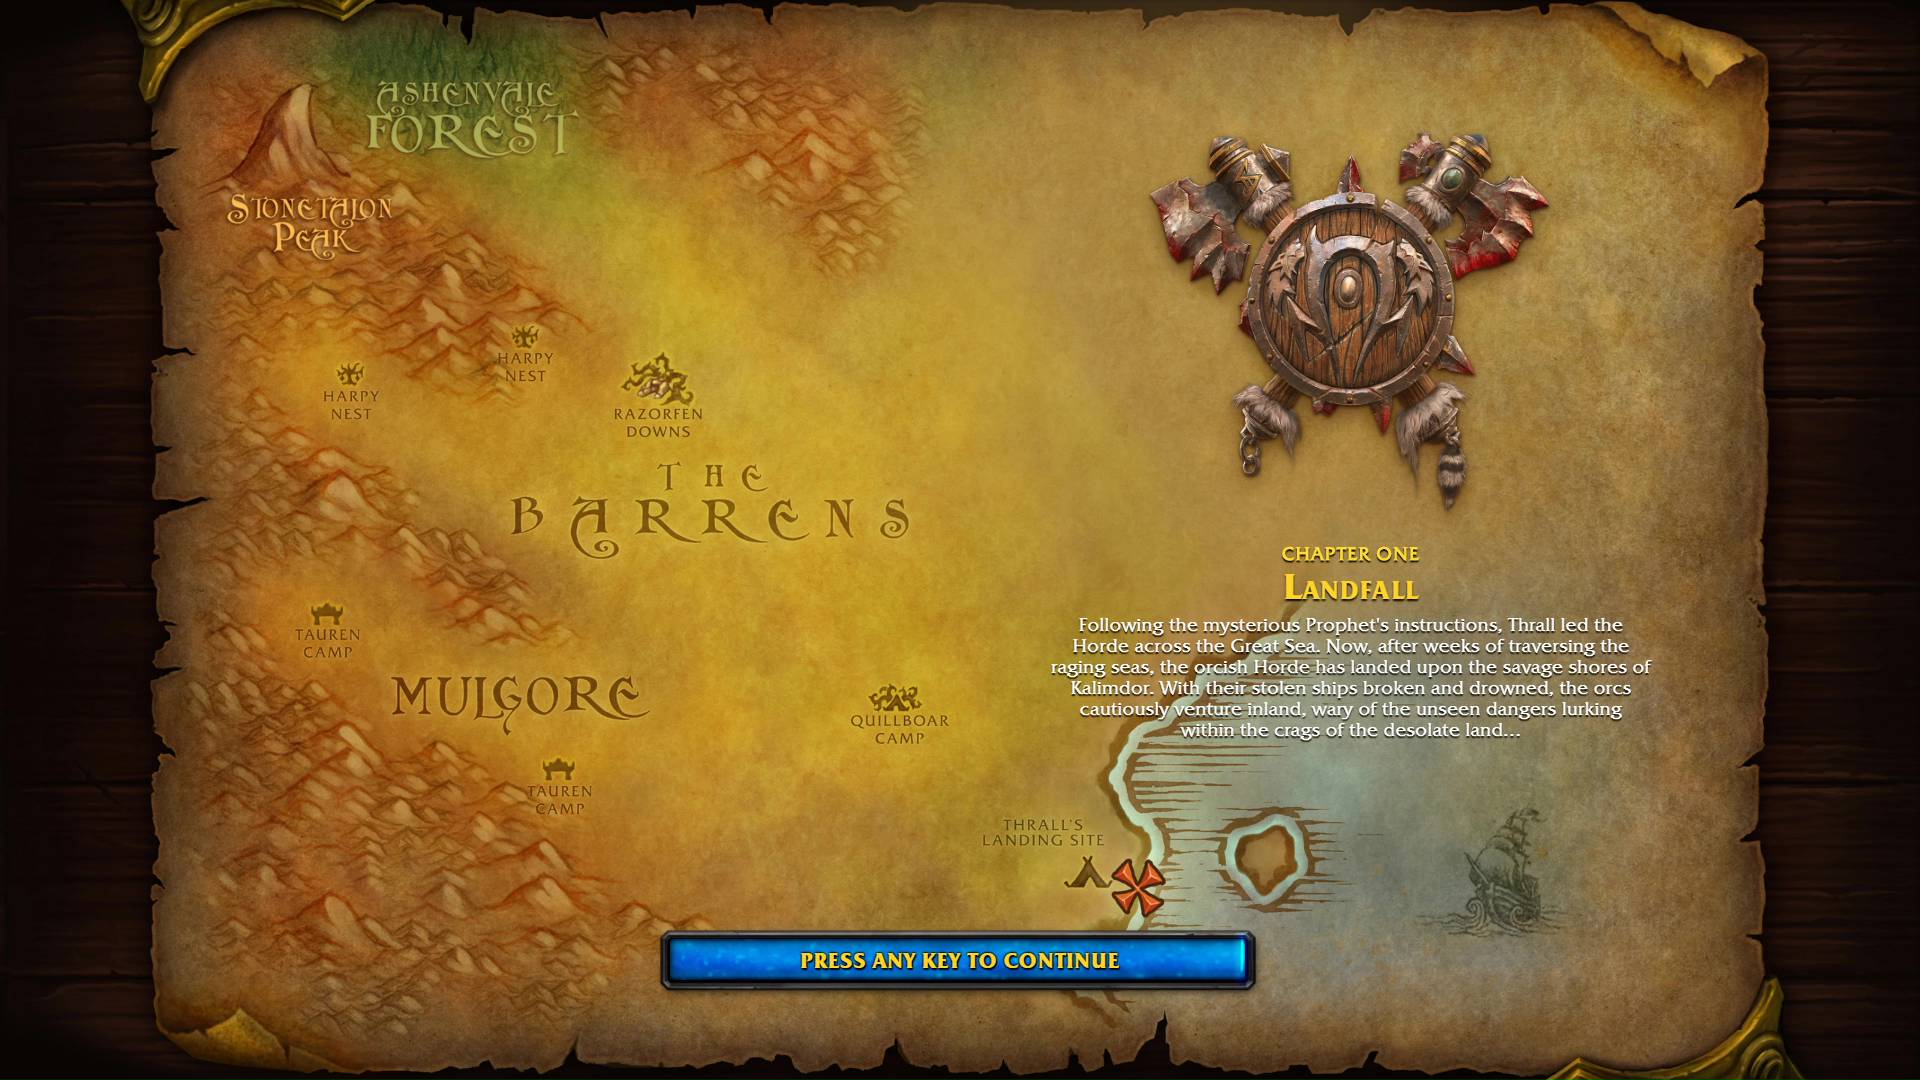
Following the mysterious Prophet’s instructions, Thrall led the Horde across the Great Sea. Now, after weeks of traversing the raging seas, the orcish Horde has landed upon the savage shores of Kalimdor. With their stolen ships broken and drowned, the orcs cautiously venture inland, wary of the unseen dangers lurking within the crags of the desolate land…
YOUTUBE VIDEO
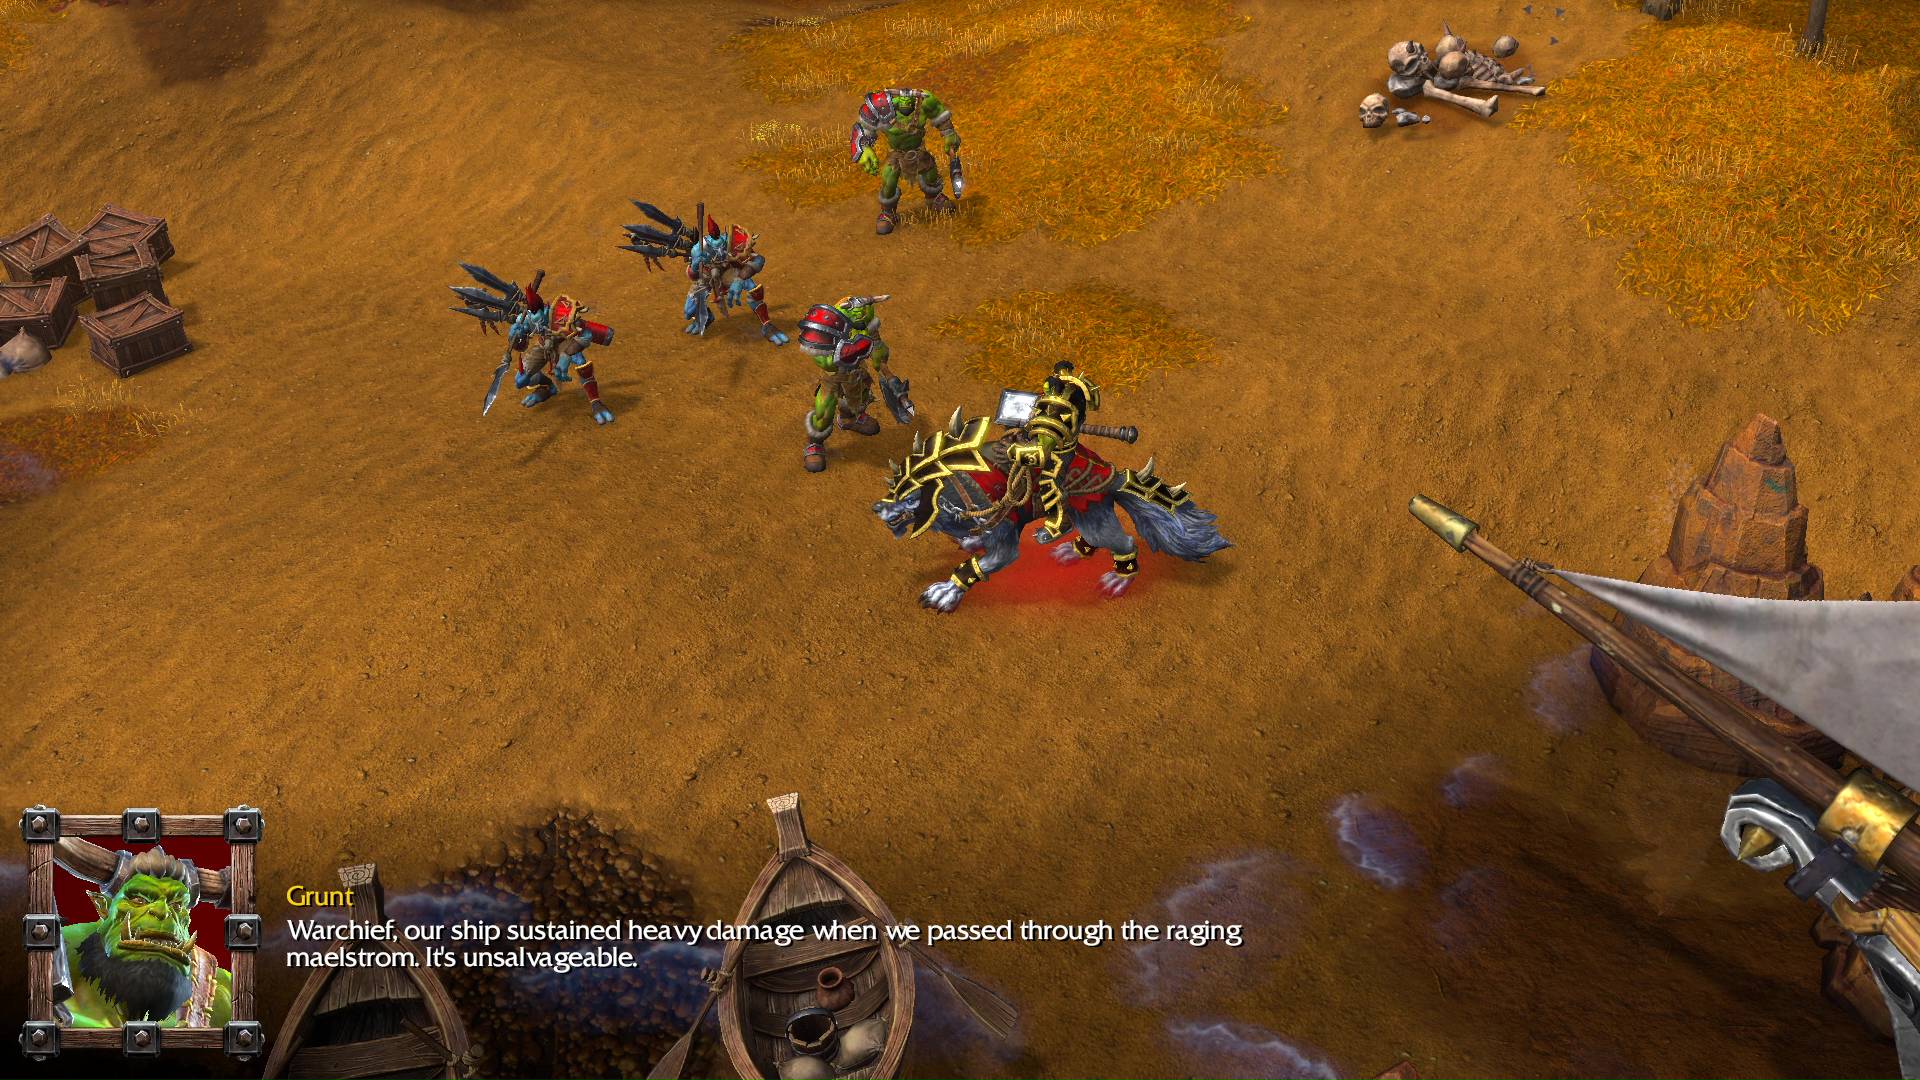
CUTSCENE
Grunt: Warchief, our ship sustained heavy damage when we passed through the raging maelstrom. It’s unsalvageable.
Thrall: I knew it. Can we confirm our location? Is this Kalimdor?
Grunt: We traveled due west, as you instructed. This should be it.
Thrall: Very well. Has there been any sign of Hellscream or the other ships?
Grunt: No, Warchief. Not since we got separated.
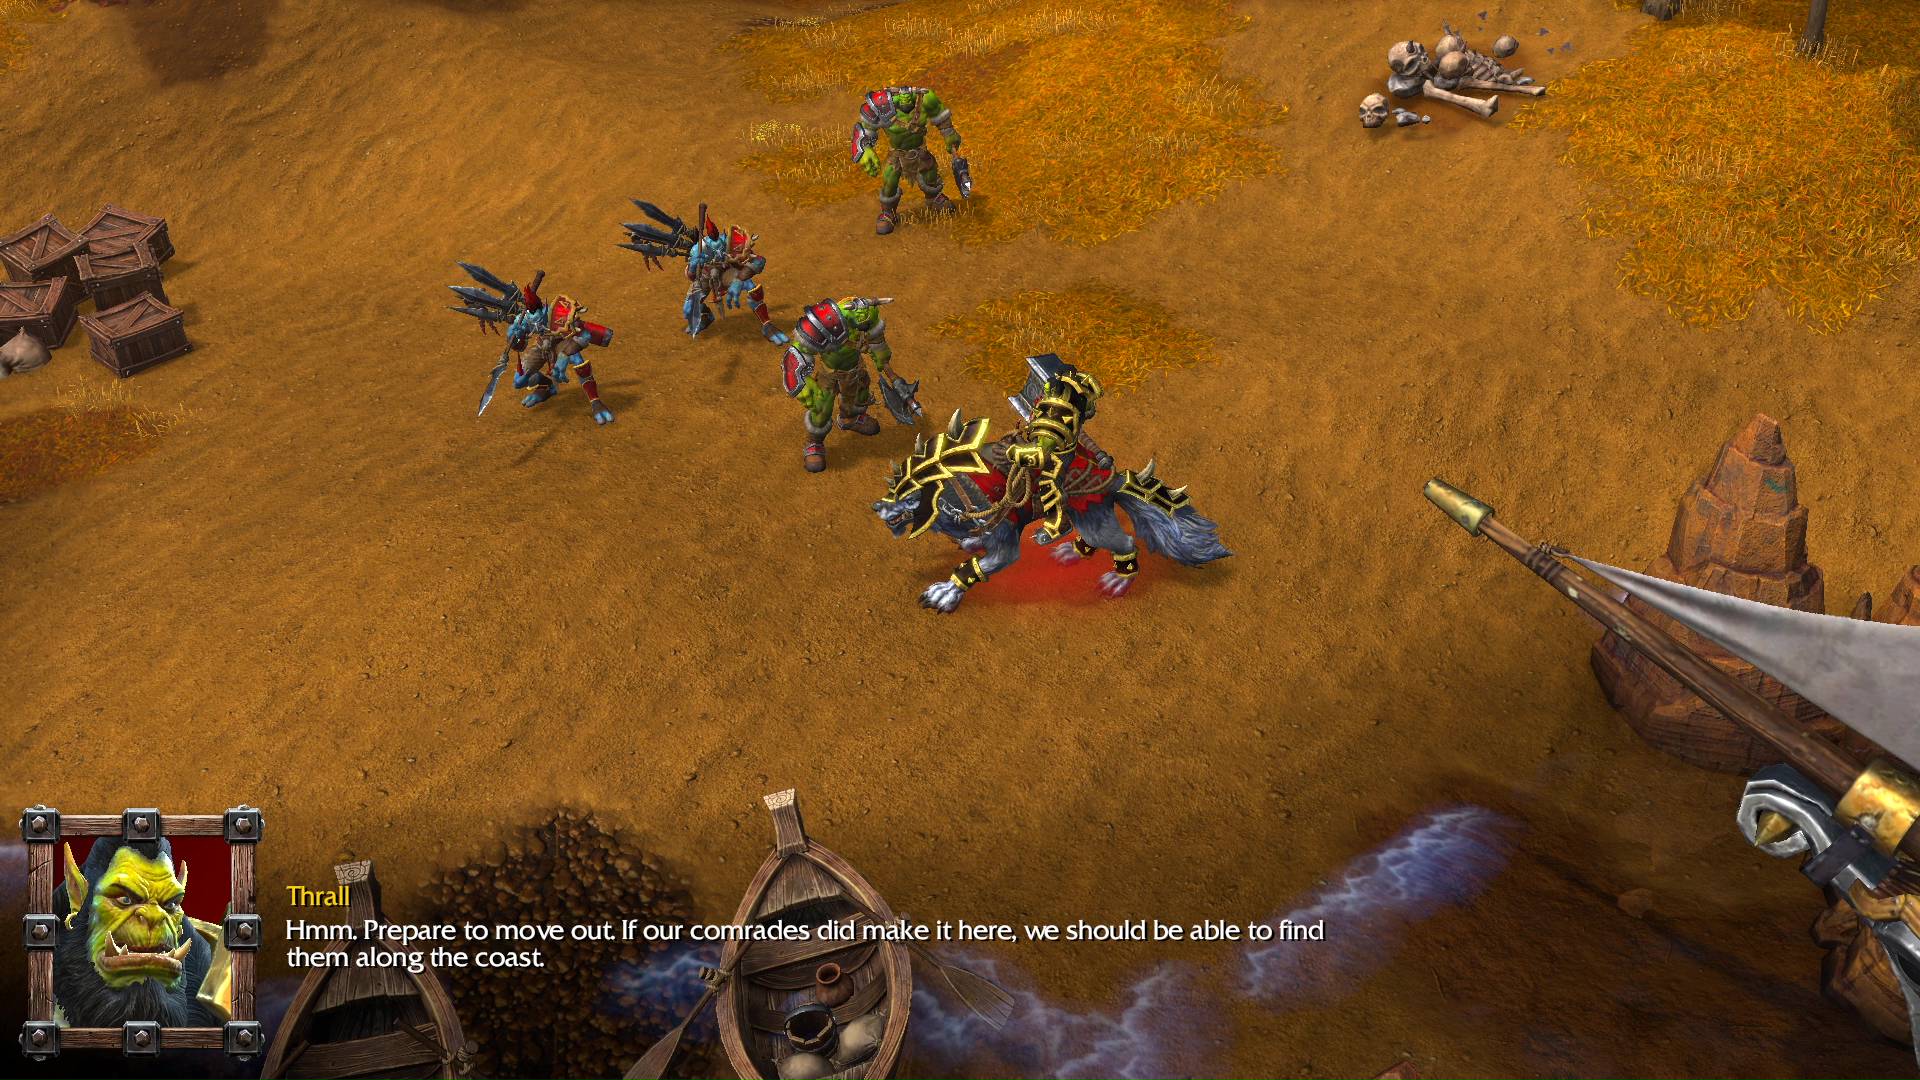
Thrall: Hmm. Prepare to move out. If our comrades did make it here, we should be able to find them along the coast.
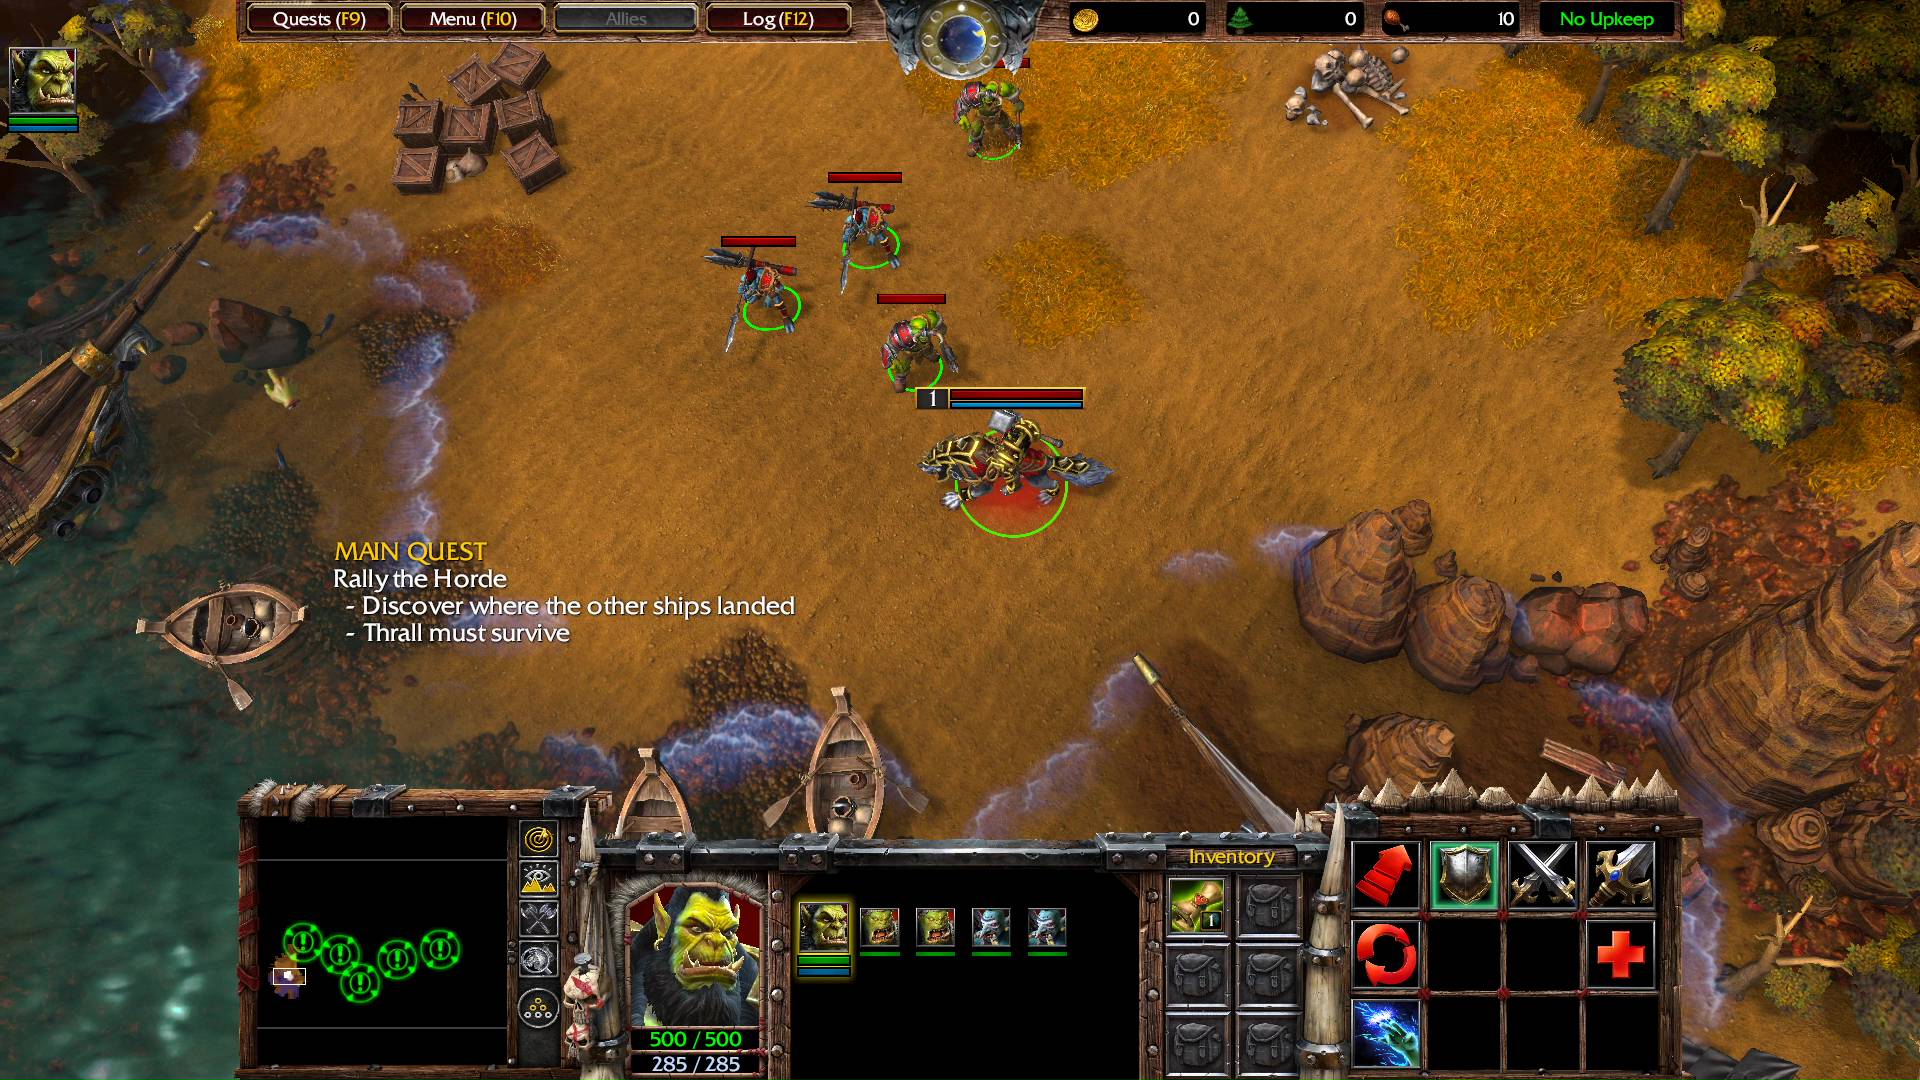
MAIN QUEST
Rally the Horde
- Discover where the other ships landed
- Thrall must survive

NEW UNIT ACQUIRED
Troll Headhunter – A versatile spear-thrower, who is effective at attacking from range and combating flying units.
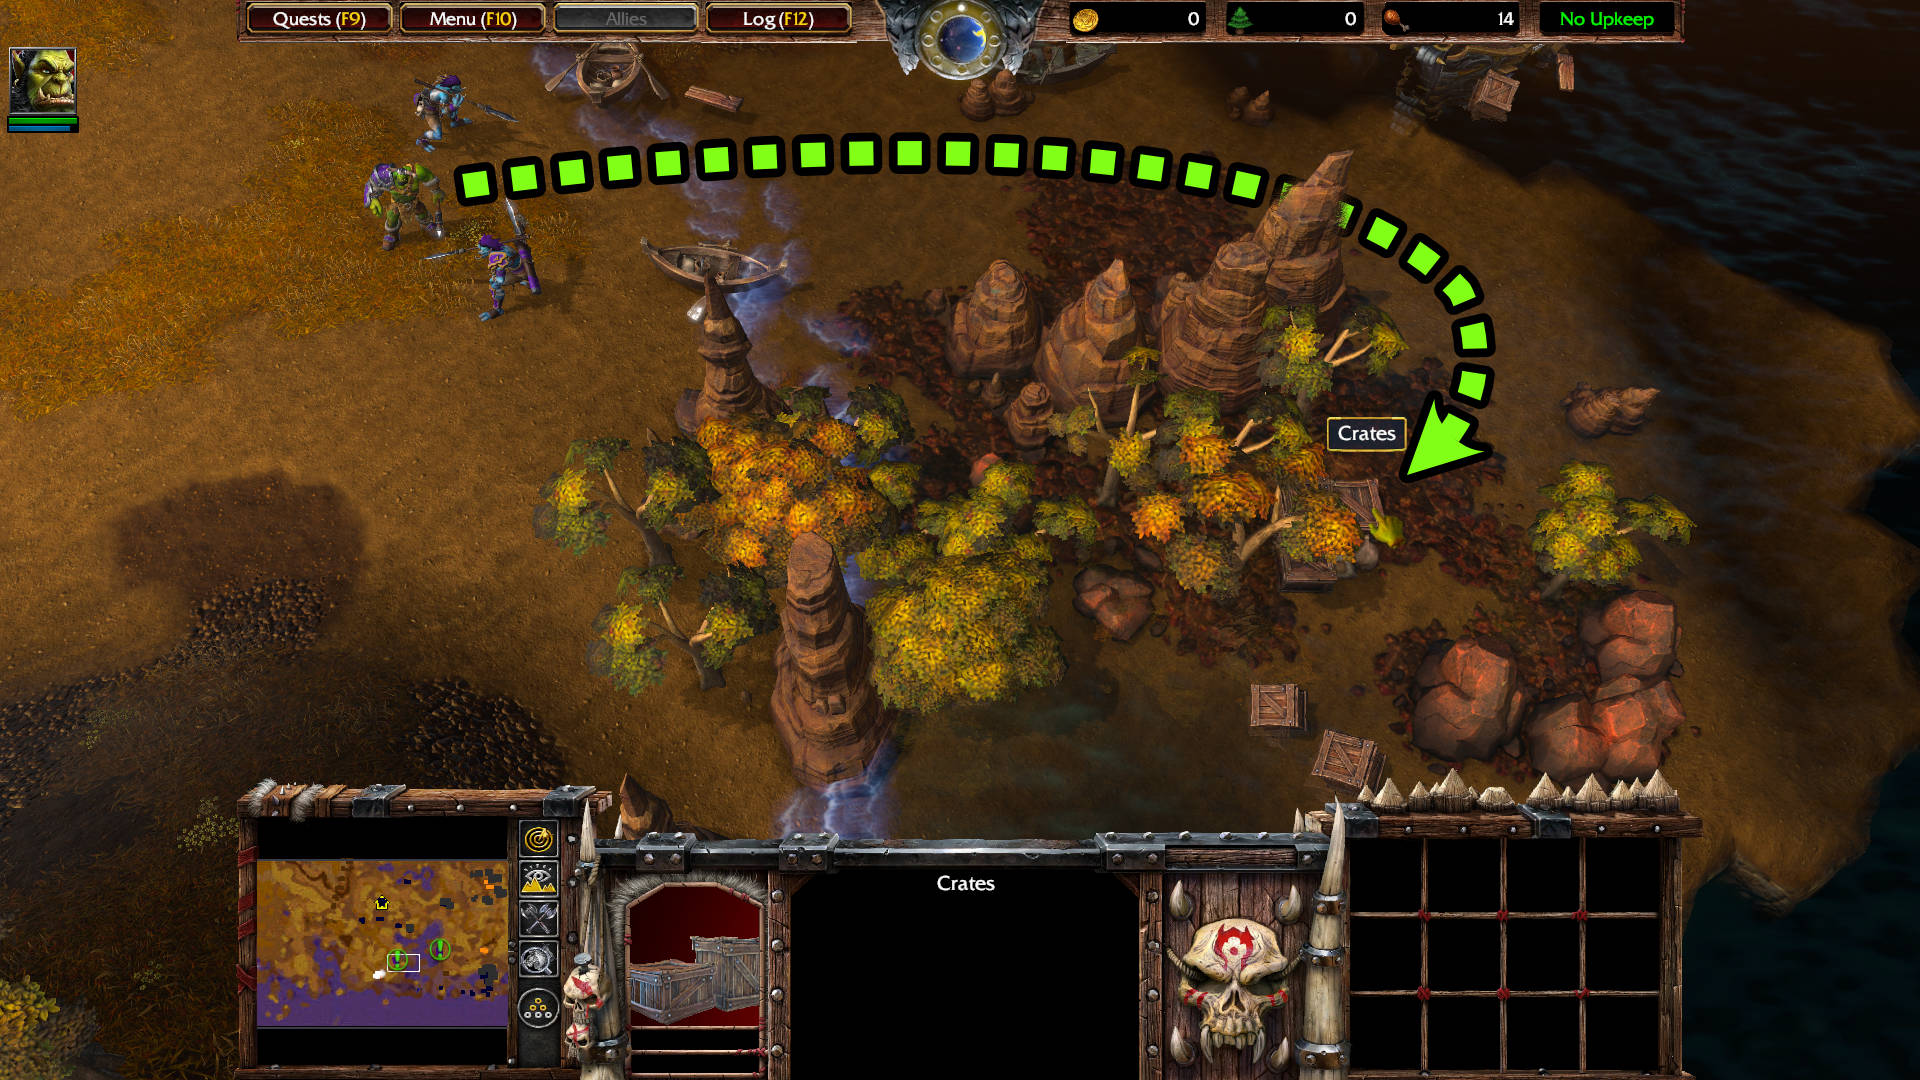
Grunt: We should check these crates for valuable supplies!
Note: Destroy these crates for a Potion of Mana: Restores 150 mana when used.
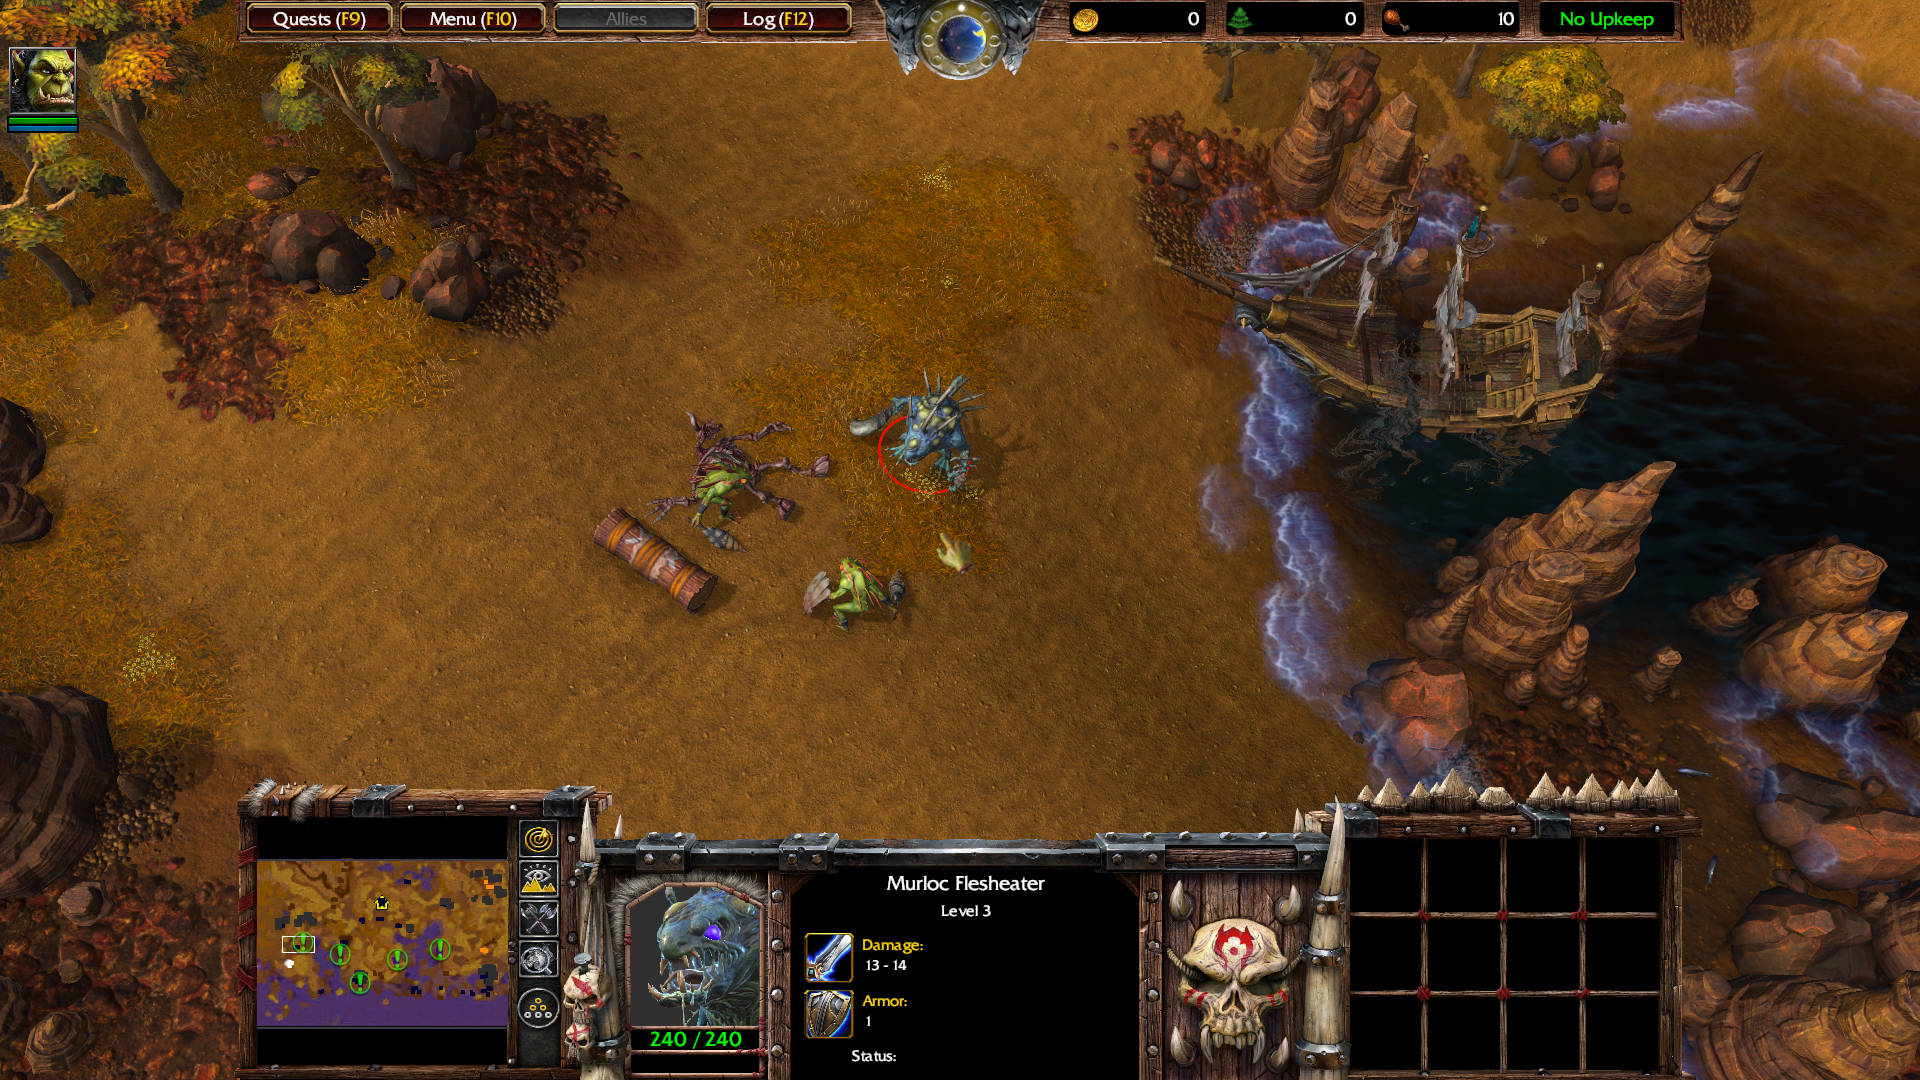
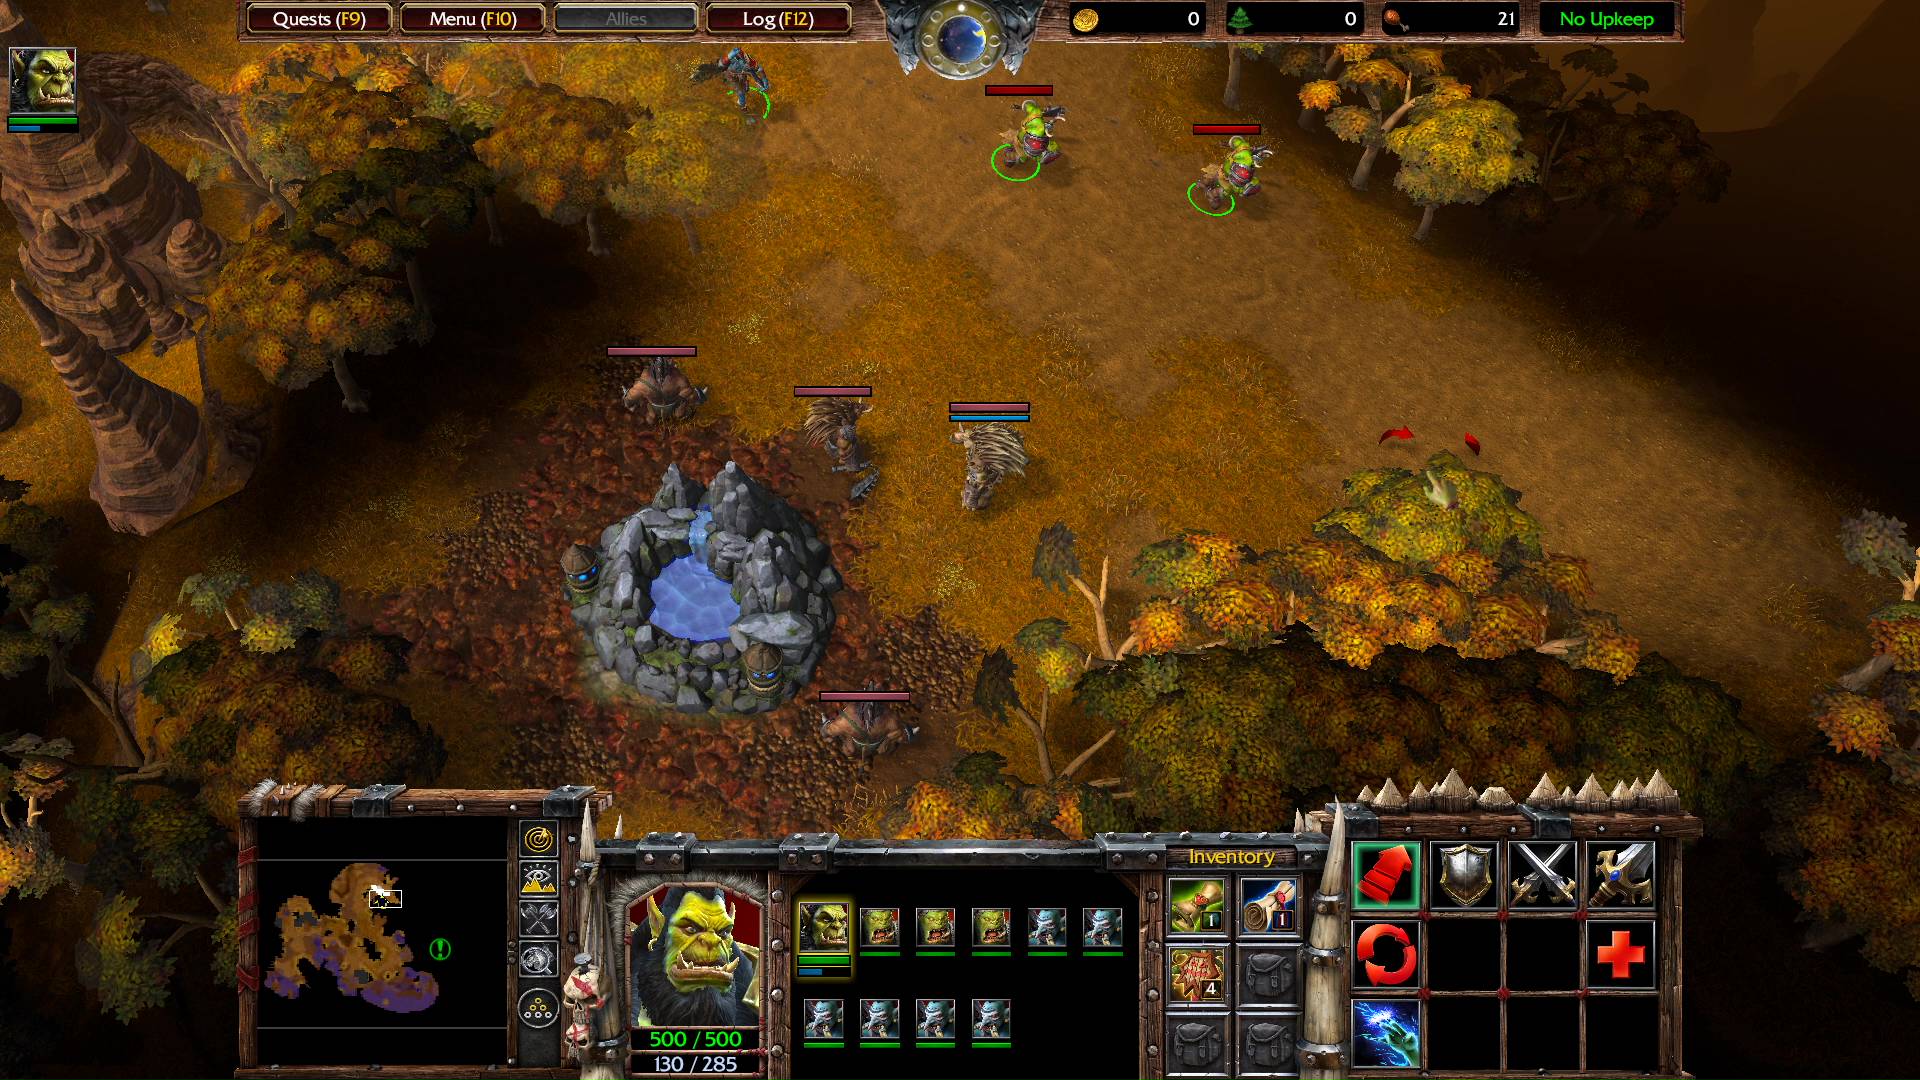
HINT – Thrall can cast the Chain Lightning spell, which is devastating against groups of enemy units.
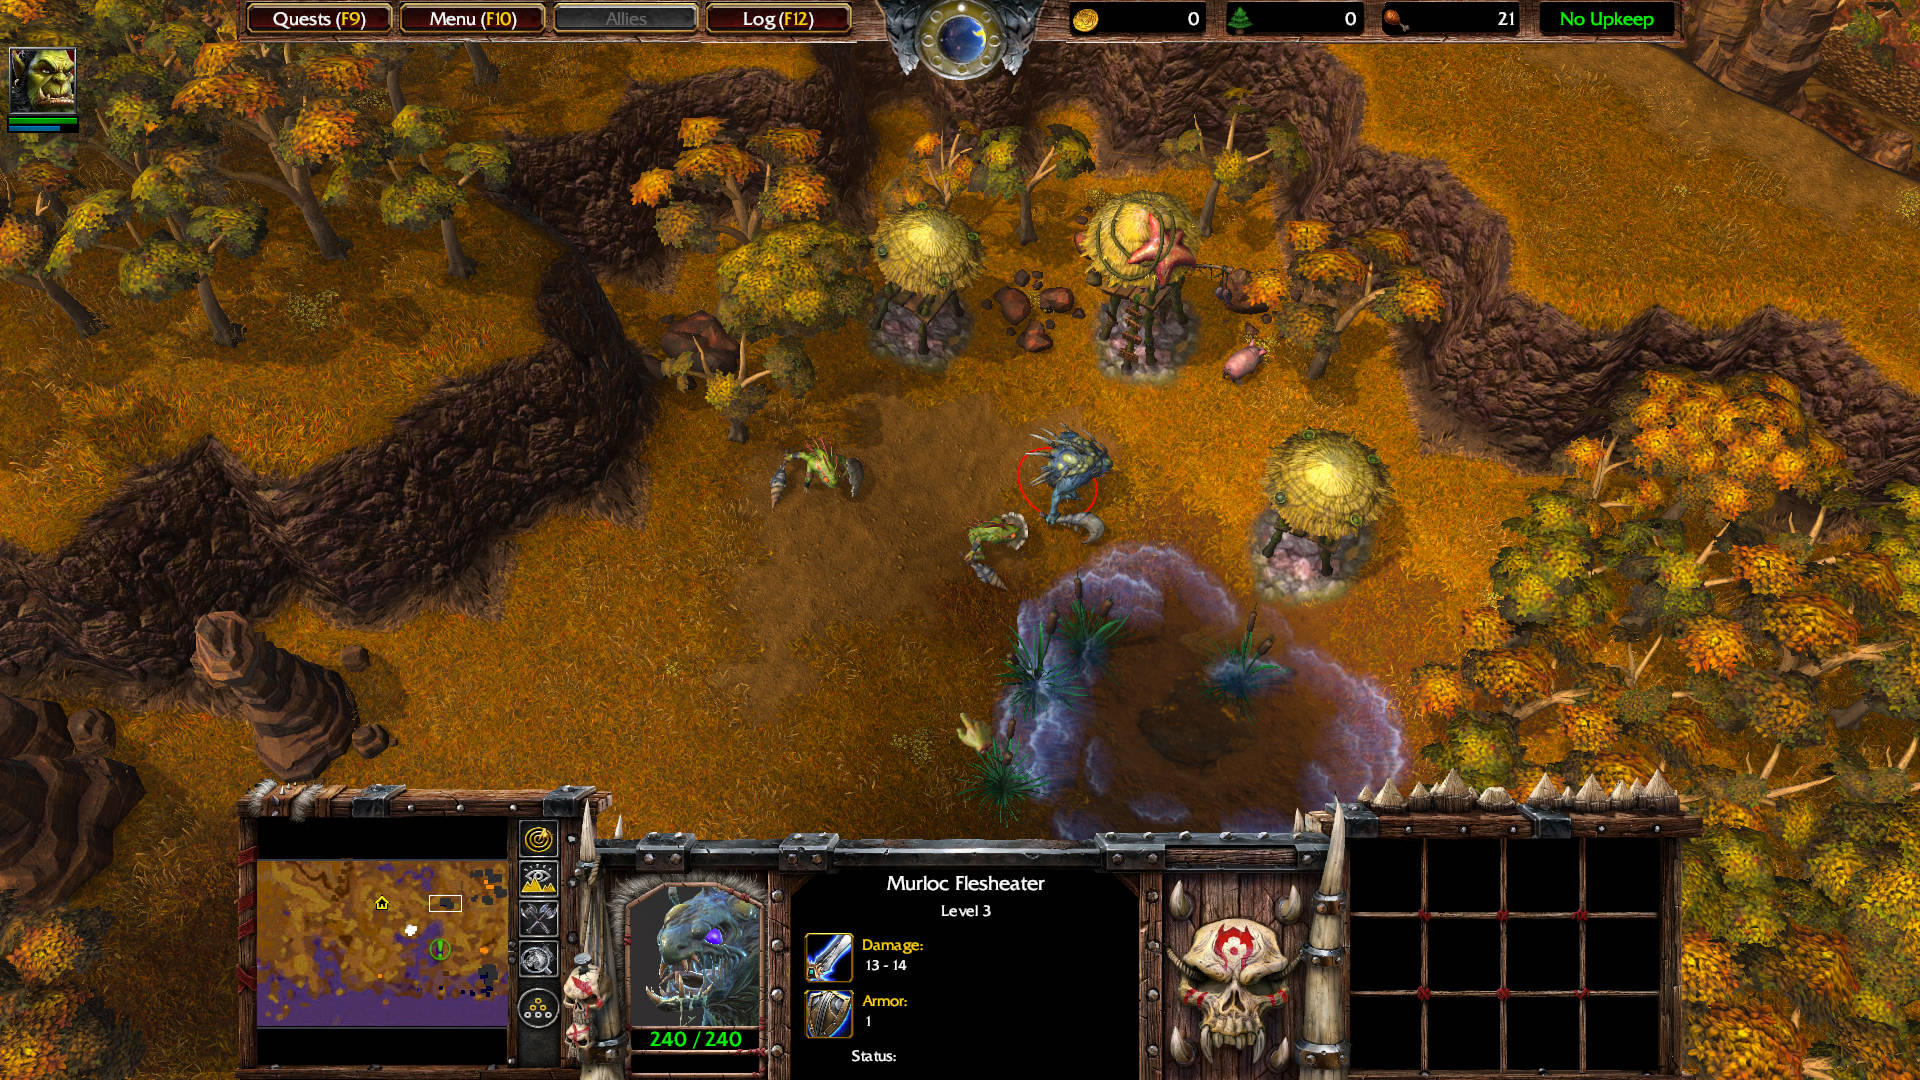
Note: Head north to kill a Murloc Flesheater level 3 and two Murloc Tiderunner level 1.
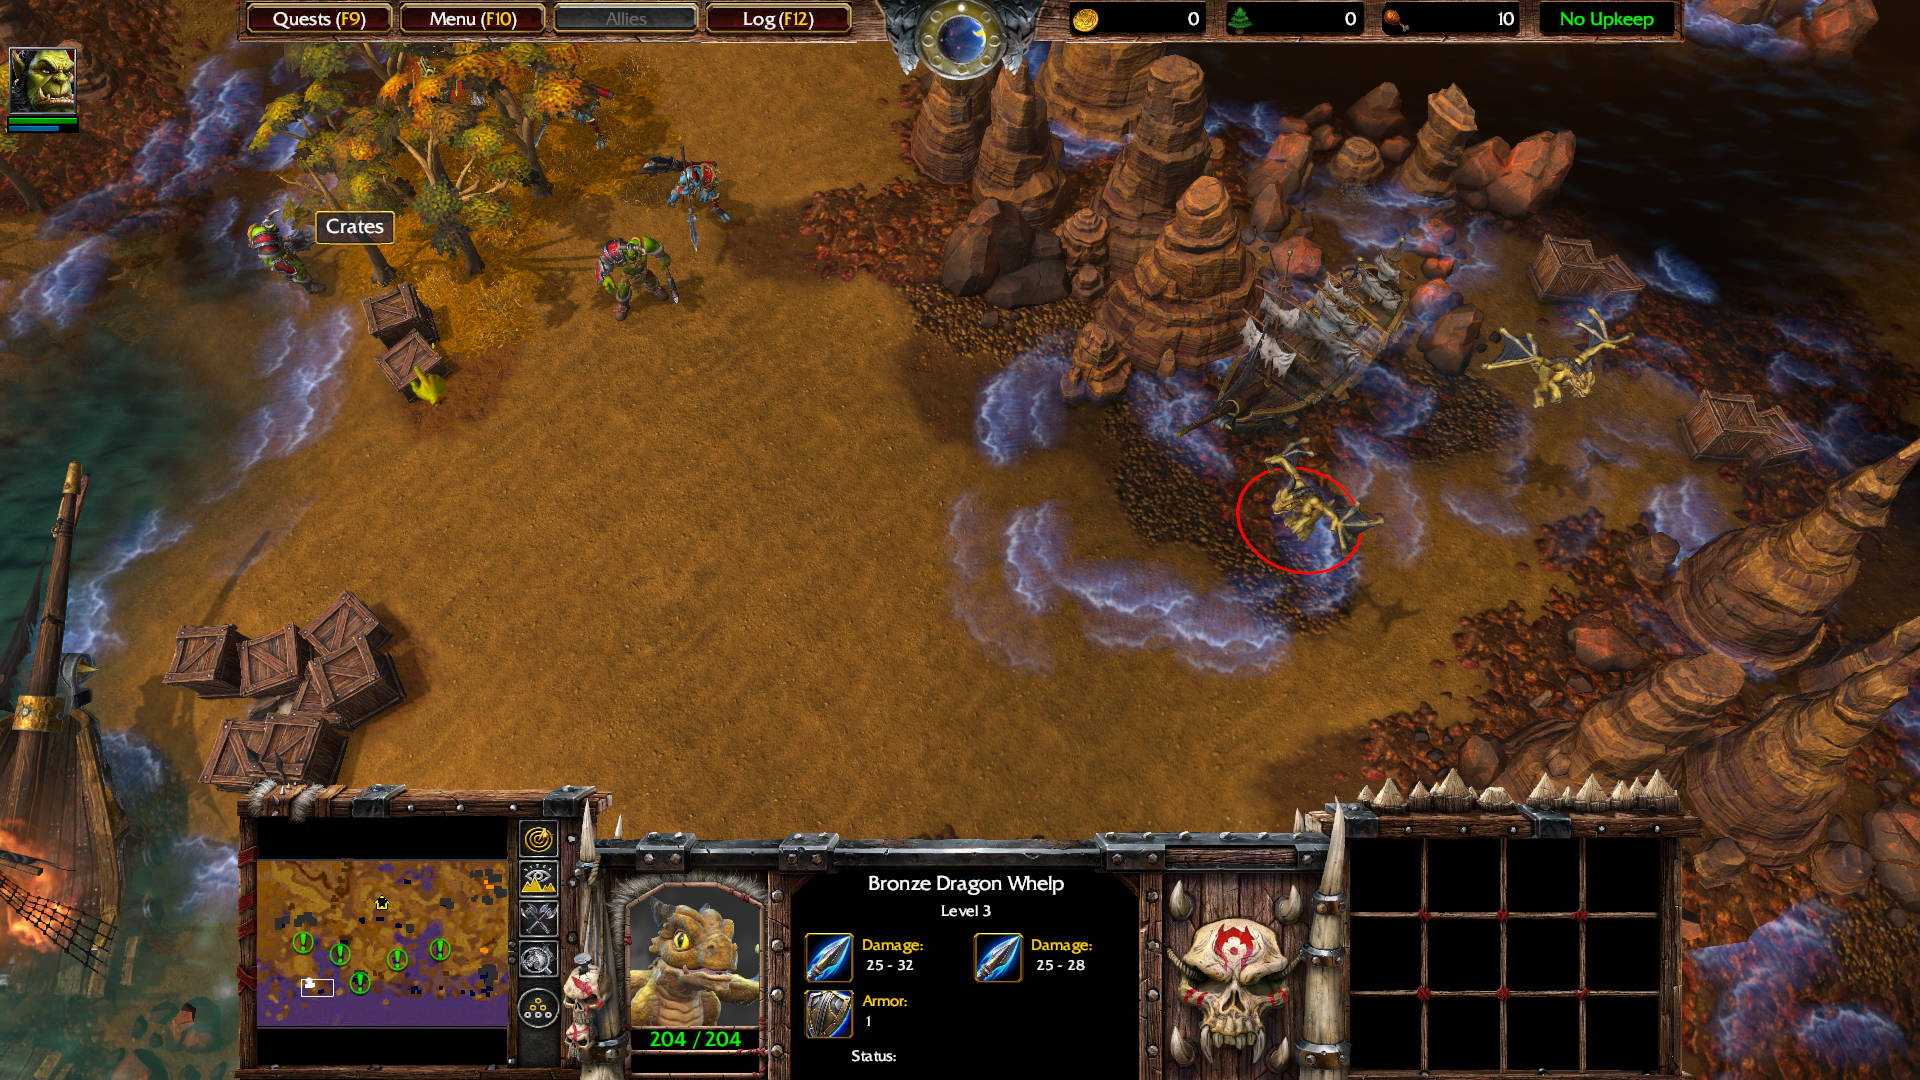
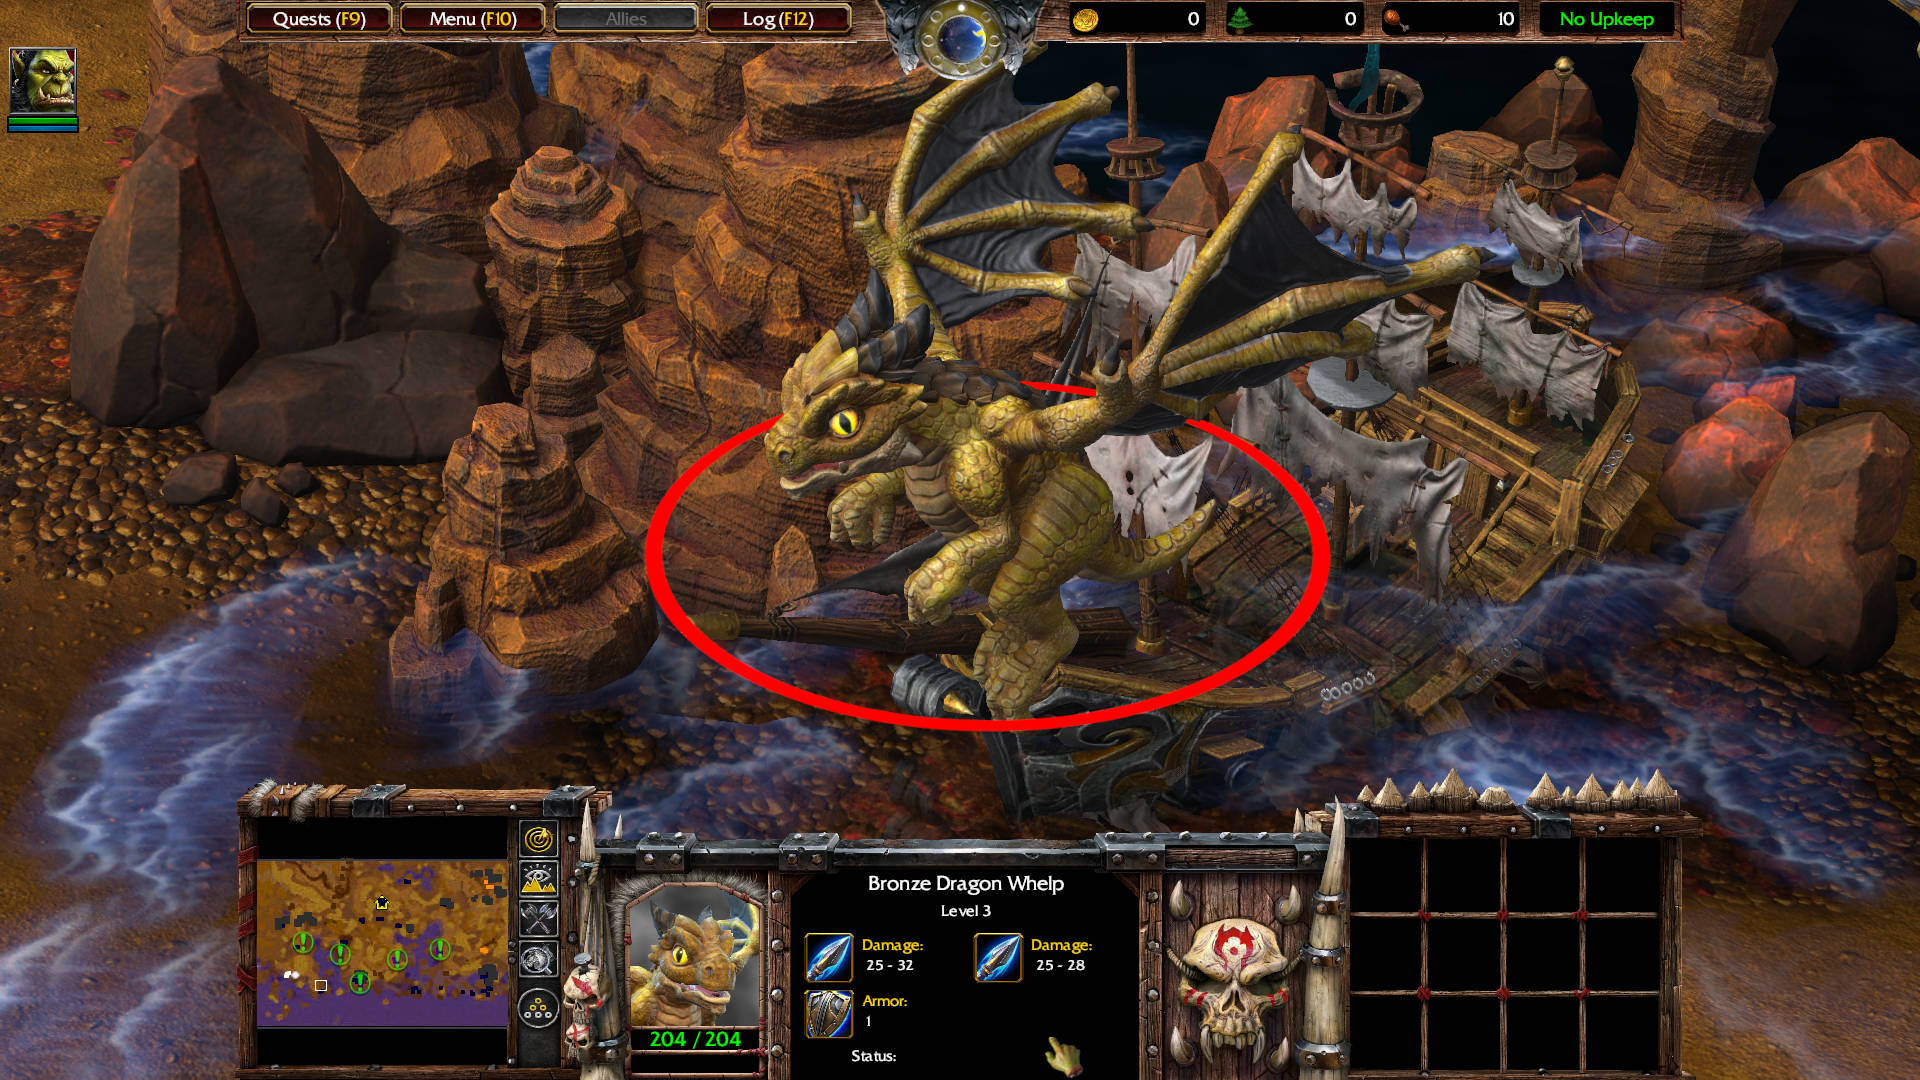
South of those murlocs is a narrow path that leads to the beach. Kill these two Bronze Dragon Whelp level 3. The crate behind the whelps contains a Ring of Protection: Increases the armor of the Hero by 1 when worn.
Head back to the spot you killed the murlocs earlier and approach the ship.
Grunt: This is one of our ships, Warchief. It must have been smashed against the rocks in the storm.

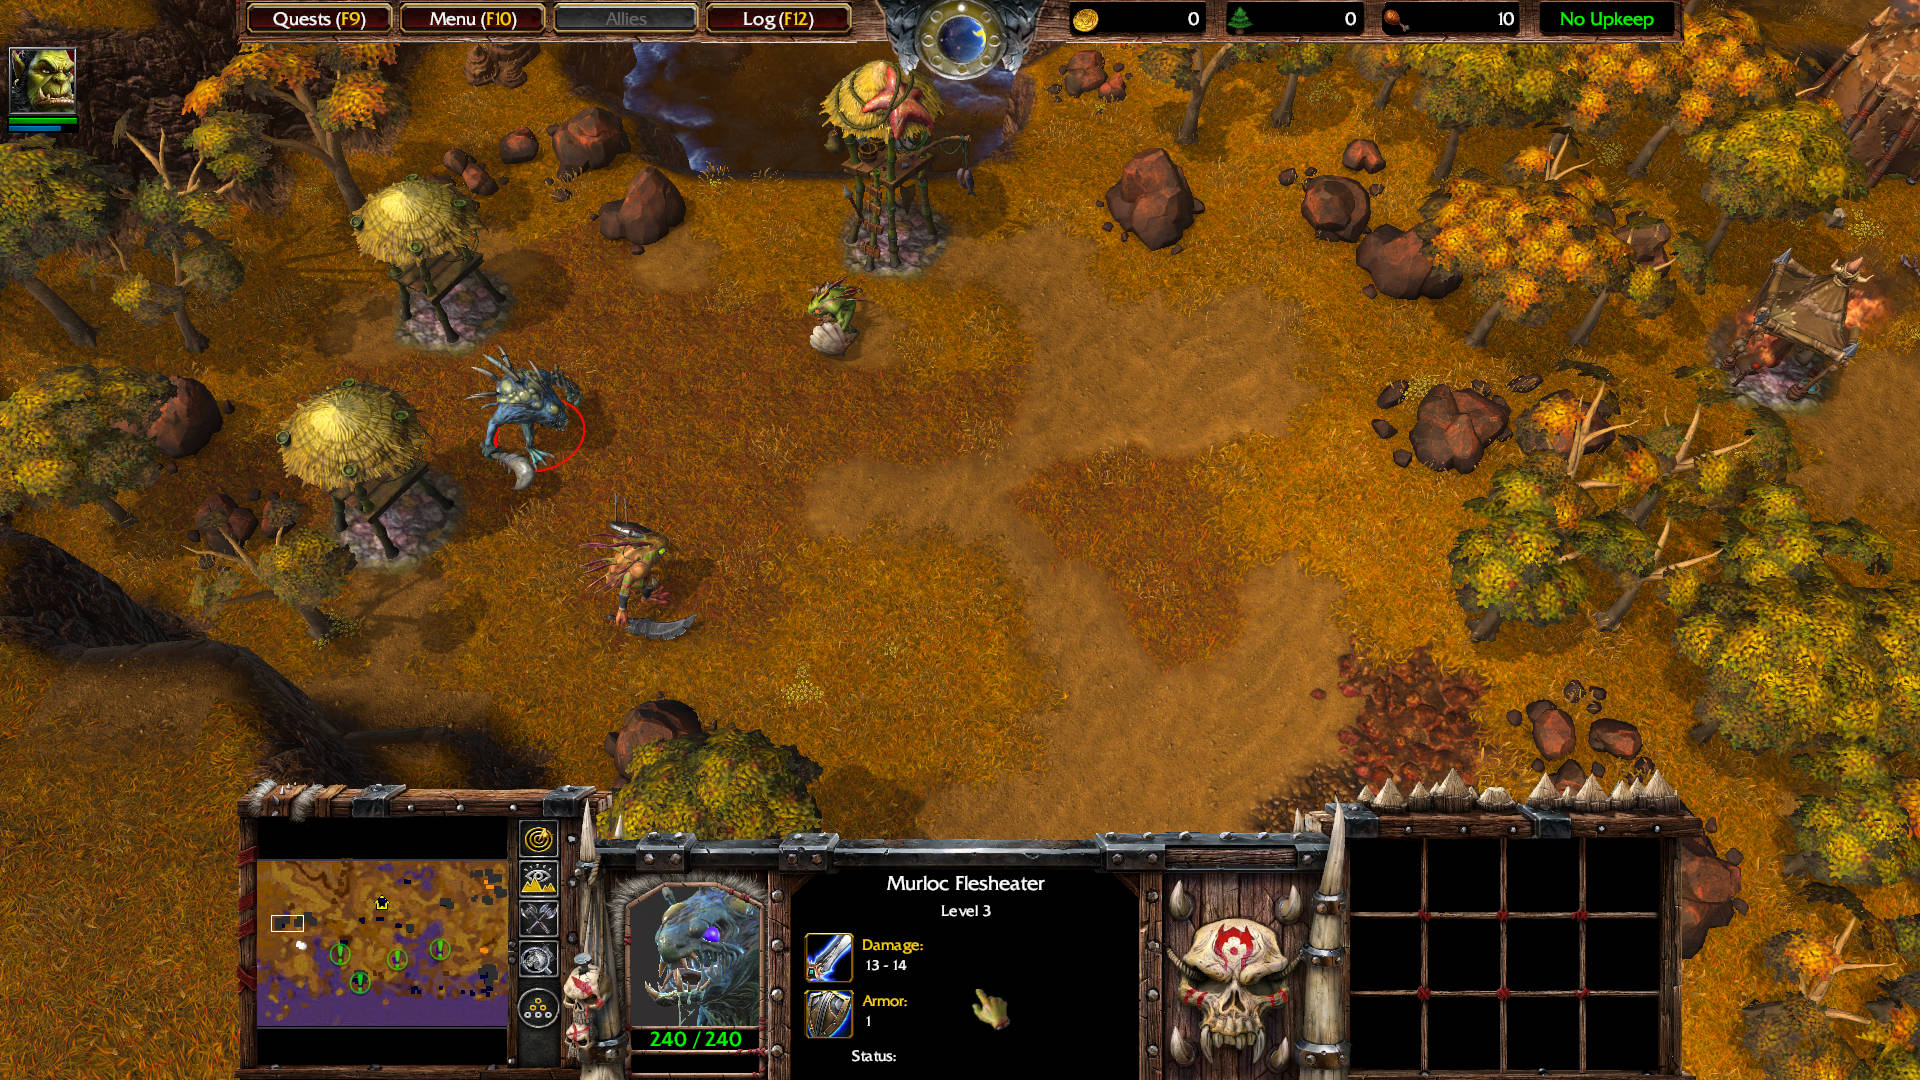
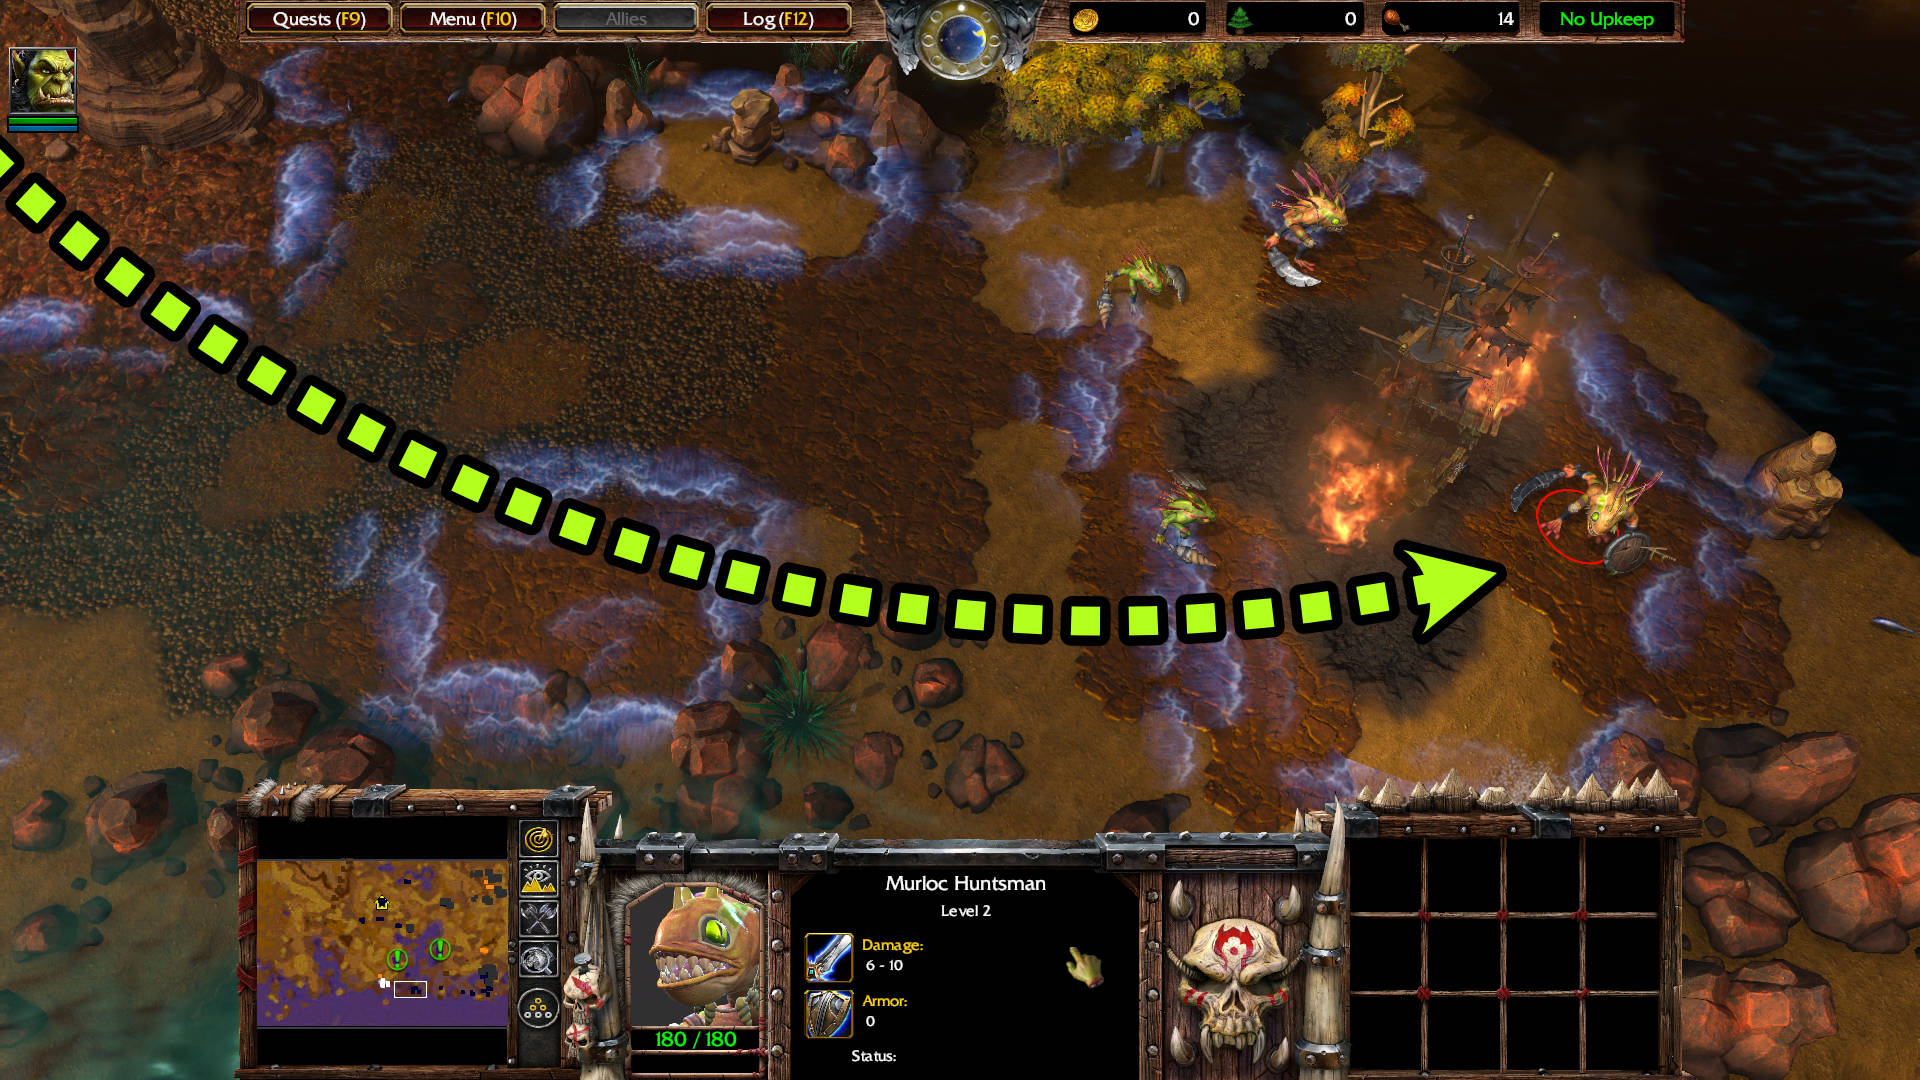
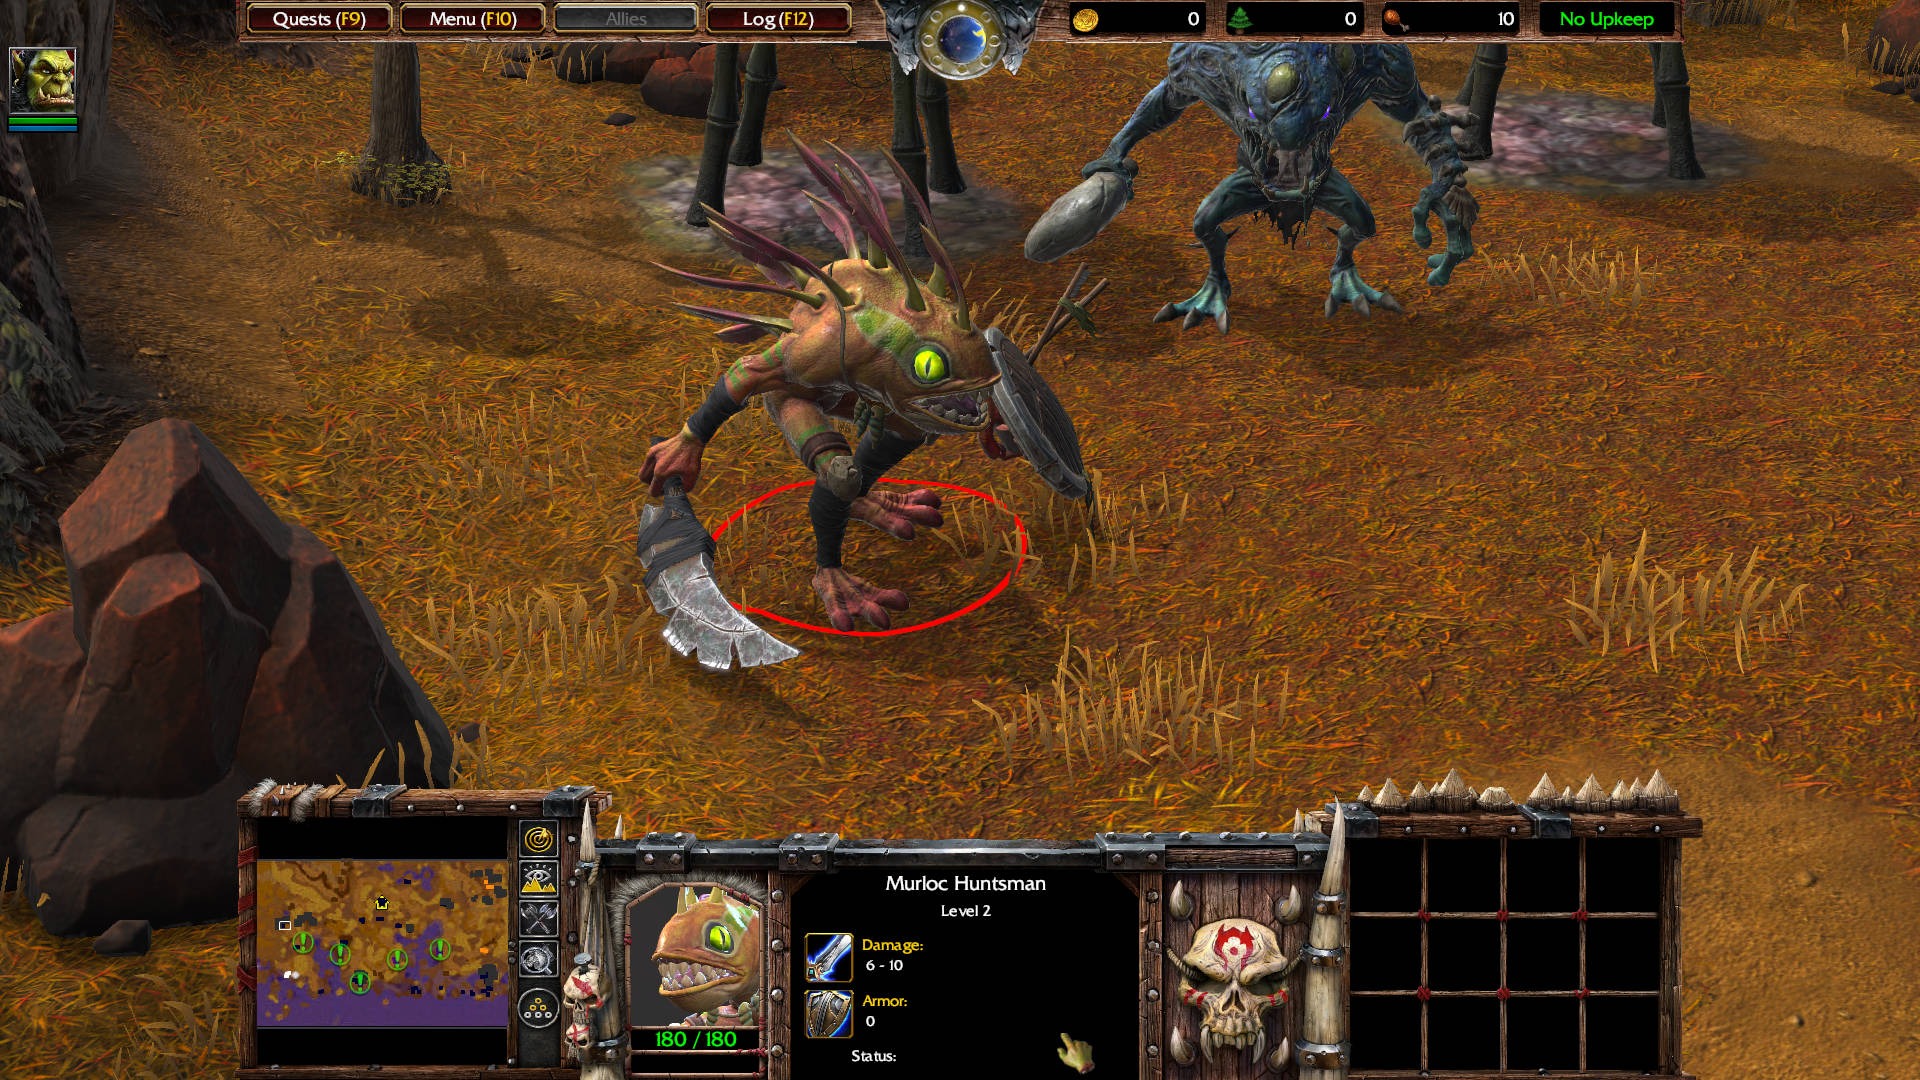
Move northwest to kill this Murloc Flesheater level 3, a Murloc Huntsman level 2, and a Murloc Tidehunter level 1. The Flesheater drops Healing Wards x 3: Summons an immovable ward that heals 2% of nearby friendly non-mechanical unit’s hit points per sec. Contains 3 charges. Lasts 30 sec.
HINT – Healing Wards can be placed on the ground in order to heal nearby friendly units.
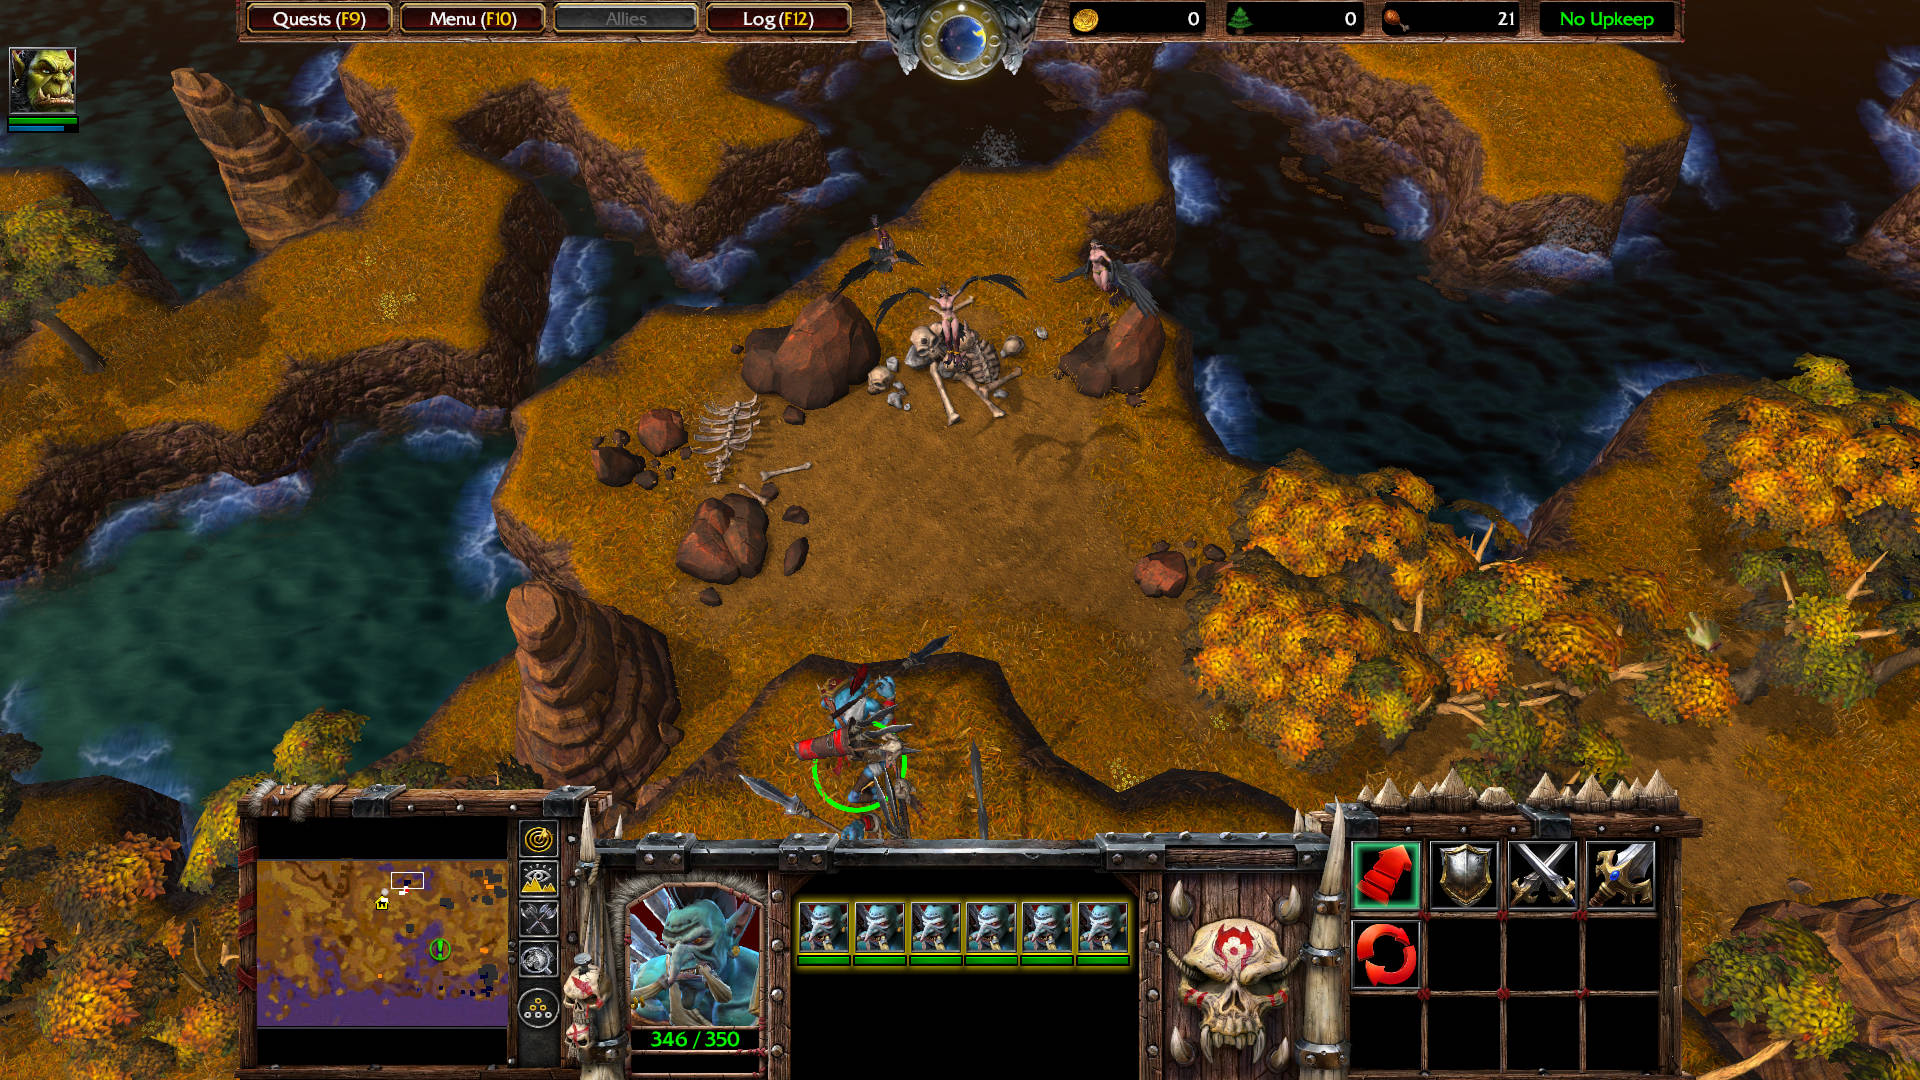
Move east to this location. Destroy the crate (to the south of where Thrall is shown in the image below. The crate drops Scroll of Protection: Increases the armor of all friendly units in an area around your Hero by 2 for 30 sec.
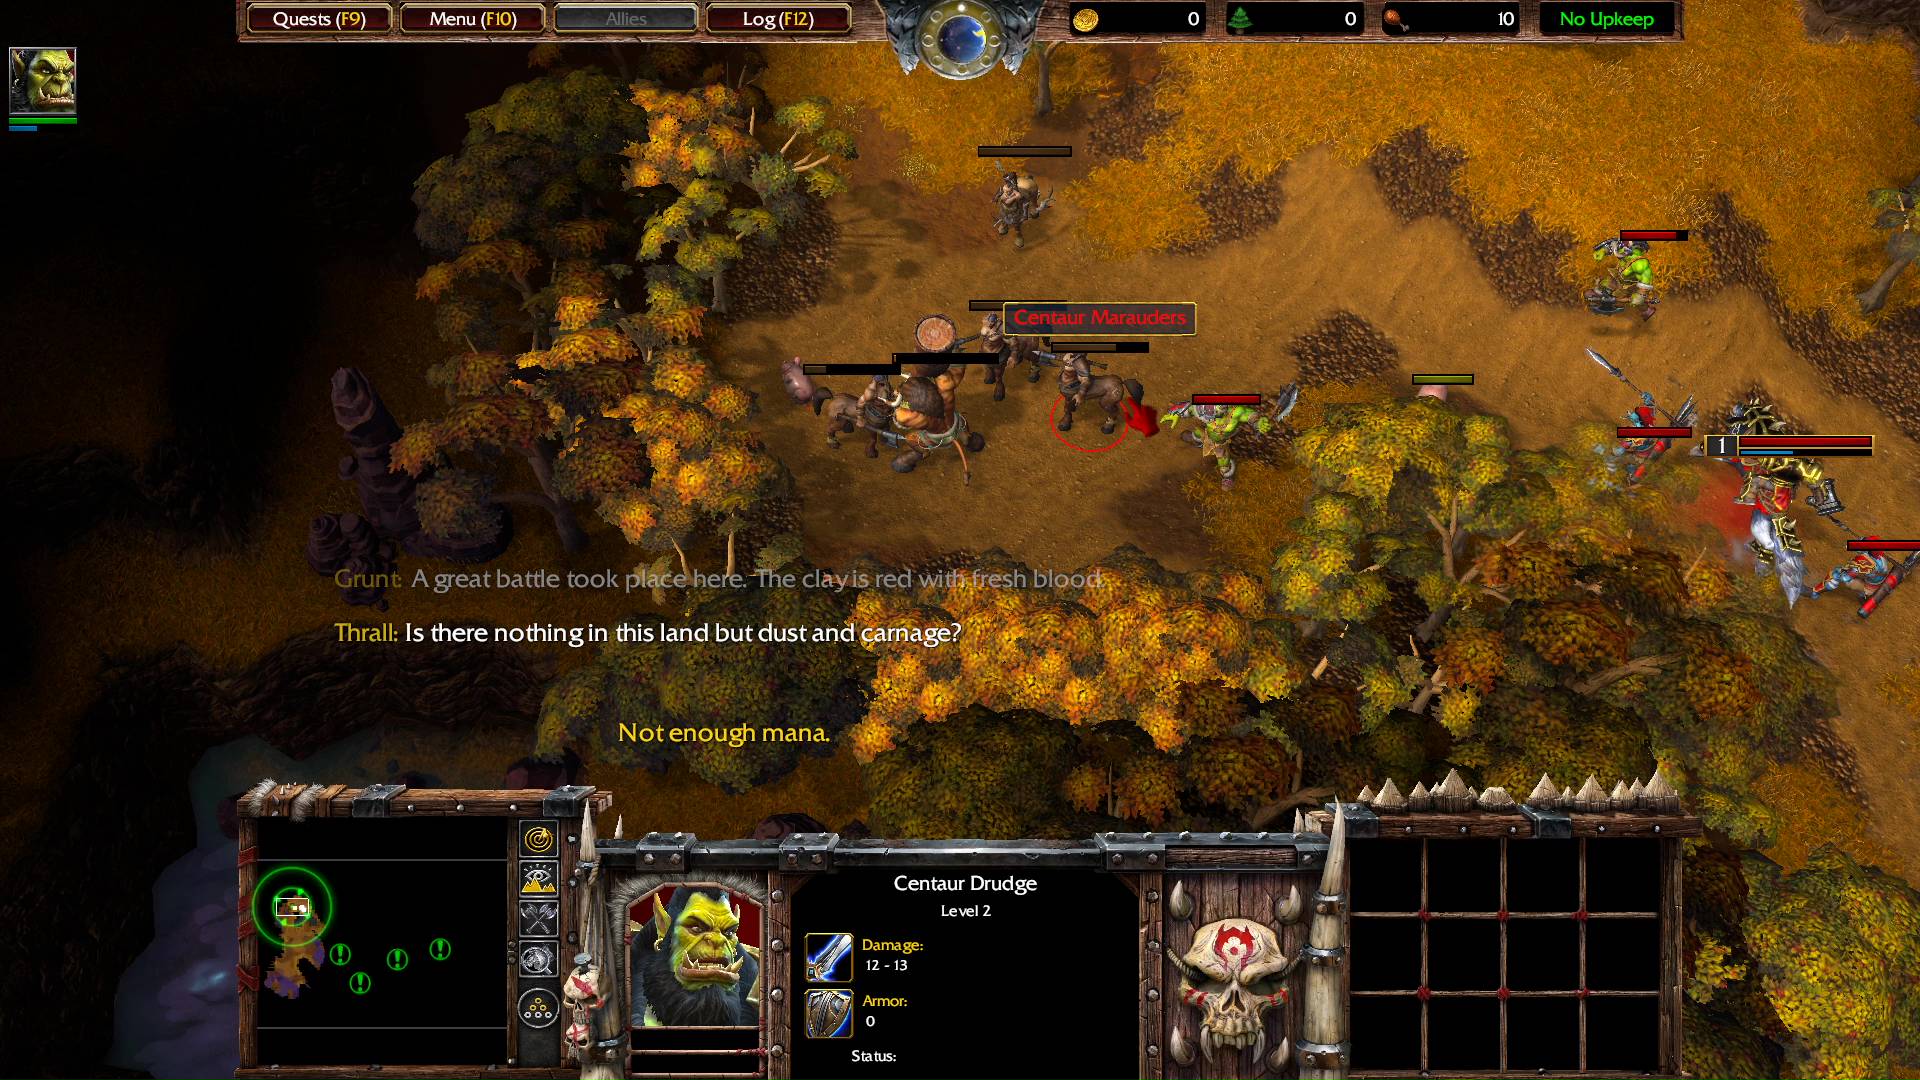
Grunt: A great battle took place here. The clay is red with fresh blood.
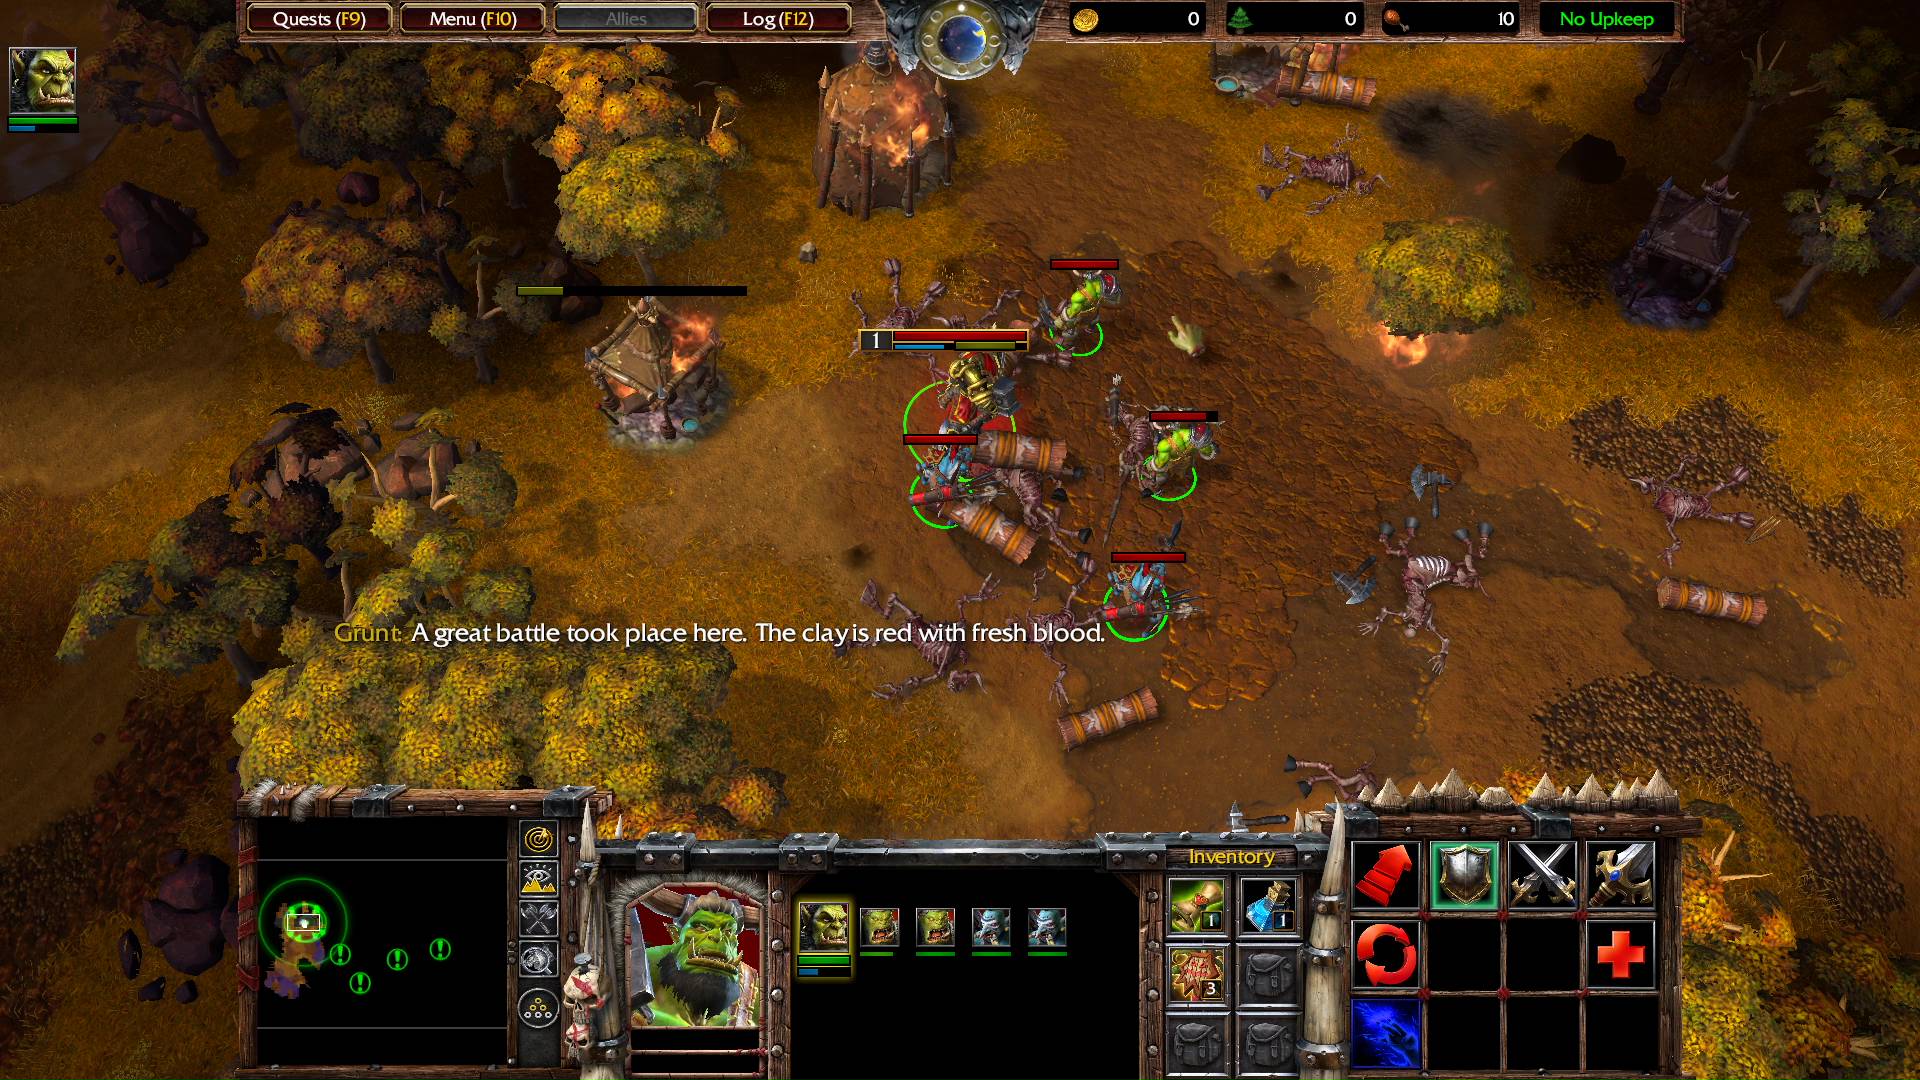
Thrall: Is there nothing in this land but dust and carnage?
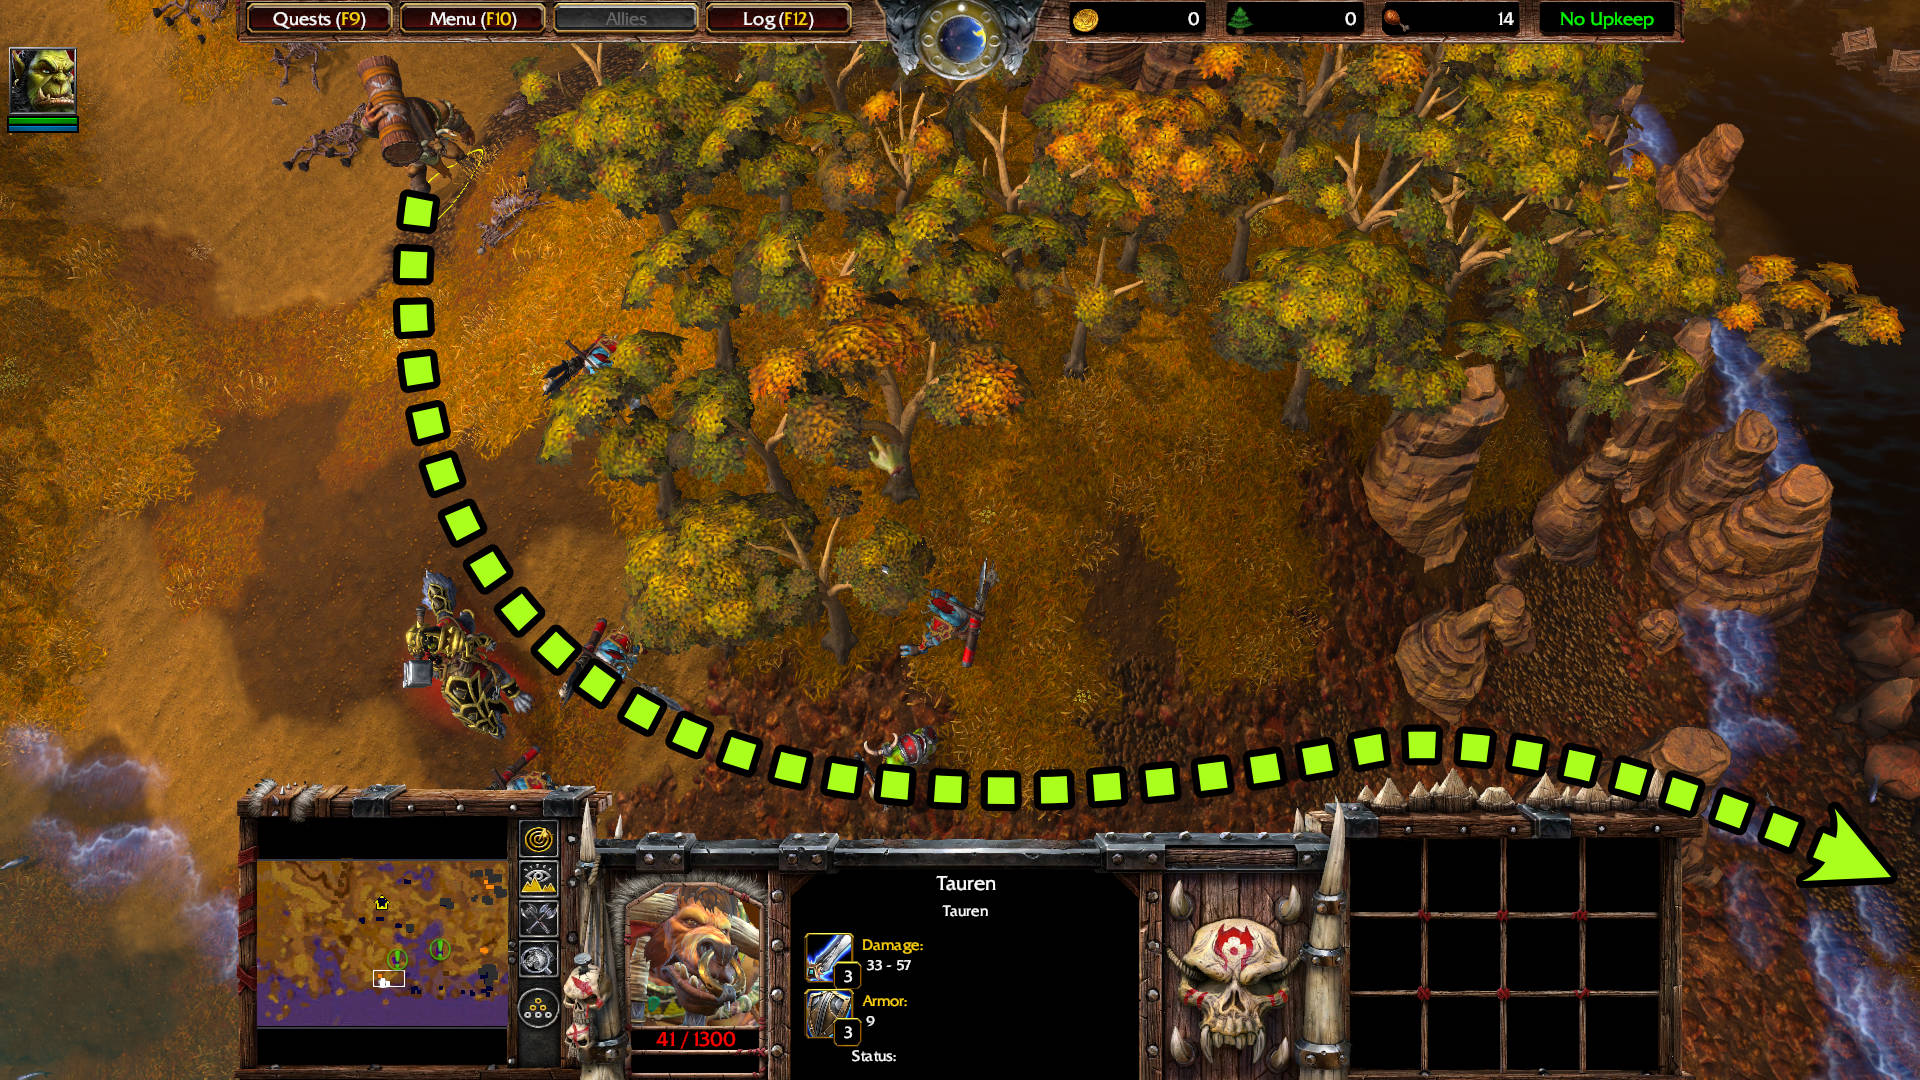
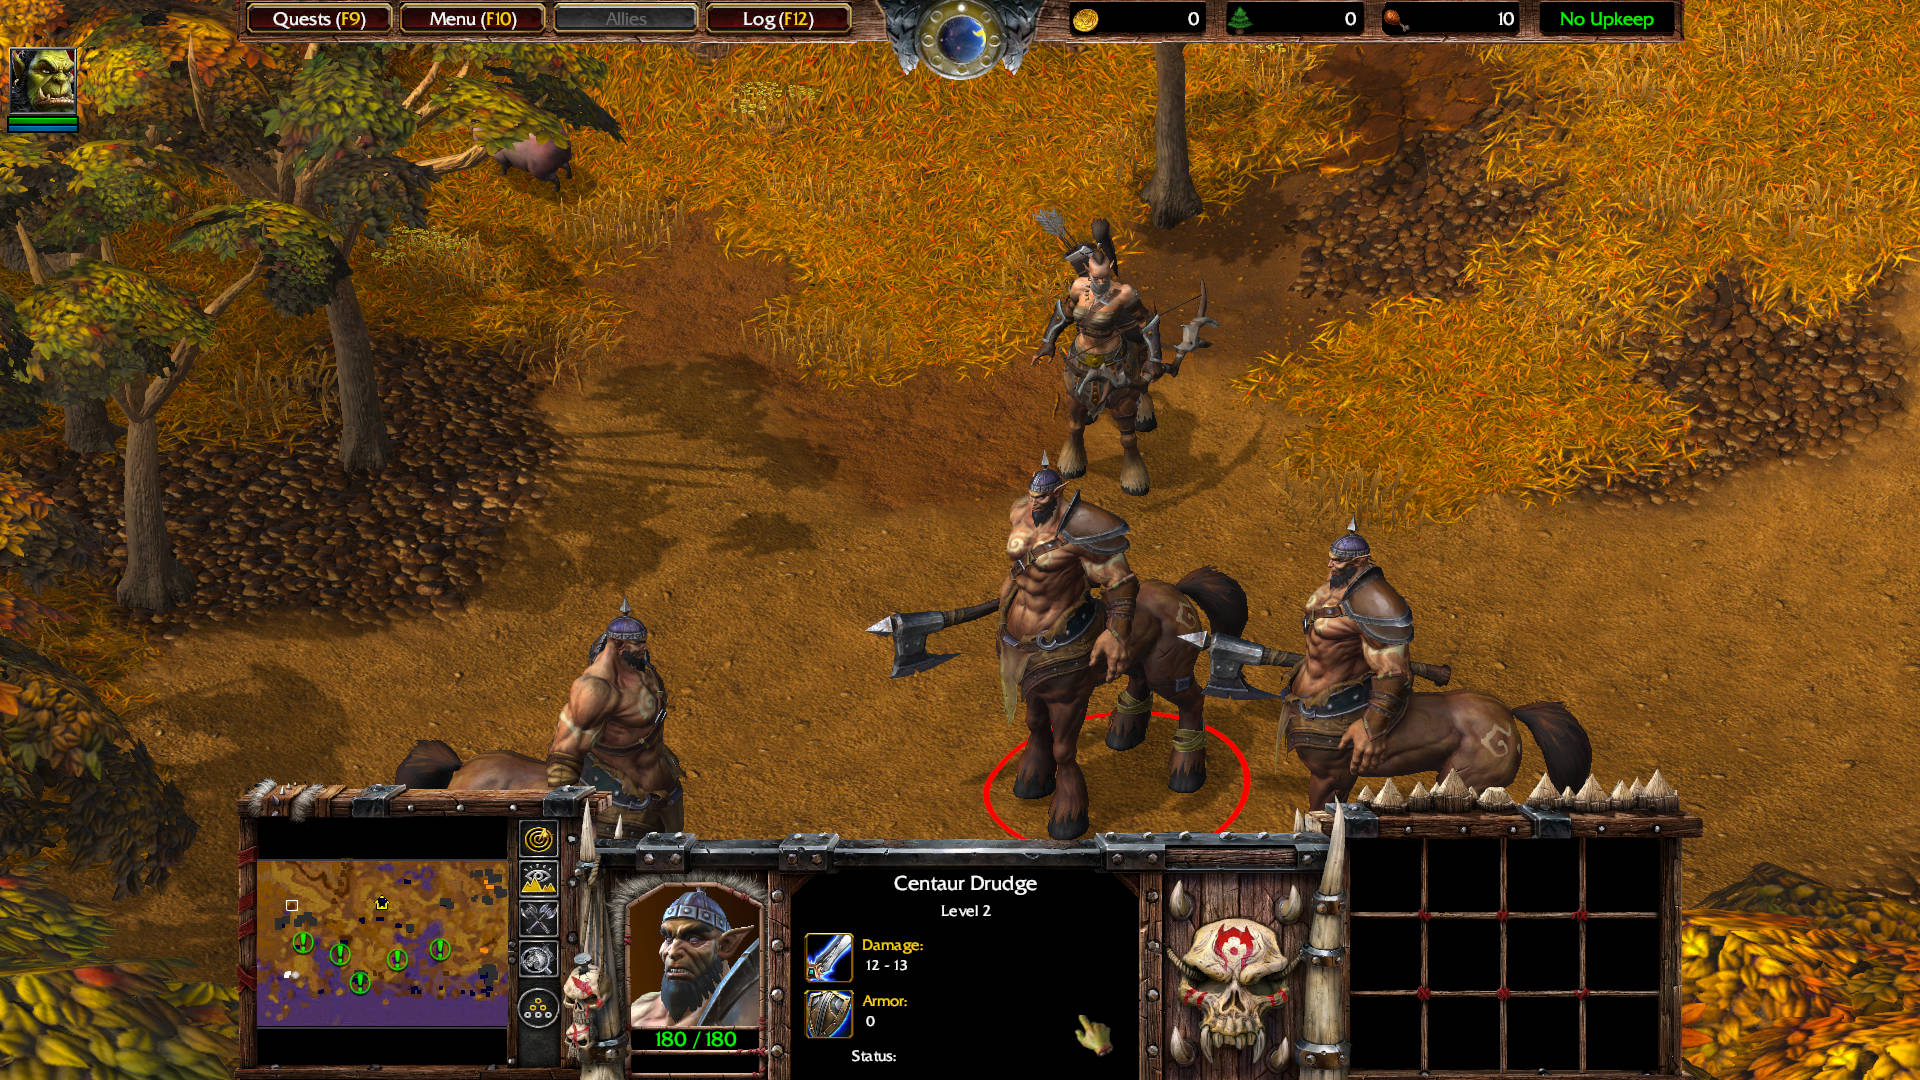
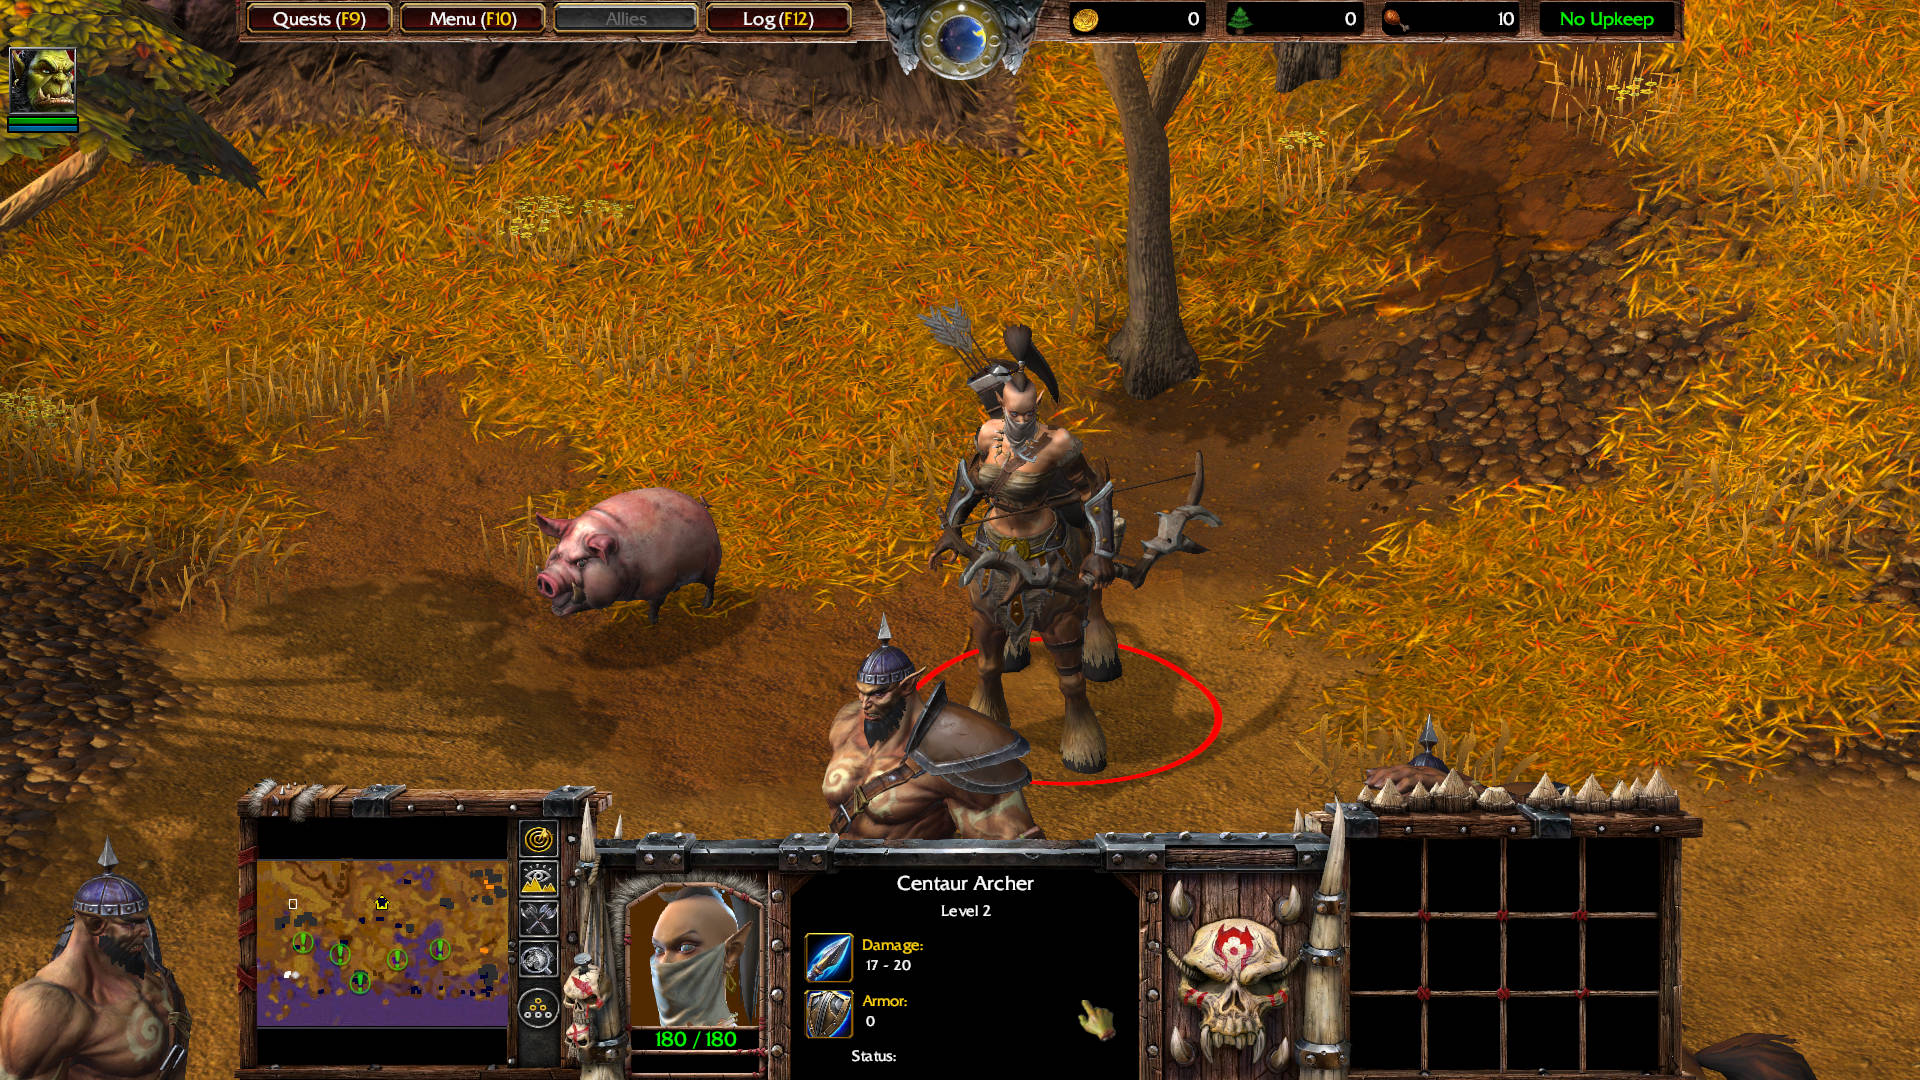
Note: Go straight north to a deadend where 4 Centaur Marauders (Centaur Drudge level 2 x 3 and a Centaur Archer level 2) are attacking a Tauren.
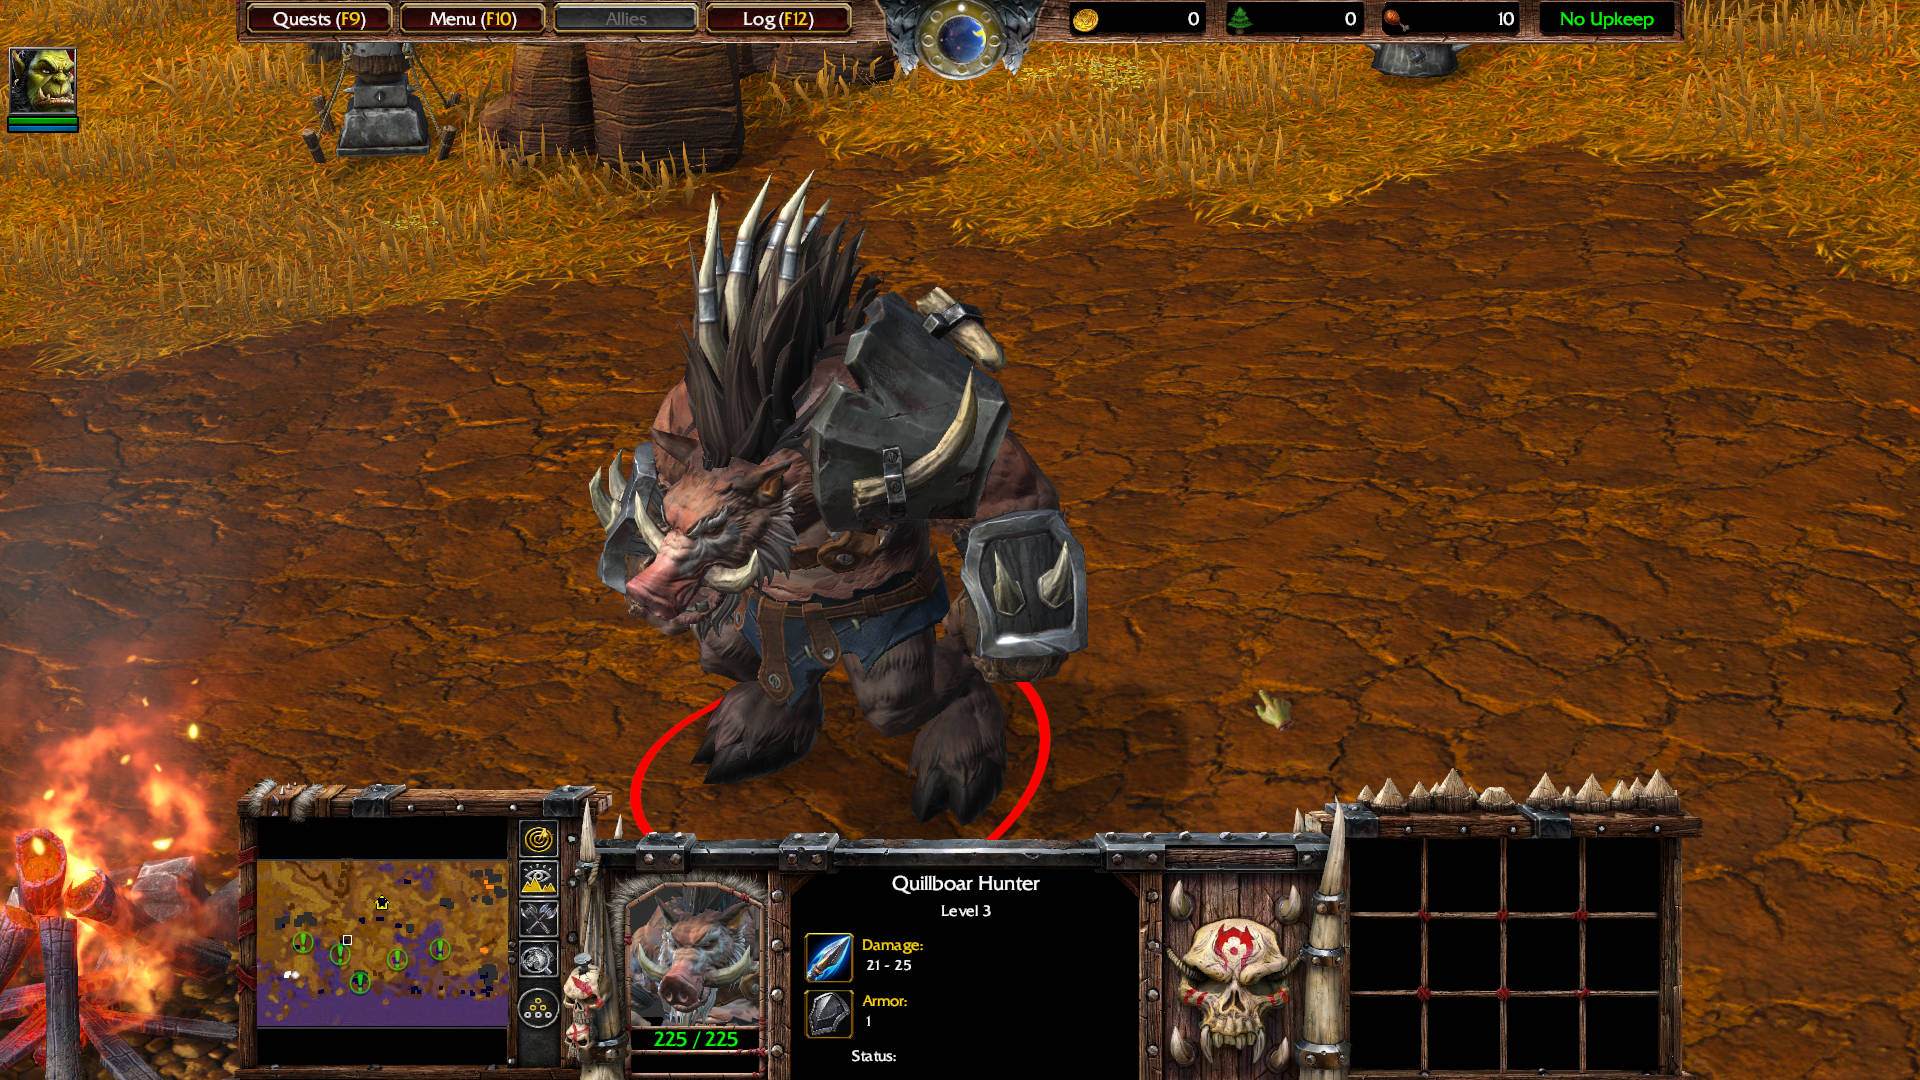
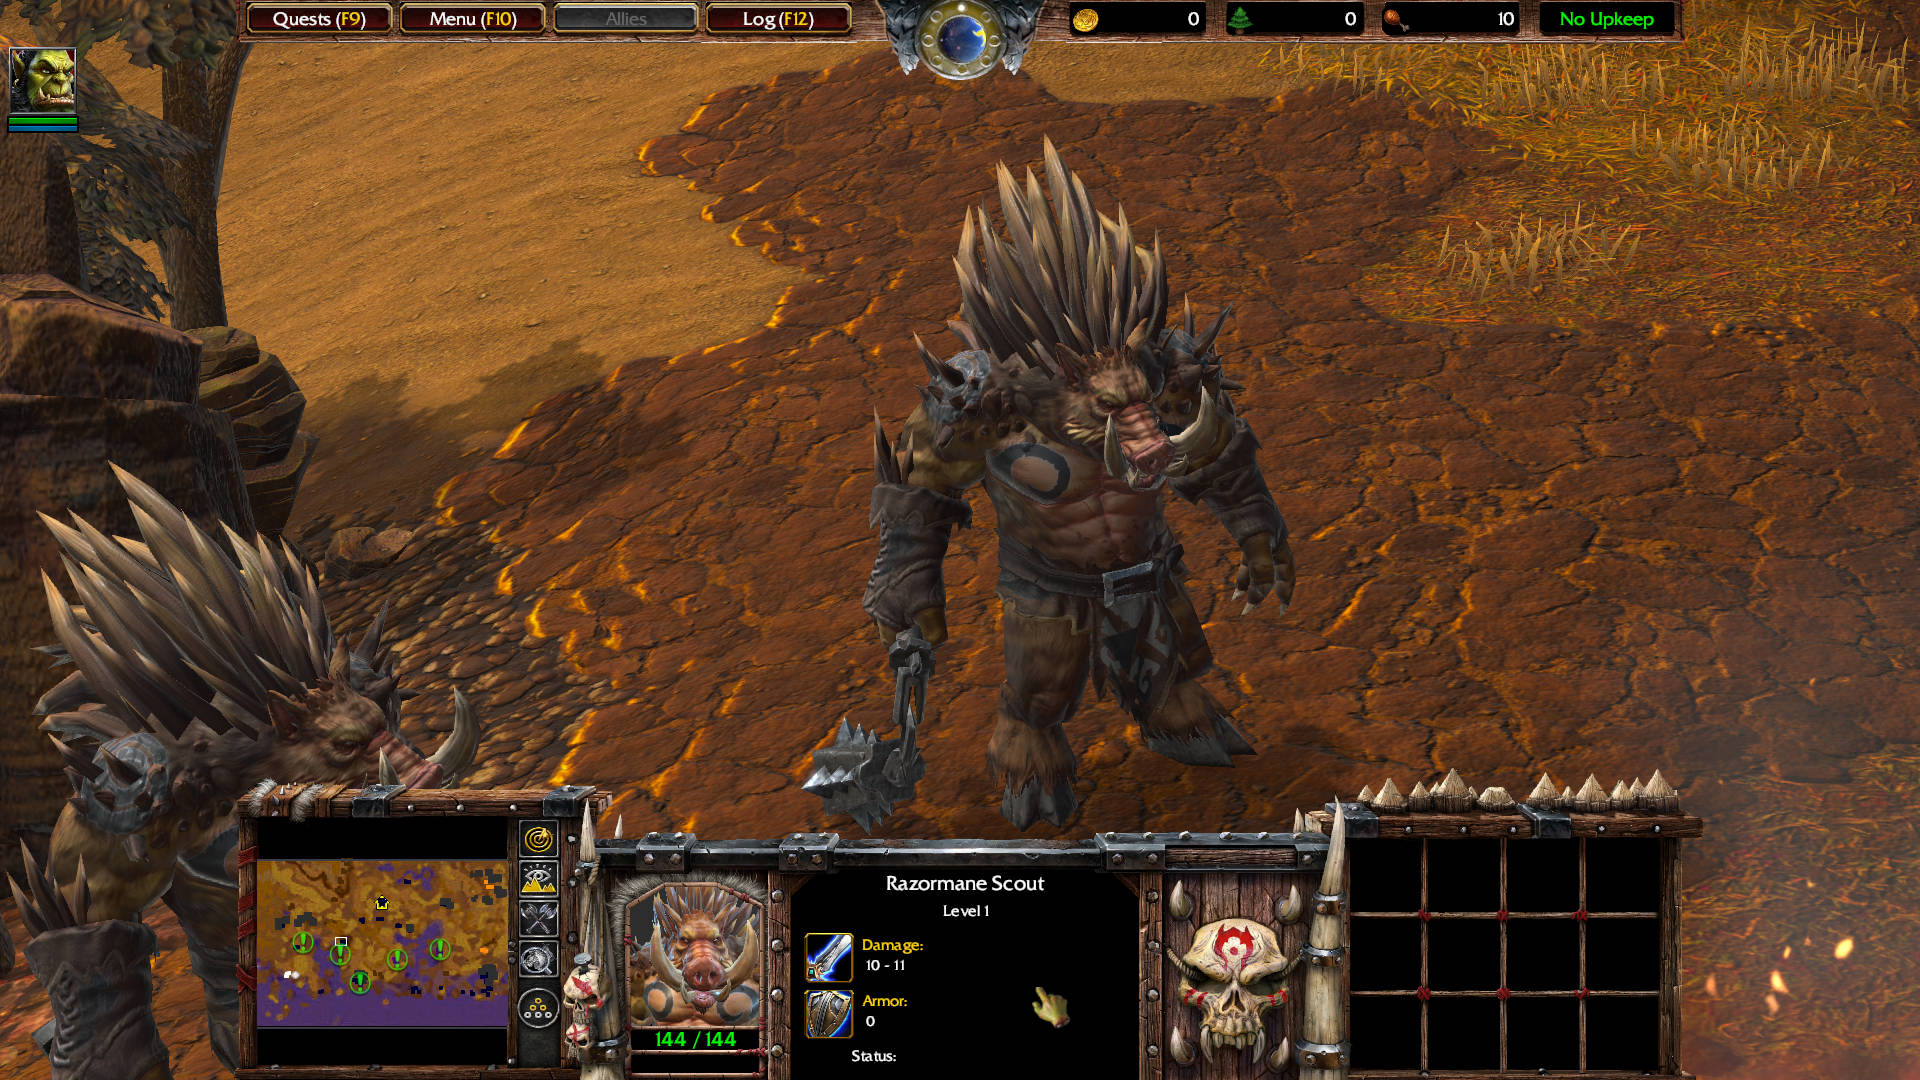
Go back and move to the east. You will find a pack of Quillboar: Quillboar Hunter level 3, and Razormane Scout level 1 (3). The Hunter drops Healing Wards: Summons an immovable ward that heals 2% of nearby friendly non-mechanical unit’s hit points per sec. Contains 3 charges. Lasts 30 sec.
Those stack with the previous Healing Wards in the same slot.
Thrall: Those pig creatures are unlike anything I’ve ever seen before.
Grunt: At least they’re prettier than the humans.
Note: The next ship is a few yards below the Quillboar pack, by the coast.
Grunt: Chieftain, this wreck has been abandoned for quite some time. Perhaps the crew has survived and is around here someplace.
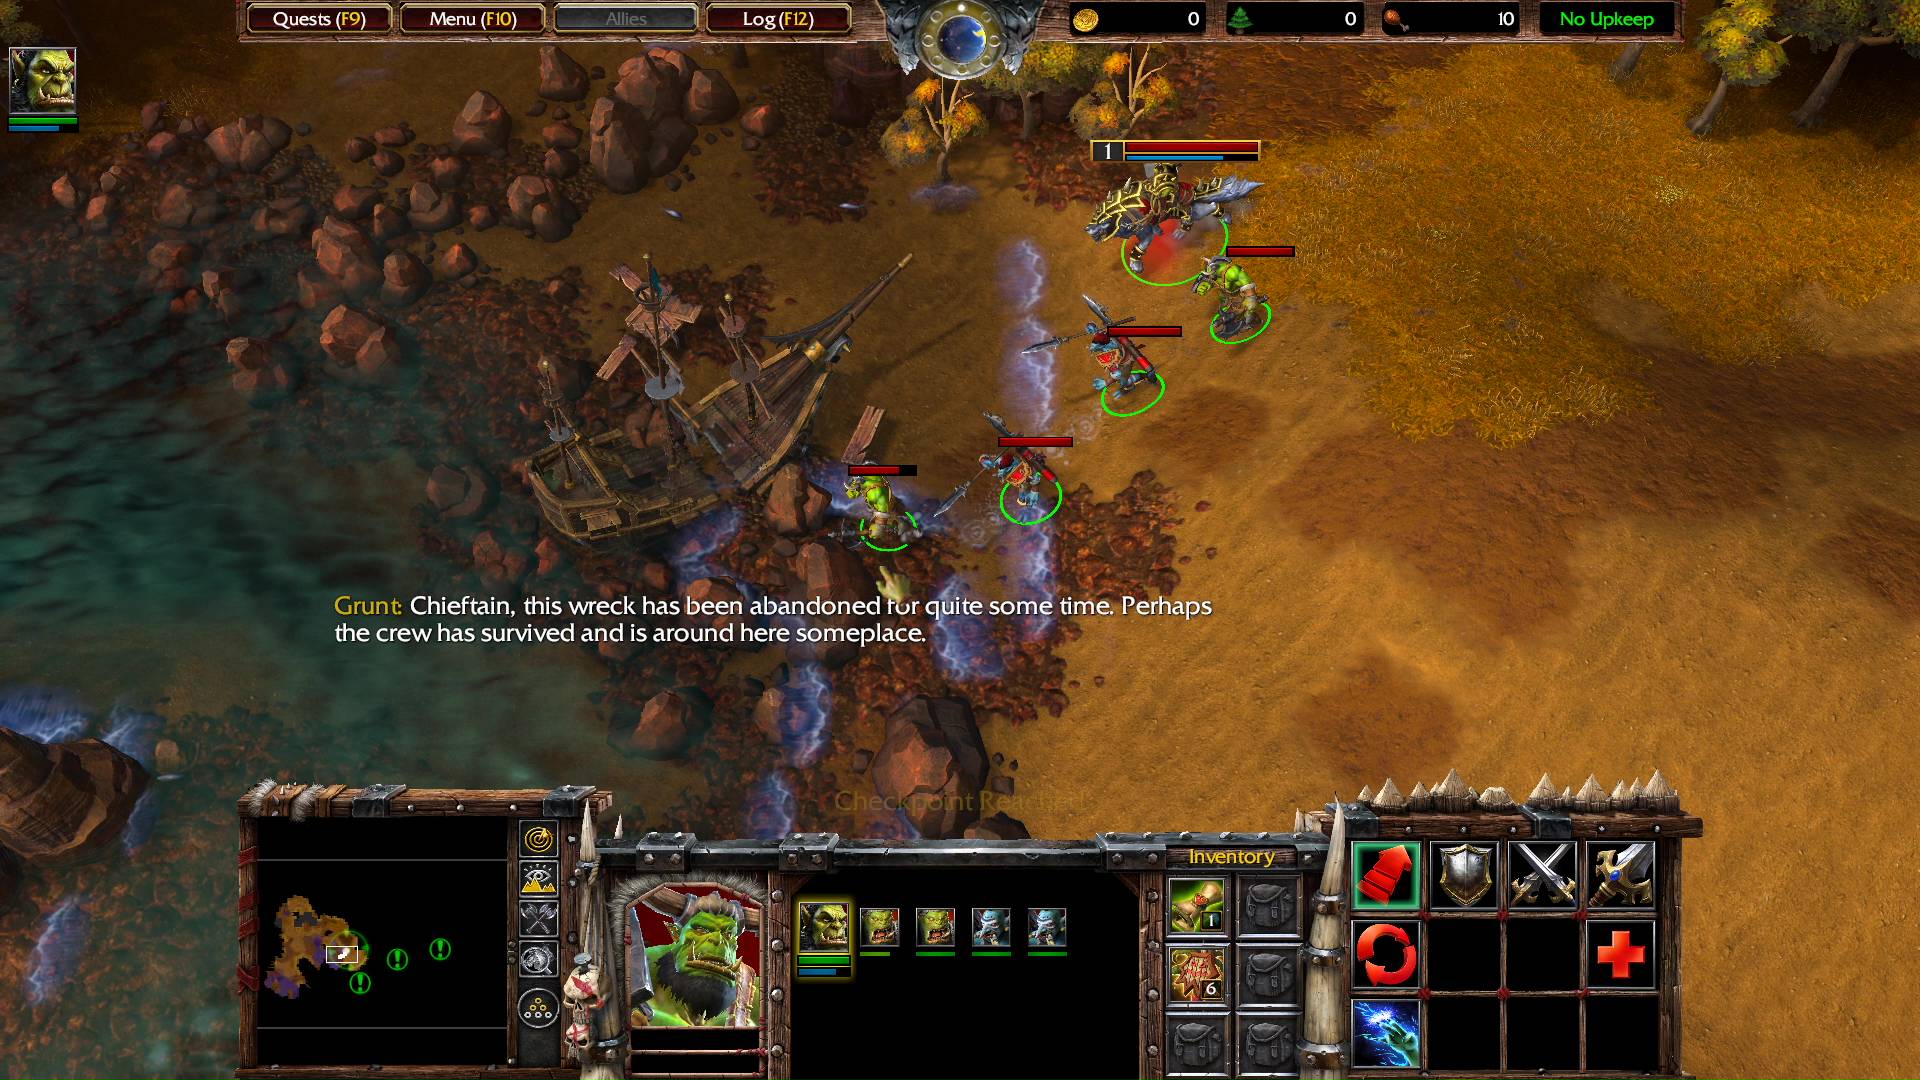
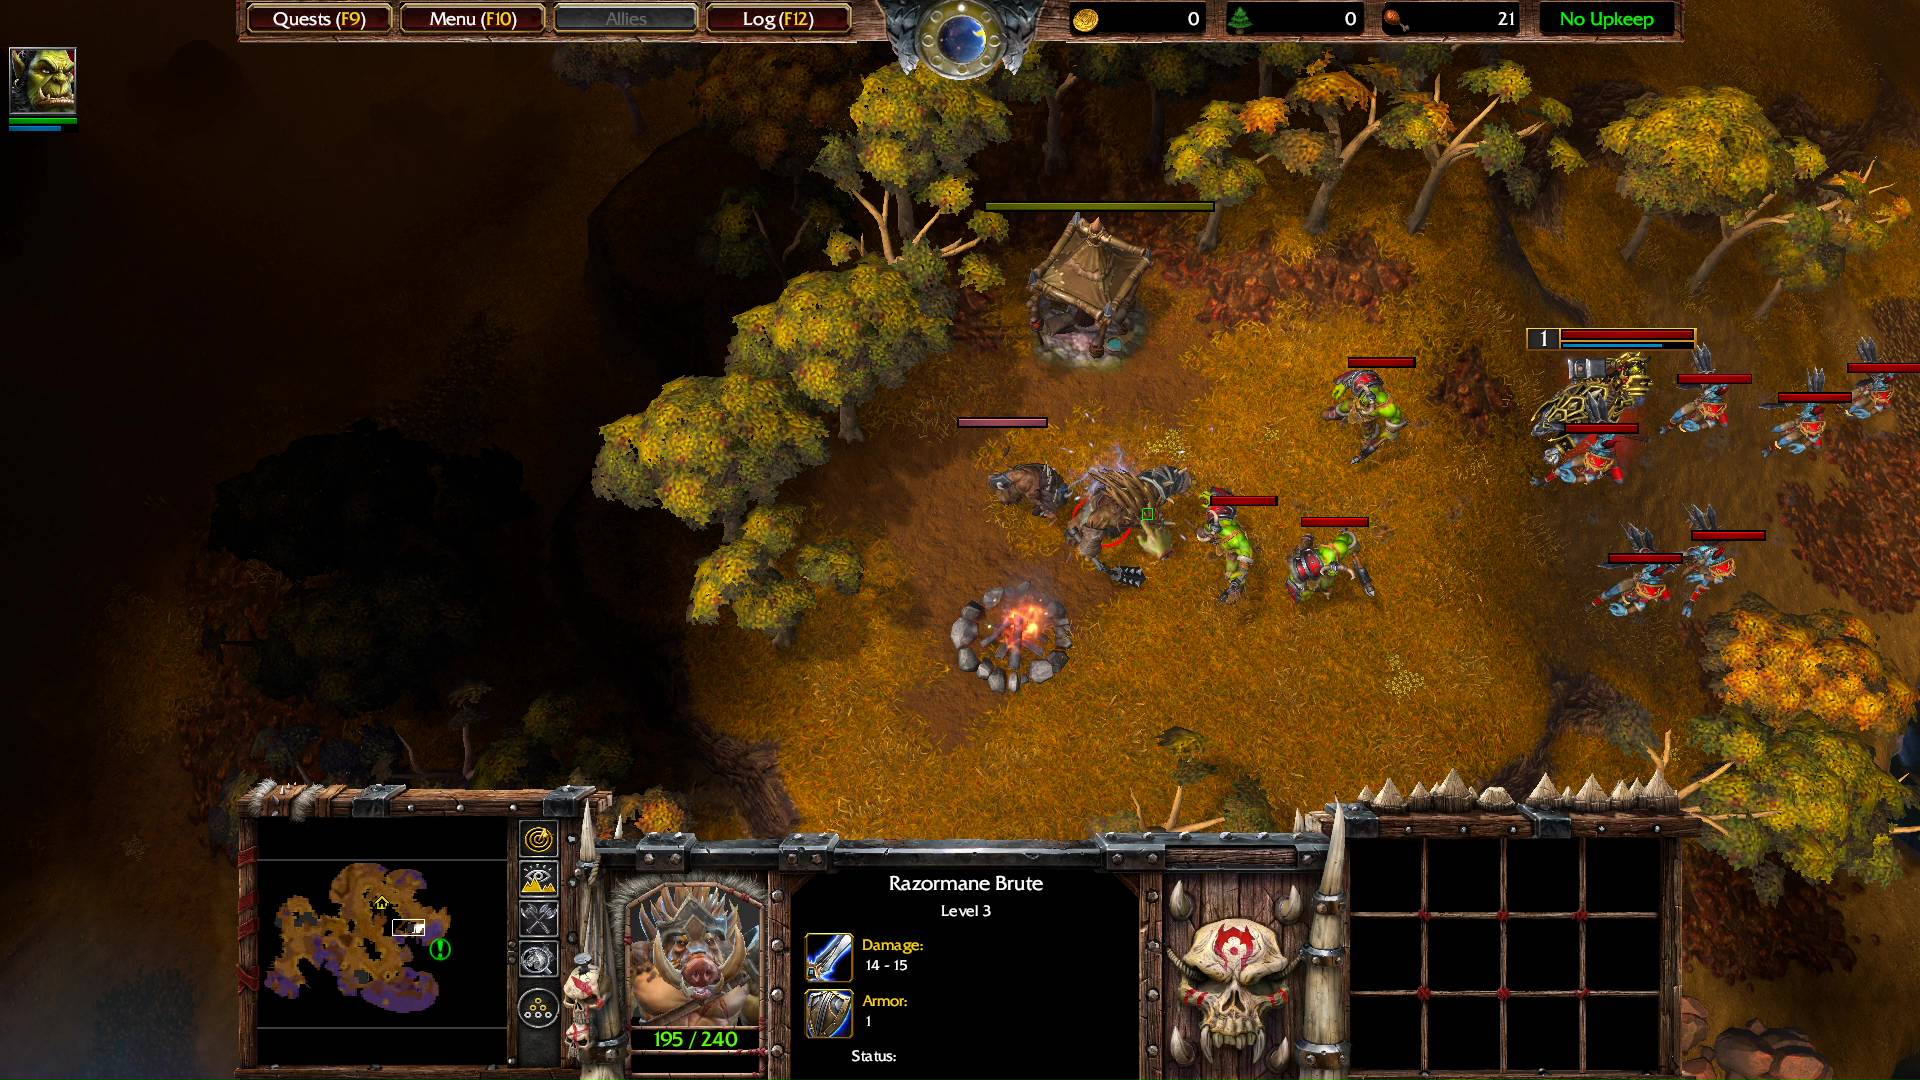
There are two paths. Take the path to the south. There you will find two Stranded Headhunters to join your party. They are surrounded by a Razormane Brute level 3, Razormane Scout level 1 (2), and a Quillboar level 1. None of the huts drop anything.
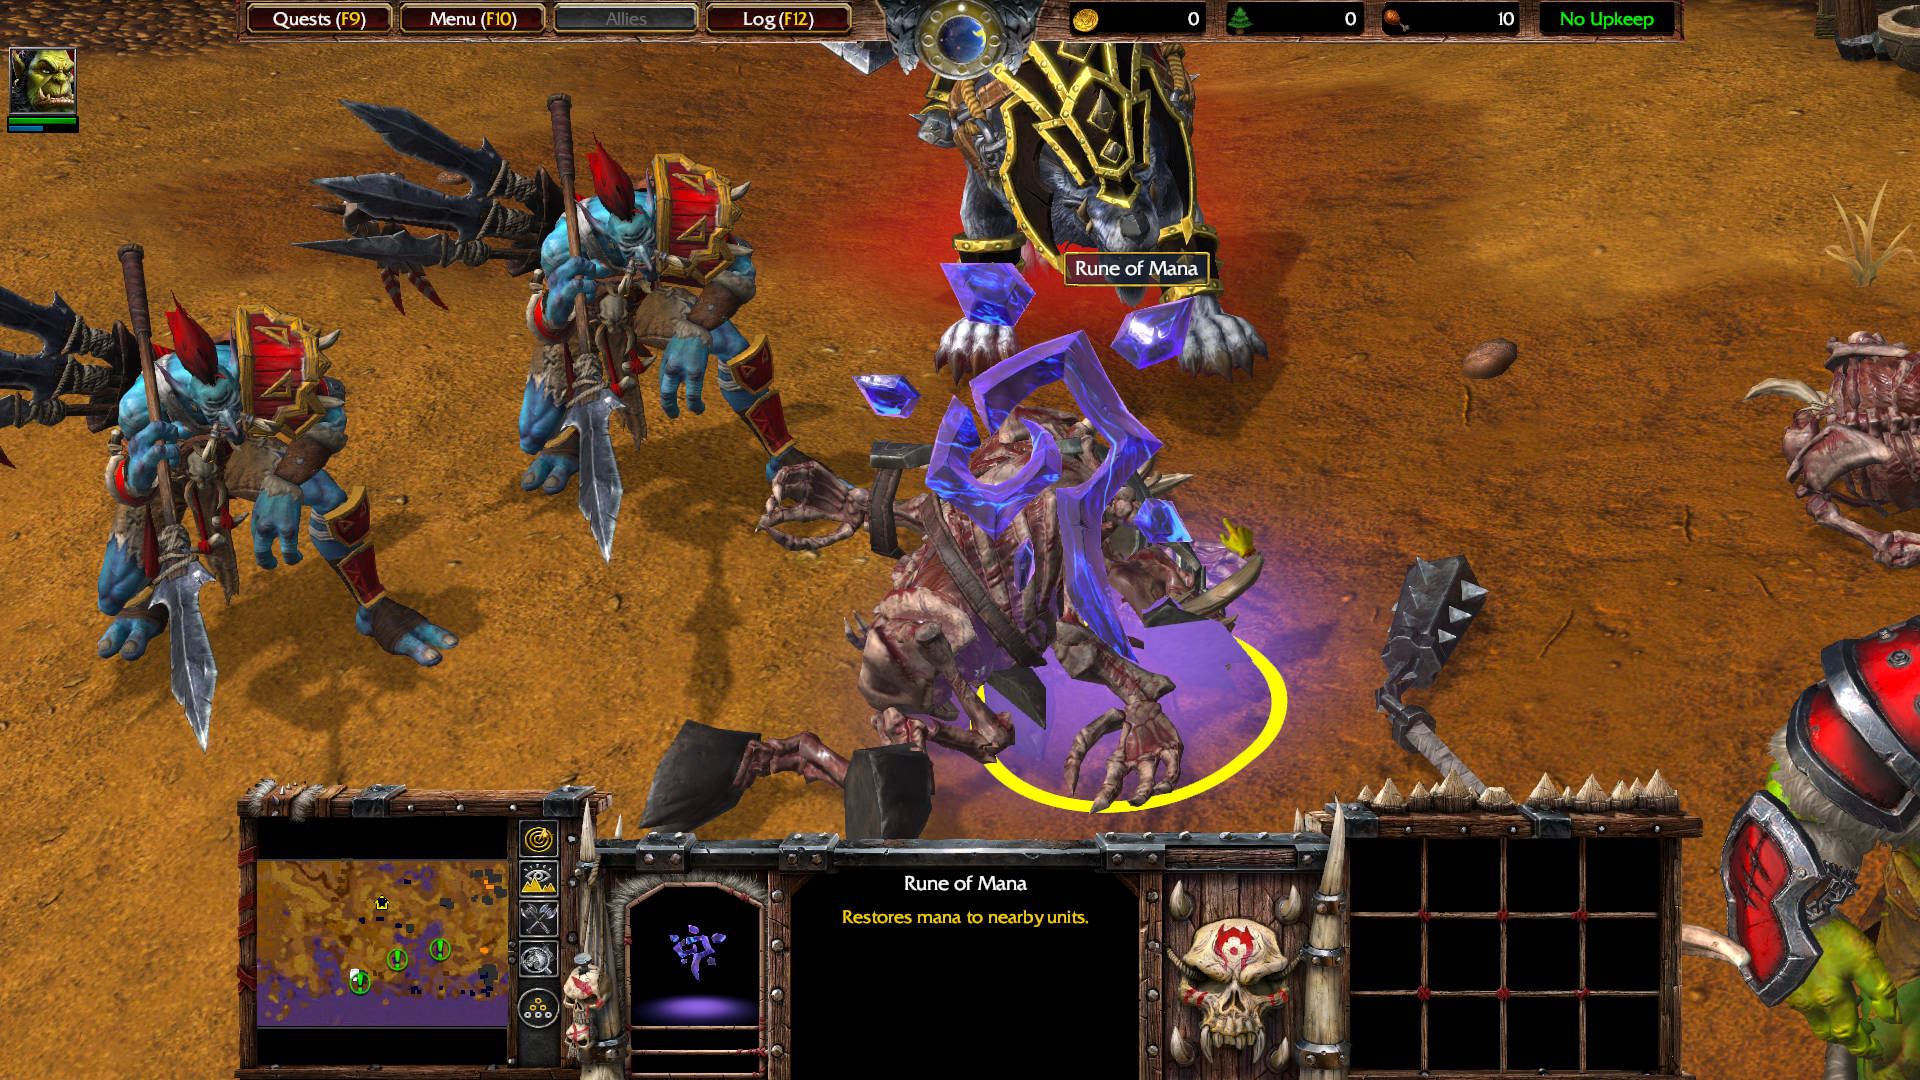
You might miss it because it is kinda camouflaged, but the Brute drops a Rune of Mana: Restores mana to nearby units. It is consumed.
Troll Headhunter: Thanks for saving us, mon. We should hurry. The pig-men say there were other ships nearby!
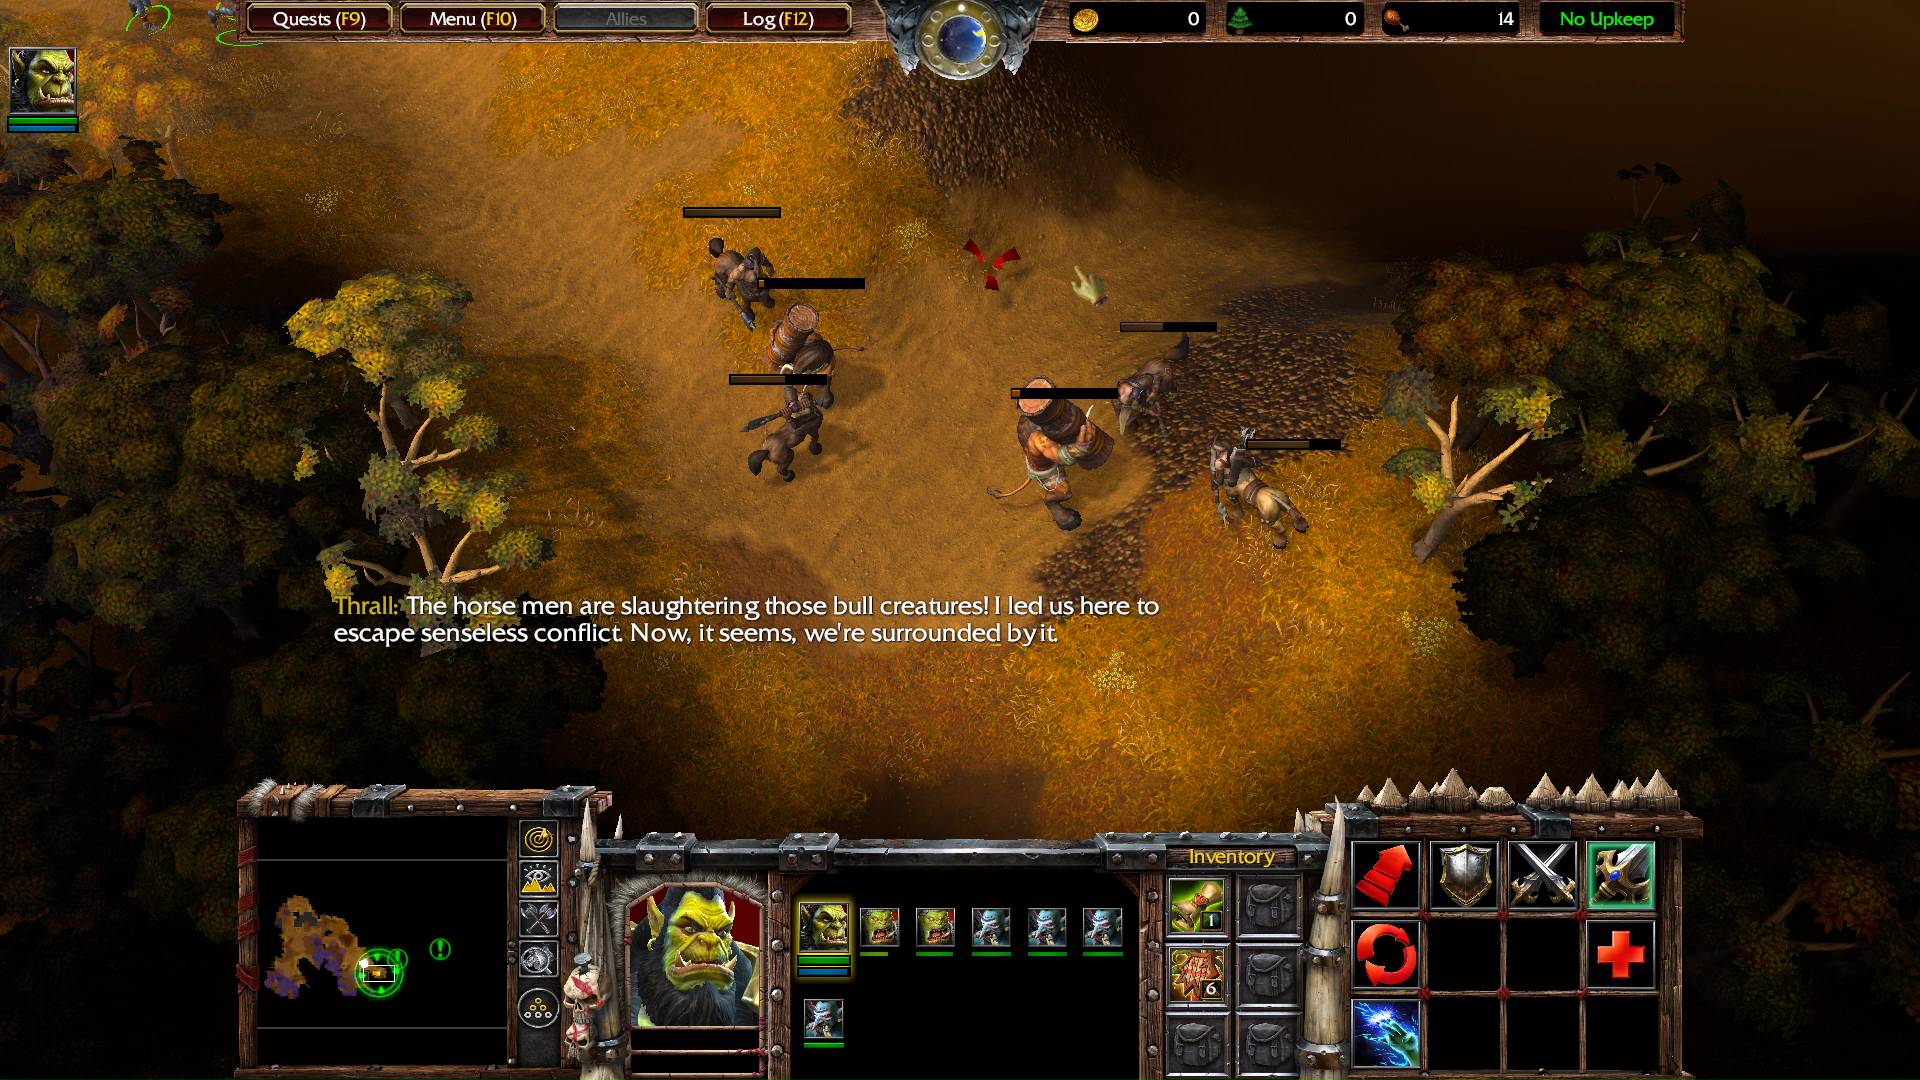
Note: Go back and take the eastern path. You will find two Tauren fighting 4 Centaur Marauders (Centaur Drudge level 2 x 3 and a Centaur Archer level 2).
Thrall: The horse men are slaughtering those bull creatures! I led us here to escape senseless conflict. Now, it seems, we’re surrounded by it.
Note: Go south of those tauren. There is a hidden area along the coast.
That path leads to a pack of Murlocs: Murloc Huntsman level 2 (2) and Murloc Tiderunner level 1 (2). One of them drops a Scroll of Protection: Increases the armor of all friendly units in an area around your Hero by 2 for 30 sec.
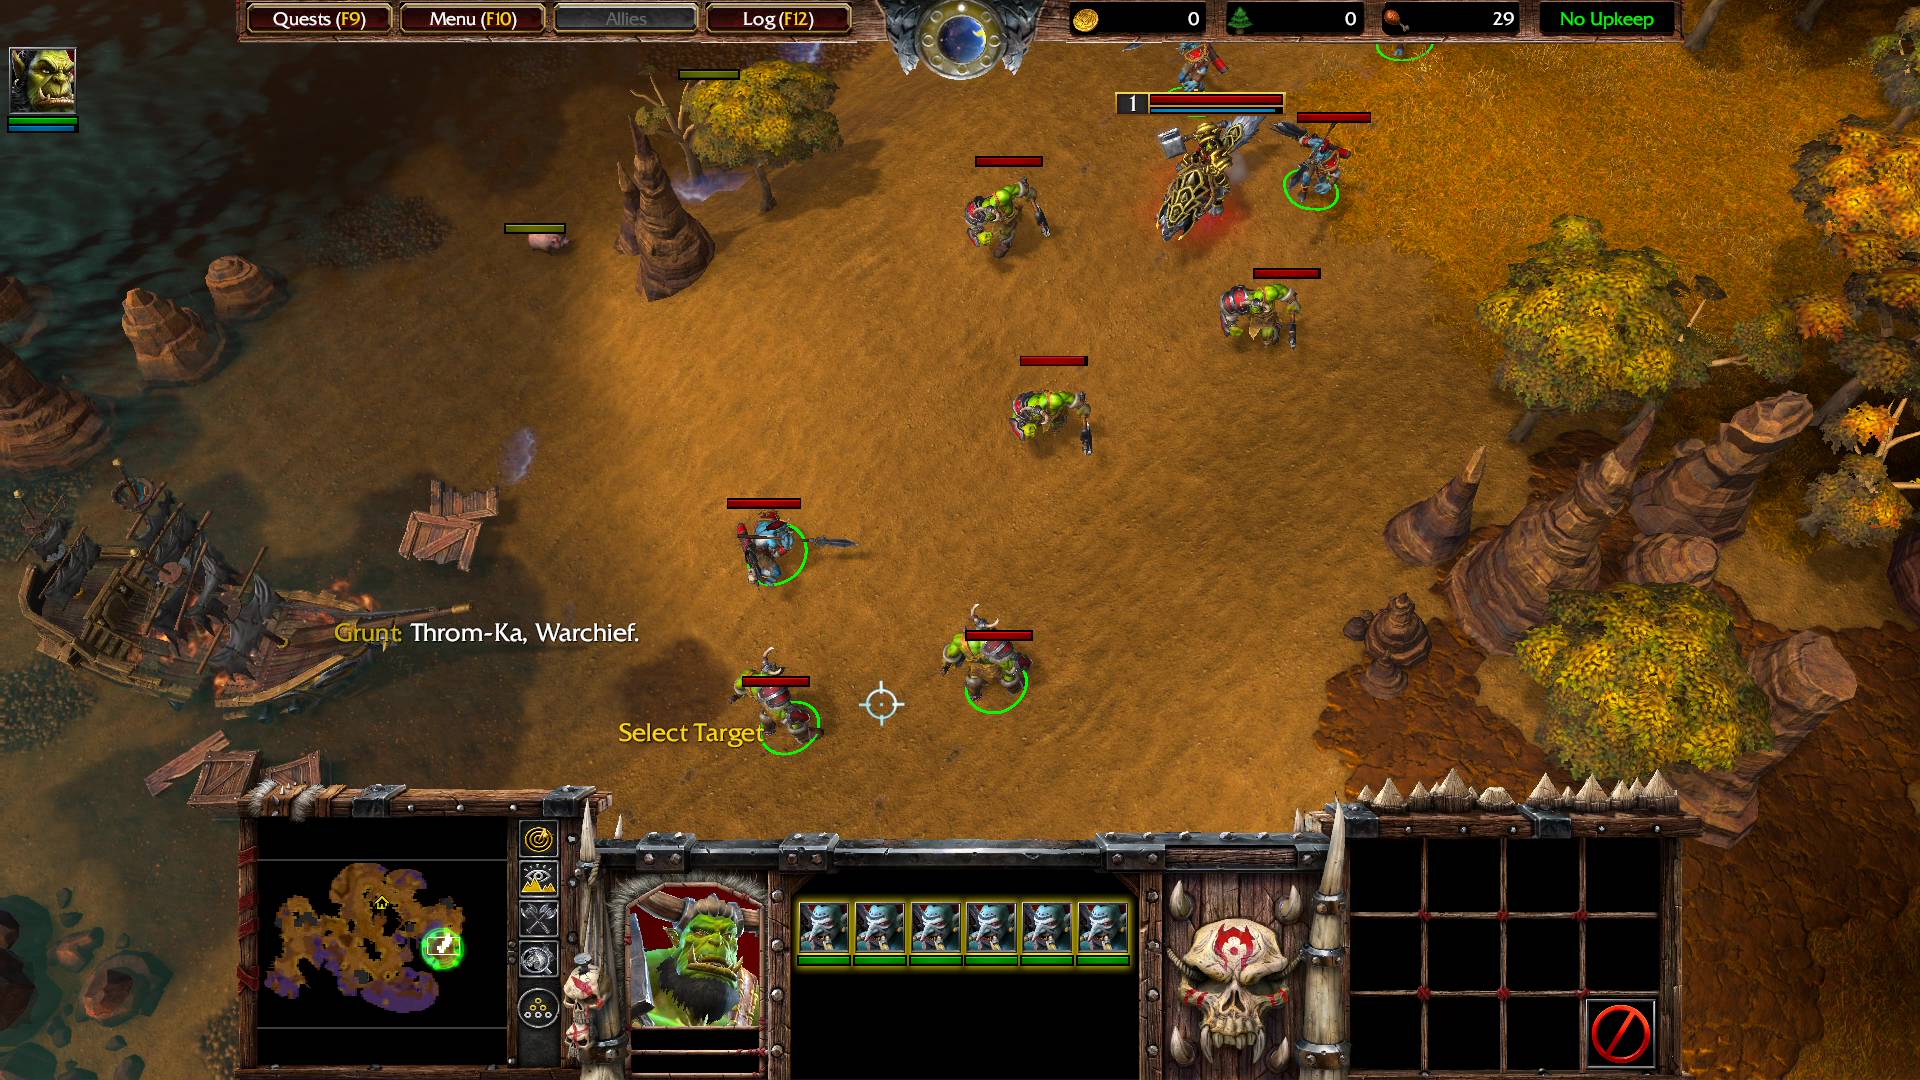
Head back to the main path, and head east to the next green circle marked on the mini map. There is another group of Stranded Orcs that join your team.
Grunt: Throm-Ka, Warchief. We knew you’d find us!
Thrall: Throm-Ka, warrior. I’m glad you’re all safe. Were you part of Hellscream’s group?
Grunt: No, Warchief. We were separated in the storm. We only just arrived.

Note: There are some hidden crates behind that rock formation to the bottom-right. That crate drops Lion’s Ring: Increases the Agility of the Hero by 1 when worn.
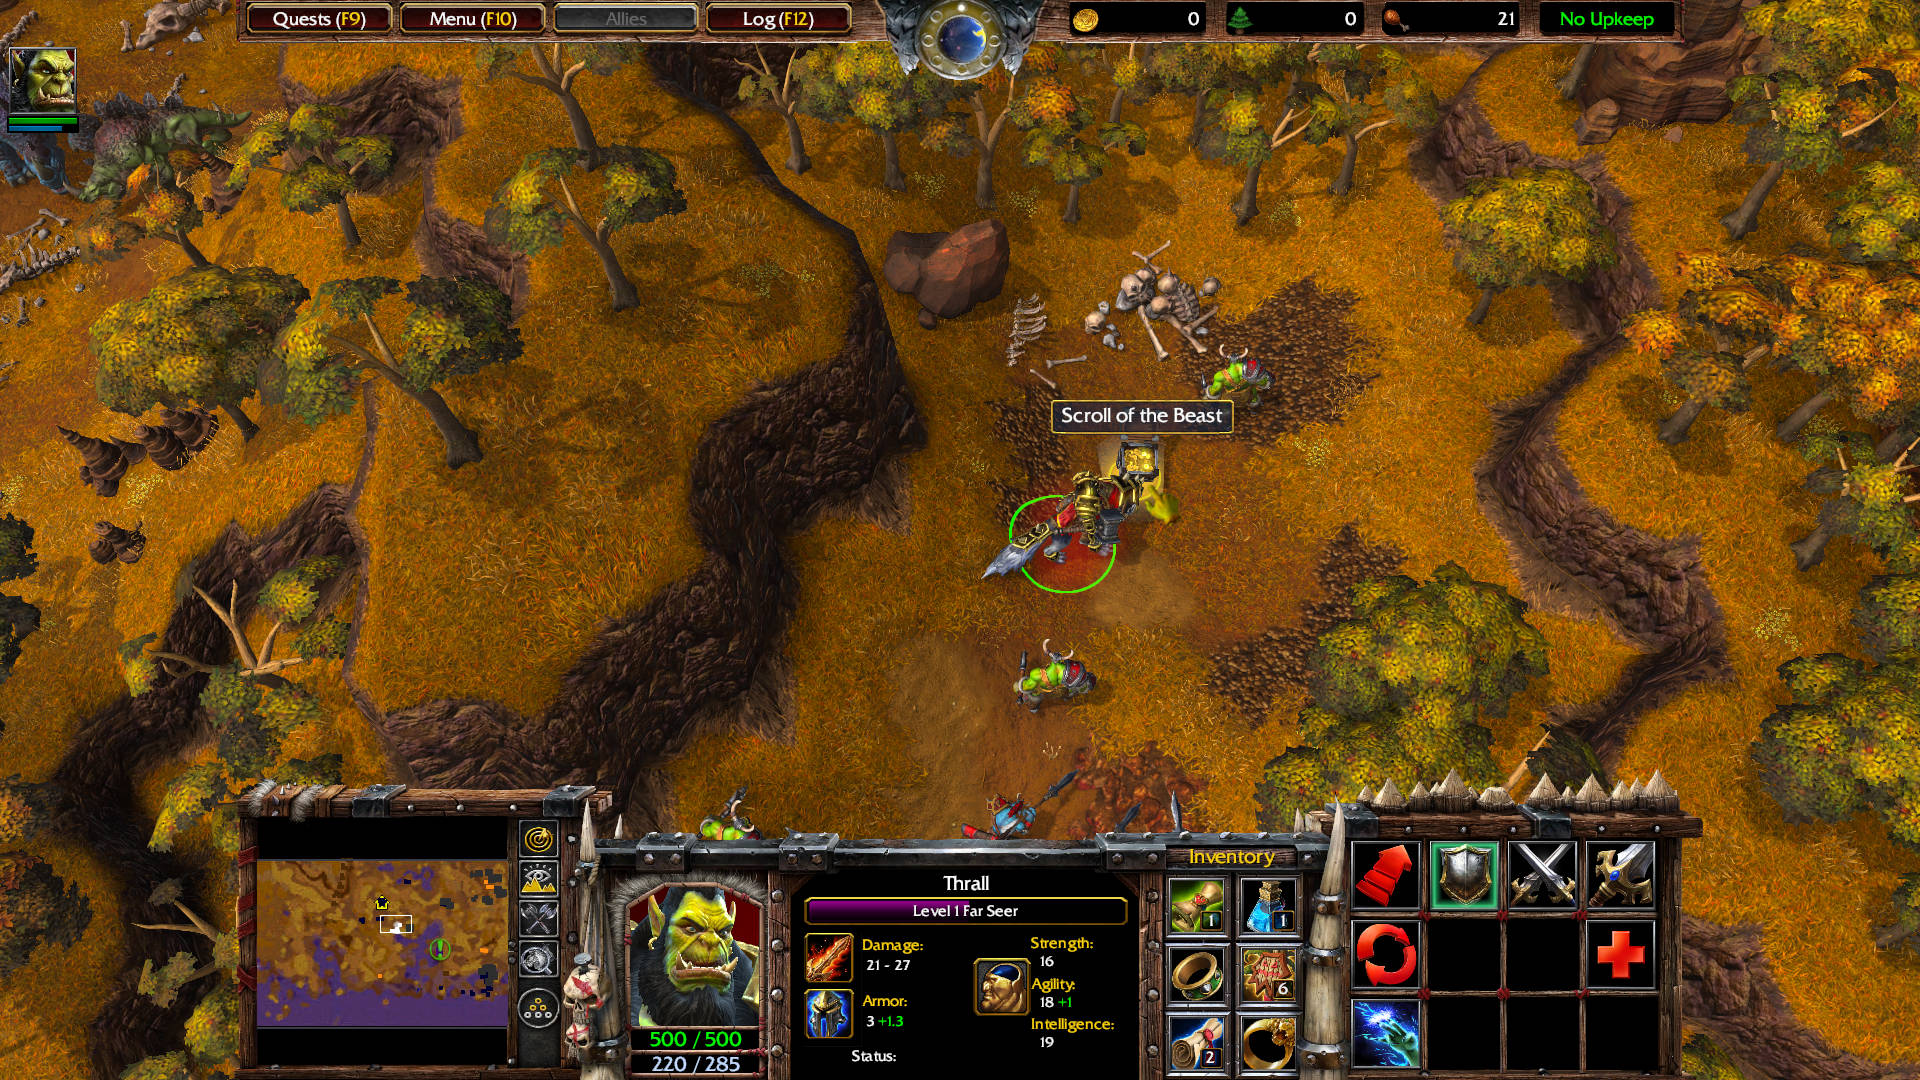
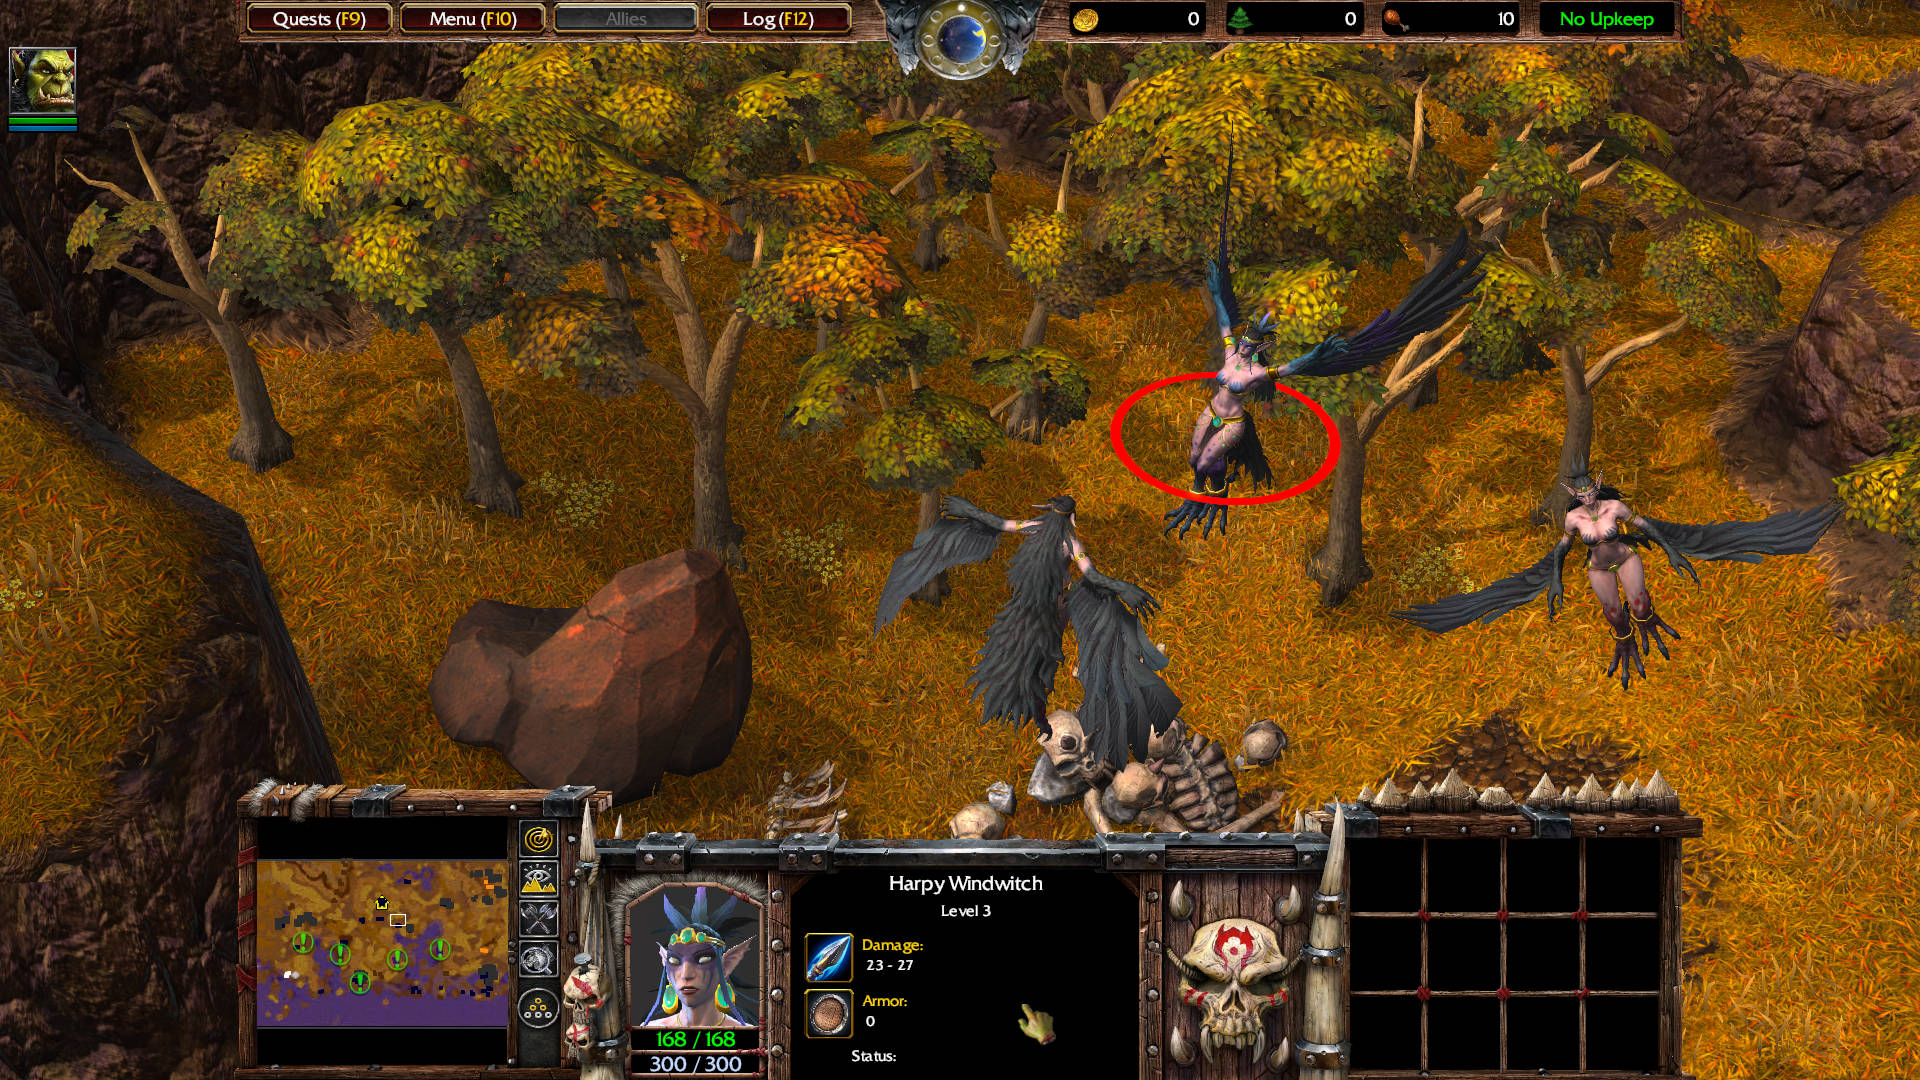
Now the path breaks into 3 forks. The two eastern-most of them are deadends. To the right, the deadend has 3 Harpies: Harpy Windwitch level 3 and Harpy Scout level 1 (2). One drops Scroll of the Beast: Gives friendly nearby units a 25% bonus to damage for 45 sec.
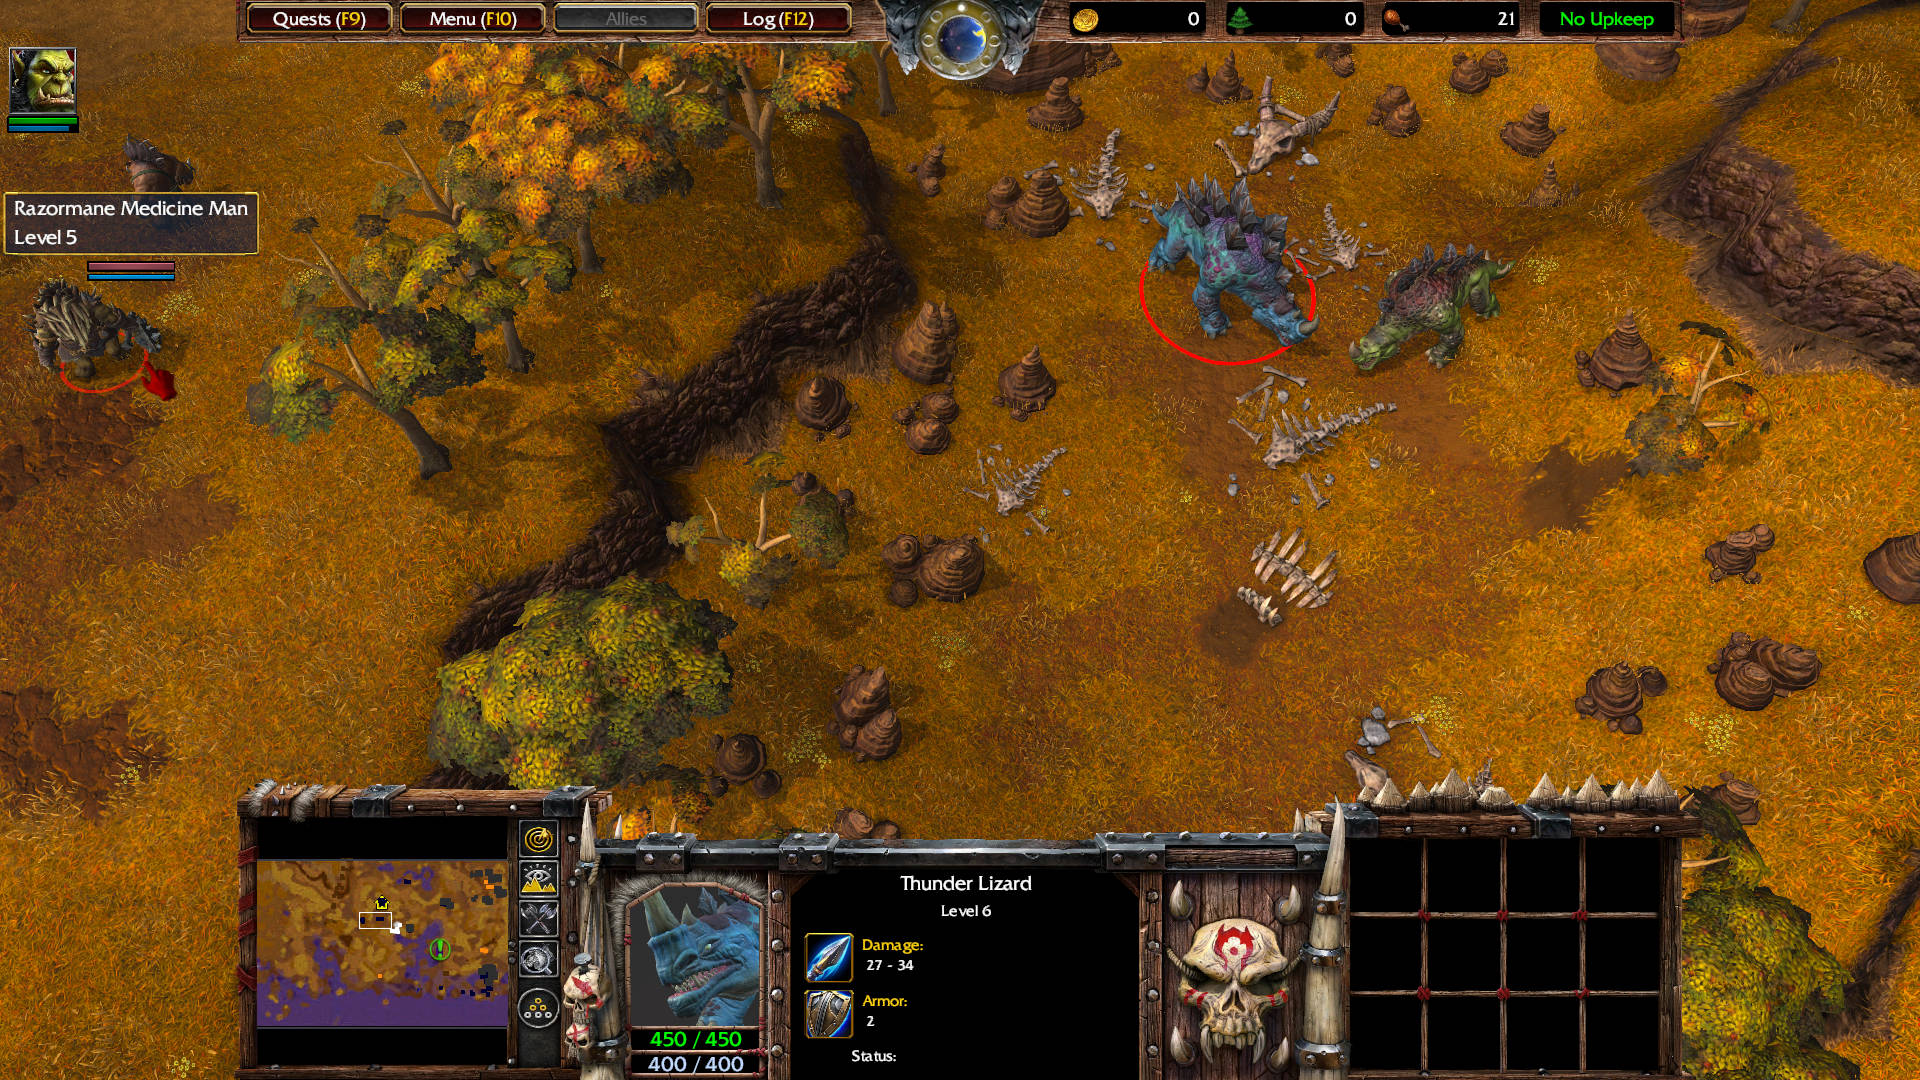
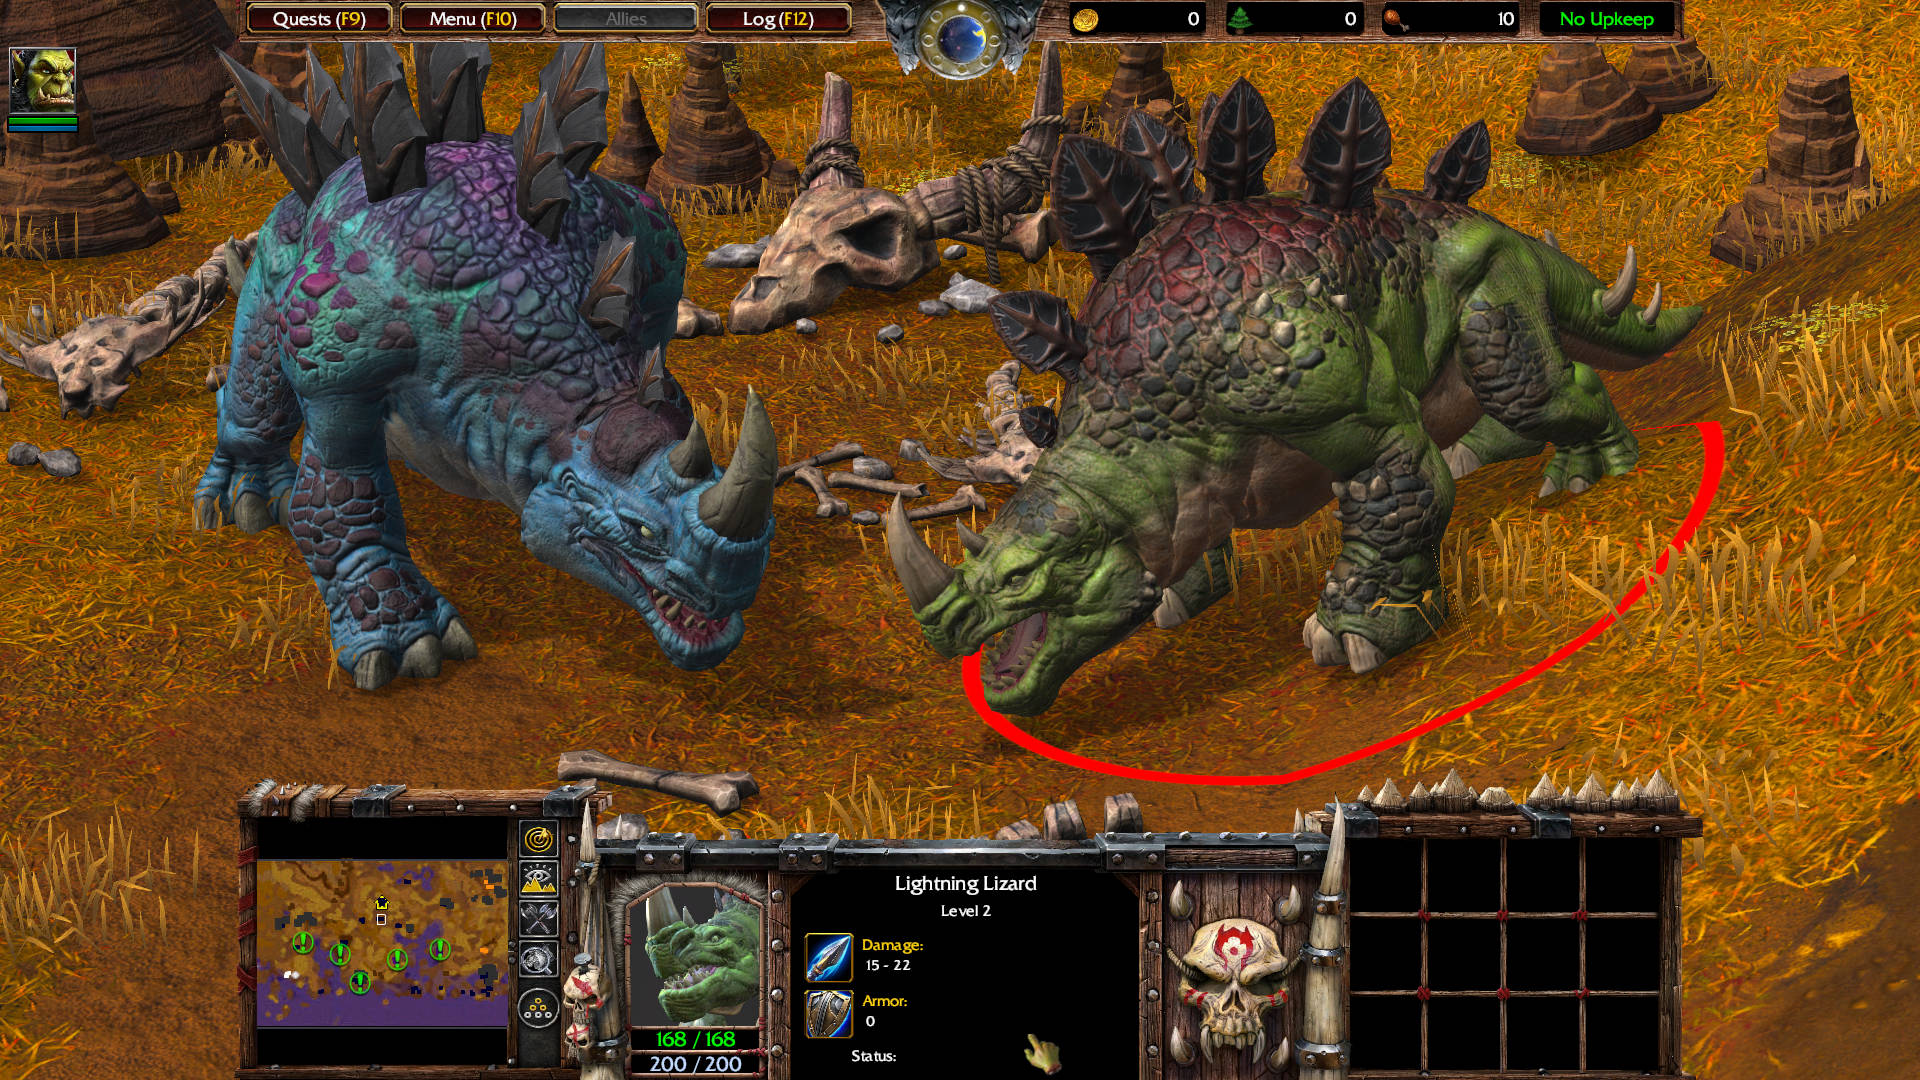
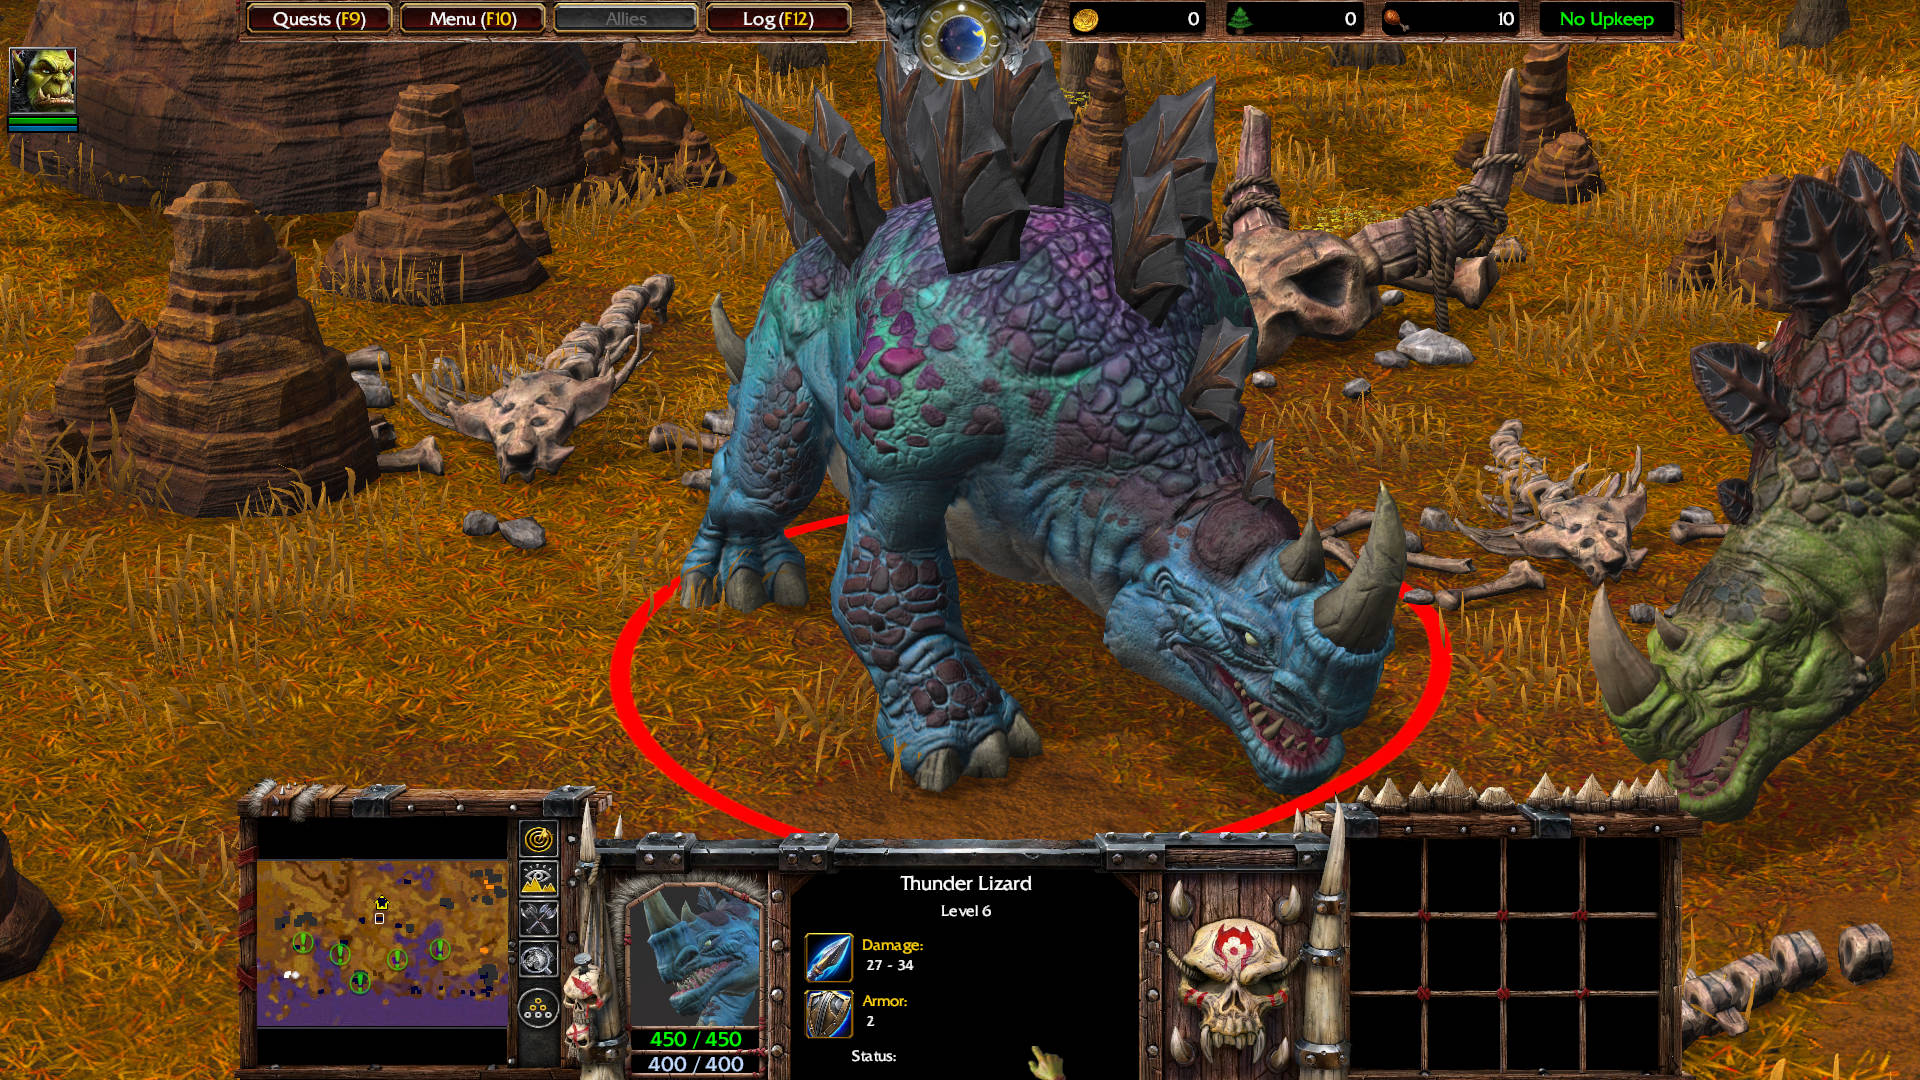
Go to the next deadend, just west of the Harpies. Here you will find a Thunder Lizard level 6 and a Lightning Lizard level 2. One drops Potion of Mana: Restores 150 mana when used.
HINT – There might be a passage to the north.
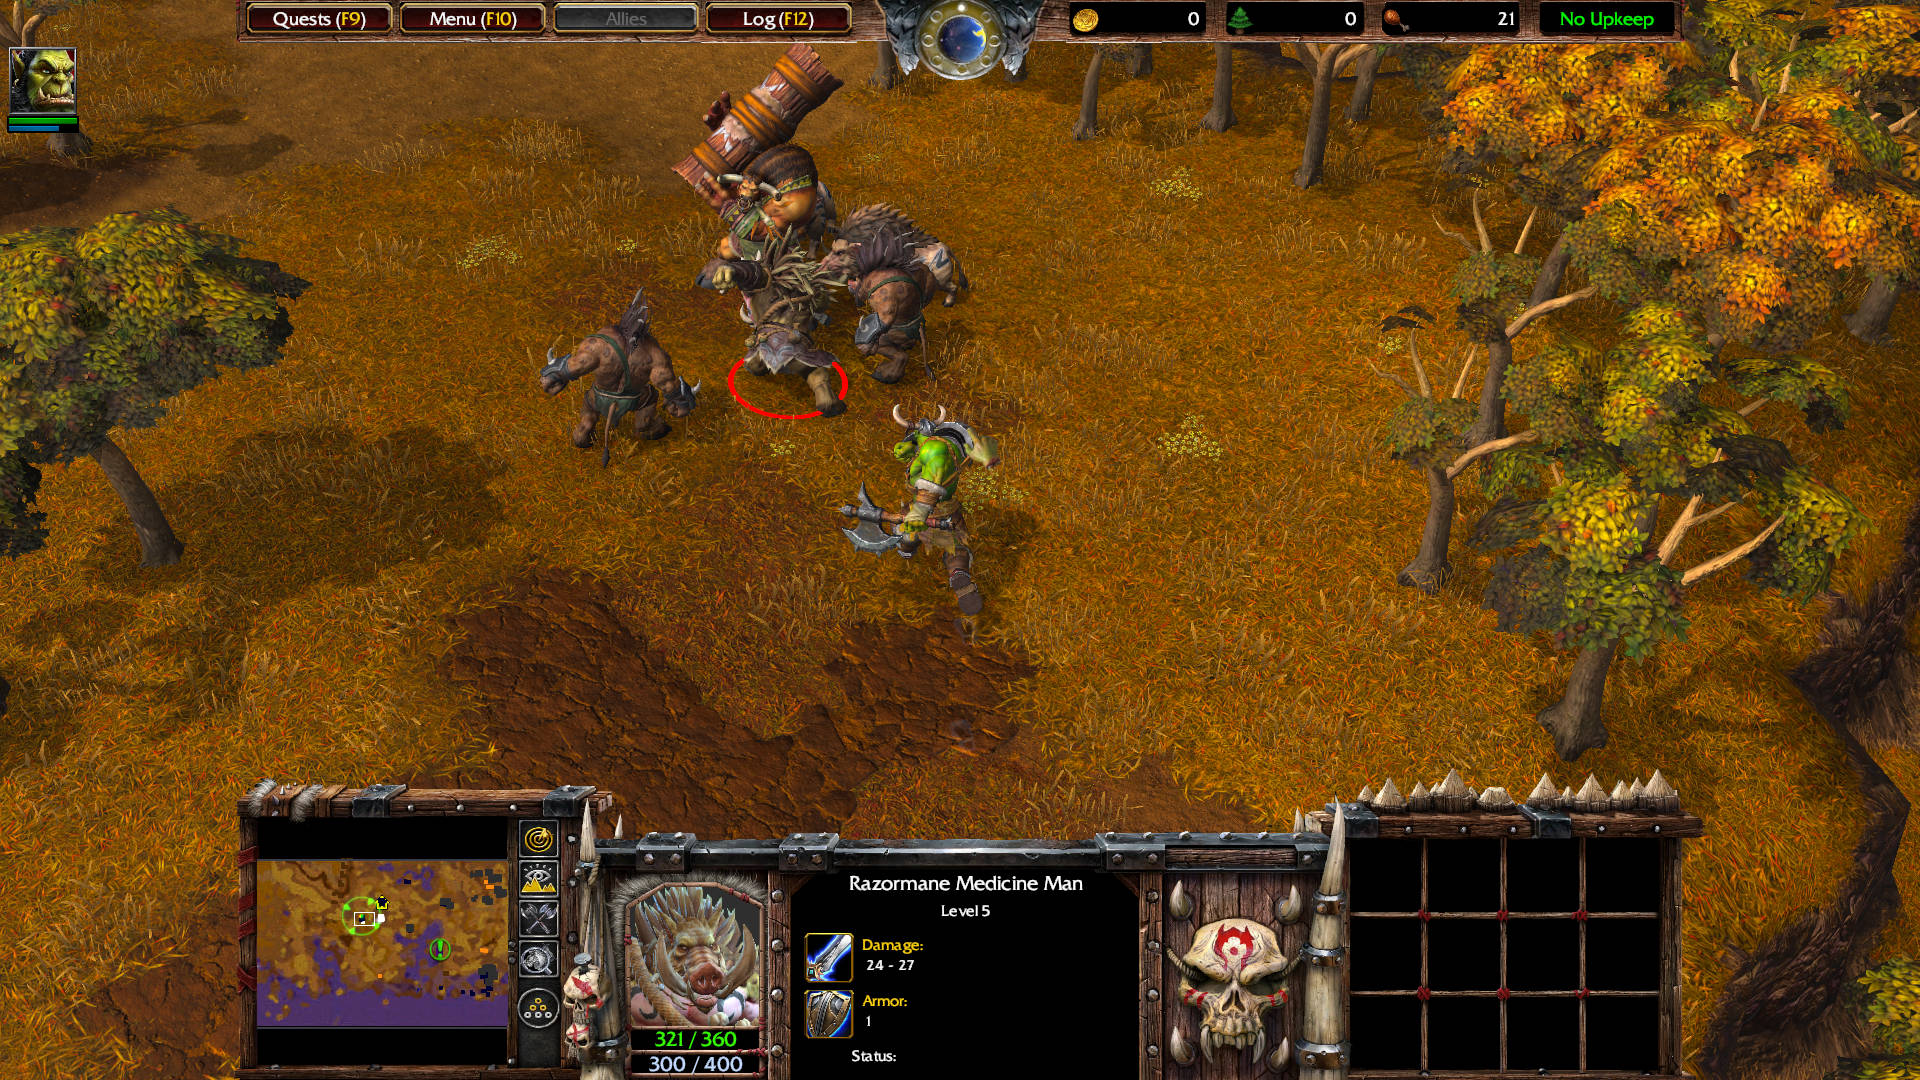
The main path to the north is guarded by a Razormane Medicine Man level 5 and two Quillboar level 1. The Medicine Man summons a Spirit Pig level 2, but can summon a second one during the fight.
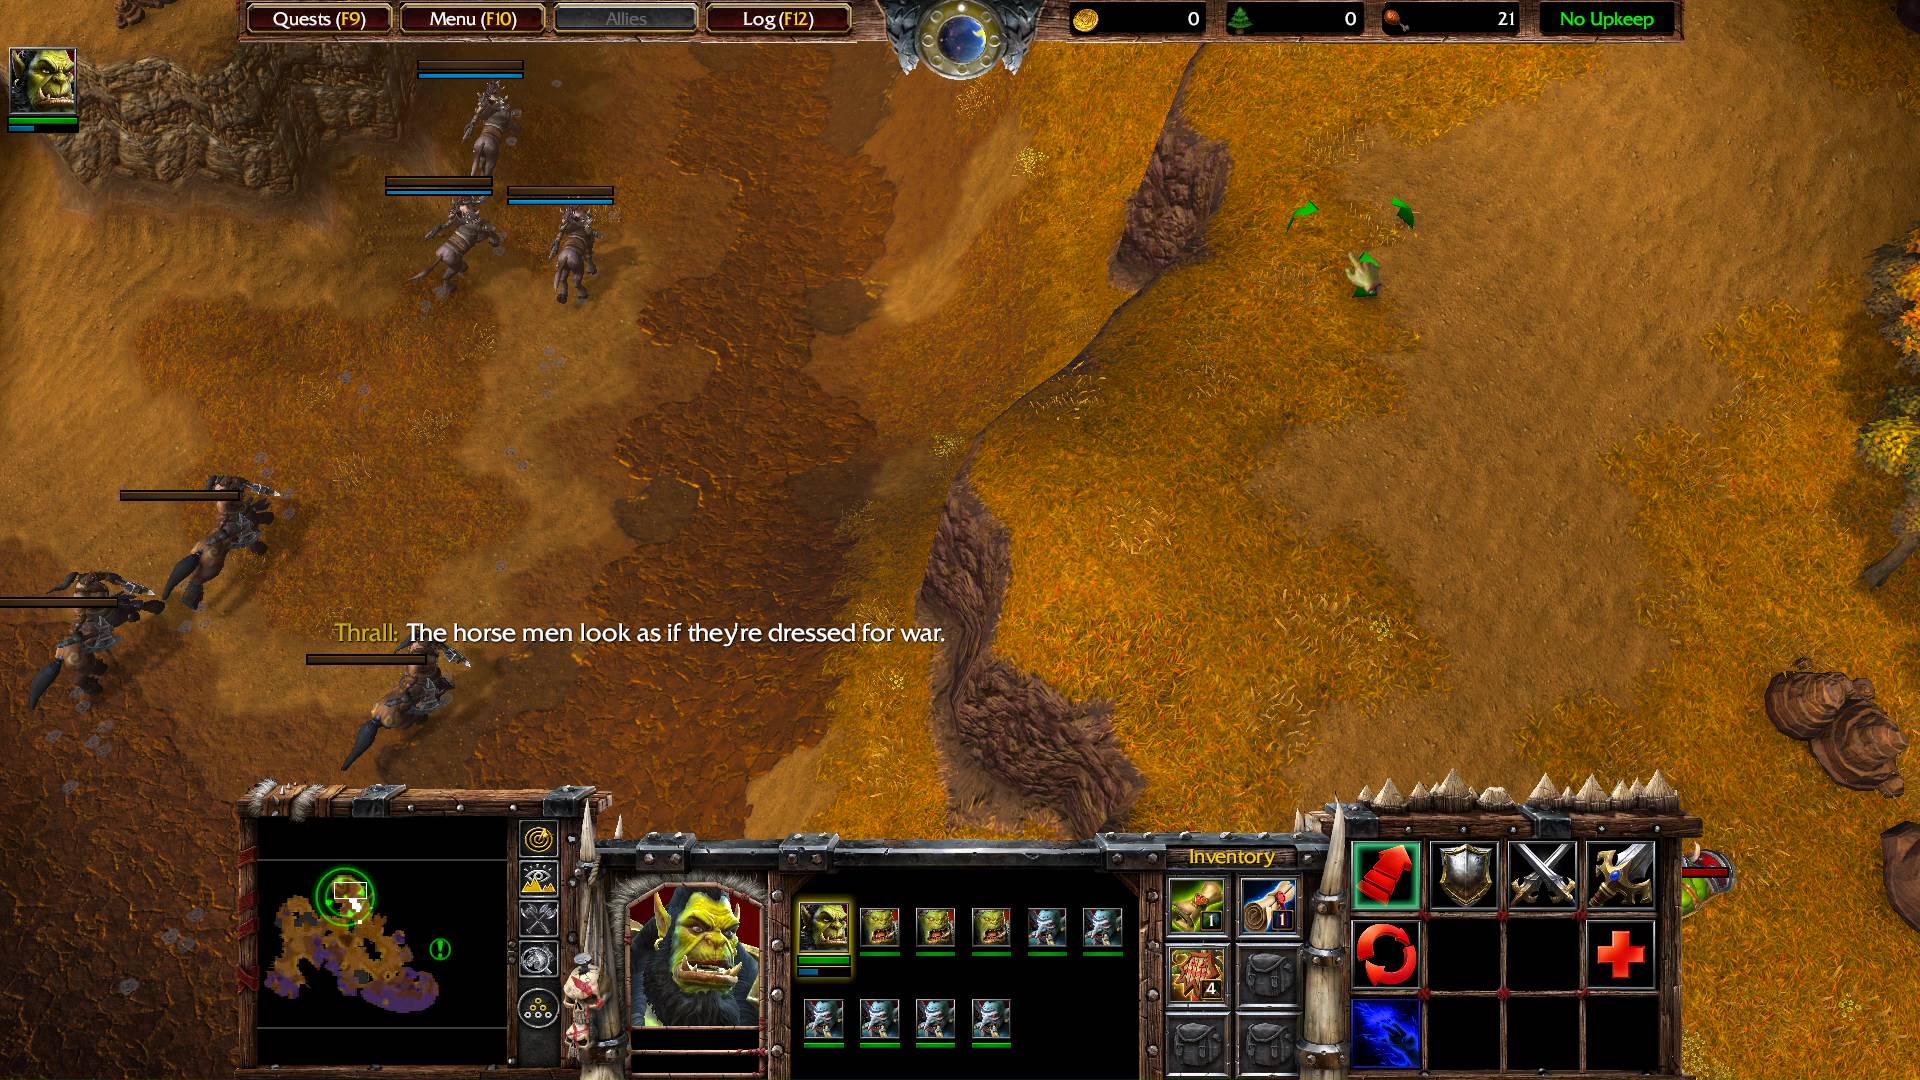
Further north, you can see a cannyon below, with a nonstop wave of Centaurs heading northward.
Thrall: The horse men look as if they’re dressed for war.
The hill up there seems to be a deadend, but if you go southeast, there is a path down the hill.
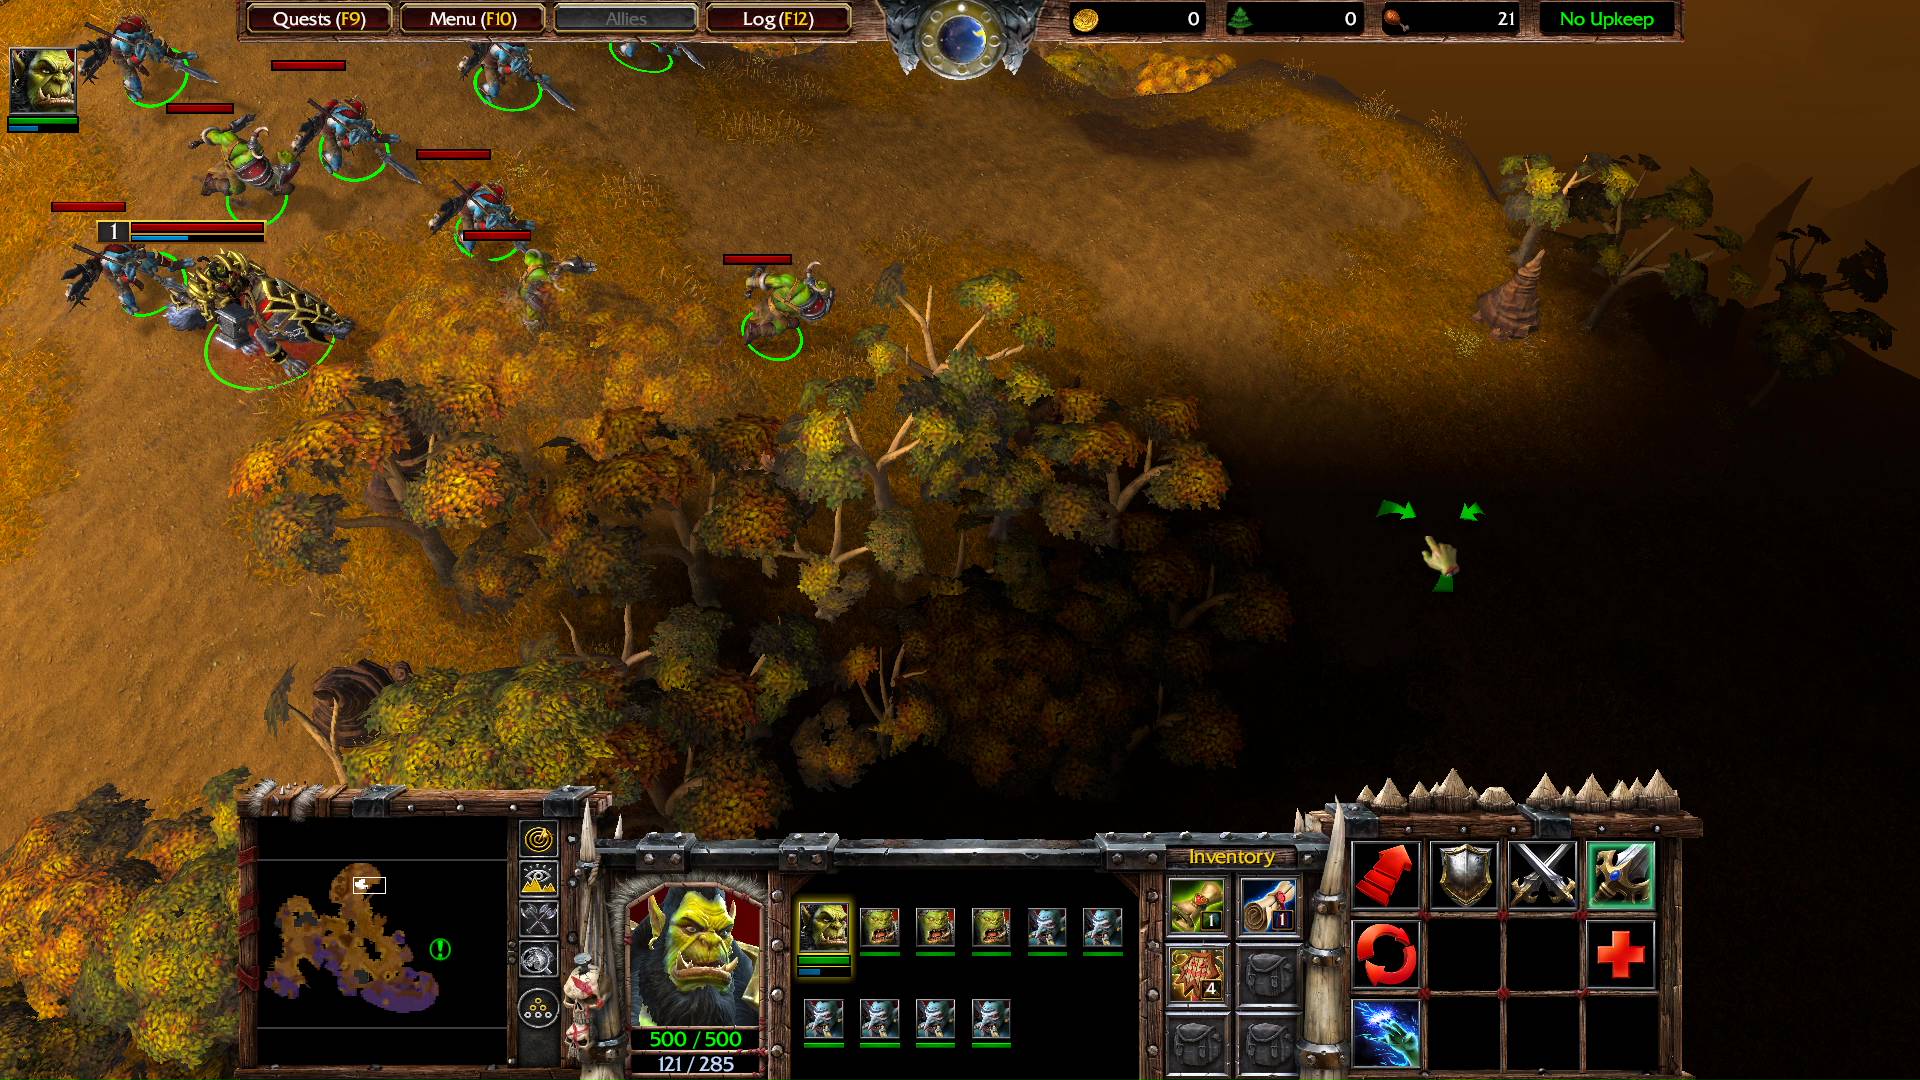
Here you encounter a Razormane Medicine Man level 5, a Razormane Scout level 1, and two Quillboar level 1. Next to them is a Fountain of Health. You might want to lure them away from the Fountain of Health so that they don’t get healed by it while in combat.
The Medicine Man summons two Spirit Pig level 2 and a Healing Ward. Destroy the Healing Ward whenever he summons it.
Moving to the east, there are 3 Harpies in a location you can’t walk into. You can use the Headhunters to lure them onto high ground. Move the headhunters southwest — enough so that the harpies chase in. They don’t drop any loot, but at least give XP.
Go further south along the path until you reach the coast. This spot is sort of a crossroads. There are three paths. Two of them are deadends.
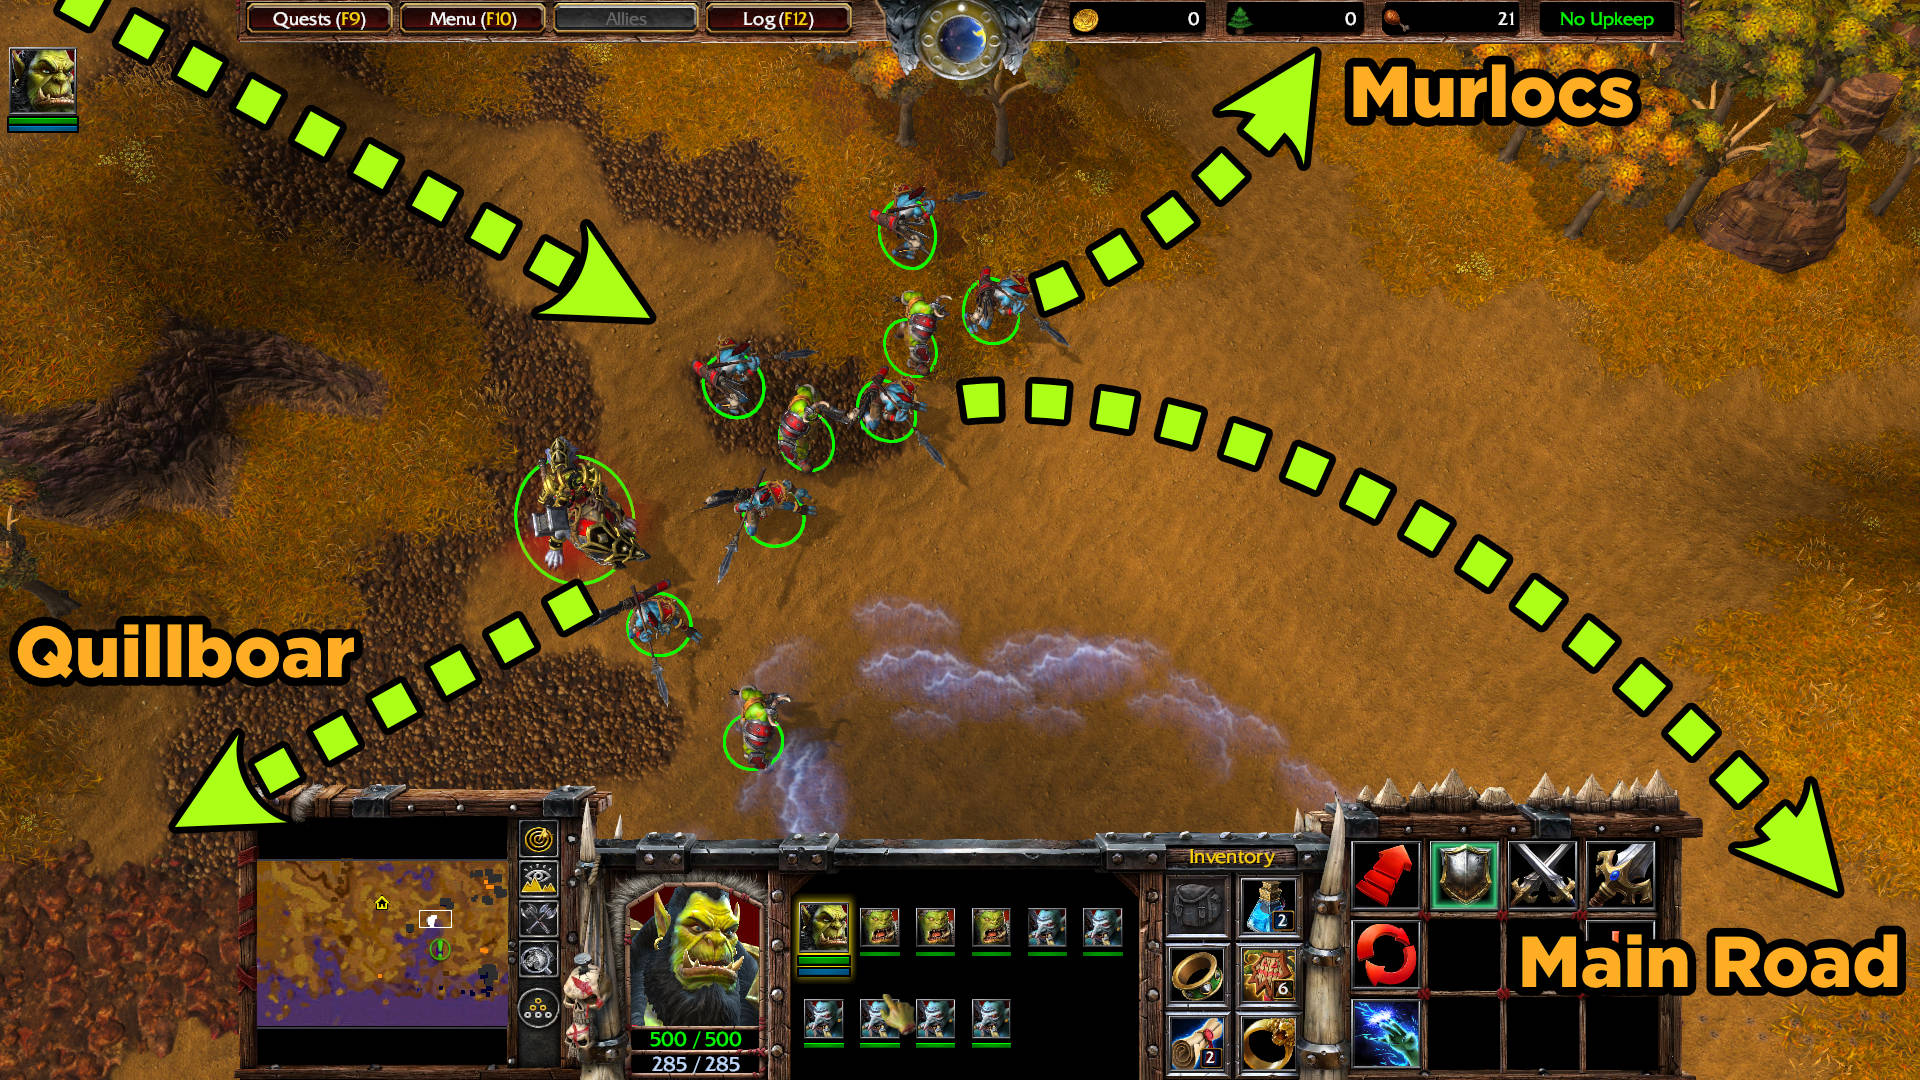
Taking the path toward the Quillboar, there is a Razormane Brute level 3 and a Quillboar level 1. Destroy their hut. It drops a Wand of Lightning Shield: Allows the Hero to cast Lightning Shield on a target unit. Lightning Shield surrounds a unit with electricity, dealing 20 damage per sec to nearby units. Contains 3 charges. Lasts 20 sec. You can’t target Thrall, though.
Taking the path to the northeast, you will encounter a Murloc Flesheater level 3, and two Murloc Tiderunner level 1. The huts don’t drop anything. The Flesheater drops a Manual of Health: Permanent +50 hit points.
Now follow the main road toward the last green circle marked on the mini map — the last ship. Two grunts and a headhunter join your team.
Grunt: Throm-Ka, Warchief.
Thrall: Well met, warrior. Has there been any sign of–
Troll Headhunter: The horse men are charging! Defend yourselves!
Destroy the crate next to the ship — drops Potion of Healing: Heals 250 hit points when used.

Note: Centaur Marauders attack you: Centaur Sorcerer level 5, and three Centaur Drudge level 2.
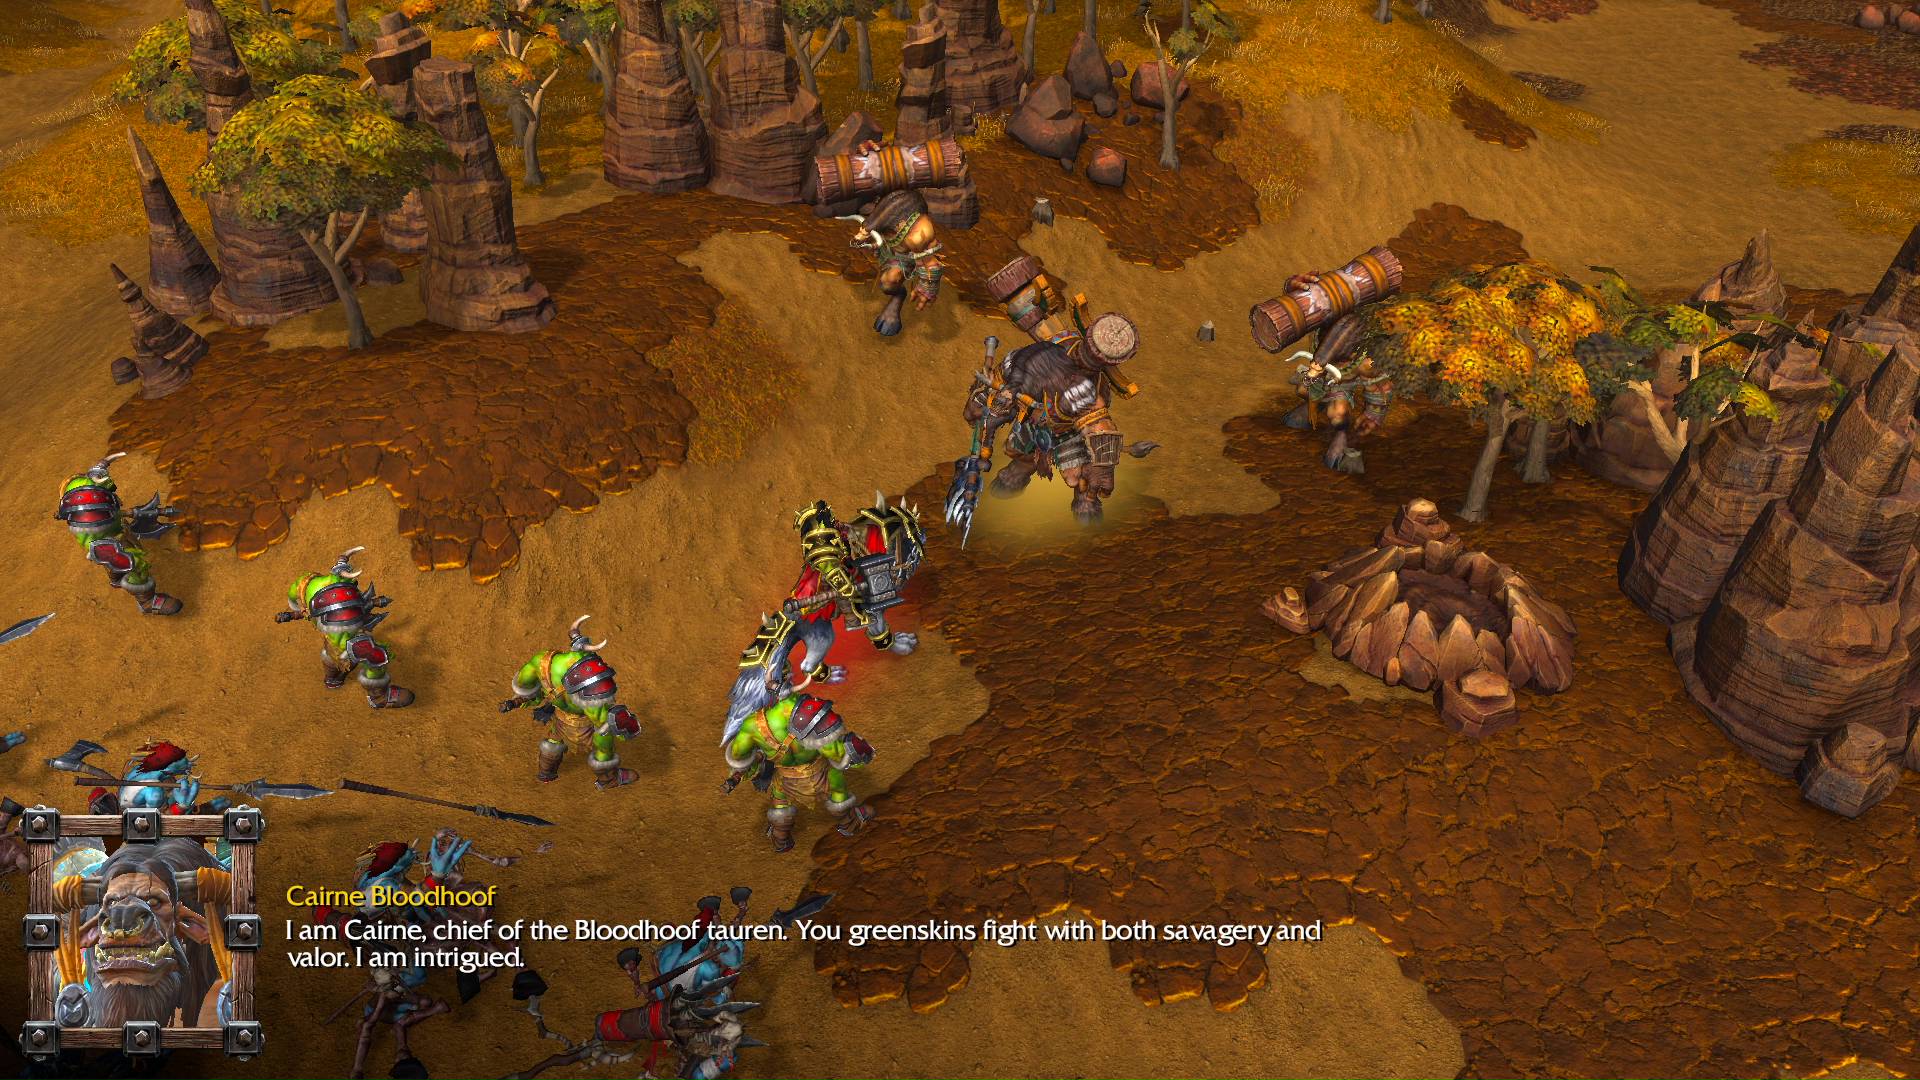
CUTSCENE
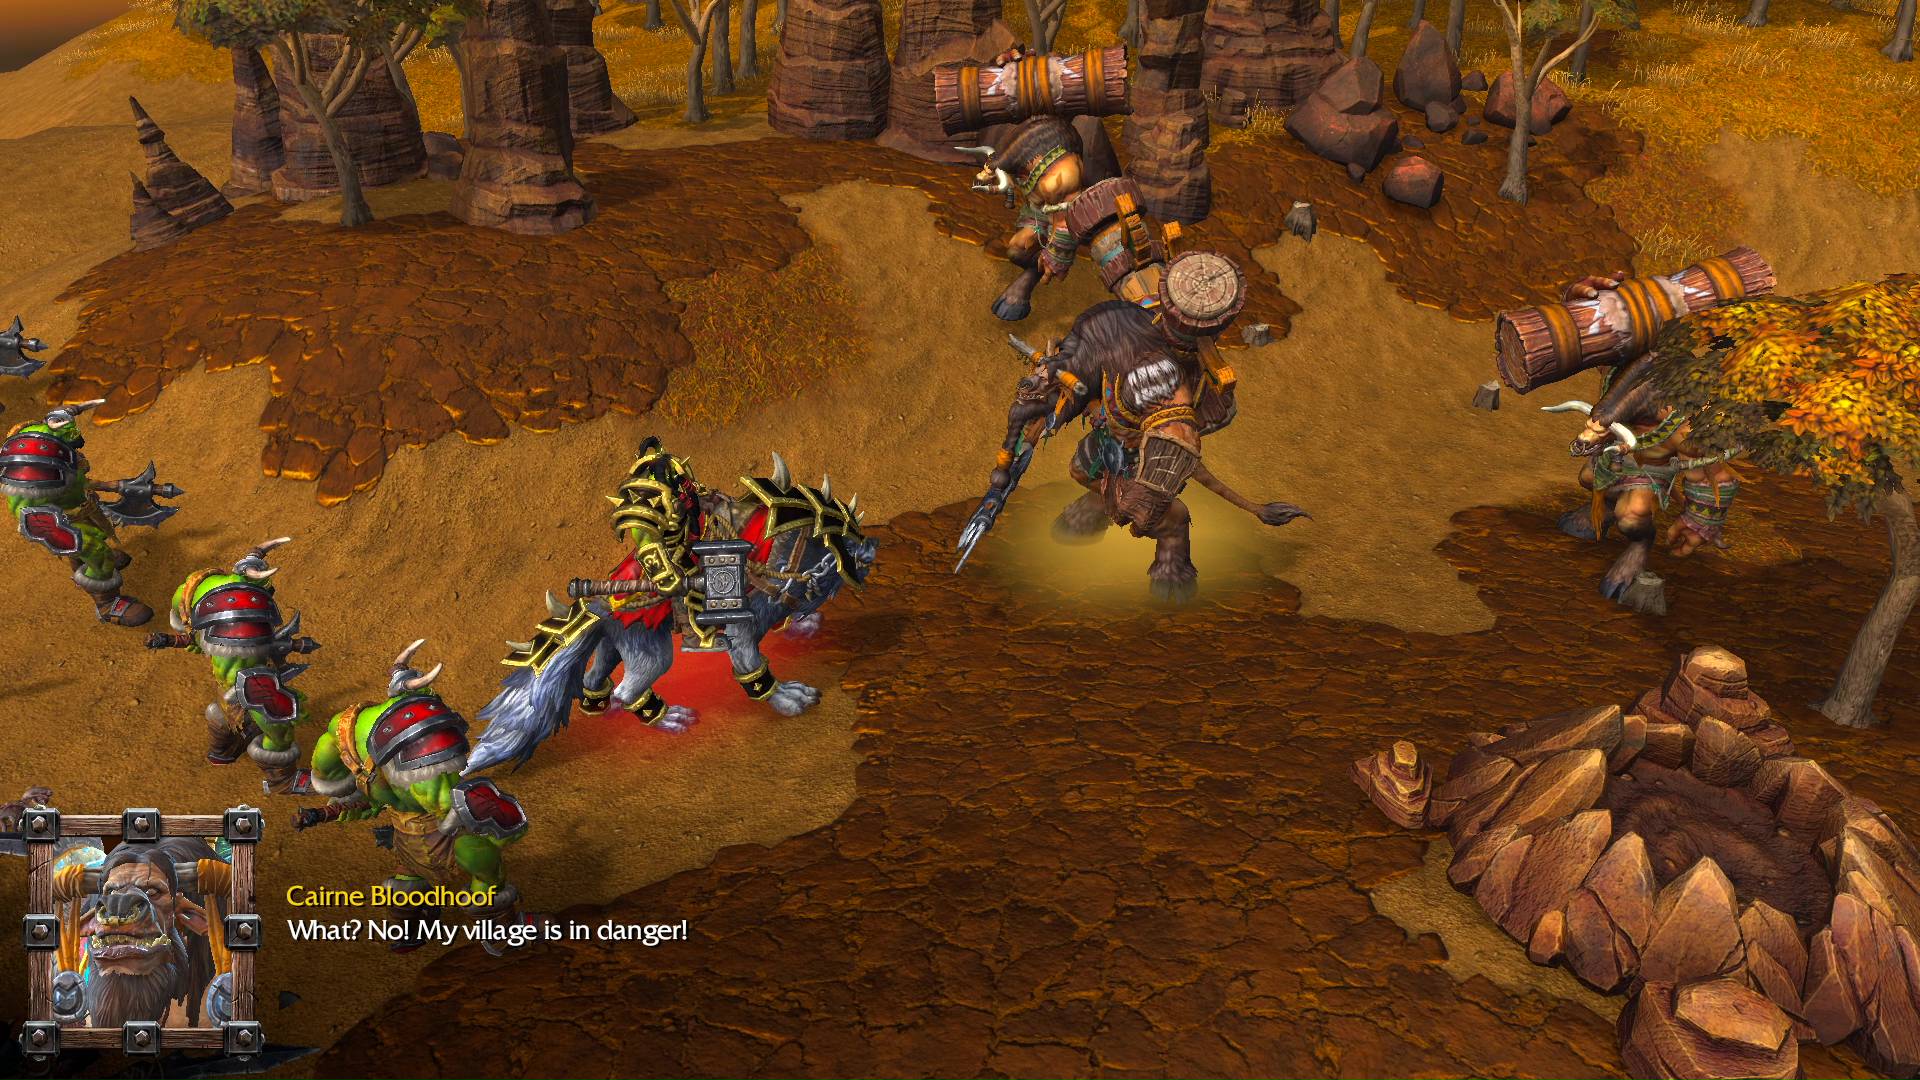
Cairne Bloodhoof: I am Cairne, chief of the Bloodhoof tauren. You greenskins fight with both savagery and valor. I am intrigued.
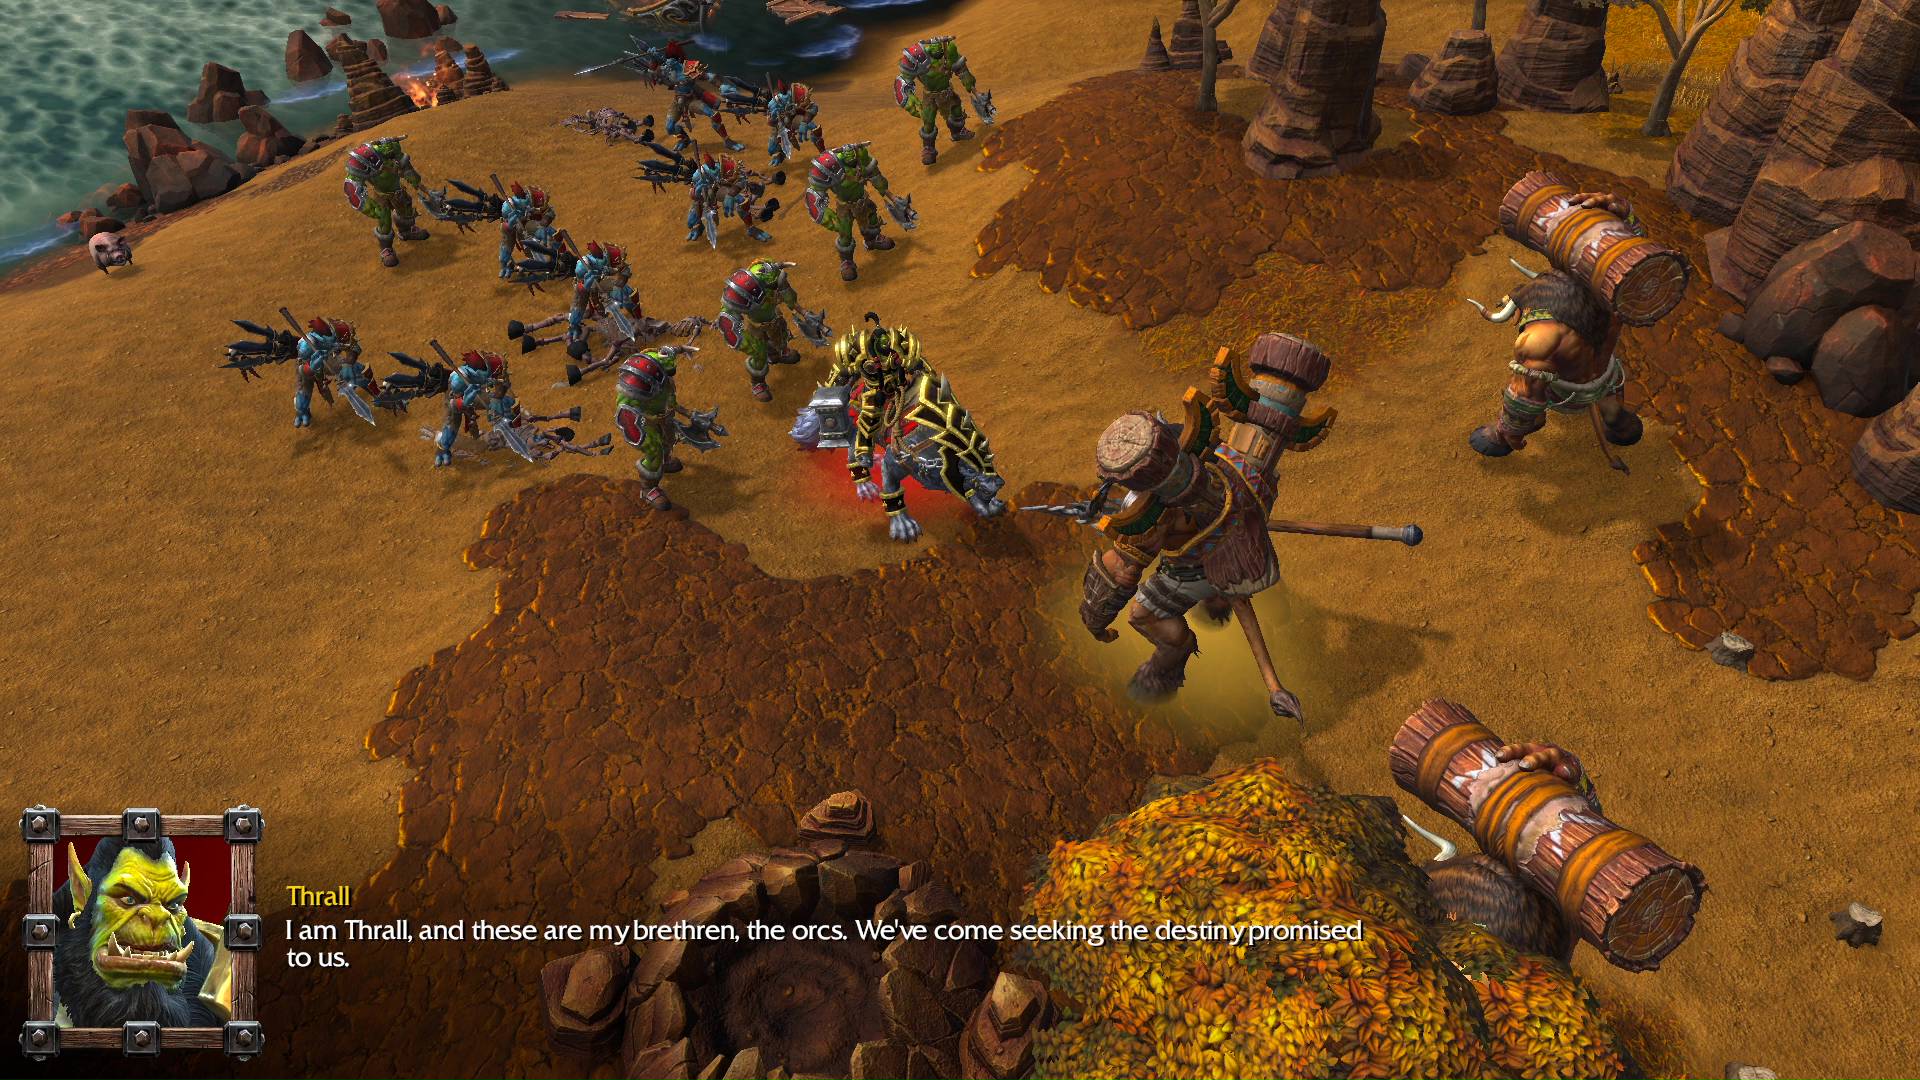
Thrall: I am Thrall, and these are my brethren, the orcs. We’ve come seeking the destiny promised to us.
Cairne Bloodhoof: Seeking destiny? Hmm. It will find you in time, young one. However, there is an Oracle far to the north which might be able to–
Thrall: North? But there’s an army of the horse men marching north.
Cairne Bloodhoof: What? No! My village is in danger!
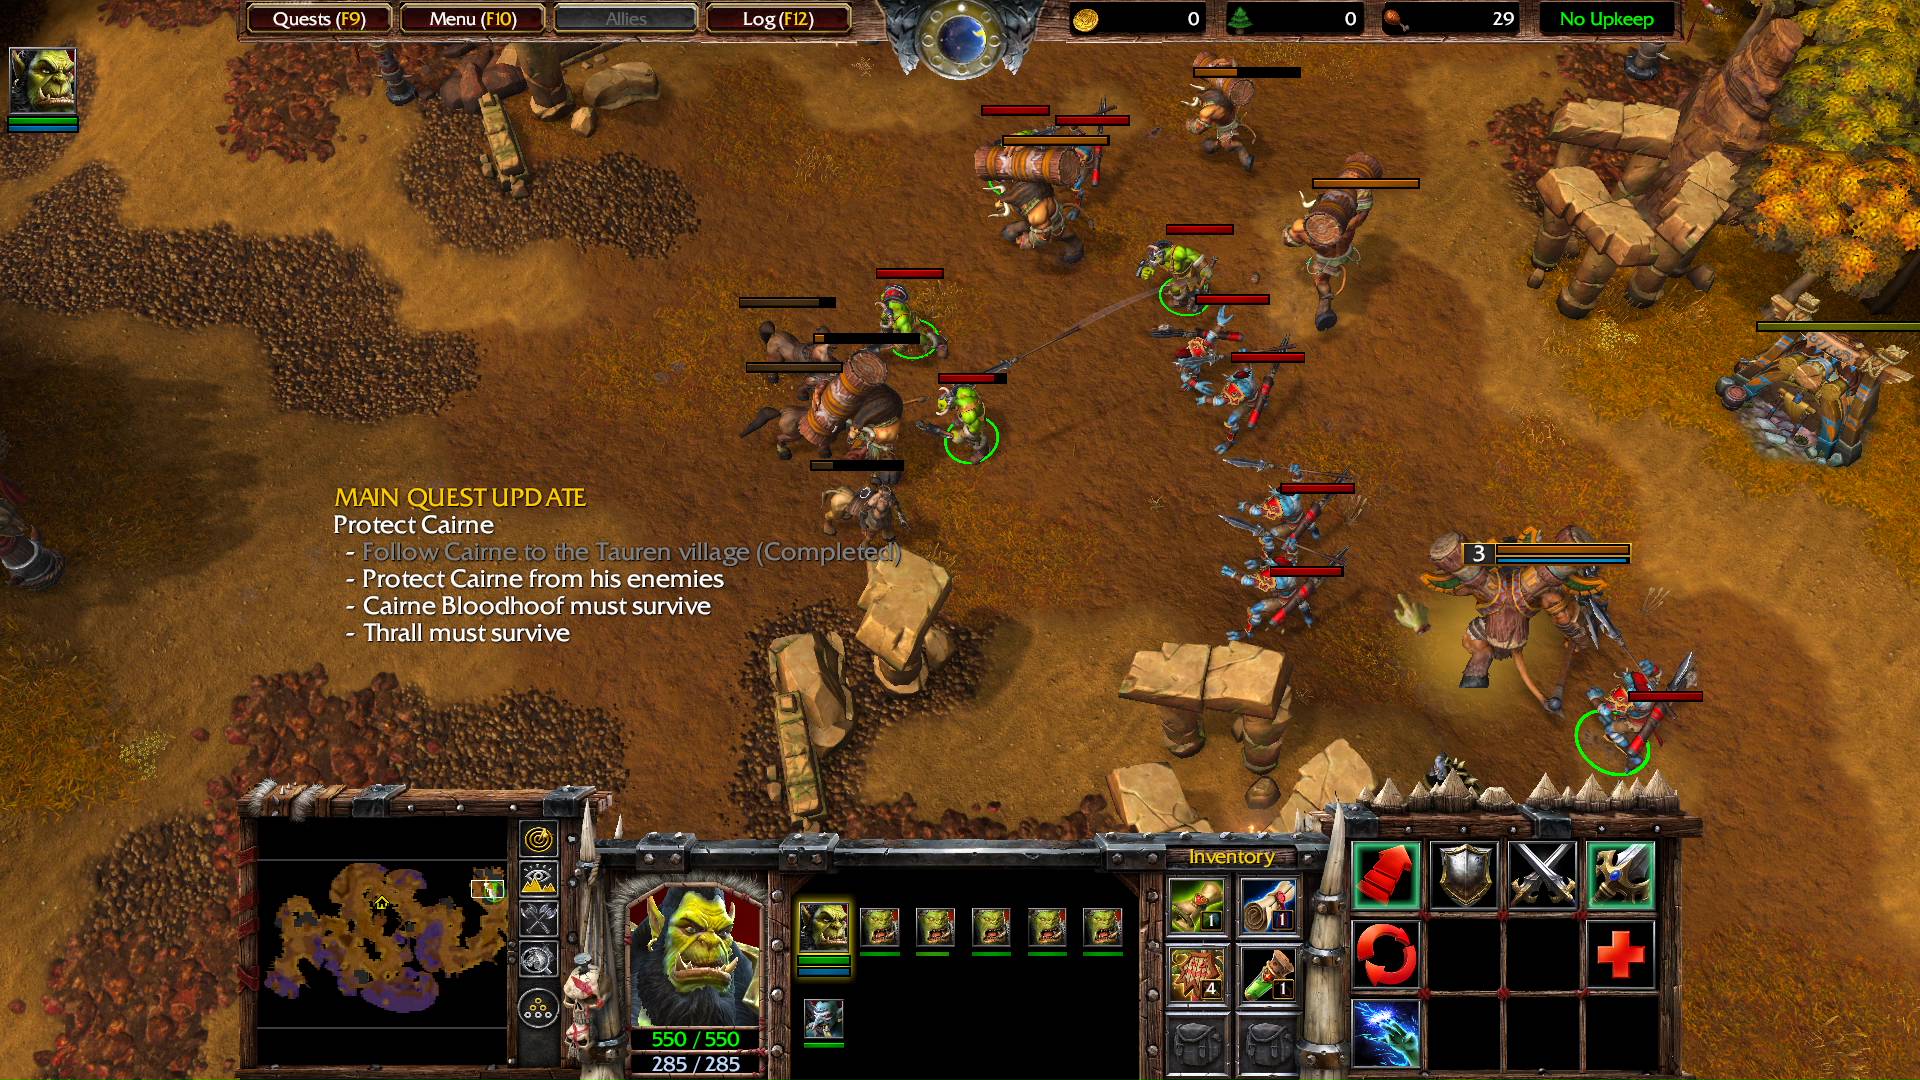
MAIN QUEST UPDATE
Protect Cairne
- Follow Cairne to the Tauren village
- Protect Cairne from his enemies
- Cairne Bloodhoof must survive
- Thrall must survive
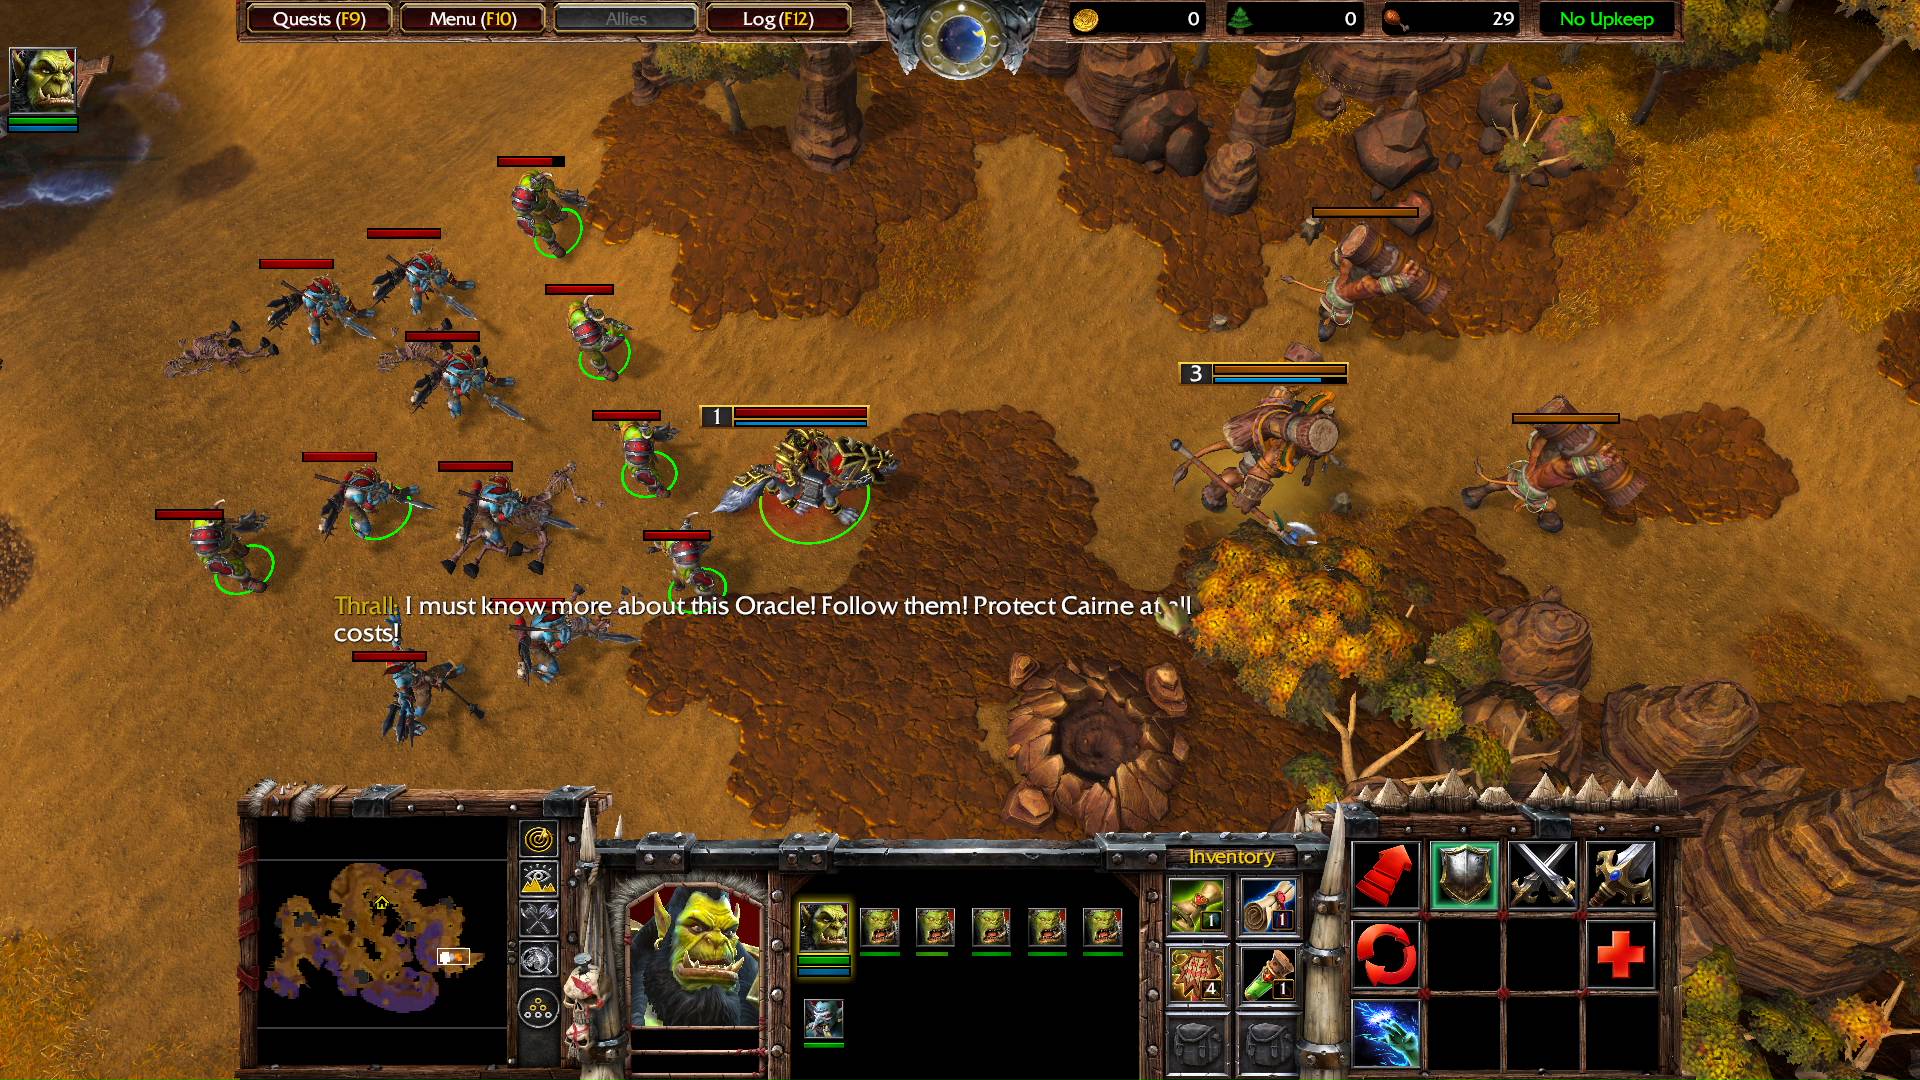
Thrall: I must know more about this Oracle! Follow them! Protect Carine at all costs!
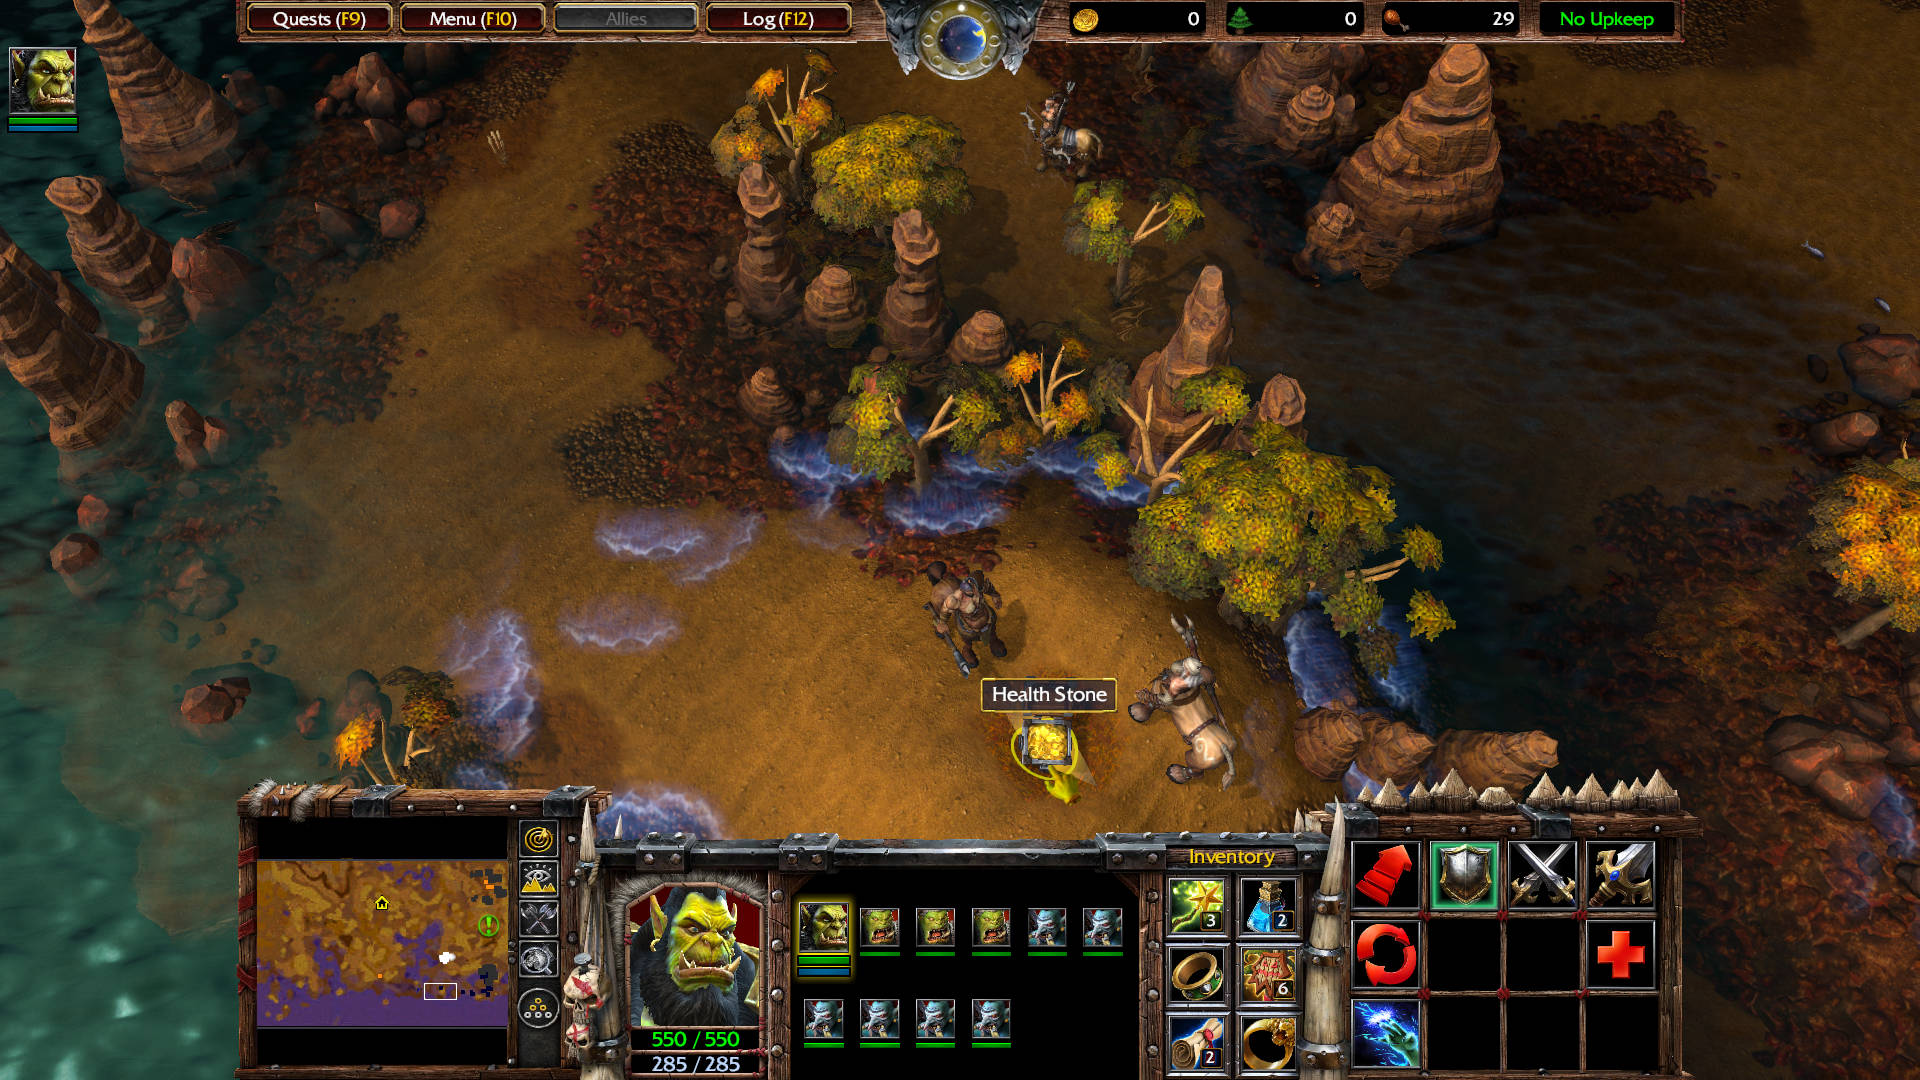
Before you follow Cairne, go south quickly to kill these Centaur Marauders: Centaur Archer level 2, Centaur Drudge level 2, and Centaur Sorcerer level 5.
There is a Health Stone on the ground: Increases the life regeneration rate of the Hero by 1 hit points per sec when worn. Can be consumed for 500 health.
Not far to the southeast, from where you met Cairne, there is a pack of Murlocs — hidden along the coast in this direction.
That is a very large group of murlocs, so get that Chain Lightning ready and pop a Healing Ward and/or Scroll of the Beast from your inventory.
- Murloc Nightcrawler level 3
- Murloc Huntsman level 2 (3).
- Murloc Tiderunner level 1 (12)
One of them drops a Potion of Mana: Restores 150 mana when used.
Another murloc drops Periapt of Vitality: Increases the hit points of the Hero by 150 when worn.
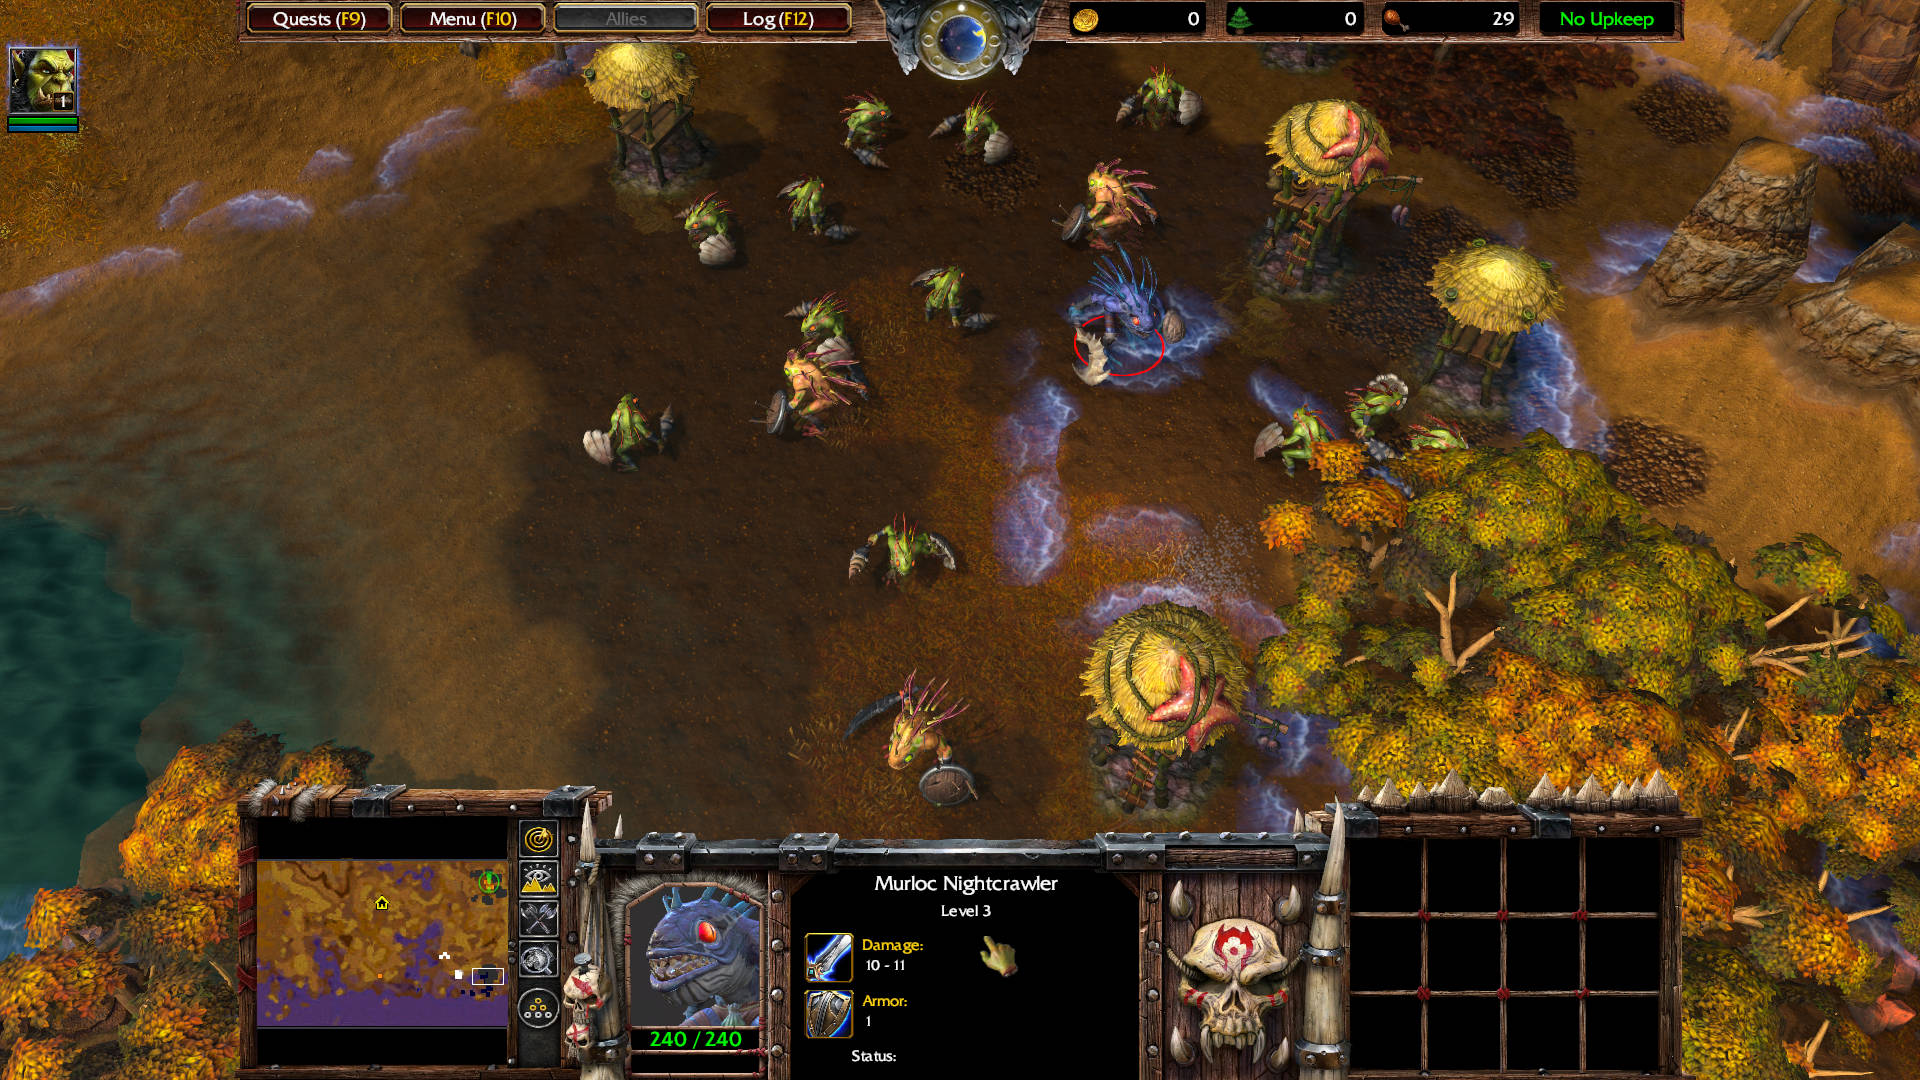
More murlocs will aggro from the south of the image (shown above). Once you kill them all, go down to the peninsula. There is a hidden crate there which contains a Potion of Healing: Heals 250 hit points when used.

There are 4 more Murlocs along the coast to the west of that crate: Murloc Huntsman level 2 (2) and Murloc Tiderunner level 1 (2).

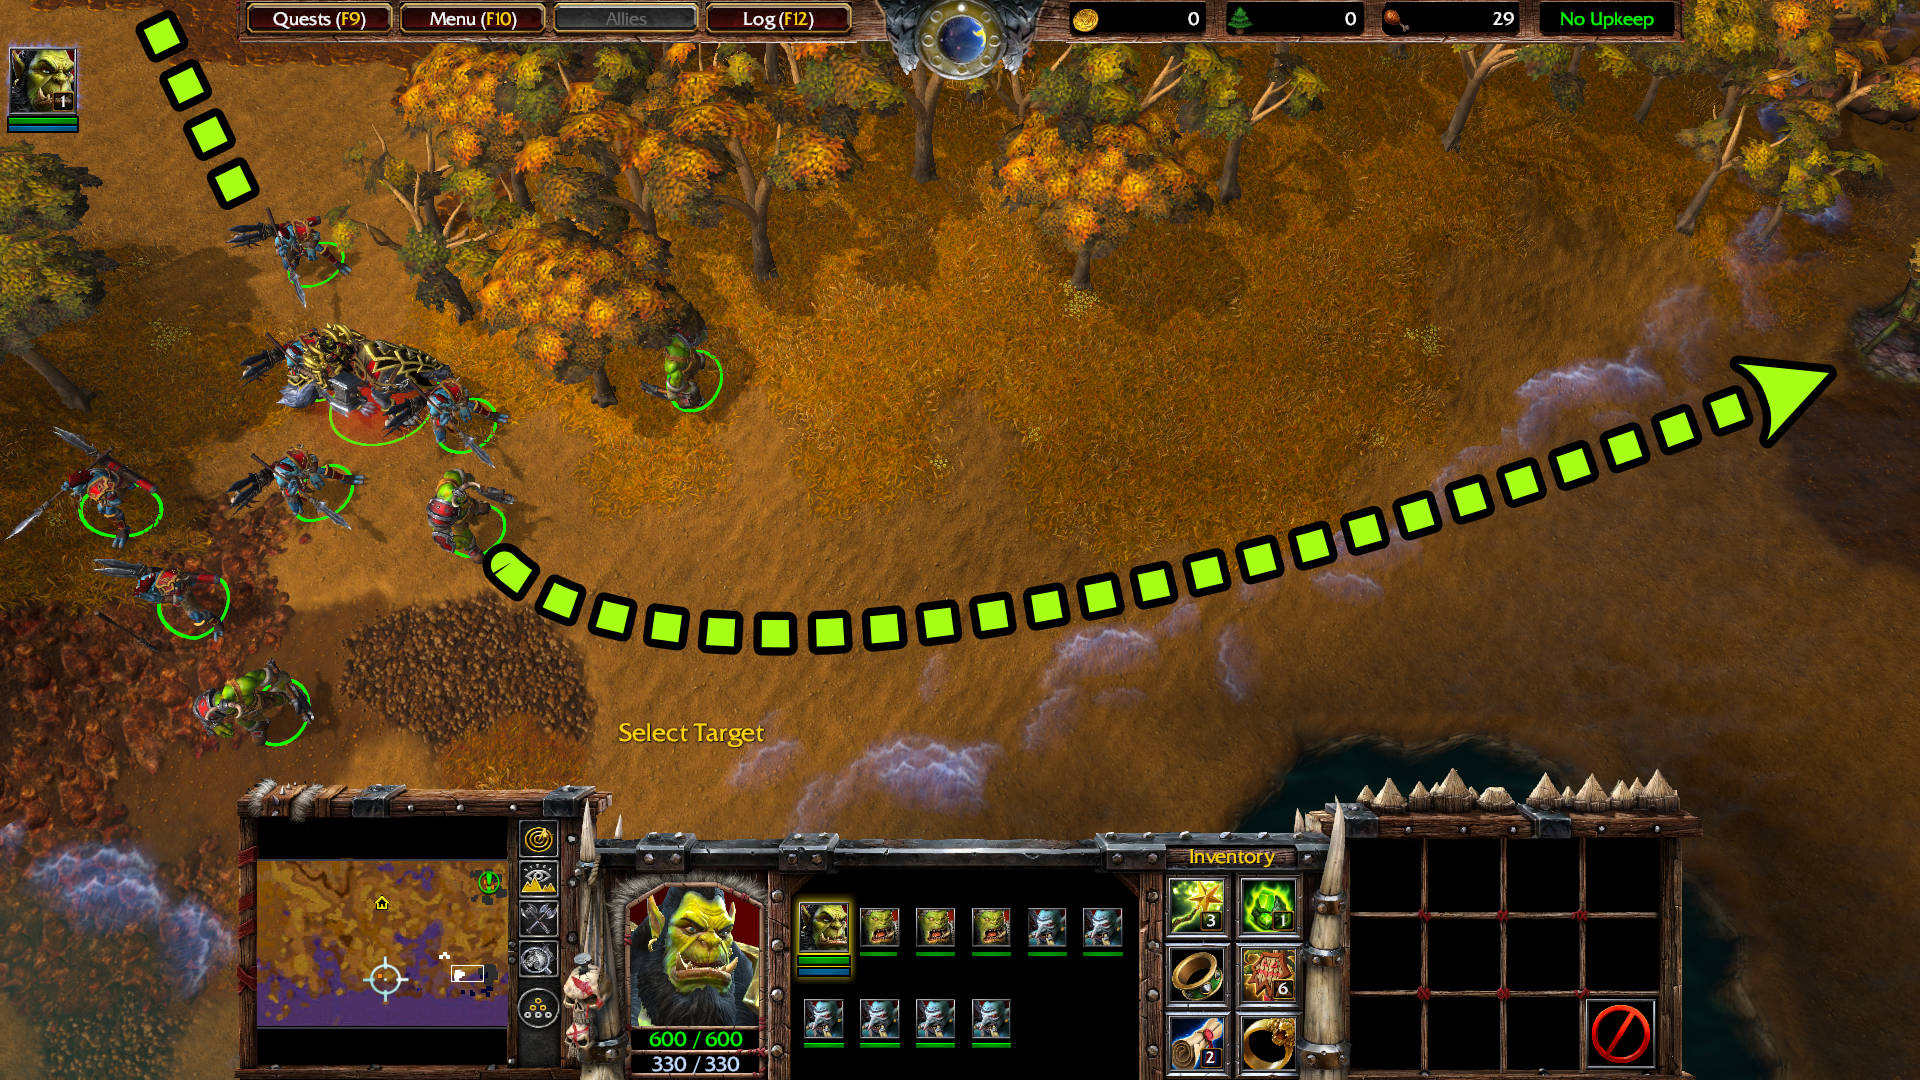
You can now go to the top-right corner of the mini map to join Cairne Bloodhoof at his village.
As soon as you enter the village, three Centaur Marauders attack the Tauren at this spot, and a few yards to the north, a couple more Centaurs.
Cairne Bloodhoof: We’ve arrived in time! The next wave is advancing!
Note: The Healing Wards might come handy if your grunts and headhunters start to go too low in health for comfort.
Thrall: Lok-Narash! Here they come again!
So far that is three waves of Centaur. The fourth wave spawns a Centaur Champion level 5. Careful with the long ranged Centaur Archers. Kill them first.
Cairne Bloodhoof: Ah, they’ve brought a champion with them this time!

MAIN QUEST COMPLETED
Protect Cairne
CUTSCENE
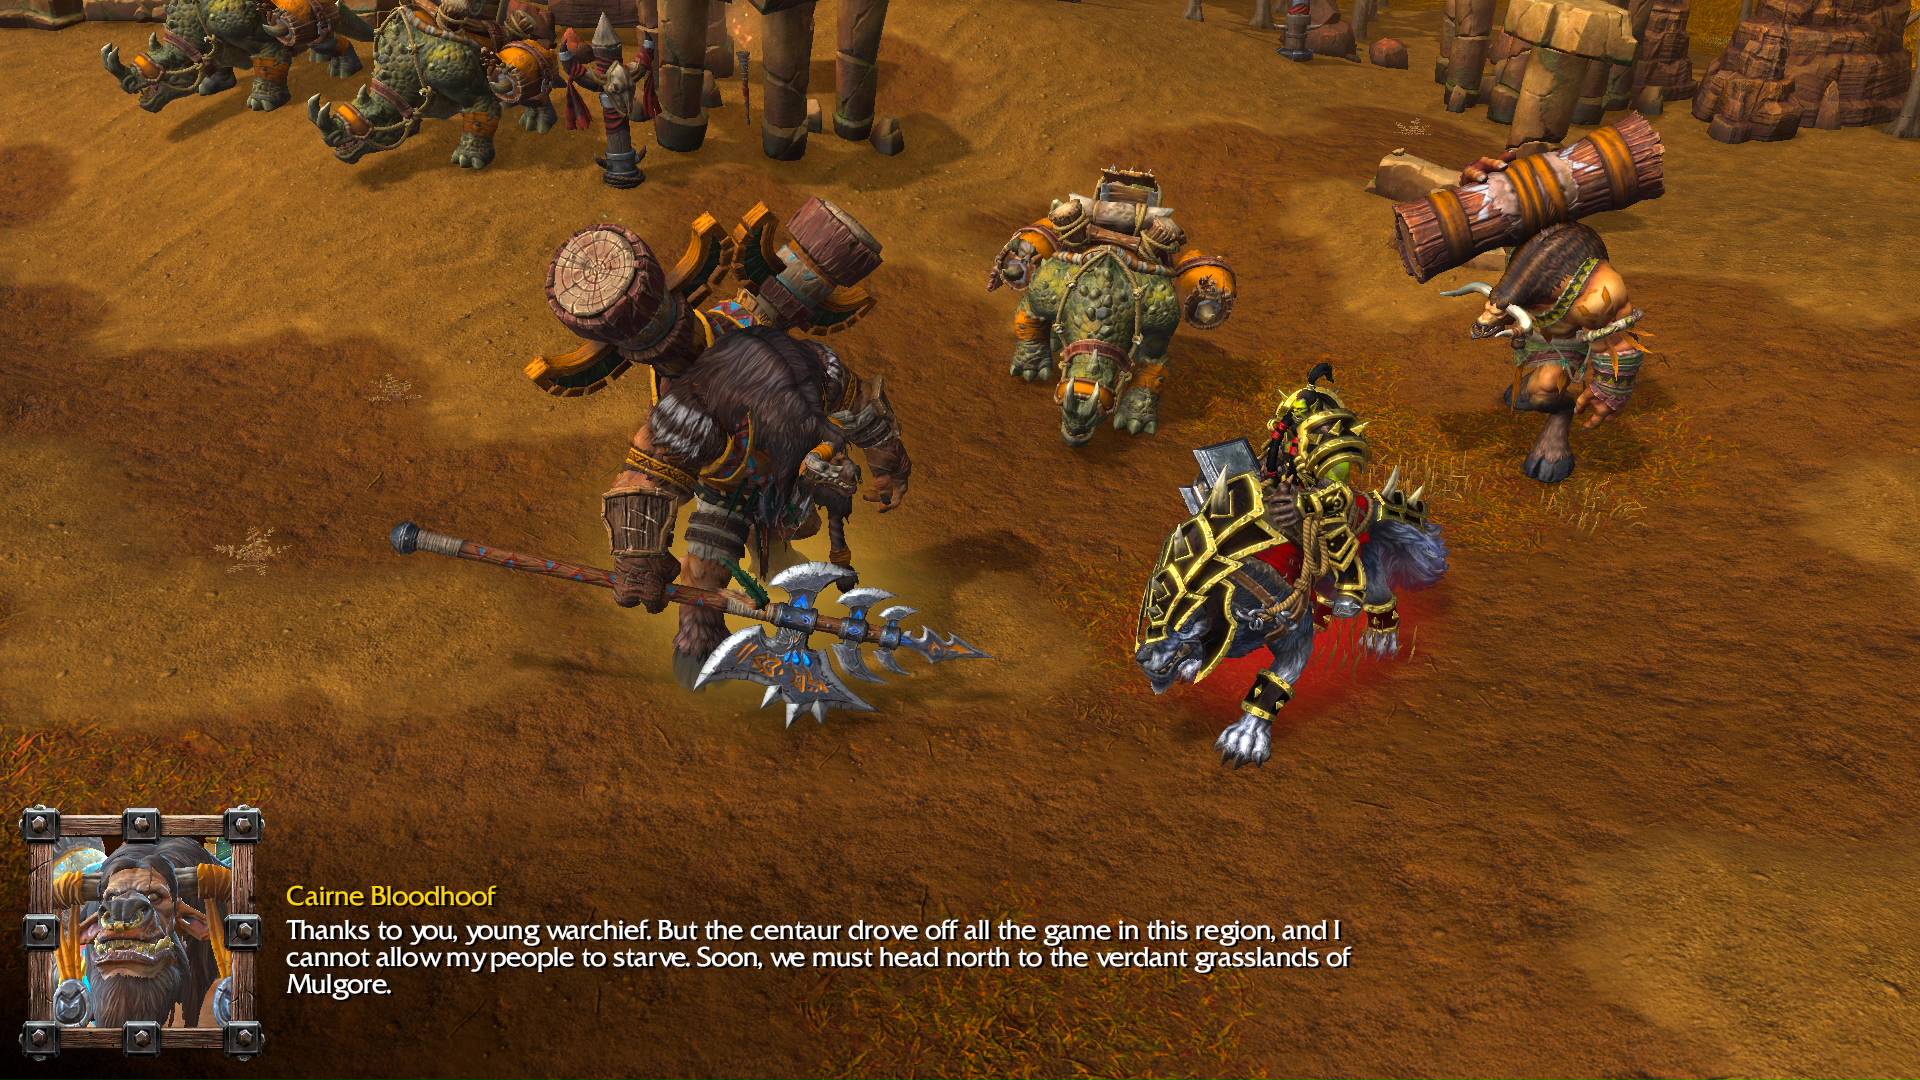
Thrall: Your tribe is safe, old one.
Cairne Bloodhoof: Thanks to you, young warchief. But the centaur drove off all the game in this region, and I cannot allow my people to starve. Soon, we must head north to the verdant grasslands of Mulgore.
Thrall: And you fear the marauders will overtake you.
Cairne Bloodhoof: Yes. The devils’ speed cannot be matched upon the plains.
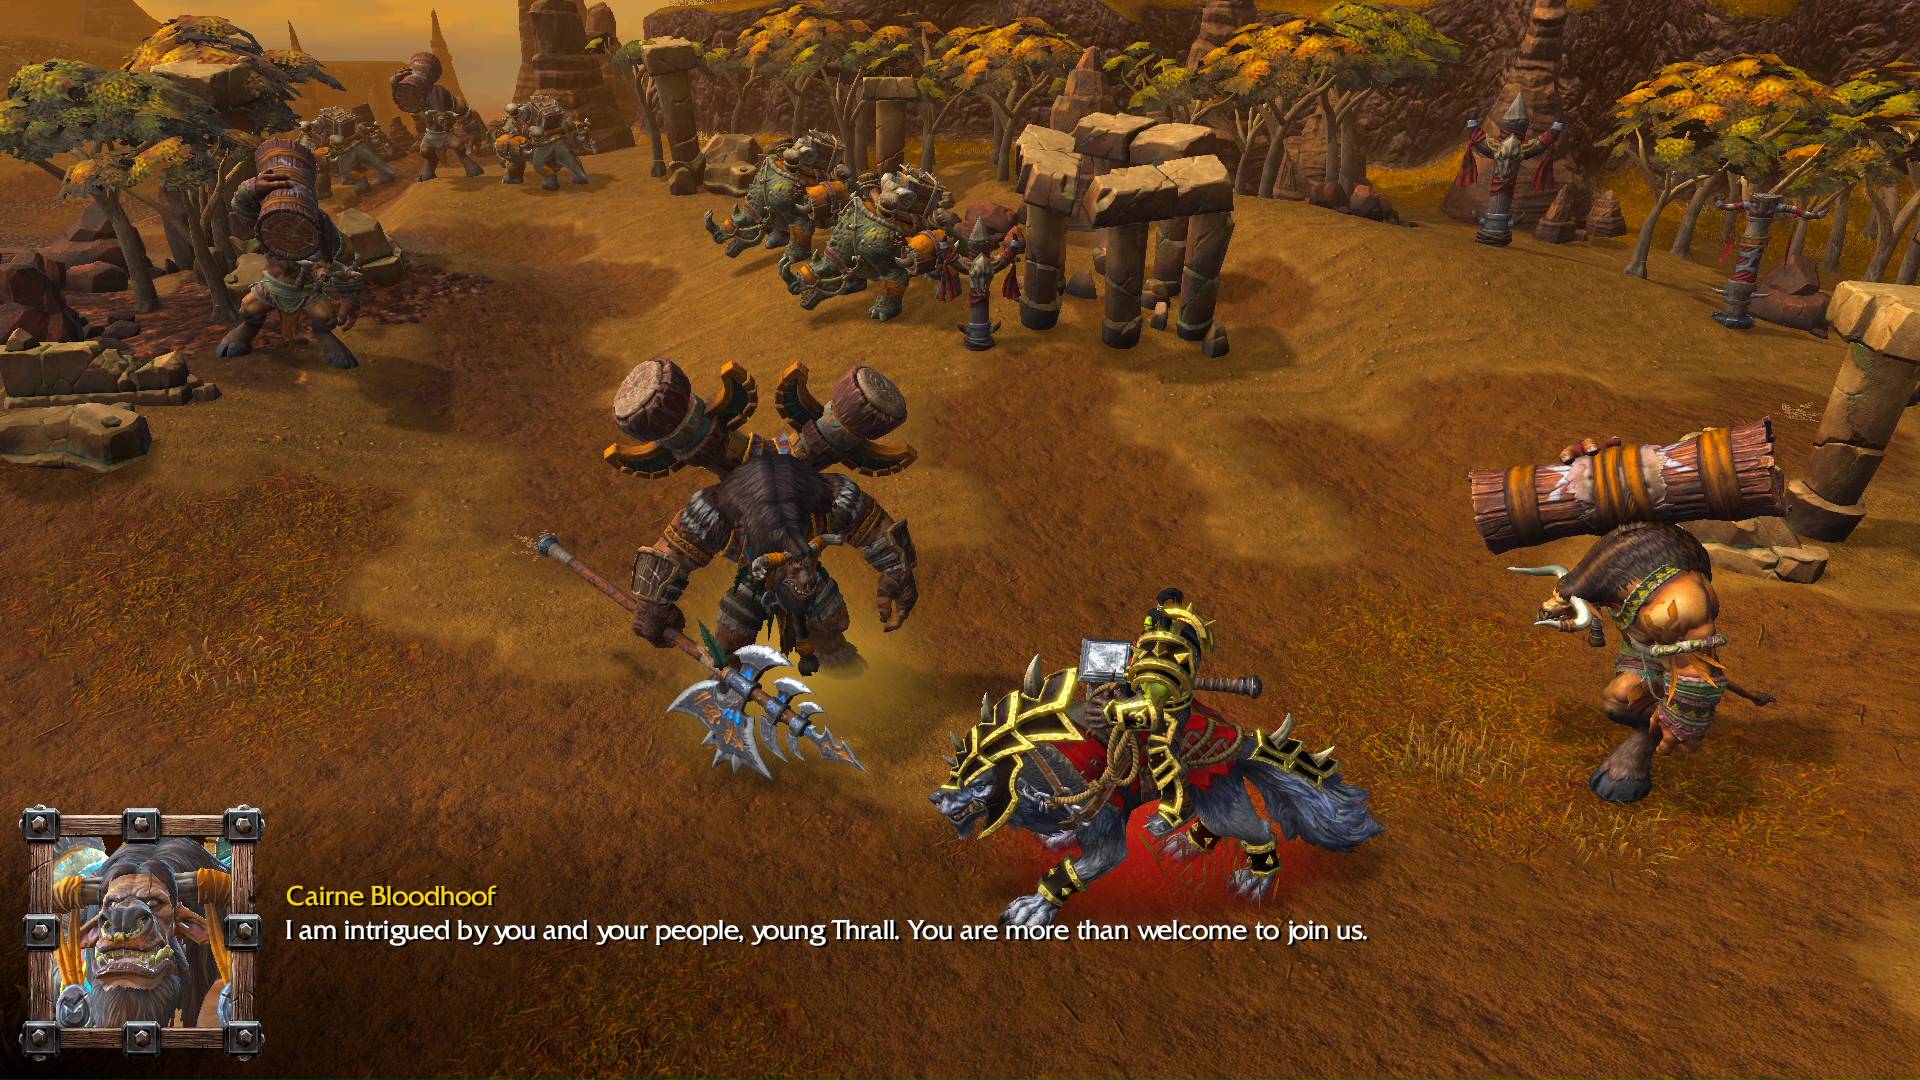
Thrall: Well, if you tell us how to reach the Oracle you spoke of, then my brethren and I will escort you on your march.
Cairne Bloodhoof: I am intrigued by you and your people, young Thrall. You are more than welcome to join us.
VICTORY
BESTIARY
- Crate – drops Potion of Mana: Restores 150 mana
- Bronze Dragon Whelp level 3 (2) — drops Ring of Protection: Increases armor of the Hero by 1.
- Murloc Flesheater level 3. Murloc Tiderunner level 1.
- Murloc Flesheater level 3. Murloc Huntsman level 2. Murloc Tiderunner level 1 — drops Healing Wards: Summons an immovable ward that heals 2% of nearby friendly non-mechanical unit’s hit points per sec. Contains 3 charges. Lasts 30 sec.
- Crate — drops Scroll of Protection: Increases the armor of all friendly units in an area around your Hero by 2 for 30 sec.
- Centaur Marauders: Centaur Drudge level 2 (3). Centaur Archer level 2.
- Quillboar Hunter level 3. Razormane Scout level 1 (3) — drops a Healing Wards: Summons an immovable ward that heals 2% of nearby friendly non-mechanical unit’s hit points per sec. Contains 3 charges. Lasts 30 sec.
- Razormane Brute level 3. Razormane Scout level 1 (2). Quillboar level 1 — there are 2 Headhunters who join your team. The Brute drops Rune of Mana: Restores mana to nearby units.
- Centaur Drudge level 2 (3). Centaur Archer level 2.
- Murloc Huntsman level 2 (2). Murloc Tiderunner level 1 (2) — drops Scroll of Protection: Increases the armor of all friendly units in an area around your Hero by 2 for 30 sec.
- Grunt and 2 Troll Headhunters join your team. Behind them, hidden behind a rock is a crate — drops Lion’s Ring: Increases the Agility of the Hero by 1.
- Harpy Windwitch level 3. Harpy Scout level 1 (2) — drops Scroll of the Beast: Gives friendly nearby units a 25% bonus to damage for 45 sec.
- Thunder Lizard level 6. Lightning Lizard level 2 — drops Potion of Mana: Restores 150 mana.
- Razormane Medicine Man level 5. Quillboar level 1 (2).
- Razormane Medicine Man level 5. Razormane Scout level 1. Quillboar level 1 (2). Fountain of Health.
- Harpy Scout level 1 (3).
- Razormane Brute level 3. Quillboar level 1. The hut drops Wand of Lightning Shield: Casts a Lightning Shield on a target unit dealing 20 damage per sec to nearby enemy units. Contains 3 charges. Lasts 20 sec.
- Murloc Flesheater level 3. Murloc Tiderunner level 1 (2) — drops Manual of Health: Permanent +50 hit points.
- Two Grunts and a Troll Headhunter join your team. Destroy the crate next to the ship — drops Potion of Healing: Heals 250 hit points. Centaur Sorcerer level 5 and Centaur Drudge level 2 (3) ambush you at this location. Cairne Bloodhoof cutscene plays onscreen.
- Centaur Archer level 2. Centaur Drudge level 2. Centaur Sorcerer level 5 — treasure chest on the ground drops Health Stone: Increases the life regeneration rate of the Hero by 1 per sec. Can be consumed for 500 health.
- Murloc Nightcrawler level 3. Murloc Huntsman level 2 (3). Murloc Tiderunner level 1 (12) — drop Potion of Mana: Restores 150 mana; and Periapt of Vitality: Increases the hit points of the Hero by 150 when worn.
- Murloc Huntsman level 2 (2). Murloc Tiderunner level 1 (7) — Crate near the wrecked ship drops Potion of Healing: Heals 250 hit points.
- Murloc Huntsman level 2 (2). Murloc Tiderunner level 1 (2).
- Tauren Village. 4 waves of Centaur. Last wave spawns a Centaur Champion level 5. Use Healing Wards as needed.

GALLERY


Hope you enjoyed this article. Please, support Blizzplanet via PayPal, and follow us on Twitter, Facebook, YouTube, and Twitch for Blizzard games news updates. |
 |