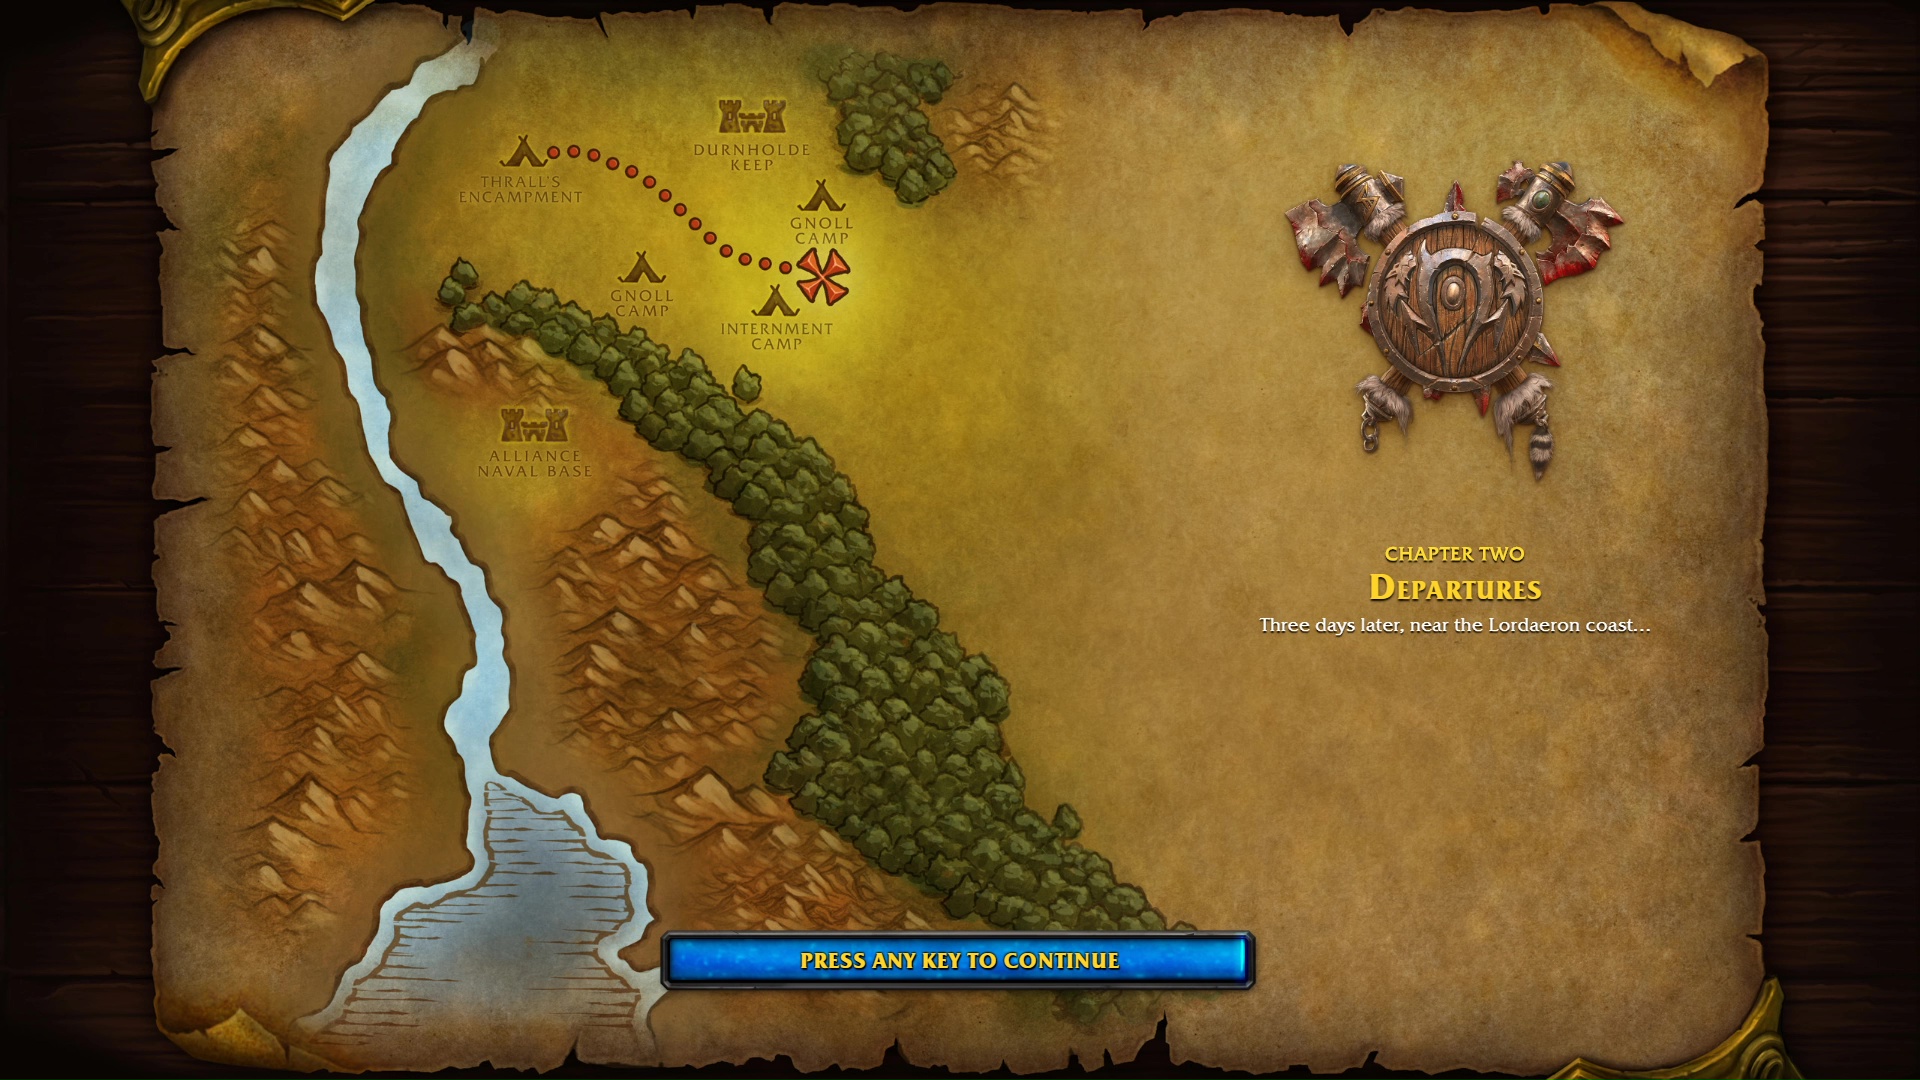
Three days later, near the Lordaeron coast…
YOUTUBE VIDEO
CUTSCENE
Thrall: It’s been three days, and this… prophet has yet to show himself. I hope I’m not making a huge mistake by trusting him.

Grunt: Warchief, the clans are assembling as you ordered, but it will take them some time to reach us.
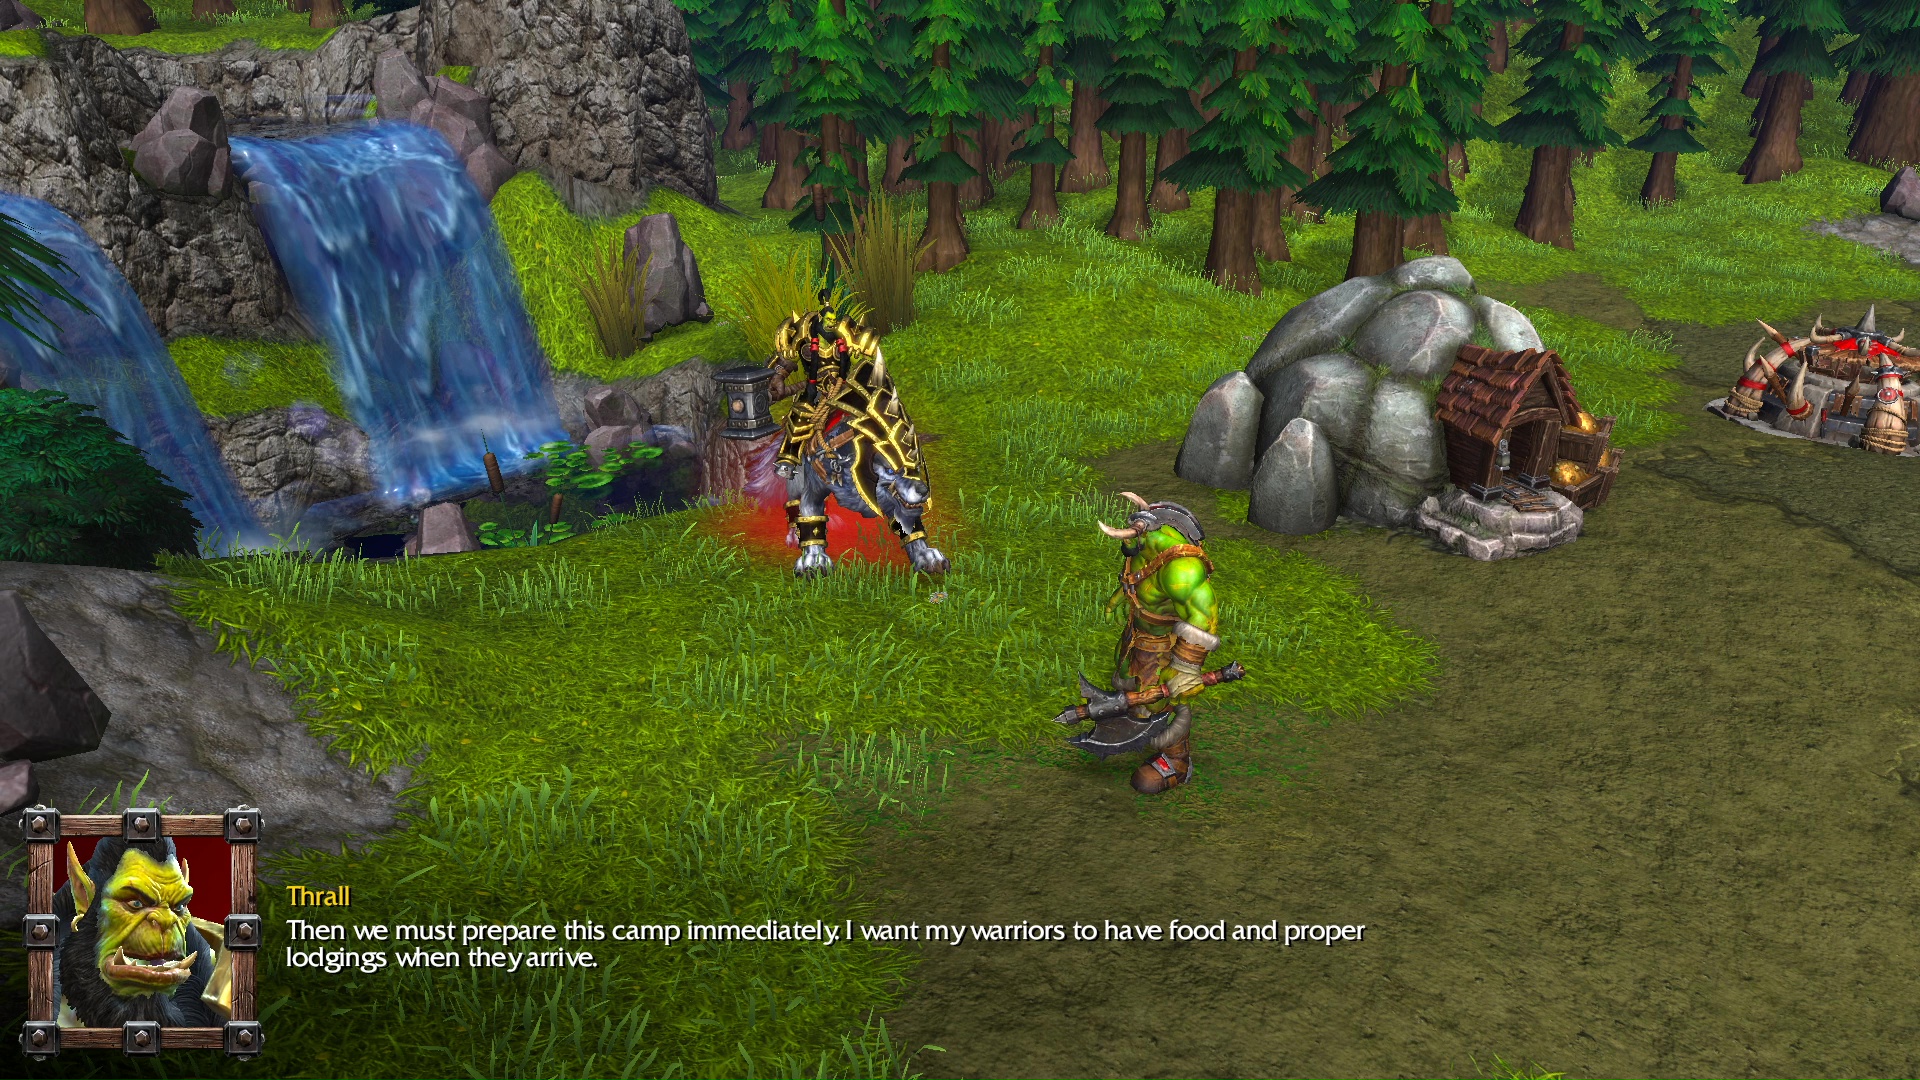
Thrall: Then we must prepare this camp immediately. I want my warriors to have food and proper lodgings when they arrive.
Grunt: Yes, Warchief.
Thrall: Warrior, has there been any word from Hellscream? He and the Warsong clan were supposed to have been here by now.
Grunt: No, Warchief. We haven’t heard from Hellscream in some time.
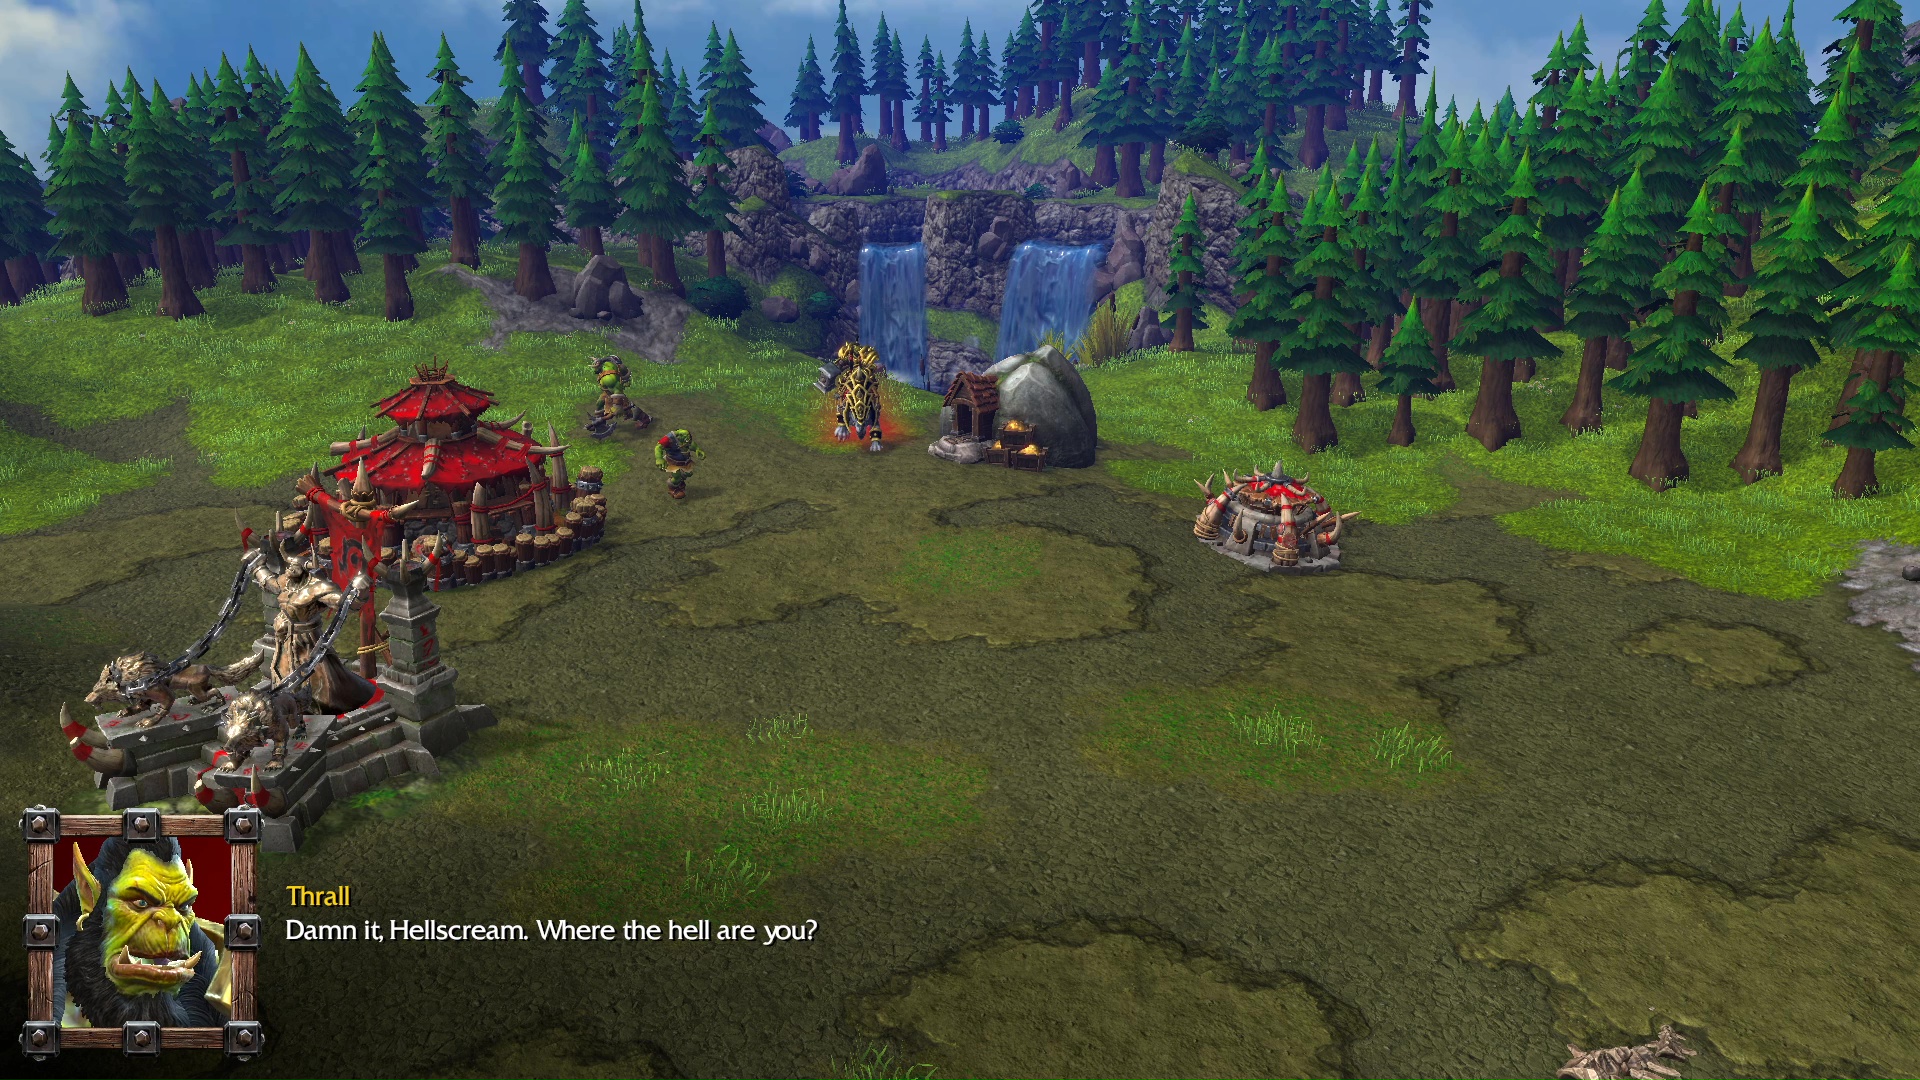
Thrall: Damn it, Hellscream. Where the hell are you?
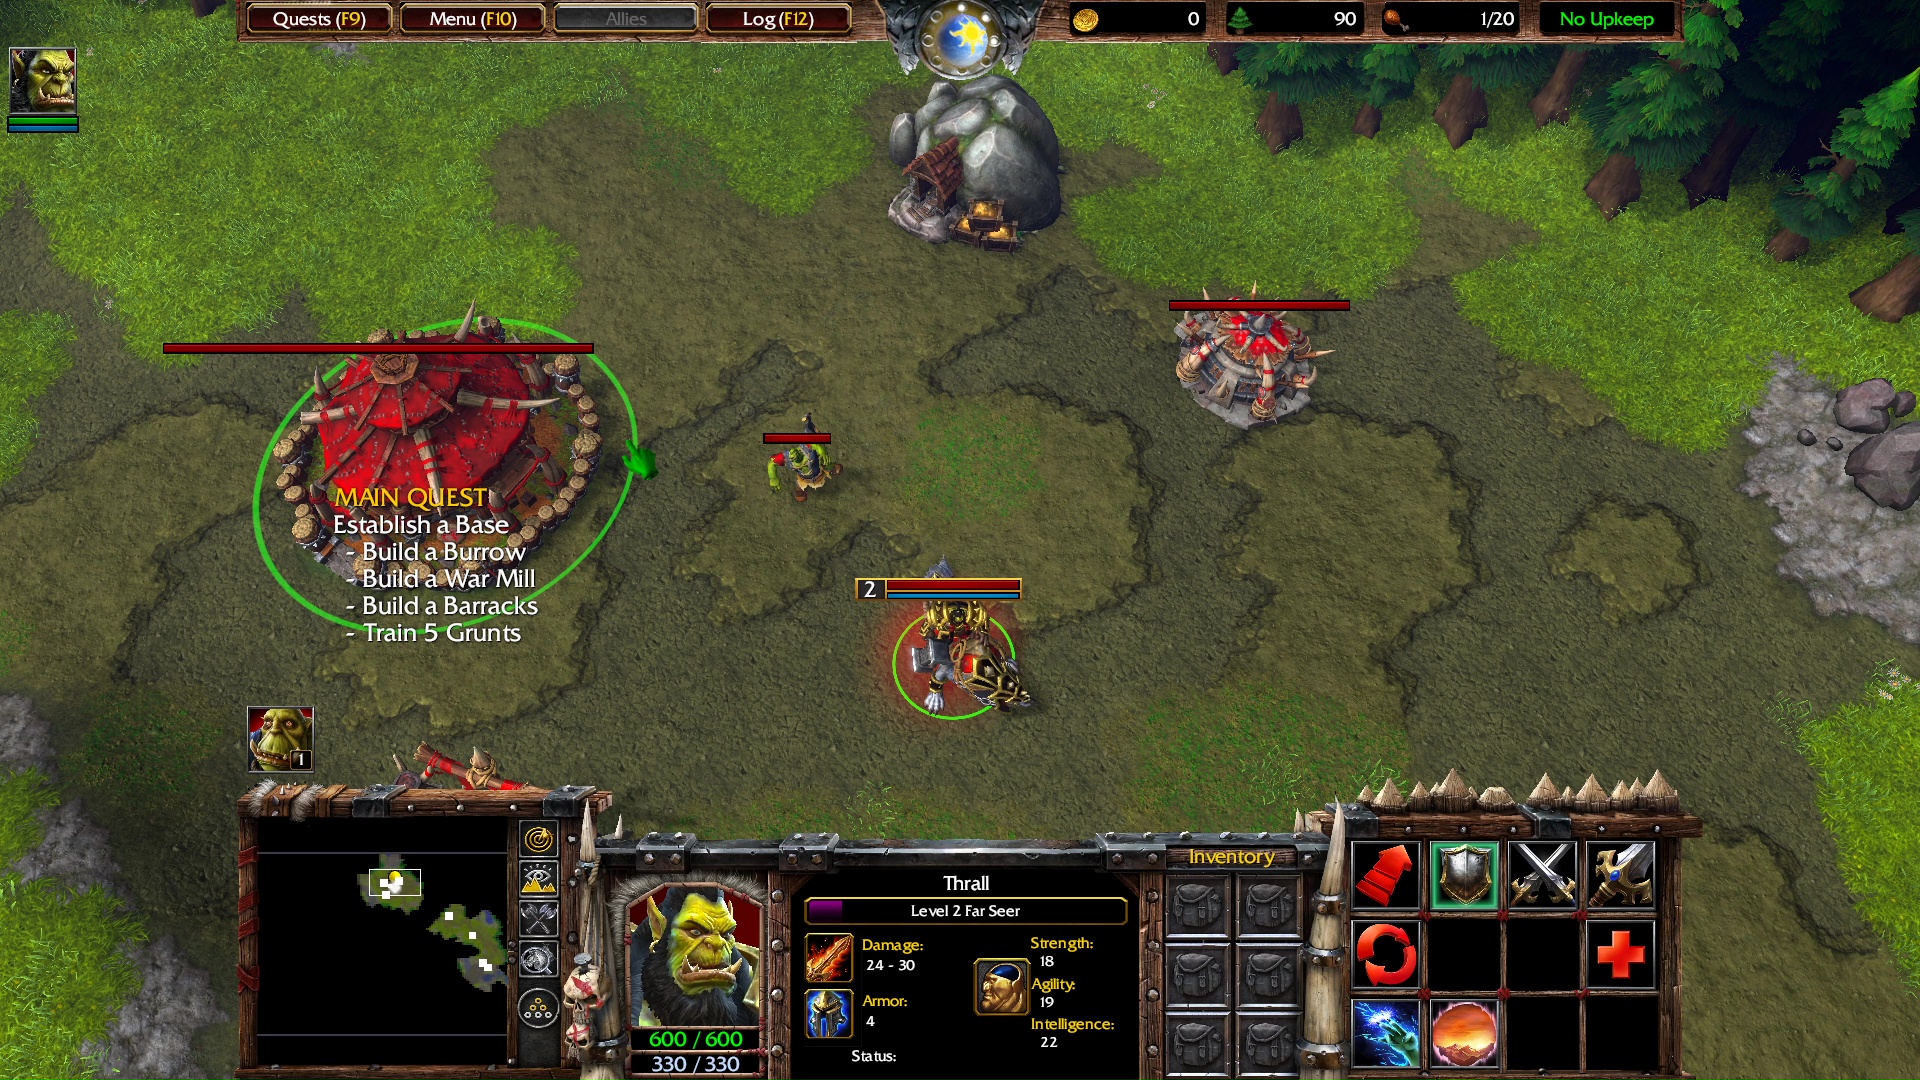
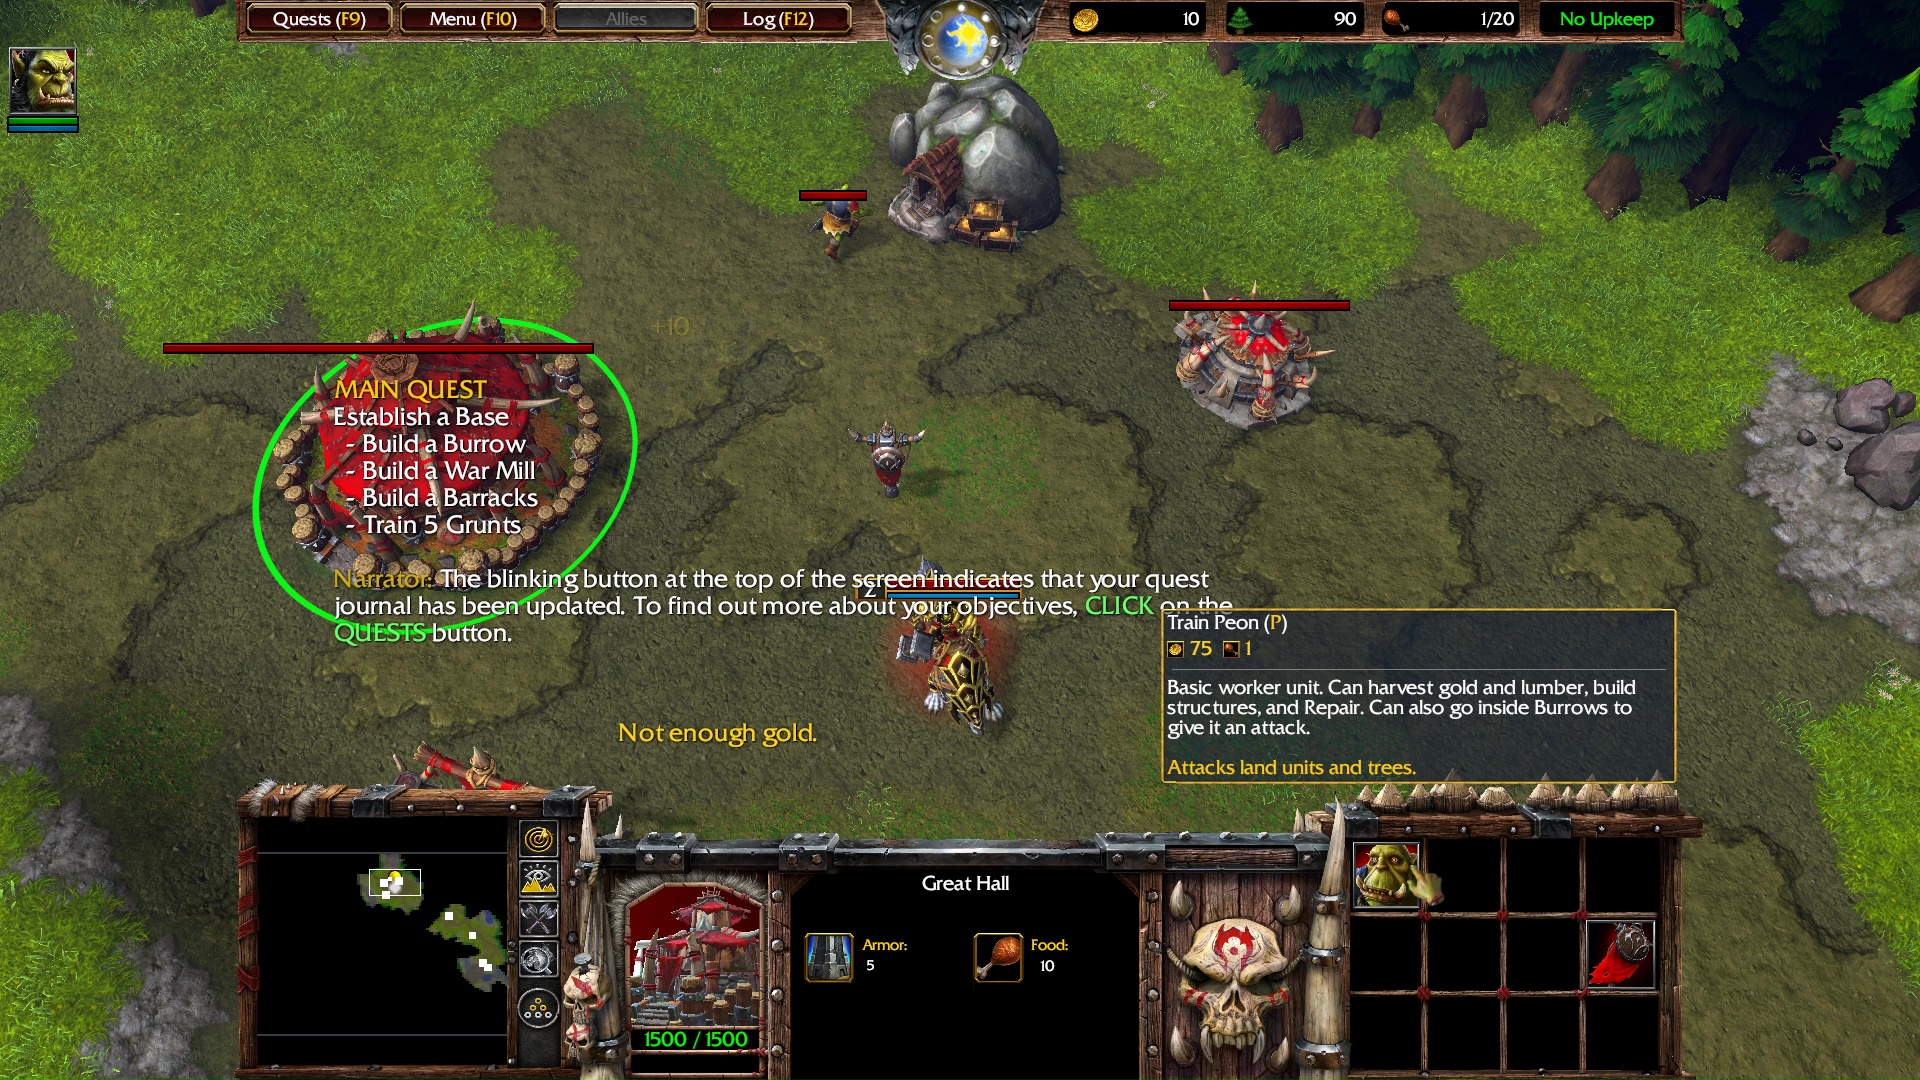
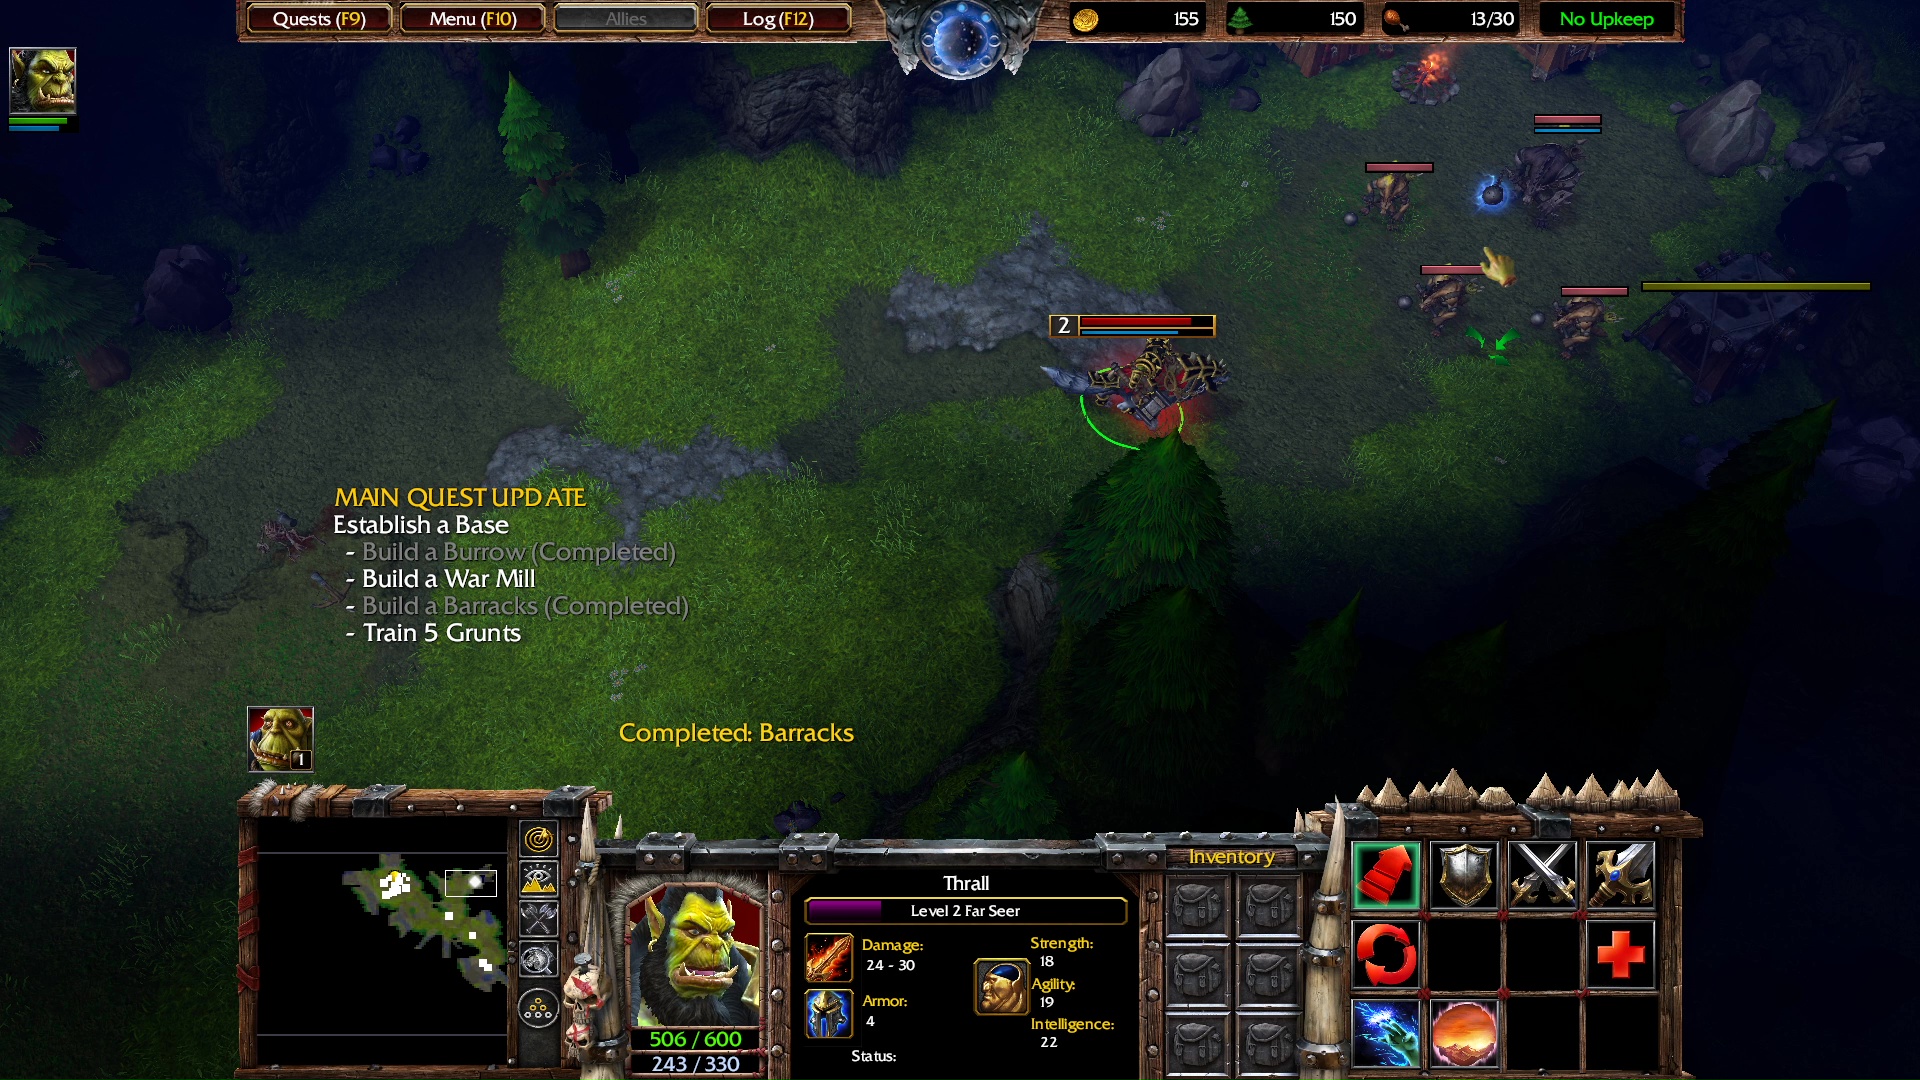
MAIN QUEST
Establish a Base.
- Build a Burrow
- Build a War Mill
- Build a Barracks
- Train 5 Grunts
DIALOGUES
Narrator: The blinking button at the top of the screen indicates that your quest journal has been updated. To find out more about your objectives, CLICK on the QUESTS button.
Select your peon and click the Mine to harvest minerals.
As soon as your peon harvests 75 gold, select the Great Hall and click “Train Peon” (P).
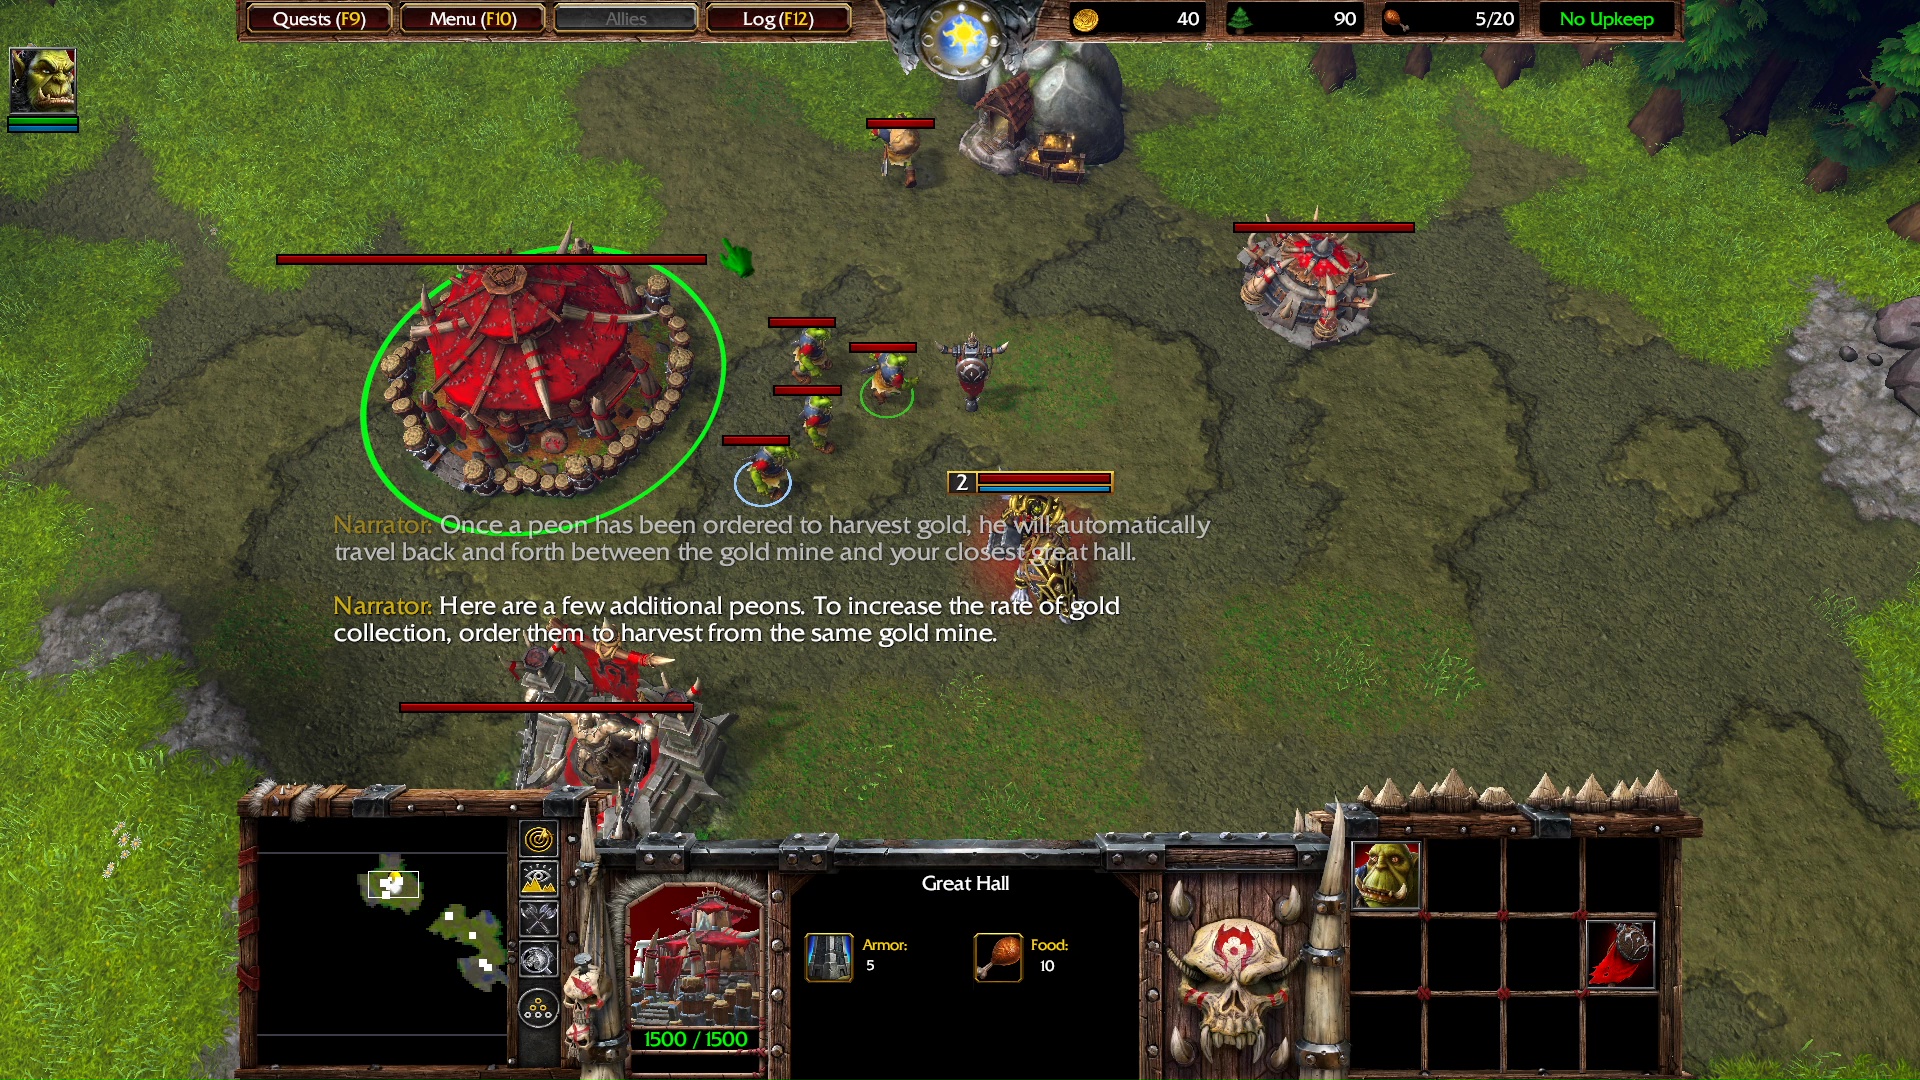
Narrator: Once a peon has been ordered to harvest gold, he will automatically travel back and forth between the gold mine and your closest great hall.
Note: Soon, the narrator gives you 4 additional Peons which spawn next to the Great Hall. Select 3 of those peons and click the Mine to harvest minerals. But select the fourth peon and click a tree to order it to harvest wood.
Narrator: Here are a few additional peons. To increase the rate of gold collection, order them to harvest from the same gold mine.
Narrator: The amount of gold that you currently possess is displayed in the upper-right portion of your screen. As peons return to your great hall with gold, your gold stockpile increases.
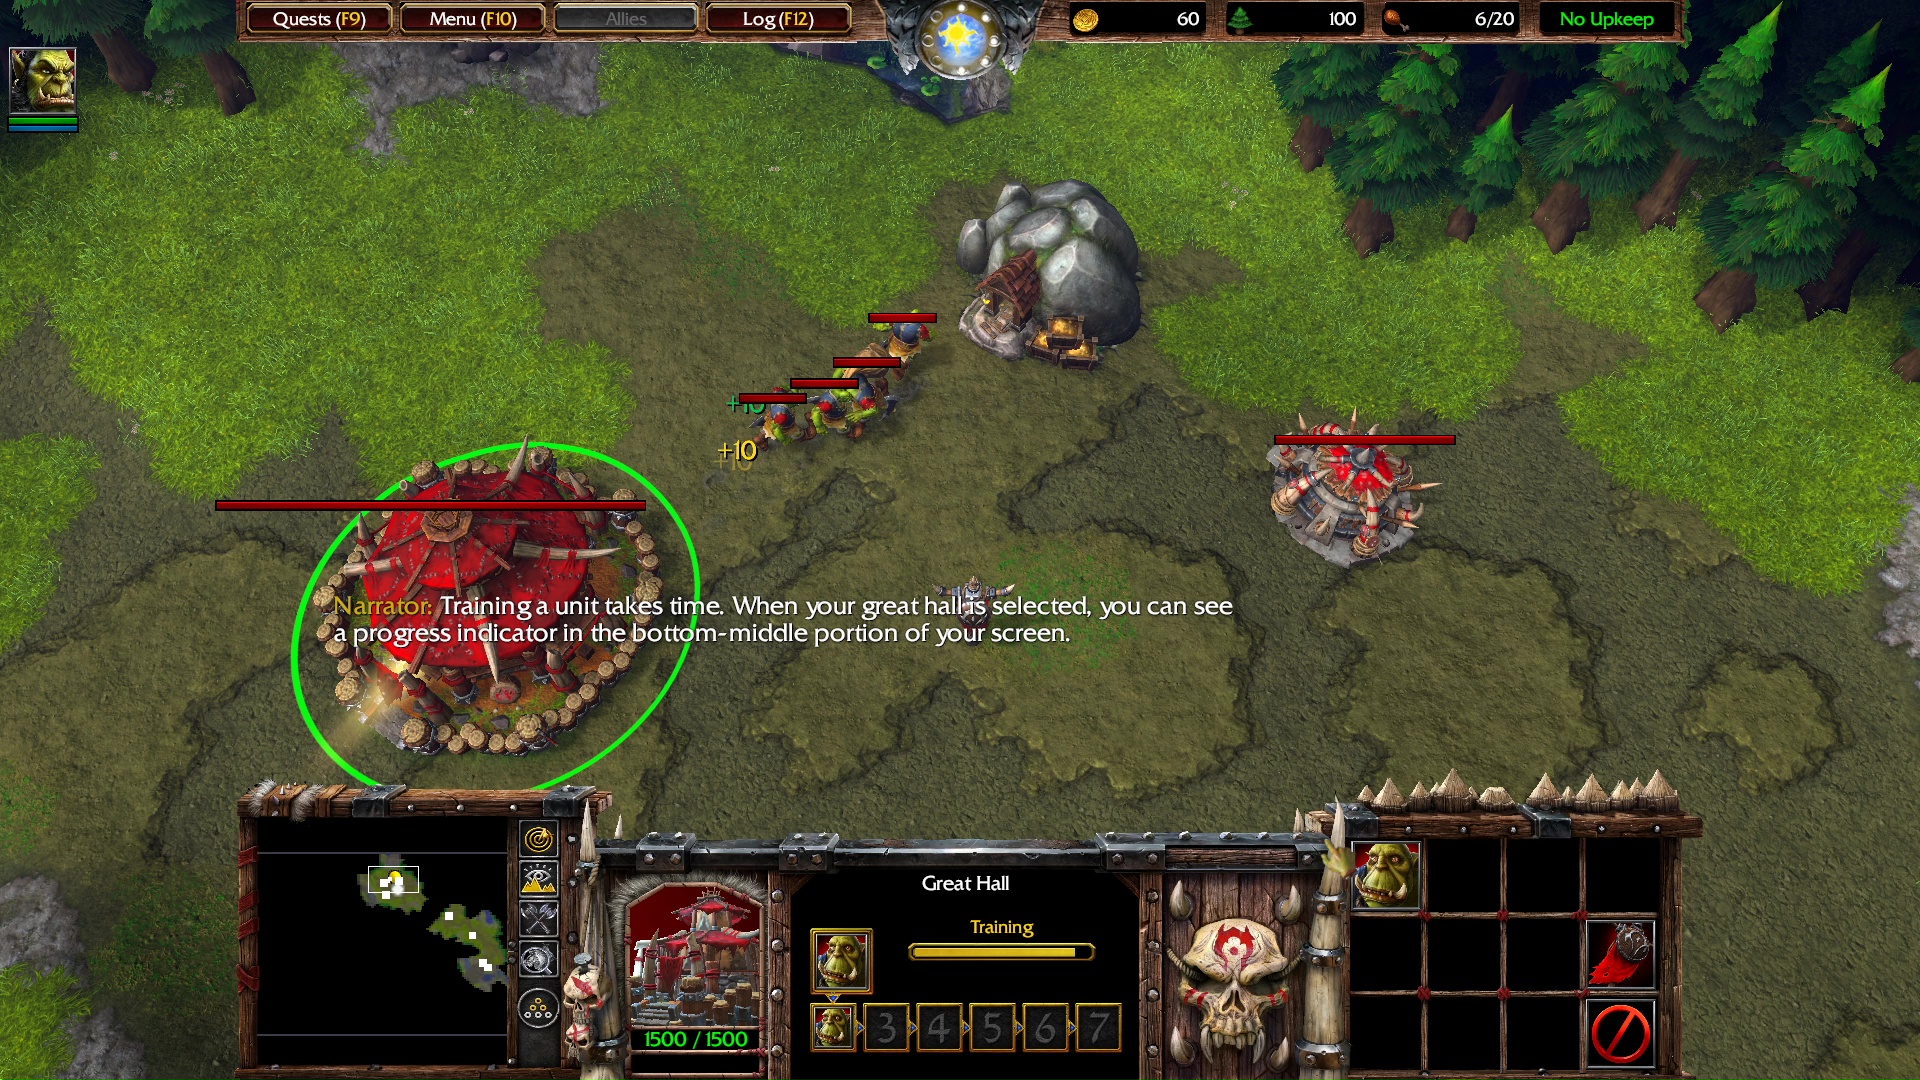
Build a Peon.
Narrator: Training a unit takes time. When your great hall is selected, you can see a progress indicator in the bottom-middle portion of your screen.
Build a Peon.
Select the newly built Peon and click a tree to command it to harvest wood.
HINT – You can queue up additional Peons by CLICKING multiple times on the TRAIN PEON button. Each unit that is queued will automatically begin training when the previous unit finishes.
Narrator: In order to support a larger population, additional orc burrows will have to be constructed. Burrows provide the food that allows you to train more troops.
Narrator: To construct a burrow, select one of your peons.
Build a Peon.
Select the newly built Peon, and click a tree to harvest wood.
Narrator: Now, CLICK on the BUILD STRUCTURE button in the command card.
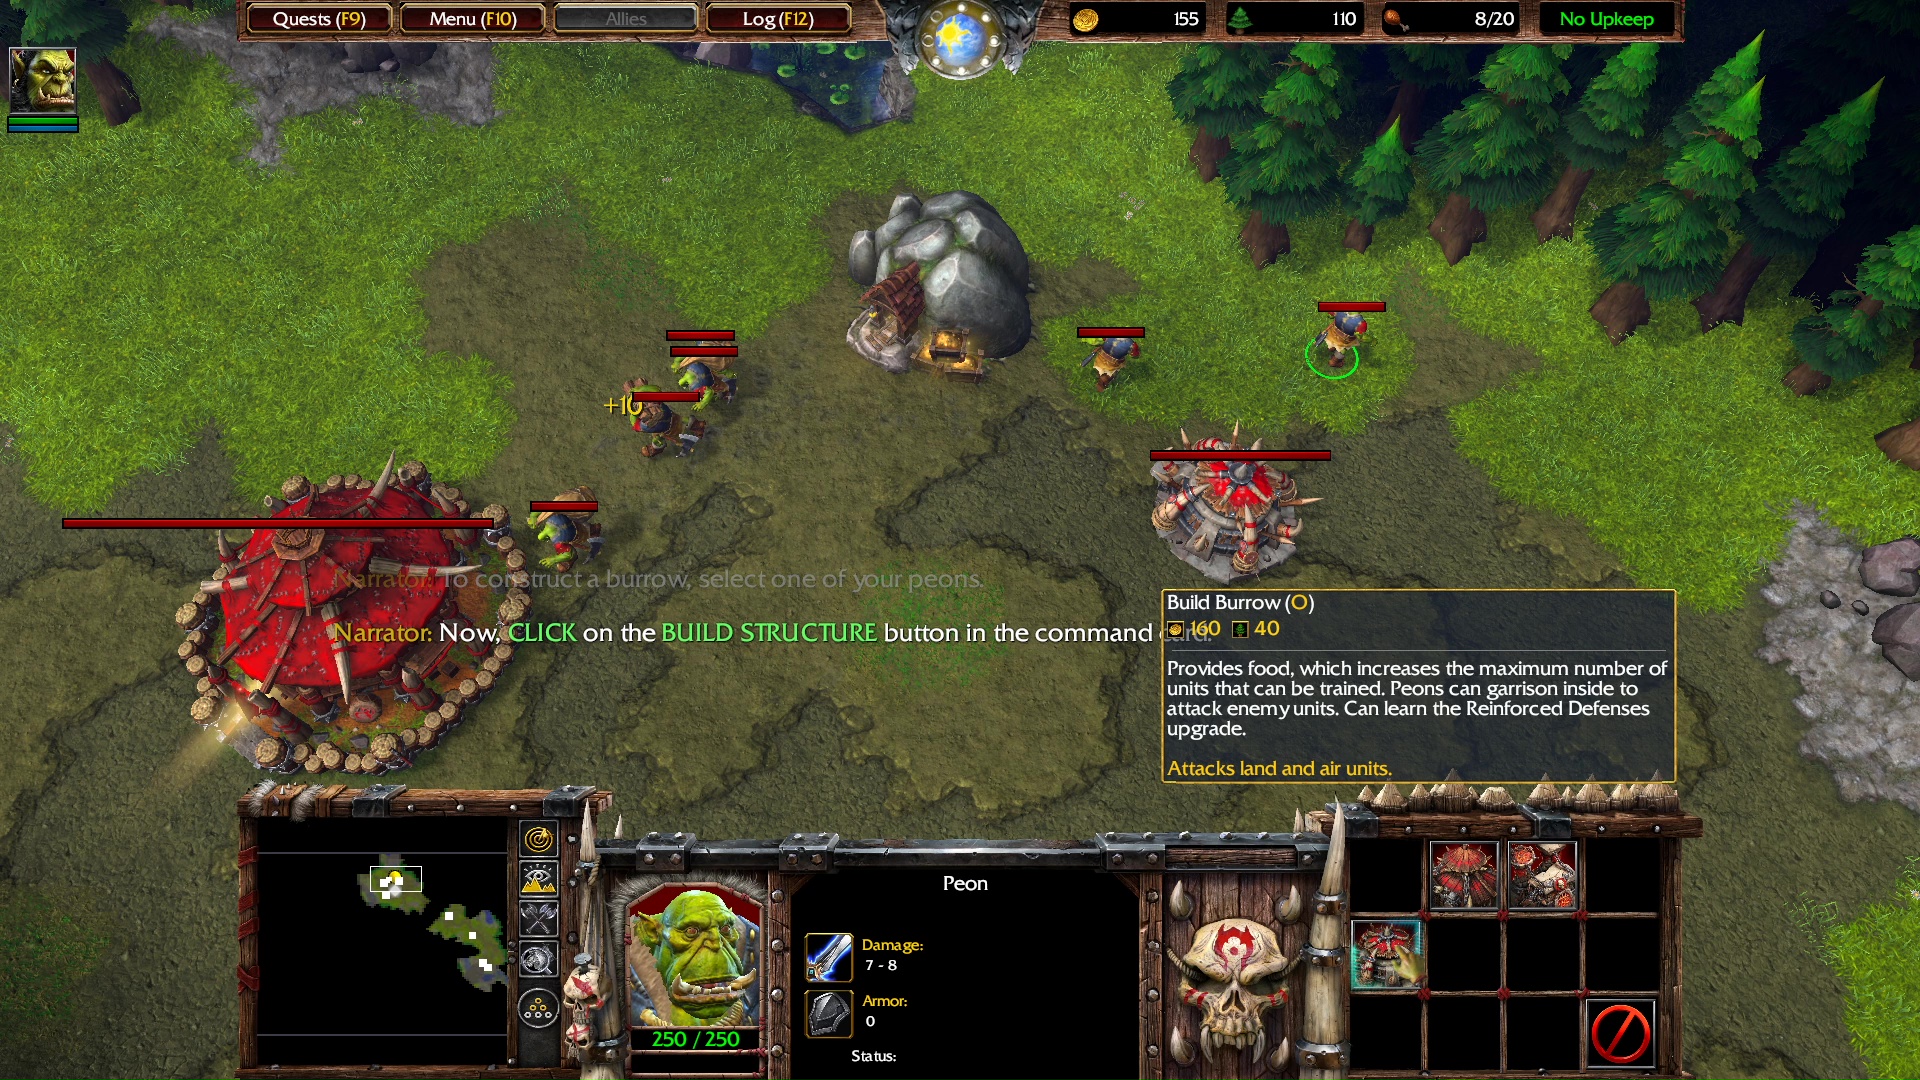
Narrator: Notice that additional buttons are now available in the command card. To construct an orc burrow, CLICK on the BUILD ORC BURROW button.
Build an Orc Burrow. Press B, then press O.
Build 2 Peons — as minerals become available.
Send the next Peon to harvest wood.
Narrator: Well placed war mills can increase the efficiency of your lumber harvesters. Try ordering a peon to construct a war mill near where your peons are chopping wood.
Build a Barracks.
Build a Peon.
MAIN QUEST UPDATE: Build a Burrow (Completed)
HINT – When you hear a “work complete” notification, pressing the SPACEBAR will center your screen on the notification source.
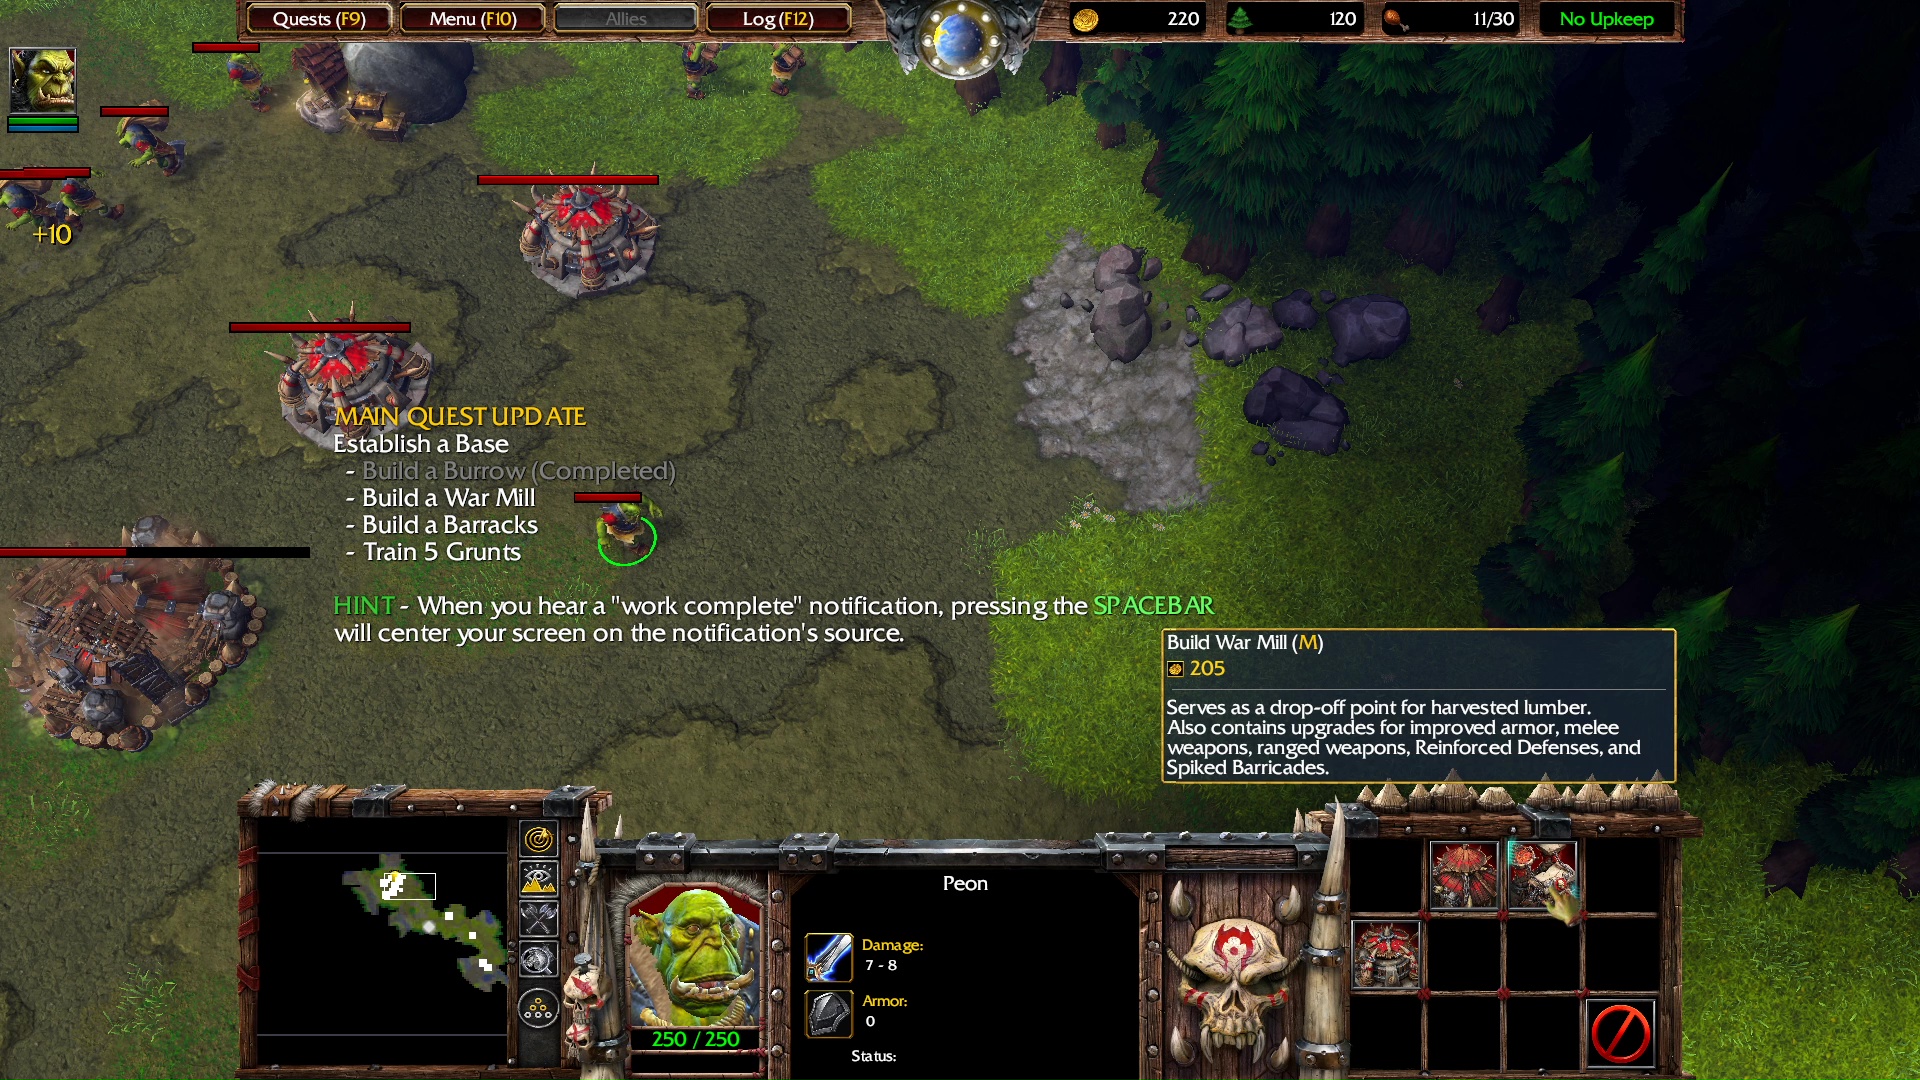
Build a War Mill (M) near the trees.
Send newly built Peons to harvest wood.
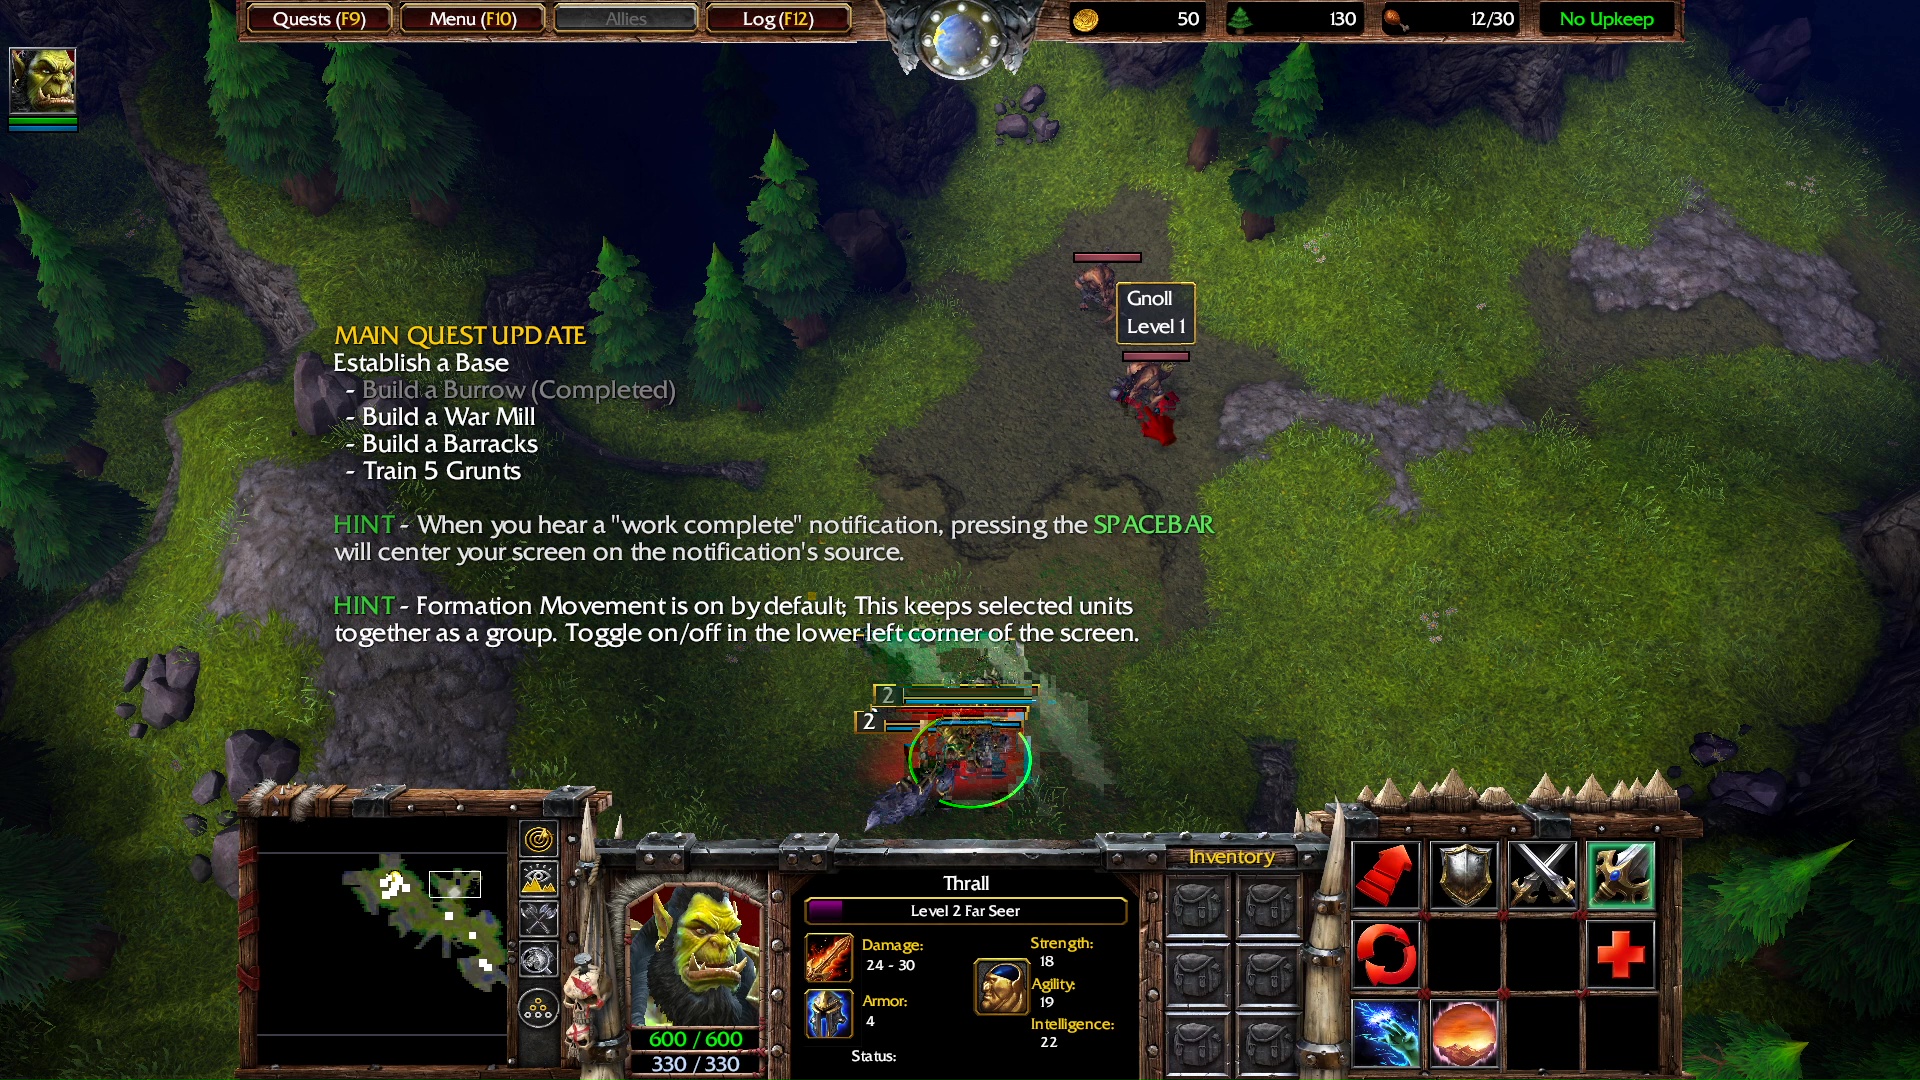
HINT – Formation Movement is on by default; This keeps selected units together as a group. Toggle on/off in the lower left corner of the screen.
Note: Send Thrall to kill these Gnoll Level 1 shown in the mini map.
Build an Orc Burrow.
Build a Peon.
MAIN QUEST UPDATE: Build a Barracks (Completed).
Narrator: Now that your barrack is complete, you can begin training grunts to reinforce your army.
Narrator: To train a grunt, first select your barracks.
Build an Orc Burrow.
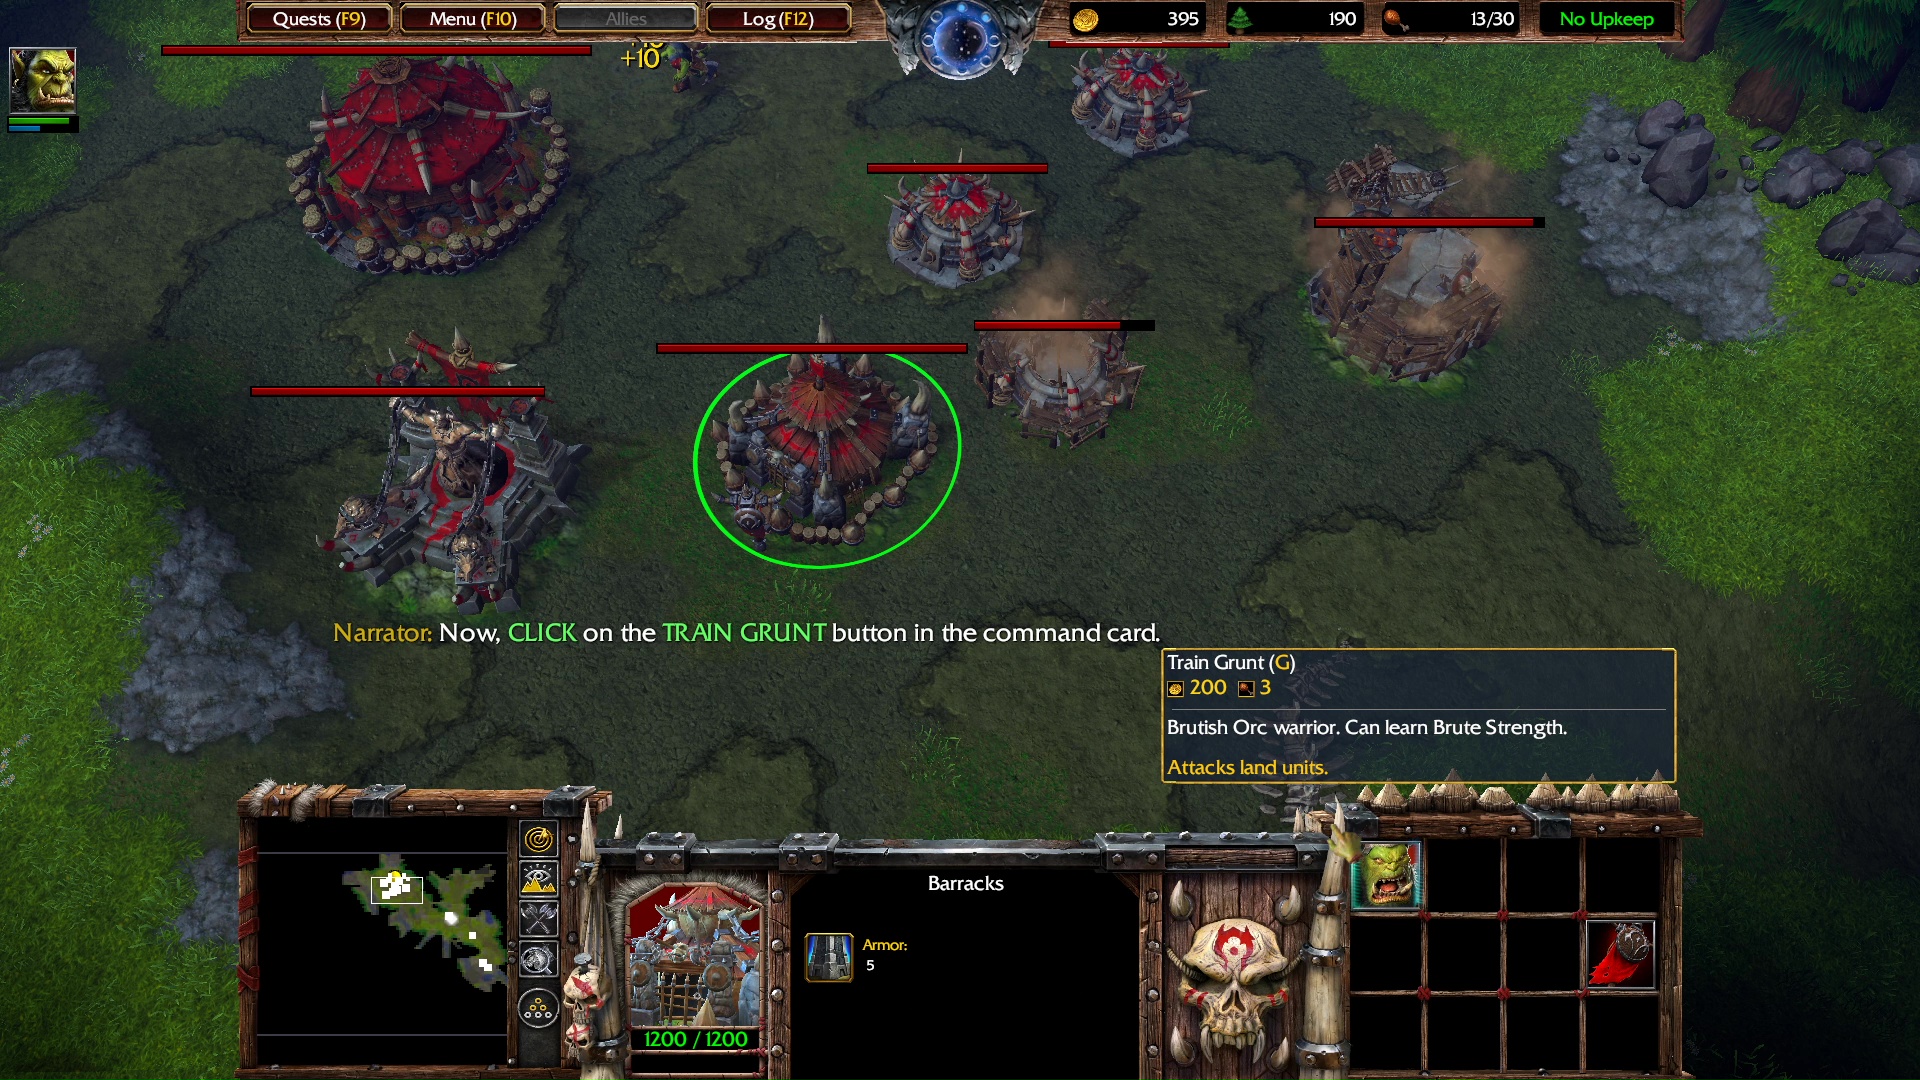
Narrator: Now, CLICK on the TRAIN GRUNT button in the command card.
Build 2 Grunts (G).
Narrator: Continue producing grunts until you reach your quest requirement.
Note: Select the War Mill. Upgrade to Steel Melee Weapons (M) — increases the melee attack damage of Grunts, Raiders and Tauren.
HINT: Upgrades affect both current and future troops.
Send all idle peons who finished constructing to harvest wood.
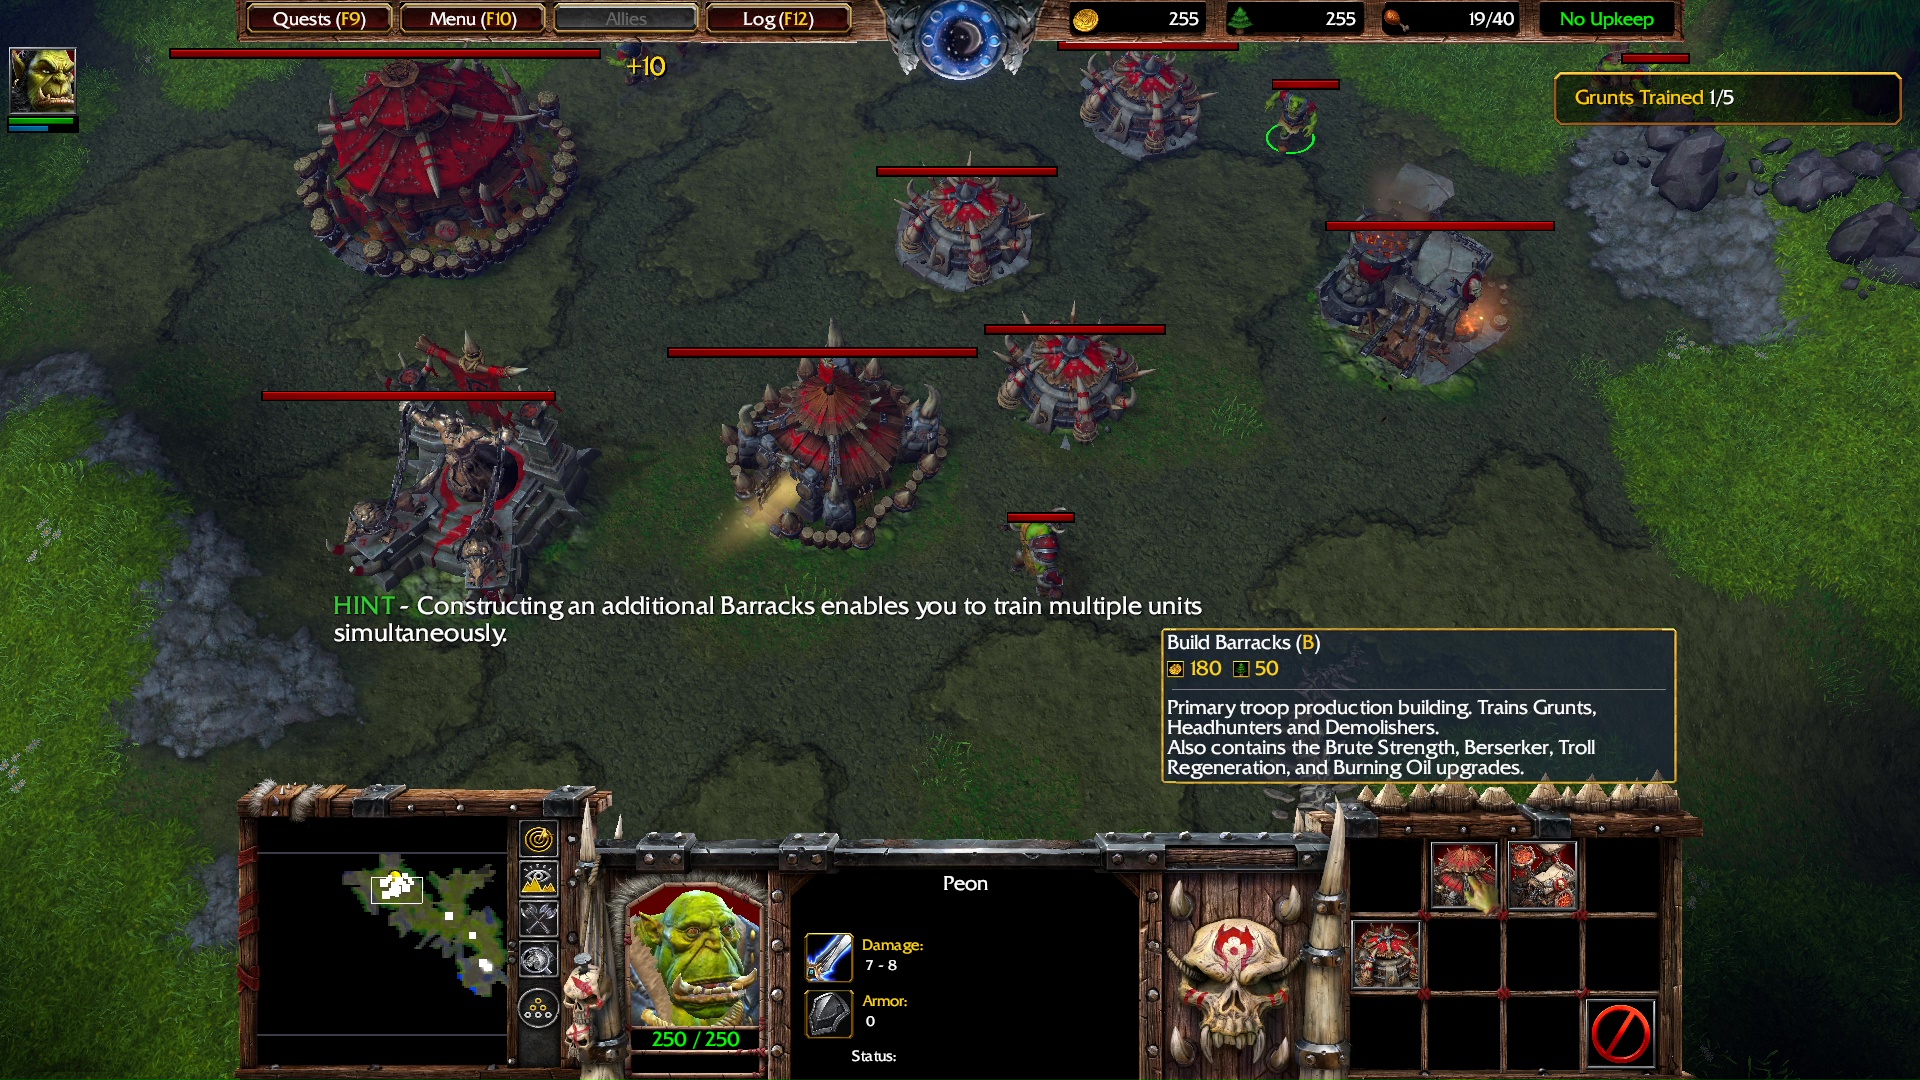
HINT – Constructing an additional Barracks enables you to train multiple units simultaneously.
Build a second Barracks.
Select the Barracks and set a rally point near the Barracks.
Narrator: You have just placed a rally point for your structure. Whenever a unit finishes training from this building, he will automatically travel to the rally point’s location.
Build a new Grunt (G).
Narrator: To place a rally point, select one of yoru unit-producing structures, and RIGHT-CLICK on the ground where you want the rally point to appear.
Build 2 new Grunts (G).
HINT – You can place a rally point for your Great Hall on either a gold mine or a tree to make newly trained Peons automatically begin harvesting.
MAIN QUEST COMPLETED
- Establish a Base
CUTSCENE
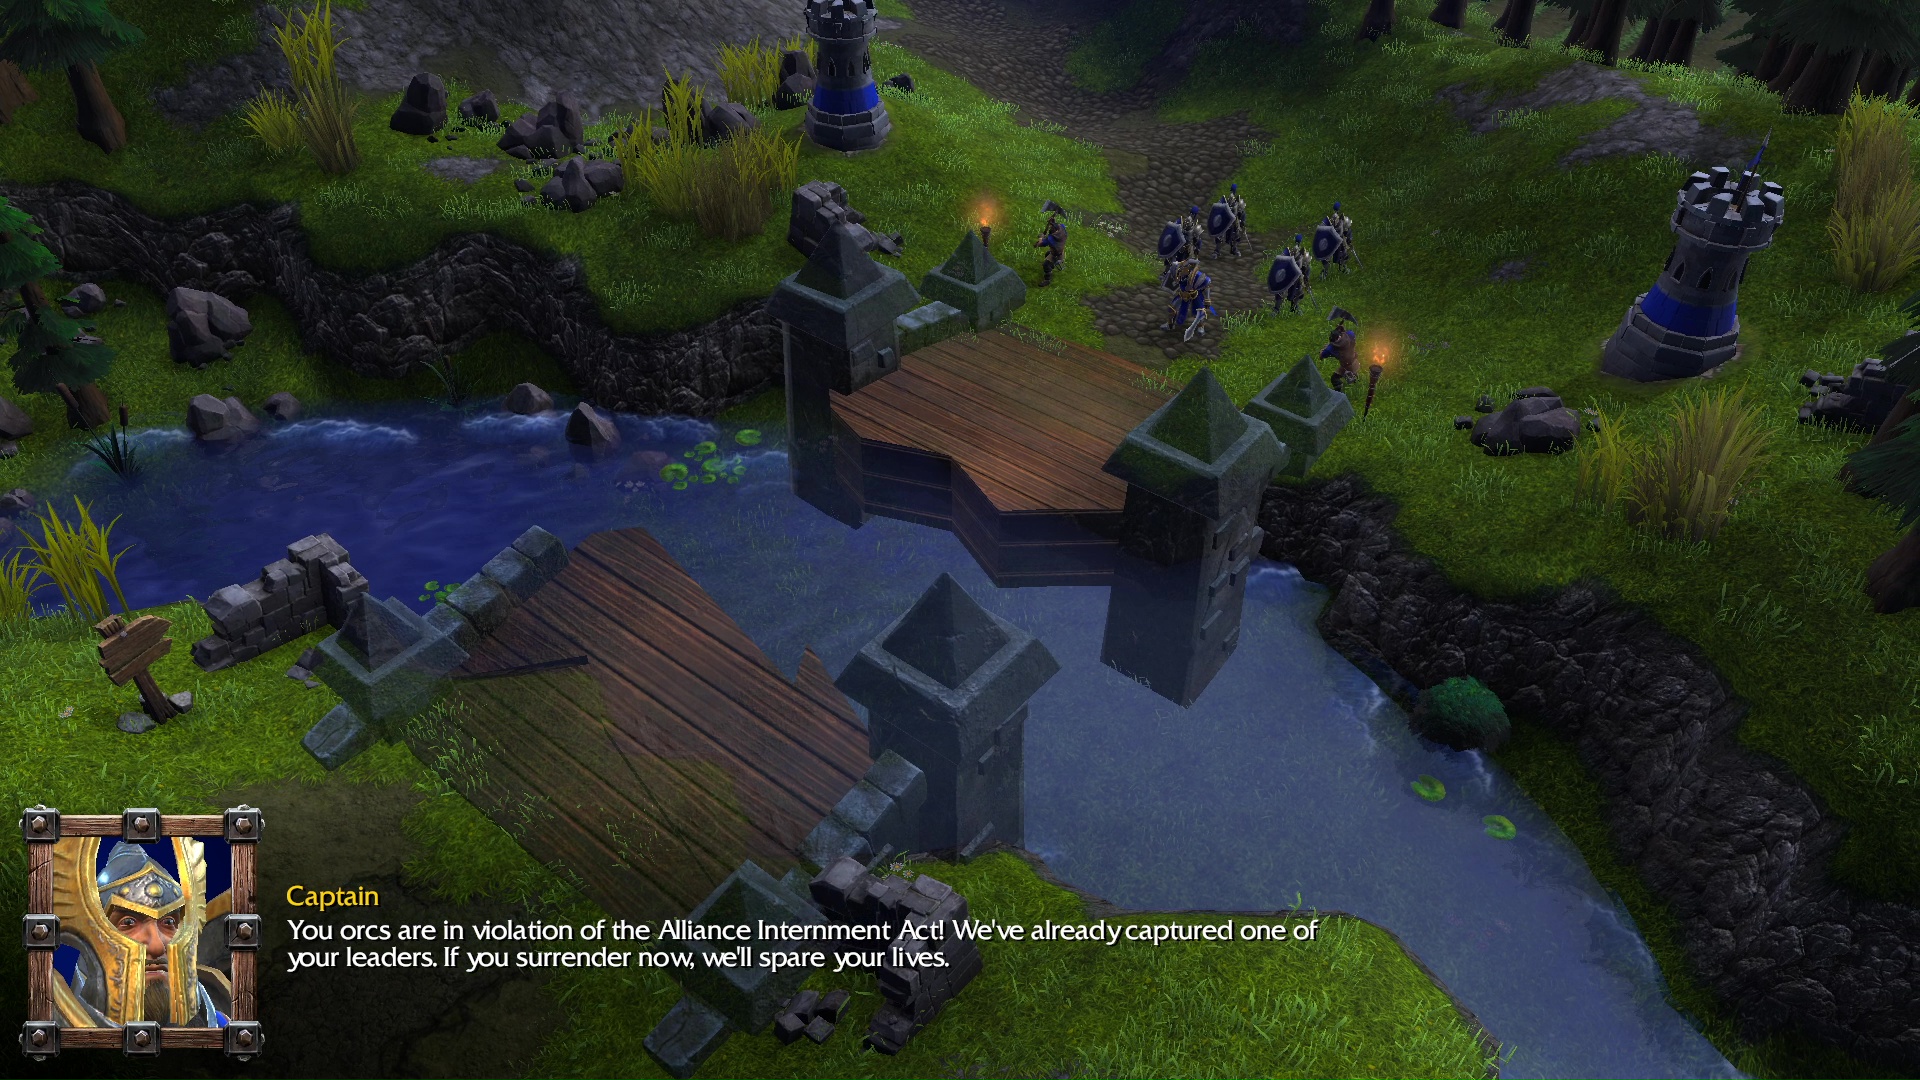
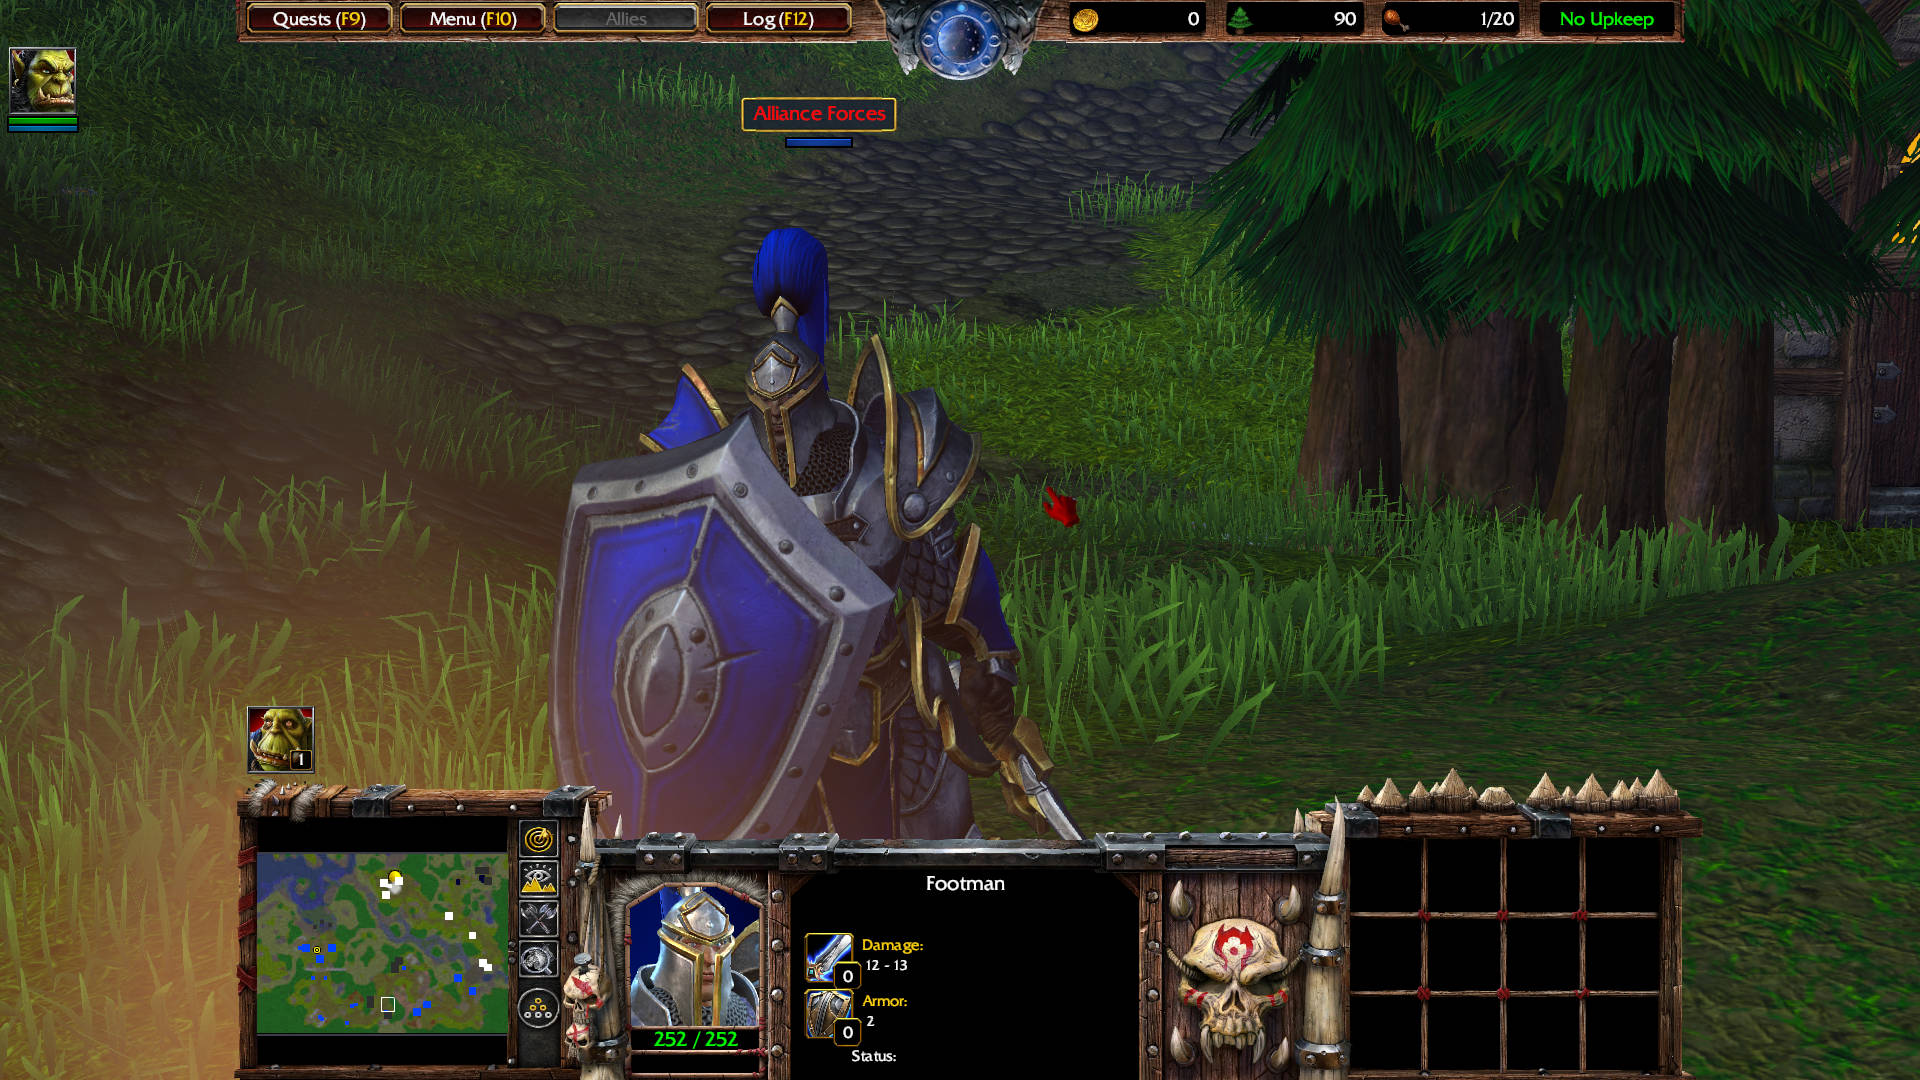
Captain: You orcs are in violation of the Alliance Internment Act! We’ve already captured one of yoru leaders. If you surrender now, we’ll spare your lives.
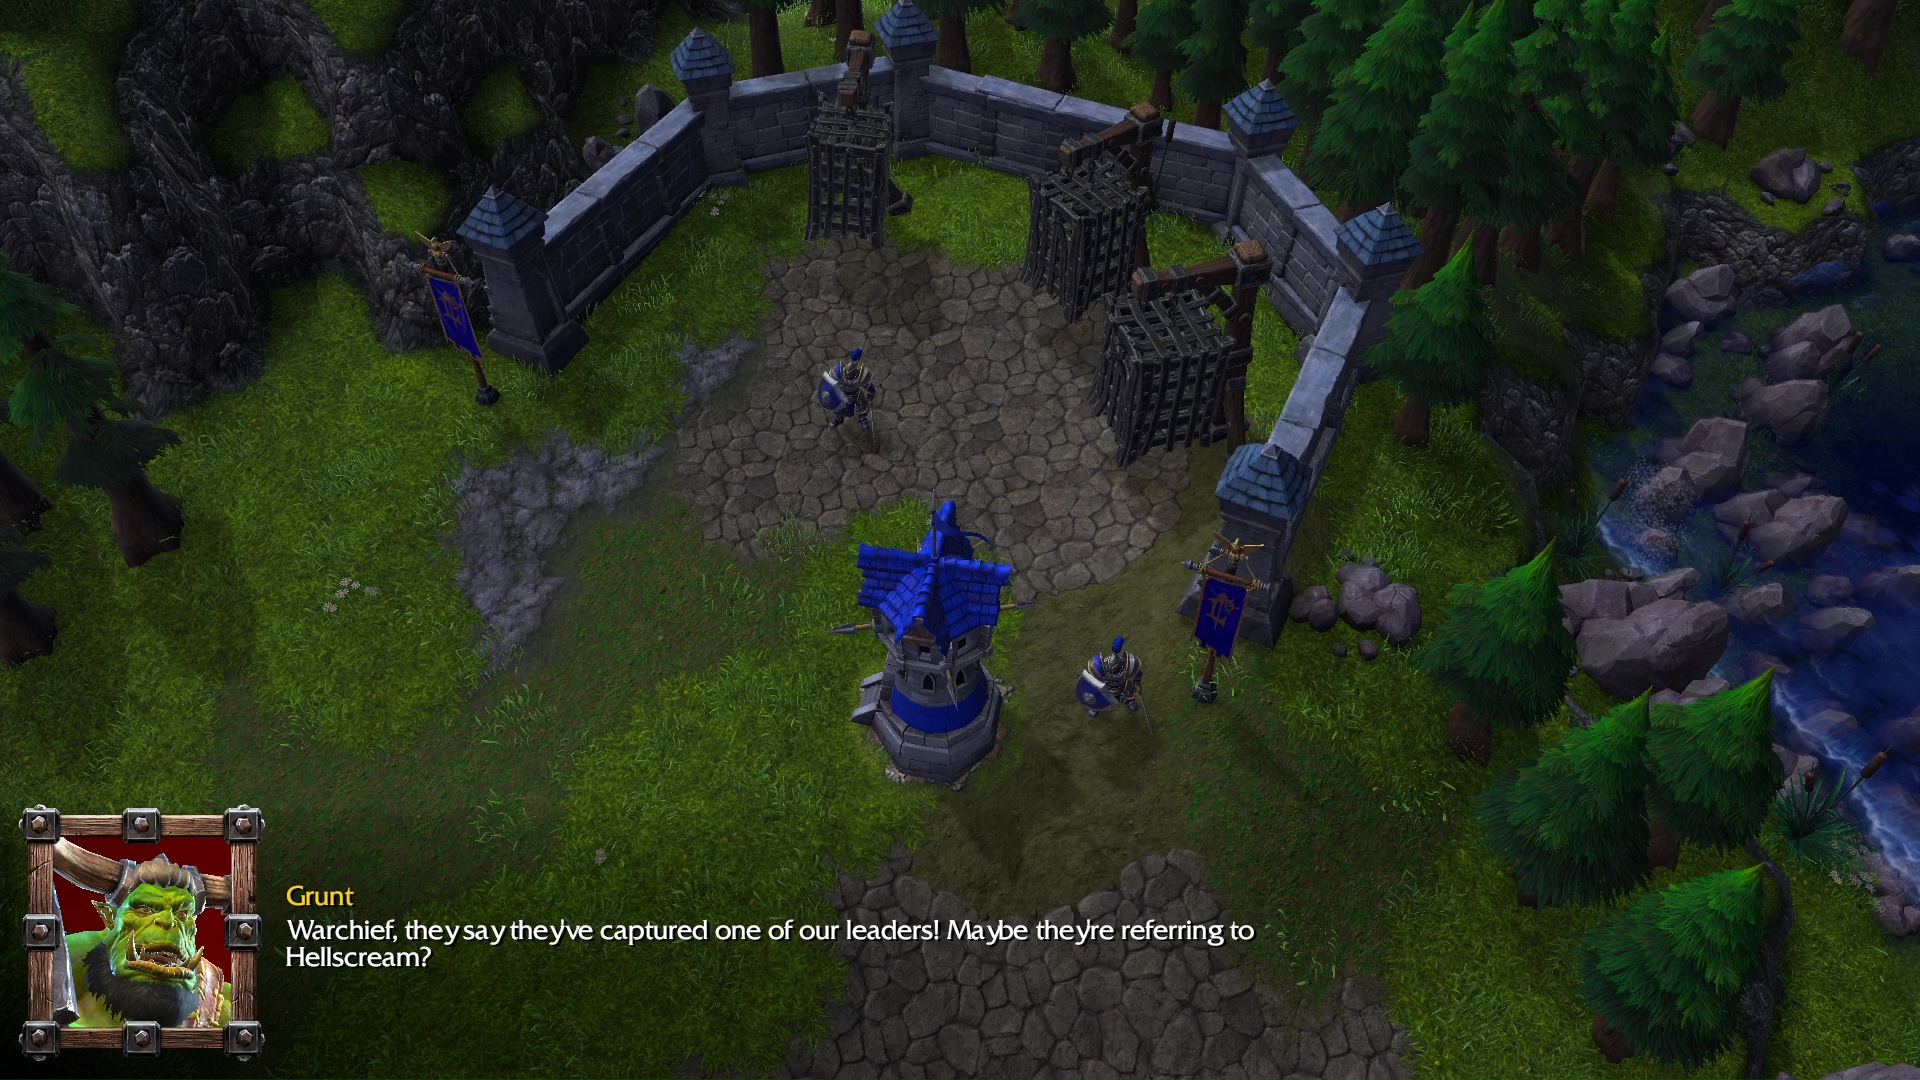
Grunt: Warchief, they say they’ve captured one of our leaders! Maybe they’re referring to Hellscream?
Thrall: I hope not. But if they have captured Hellscream, I’ll make them regret it! Lok-Tar Ogar! Come, my warriors! We must drive the humans back!
Build a new Grunt (G).
Build an Orc Burrow (O).
Note: The Captain and 4 Footmen attack your tower near the bridge (south). Kill them, or you can ignore them — as both towers kill them eventually.

Grunt: The wretched humans have been destroyed!
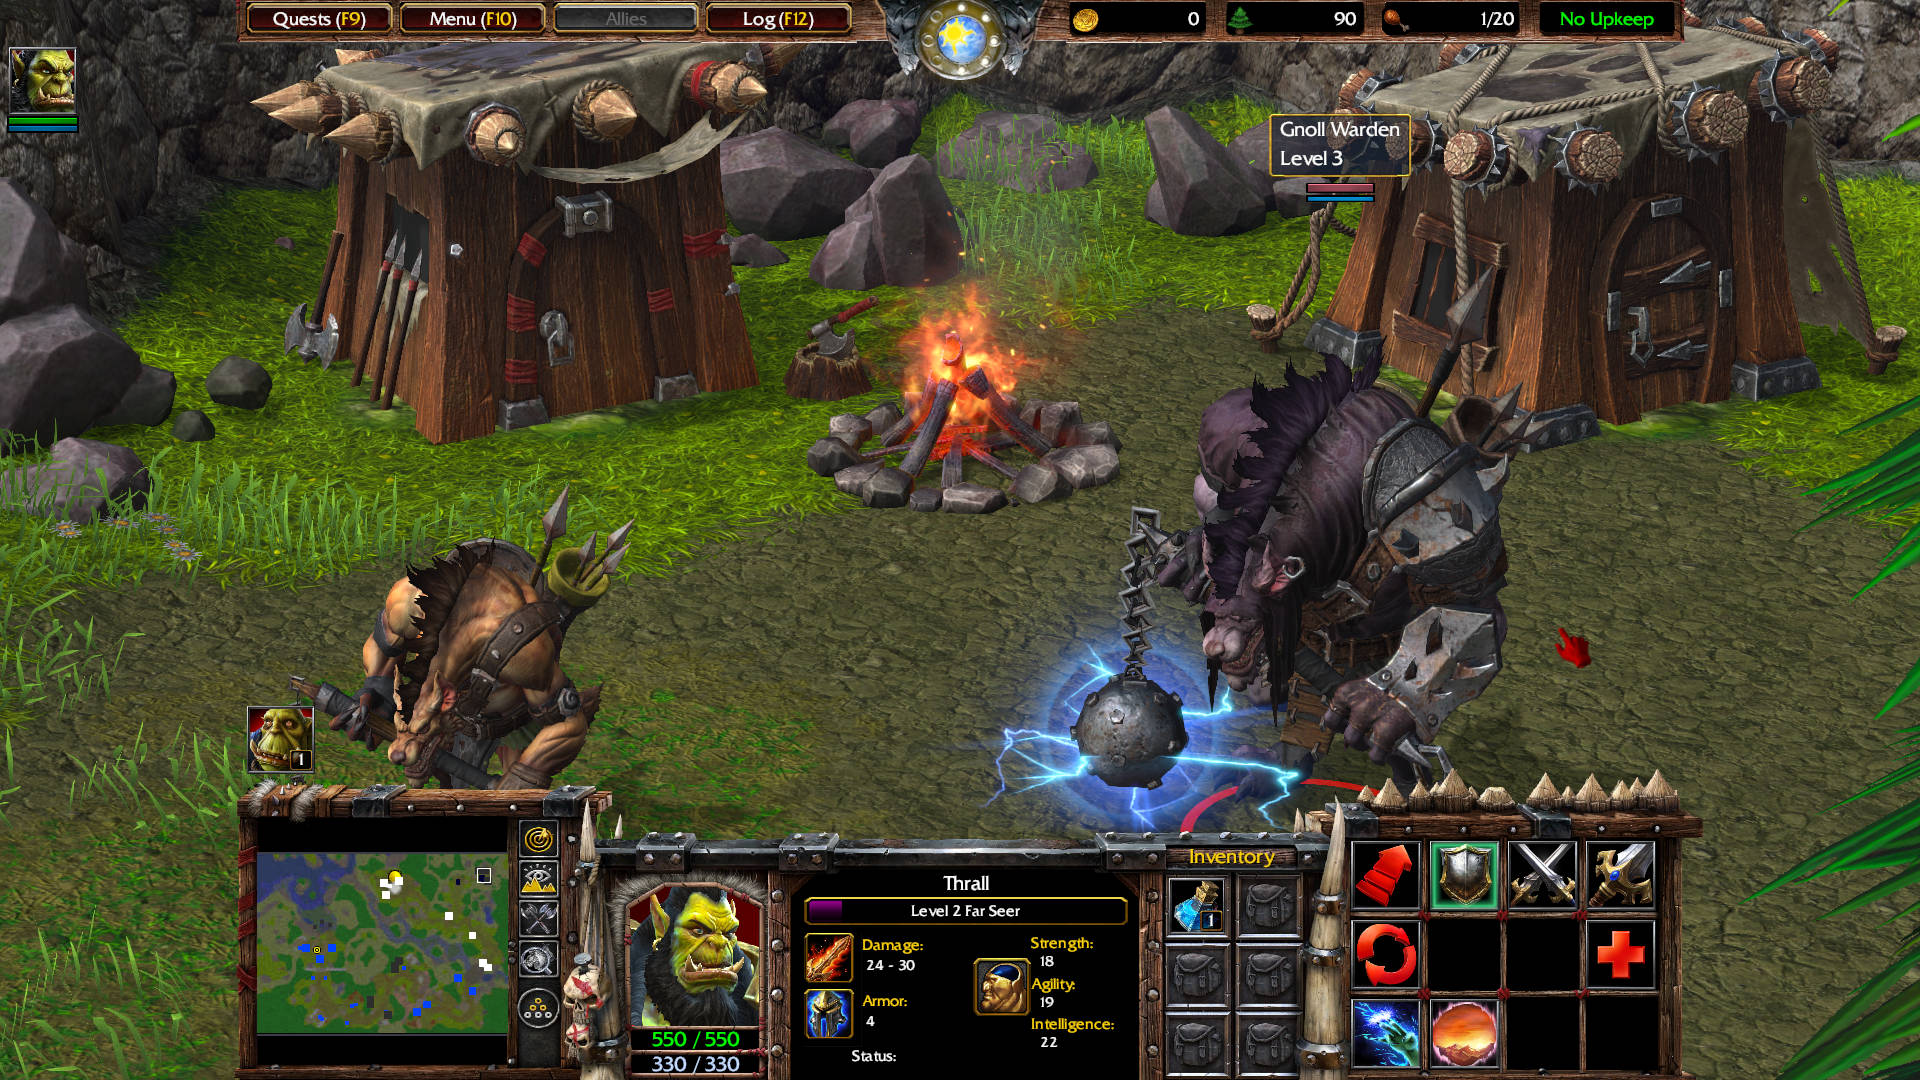
Note: Now that you have 5 Grunts, send Thrall and the grunts to kill these Gnolls. Use Chain Lightning on the Gnoll Warden Level 3.
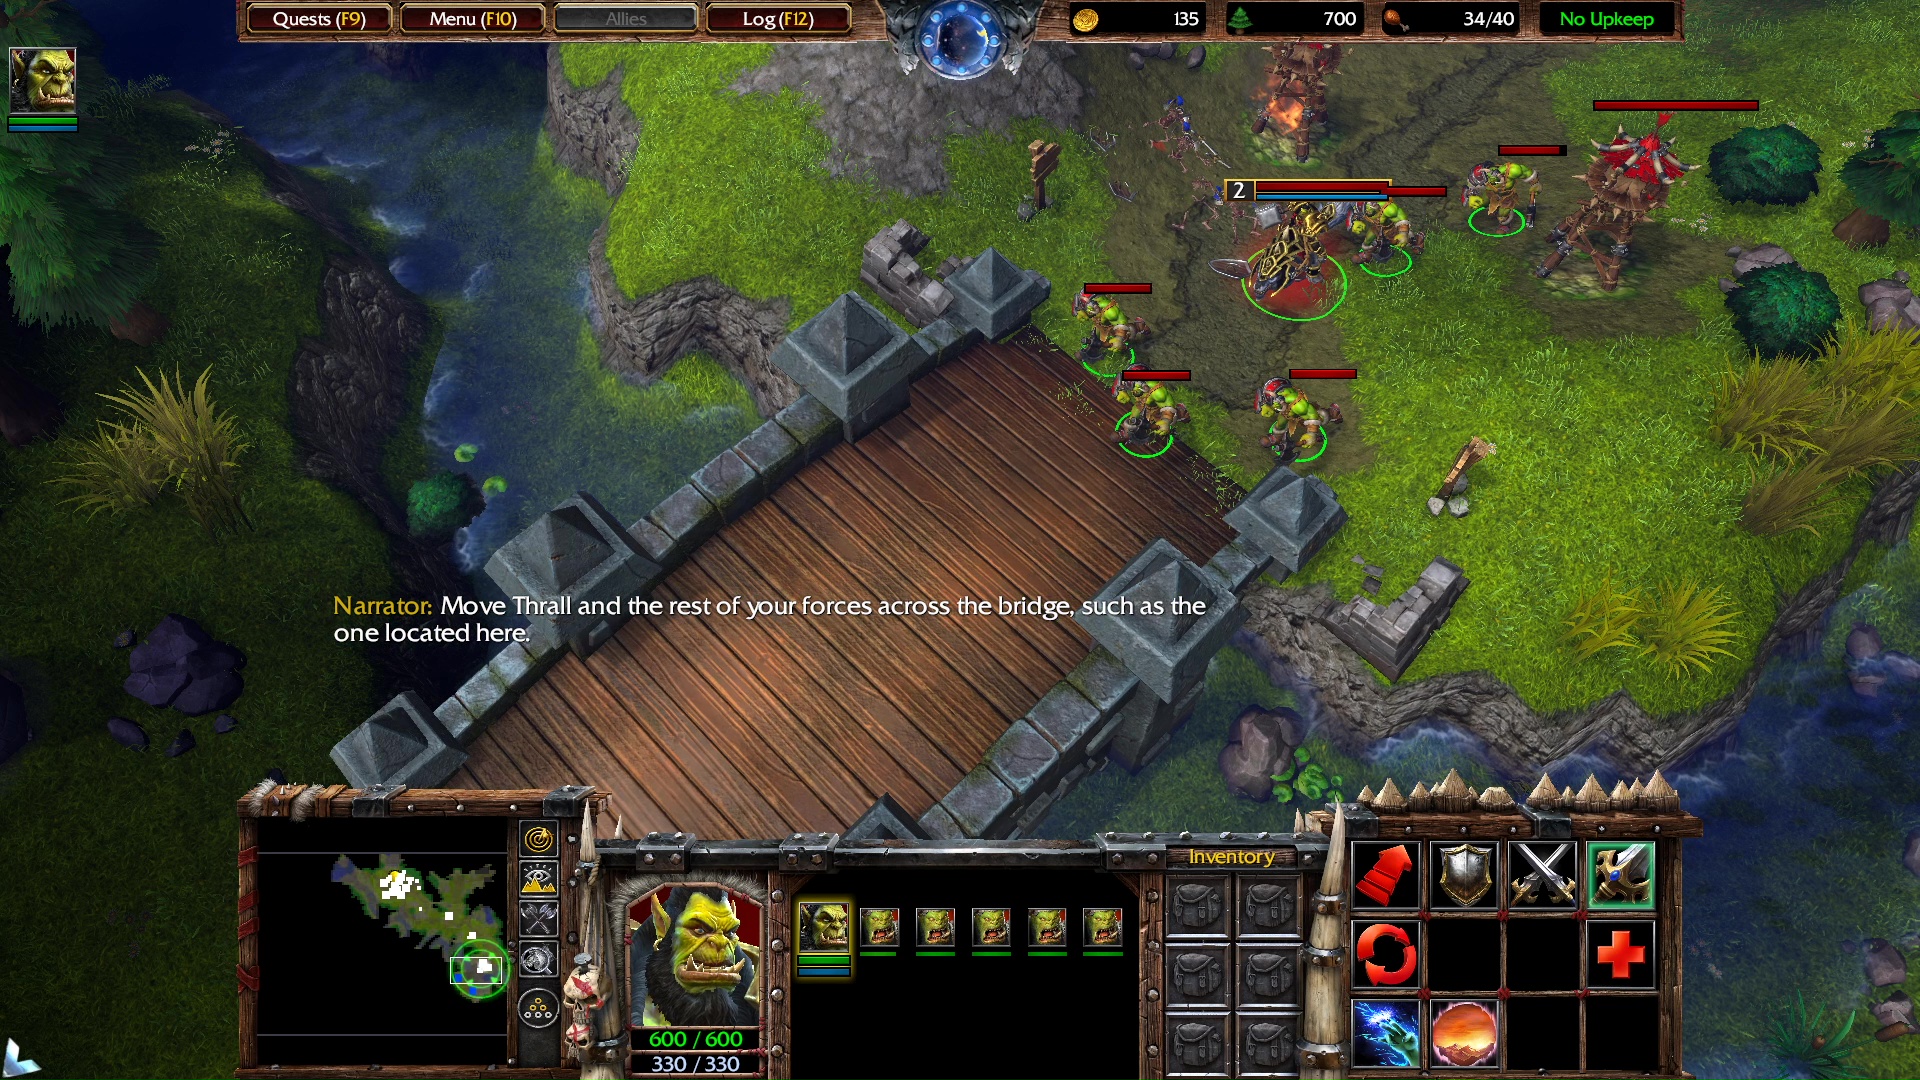
Narrator: Move Thrall and the rest of your forces across the bridge, such as the one located here.
MAIN QUEST
- Find Hellscream
Narrator: One of your structures was damaged during the fight. To repair a damaged building select a peon, CLICK the REPAIR button, and then LEFT-CLICK on the desired structure.
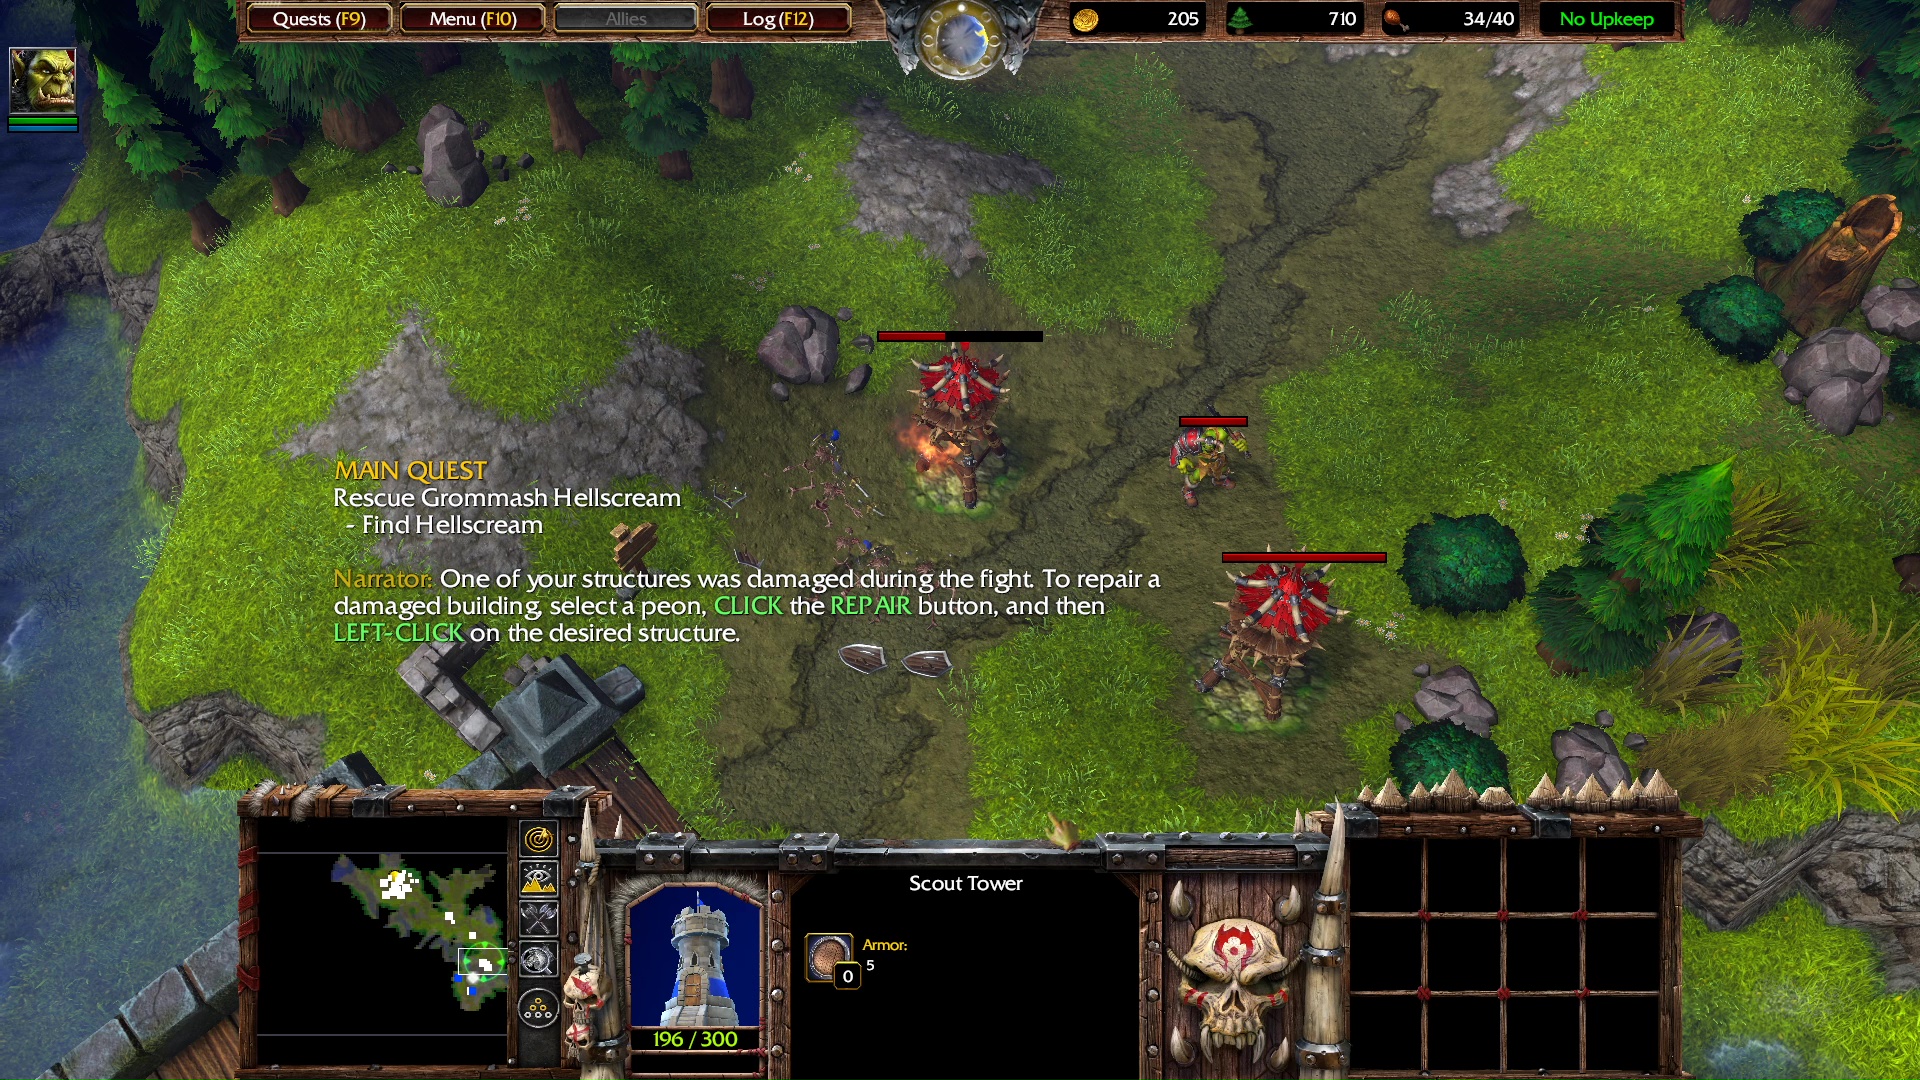
HINT – You can also Repair buildings by selecting your Peon, then RIGHT-CLICKING on the damaged building.
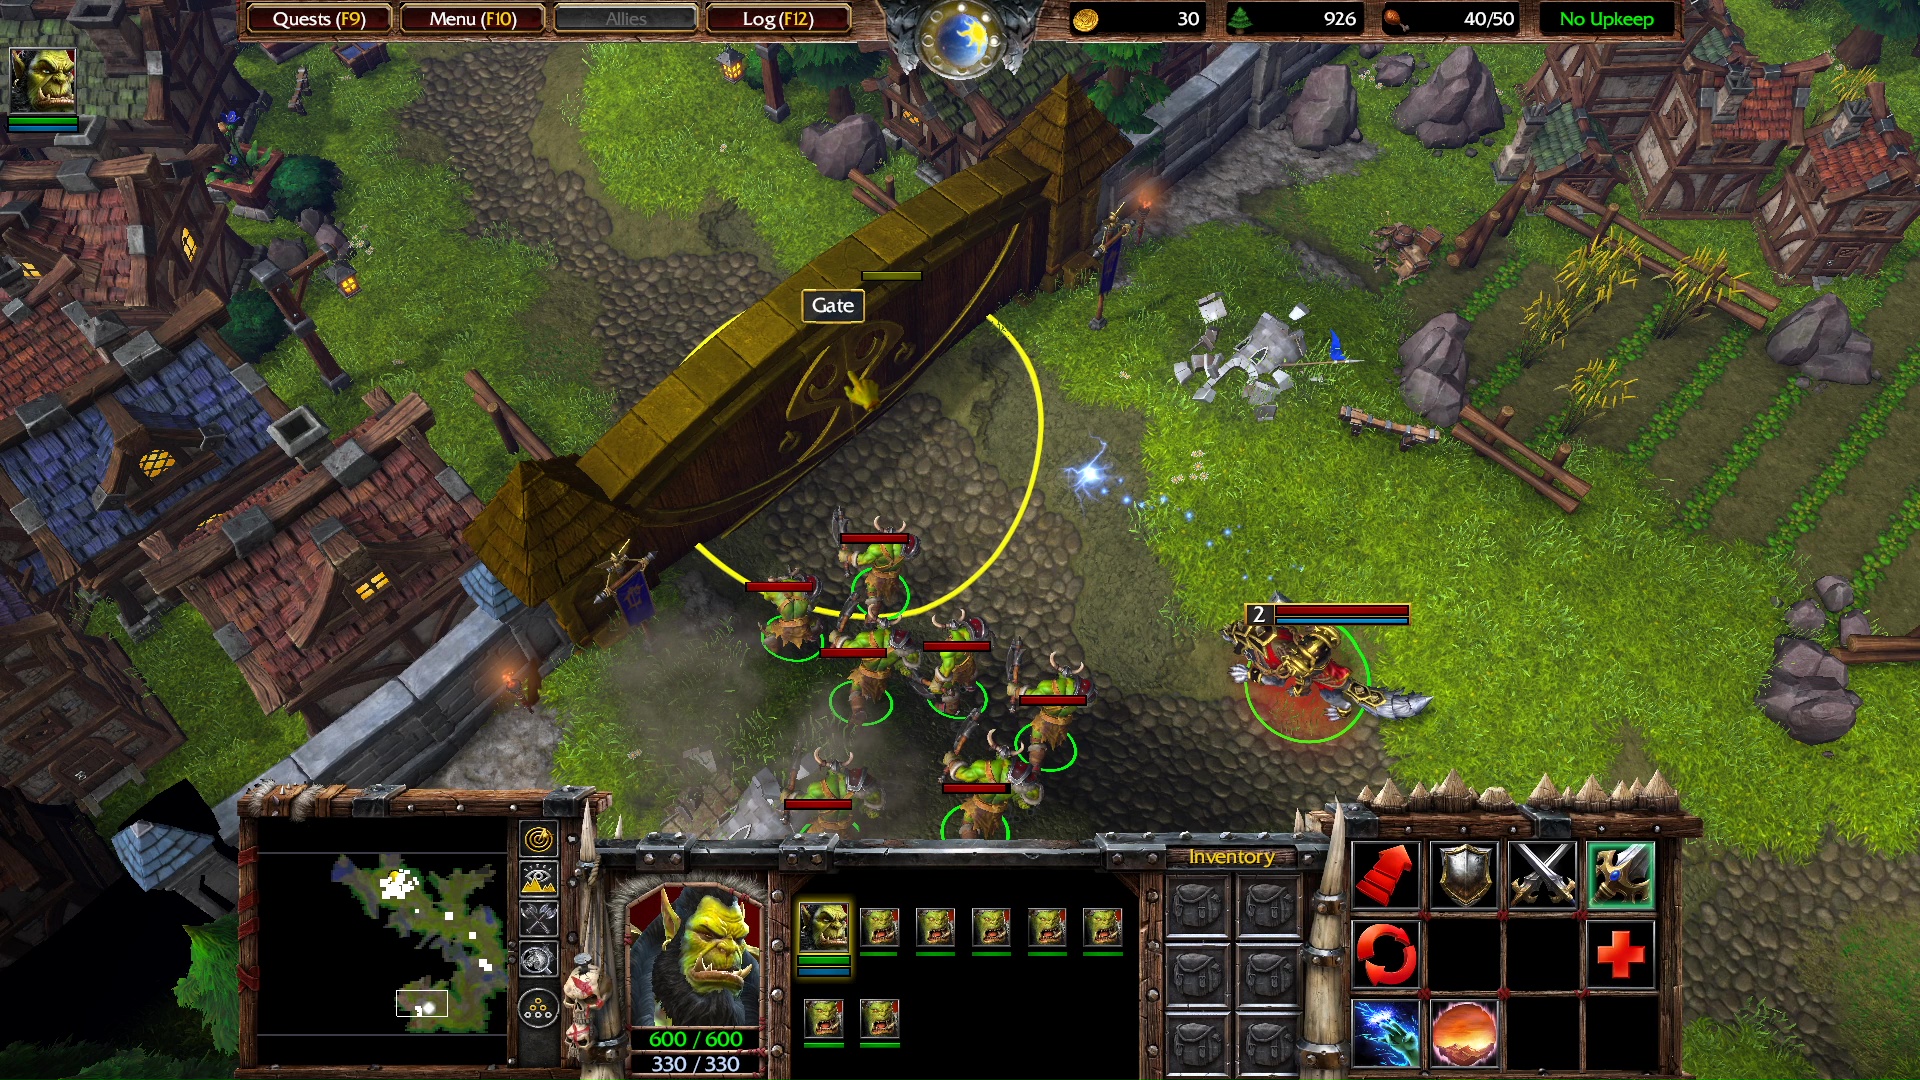
HINT – You can attack gates to destroy them.
Destroy the gate located at this spot in the map.
Head north of the gate. You will find 2 Footmen. After killing them, the cage will automatically release the prisoner: an ally Grunt.
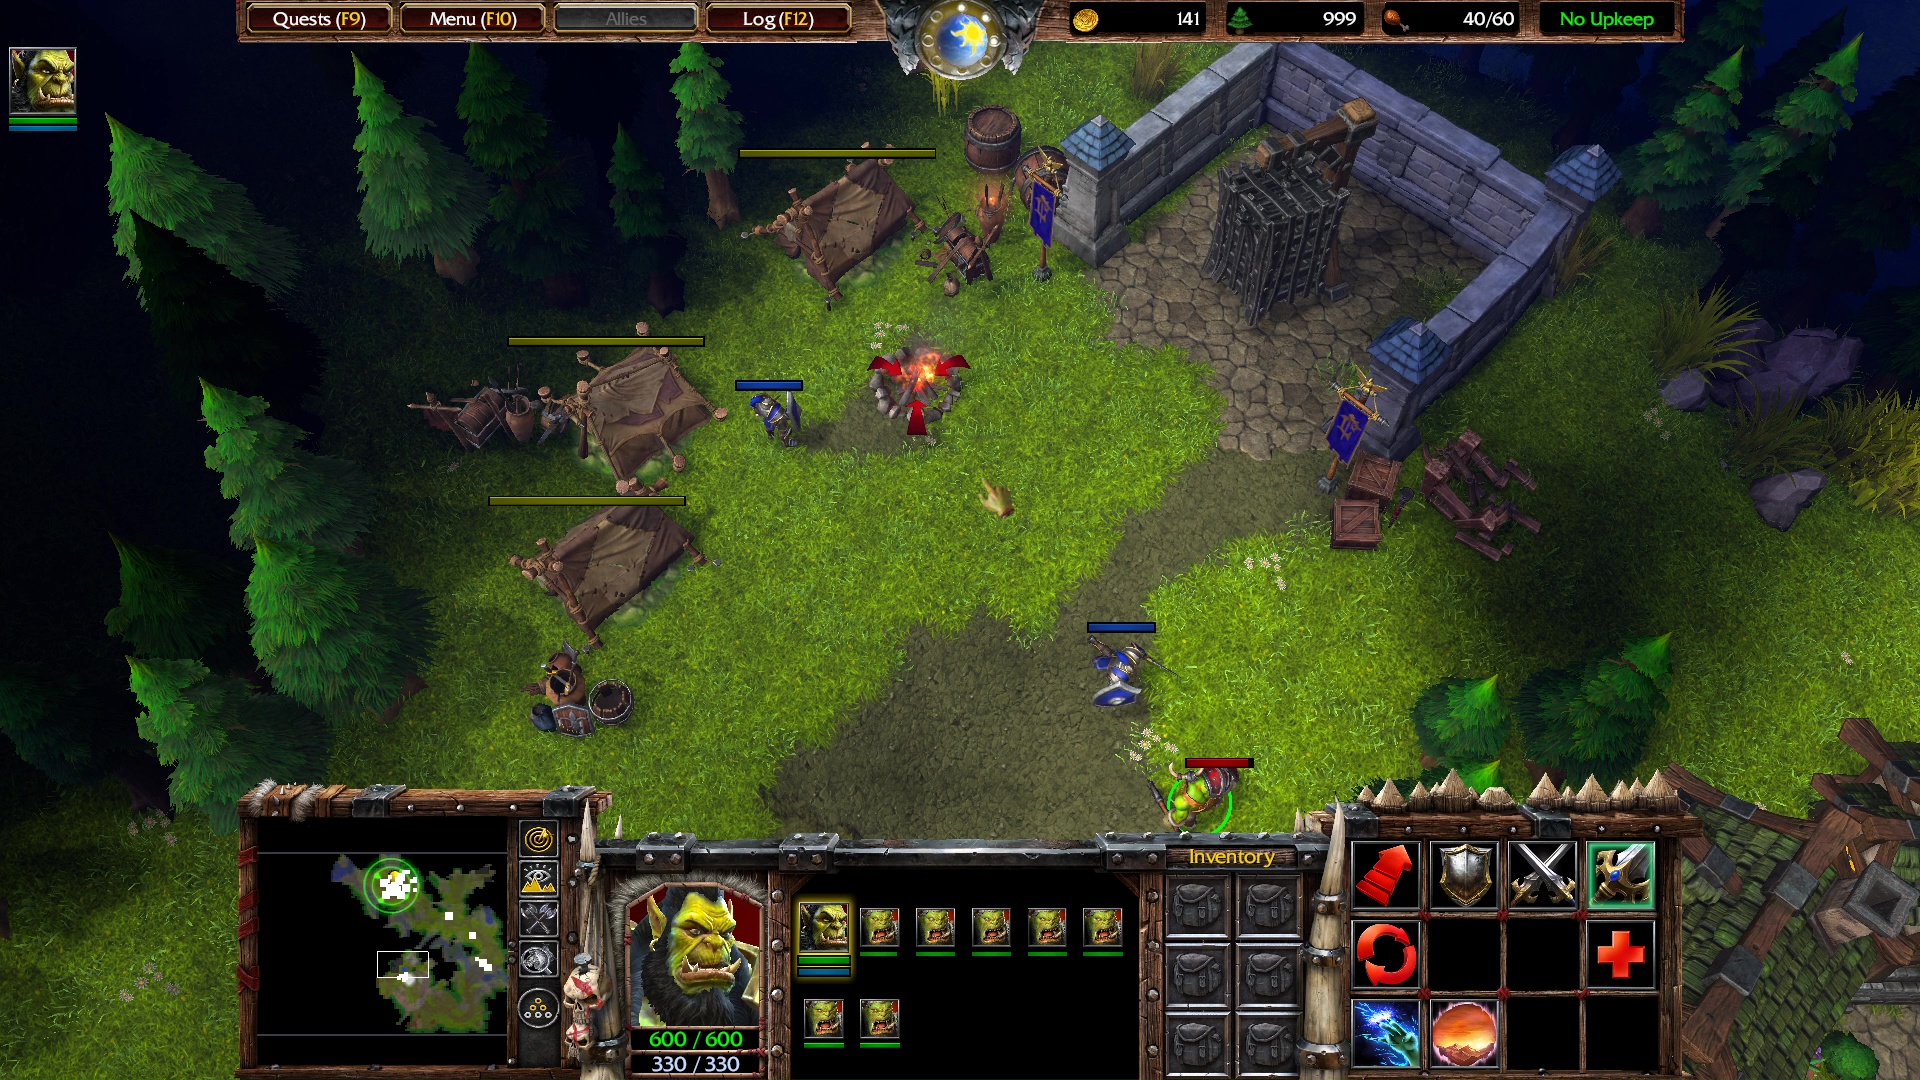
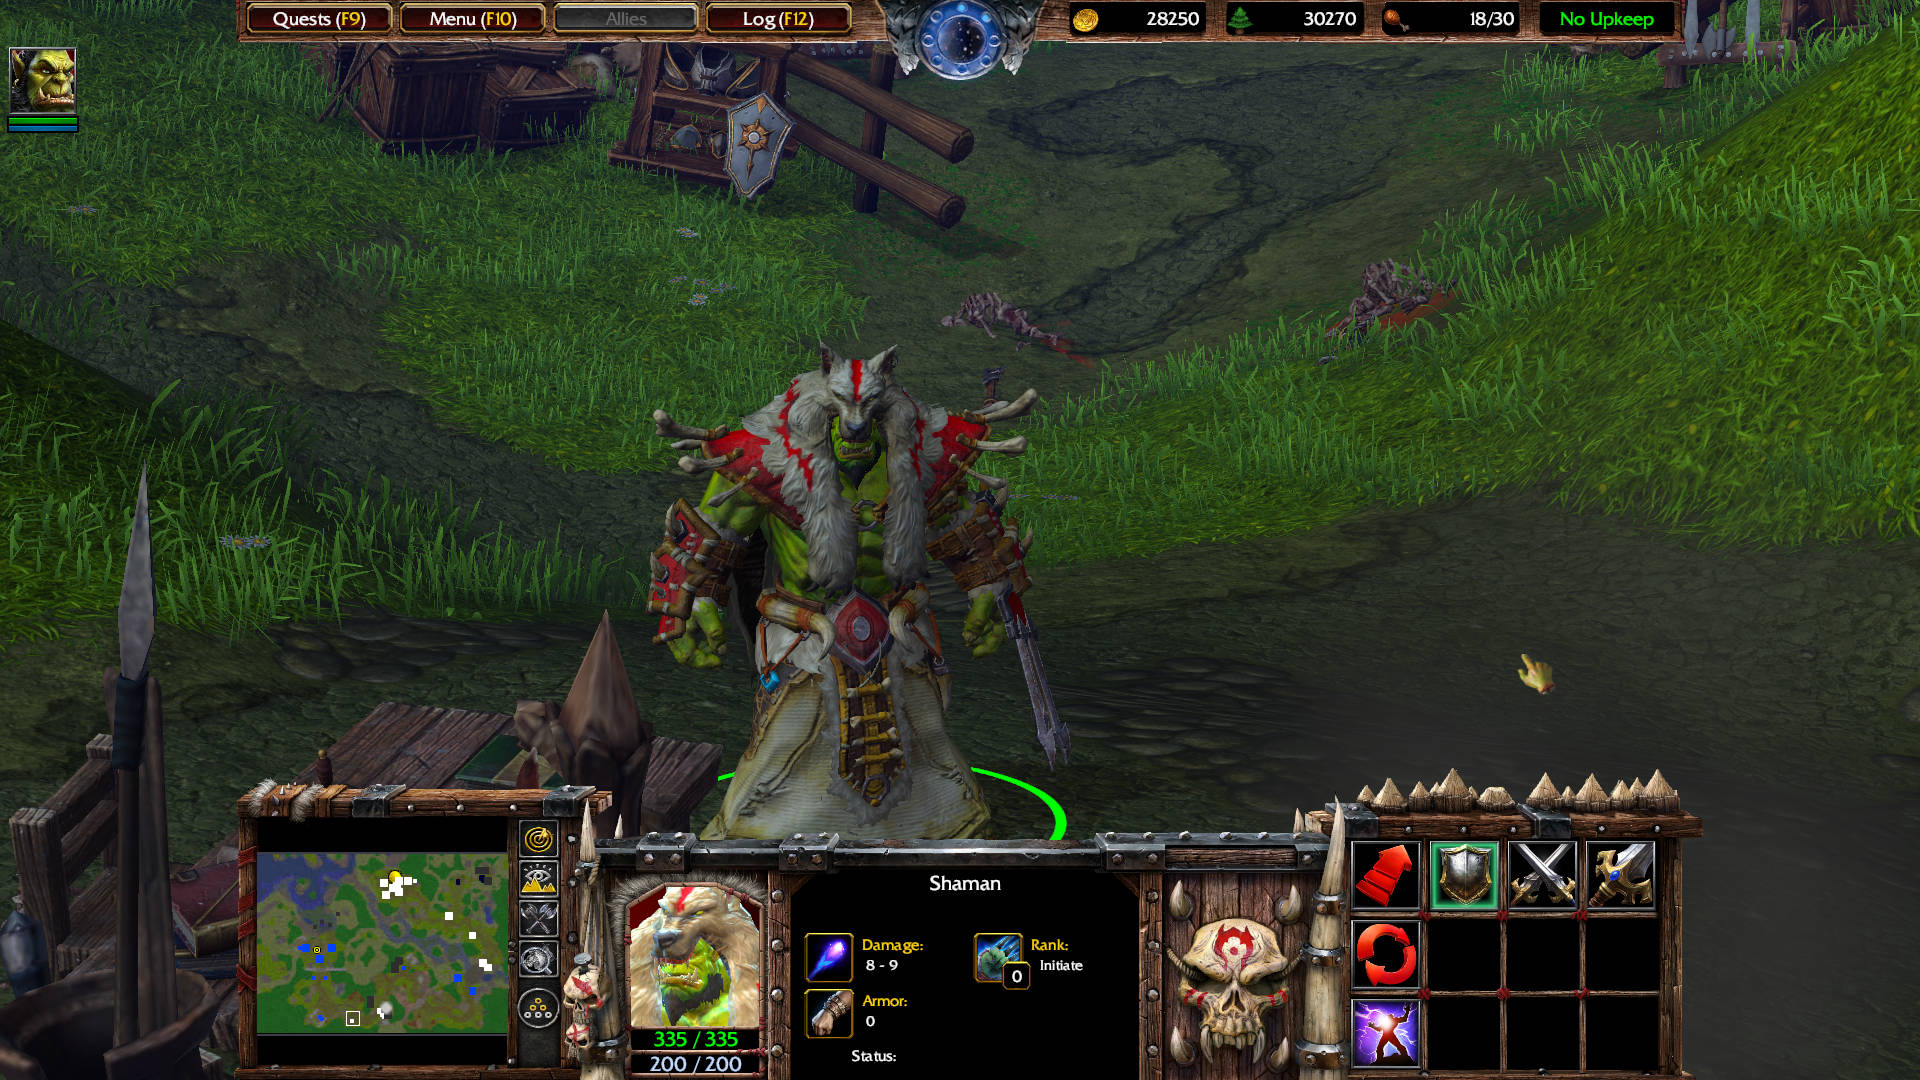
Head south along the road. You will find a sole Footman. After killing him, the cage opens to release an ally Shaman. The Shaman has the Purge ability: Removes all buffs from a target unit, and slows its movement speed by a factor of 5. Purged units will slowly regain their movement speed over 15 sec. Deals 400 damage to summoned units. Costs 75 Mana.
NEW UNIT ACQUIRED
Shaman – This spellcaster has a ranged attack and can cast the Purge spell on enemy units to slow their movement.
Narrator: When you control multiple spellcasters at the same time, it often becomes necessary to quickly switch between them to cast their individual spells. By using the subgroup interface, you can do so without having to try to select them individually.
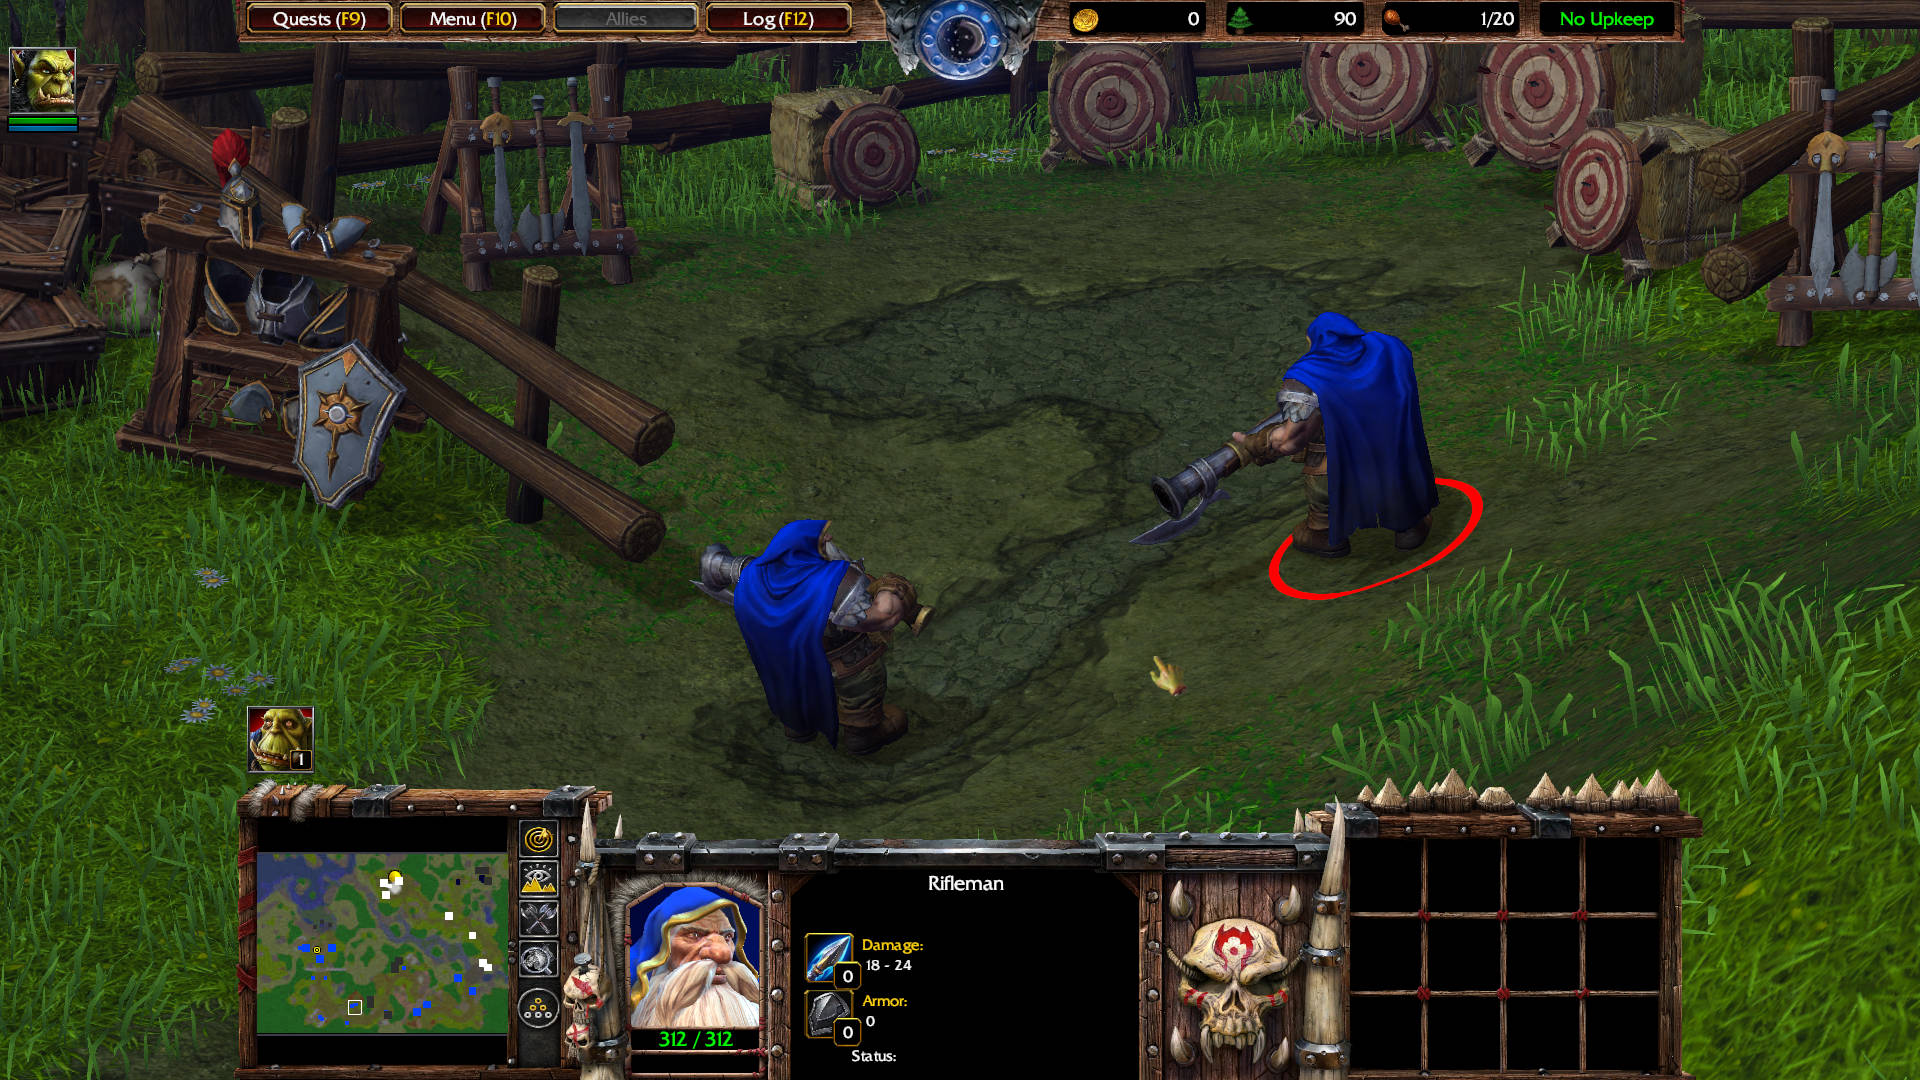
Heading northwest, you will encounter a sole footman, and not far, two riflemen (dwarves).
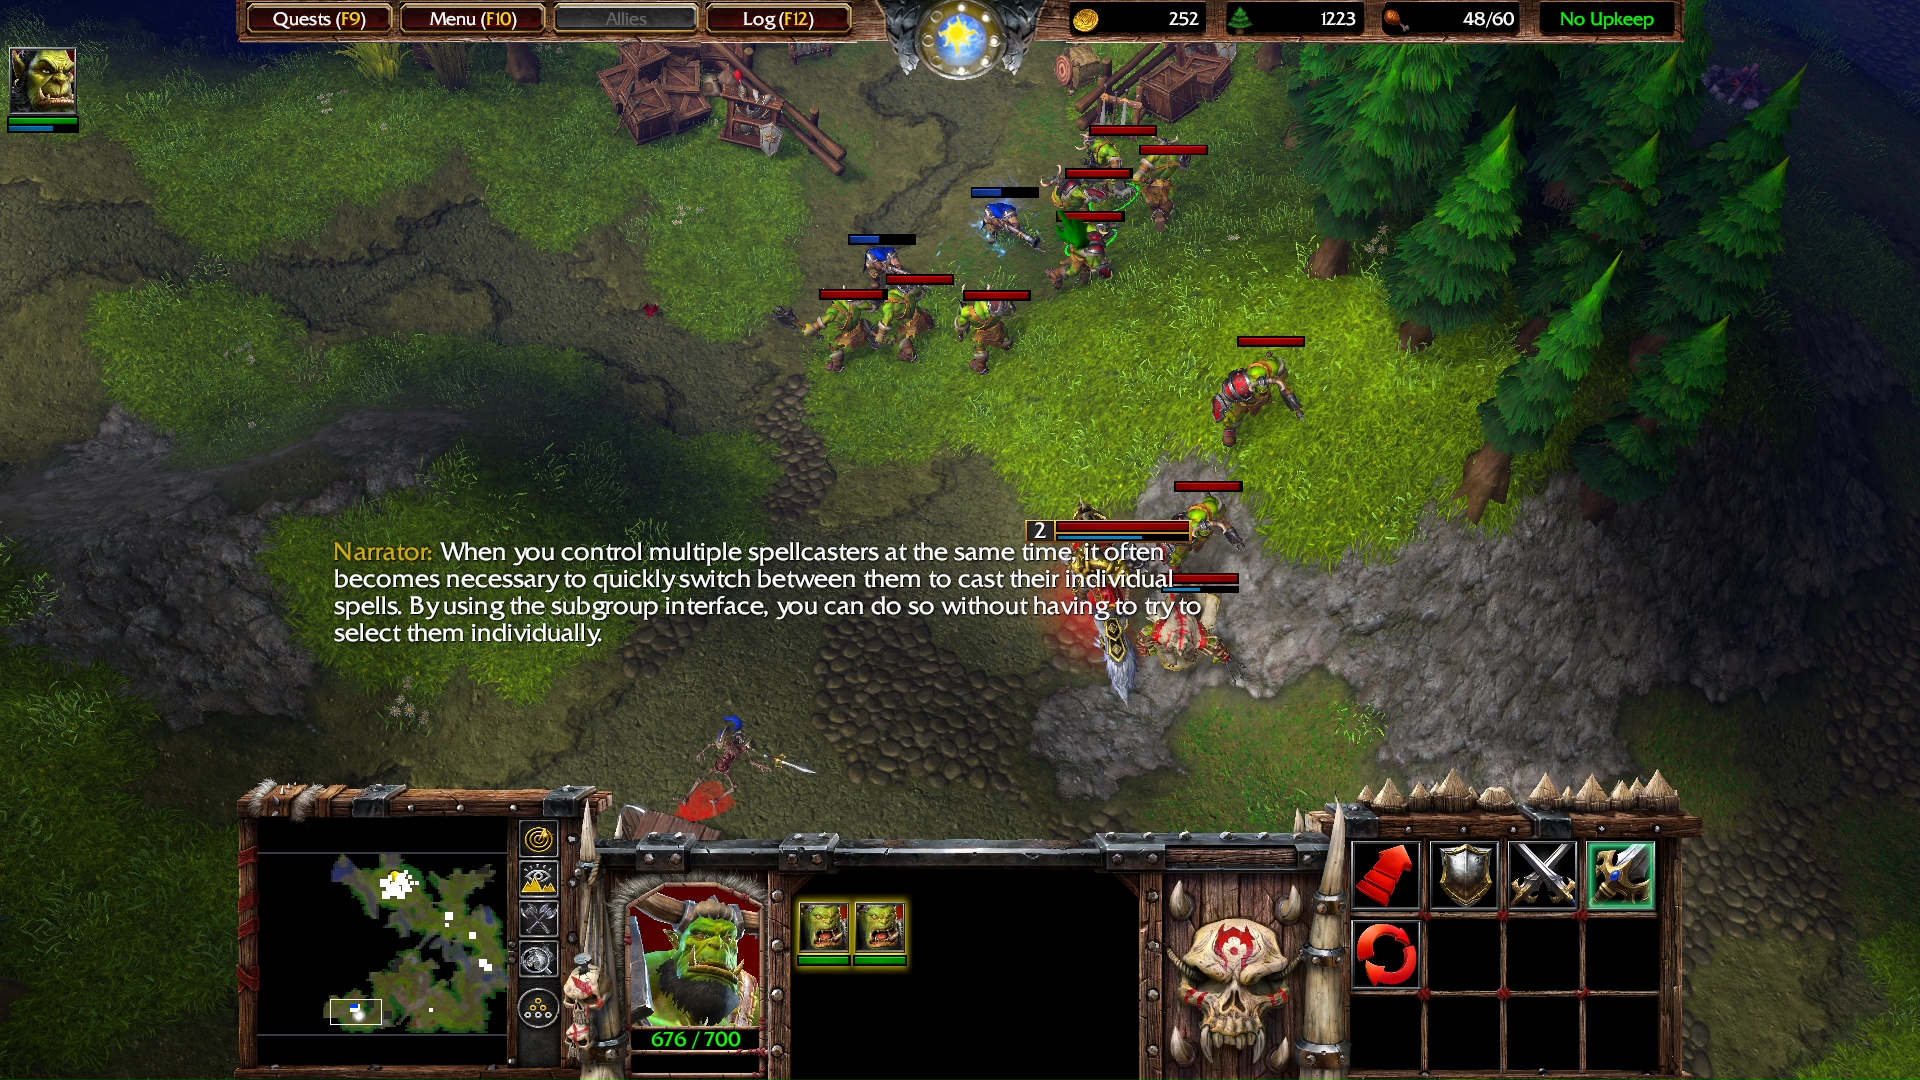
Narrator: Notice that the currently selected units are displayed in the bottom-middle portion of your screen by little portraits. One of the unit portraits is highlighted with a yellow glow. This means that it is the currently activated subgroup.
Narrator: You can switch between subgroups by pressing the TAB key or LEFT-CLICKING on one of the portraits that is not highlighted. This activates that subgroup and displays their spells in your command card.
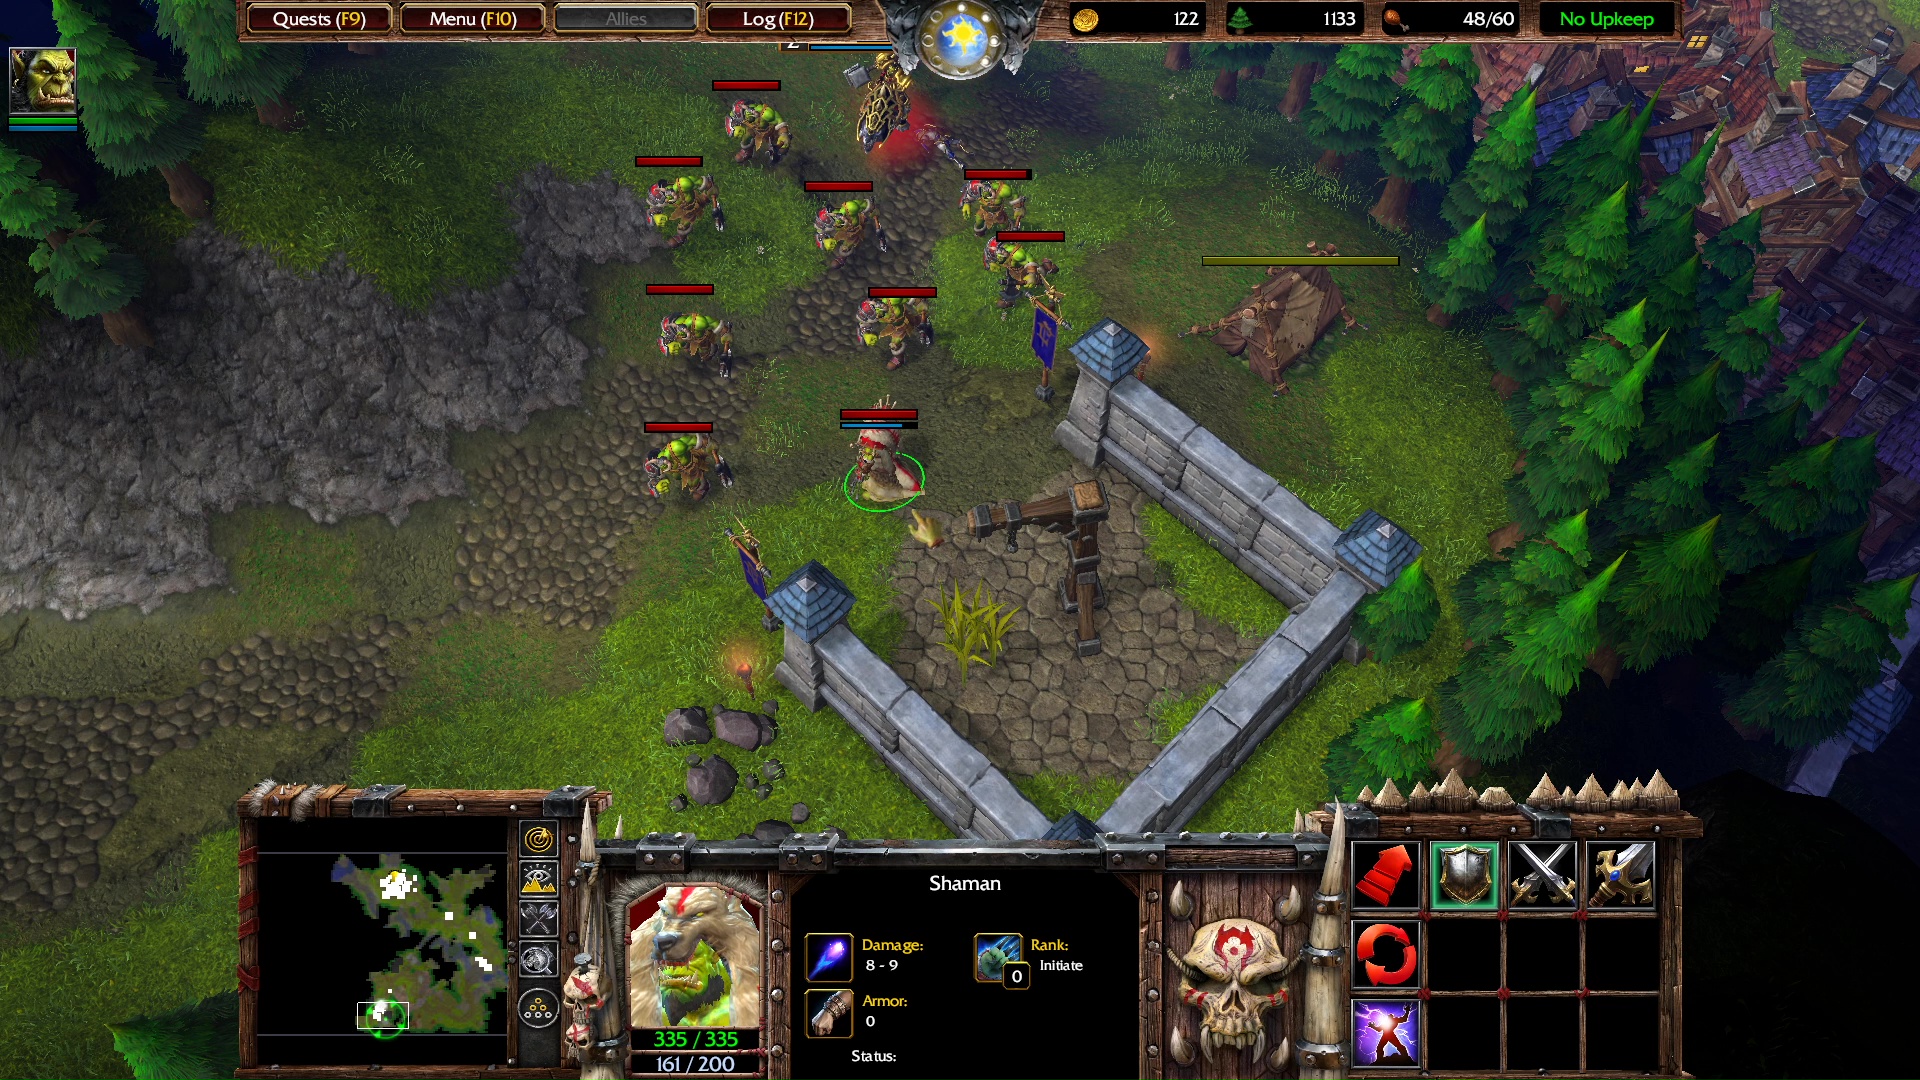
Further to the west, along the road you will encounter 2 footmen. After you kill them, the 3 cages behind them automatically open. Two ally grunts and a shaman spawn.

Narrator: Your army has grown to such a large size that it now requires a portion of your income to sustain it. This maintenance cost is referred to as upkeep.
HINT – To find out more information about Upkeep, point your mouse at the Upkeep indicator in the upper-right corner of your screen.
Command a peon to build an Orc Burrow.
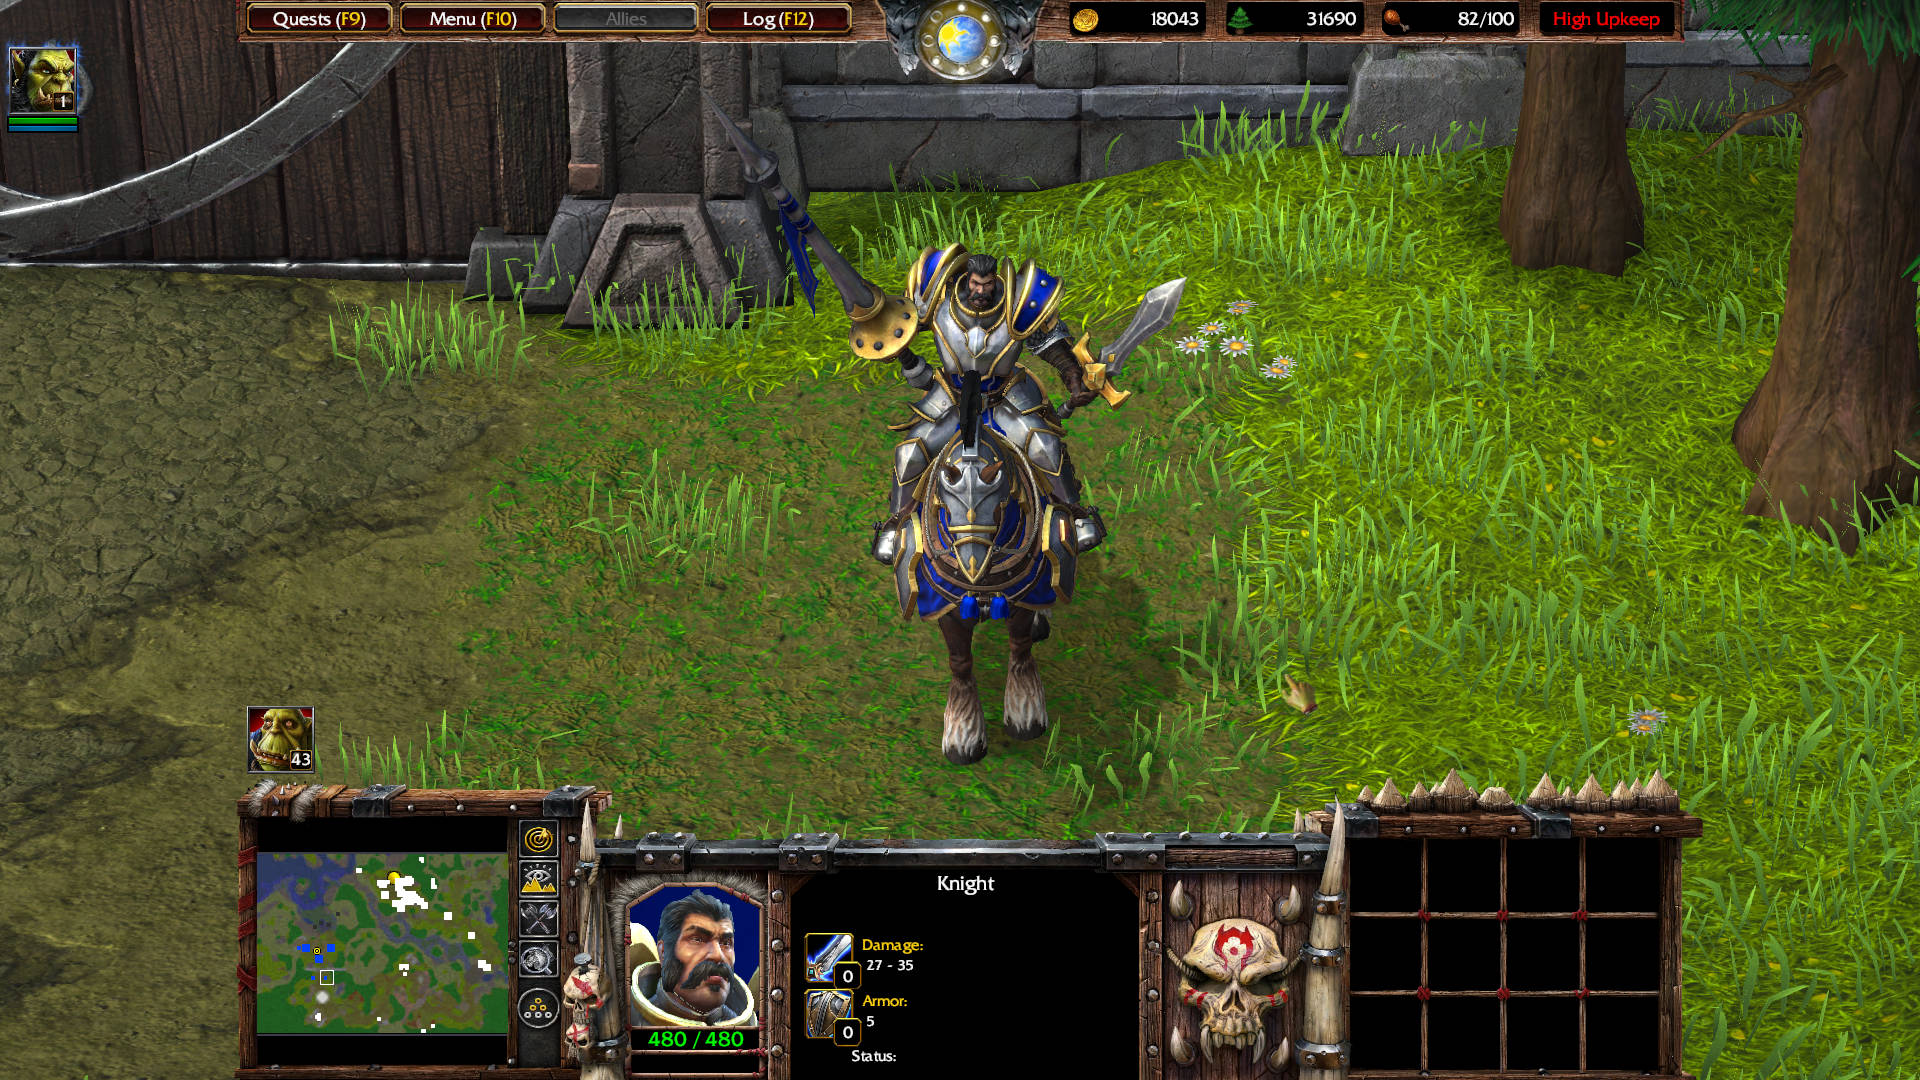
Move your troops north. You will find 2 Knights defending a gate.
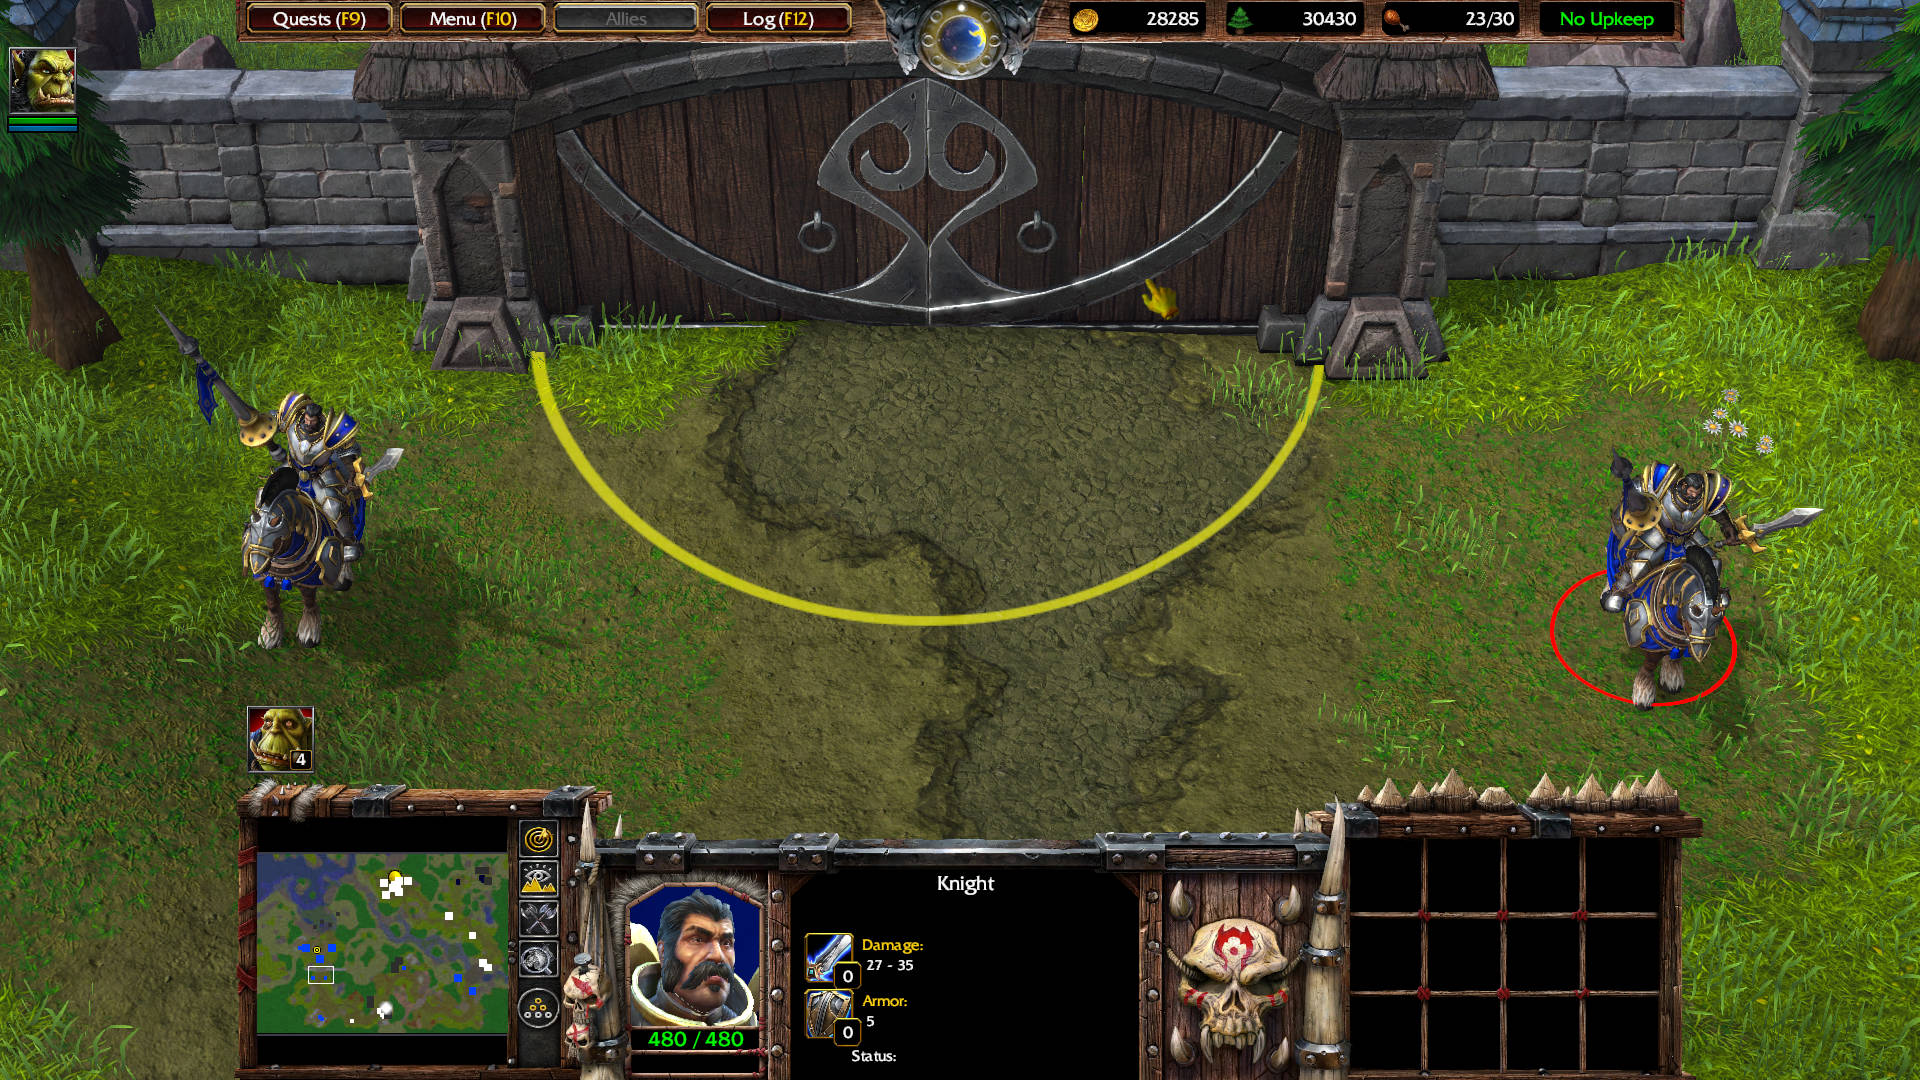
Grunt: Warchief! We’ve found where they’re holding Hellscream, but the area is protected by fortified guard towers!
Thrall: Then destroy them! Hellscream must be freed!

MAIN QUEST
Rescue Grommash Hellscream
- Find Hellscream (Completed)
- Destroy the Guard Towers guarding Hellscream
After you destroy the three Guard Towers, the main quest is completed. A cutscene plays shortly after.
MAIN QUEST COMPLETED
Rescue Grommash Hellscream
CUTSCENE
Thrall: Hellscream, are you alright?
Grommash Hellscream: I’m fine, little brother. Luckily, they only injured my pride.
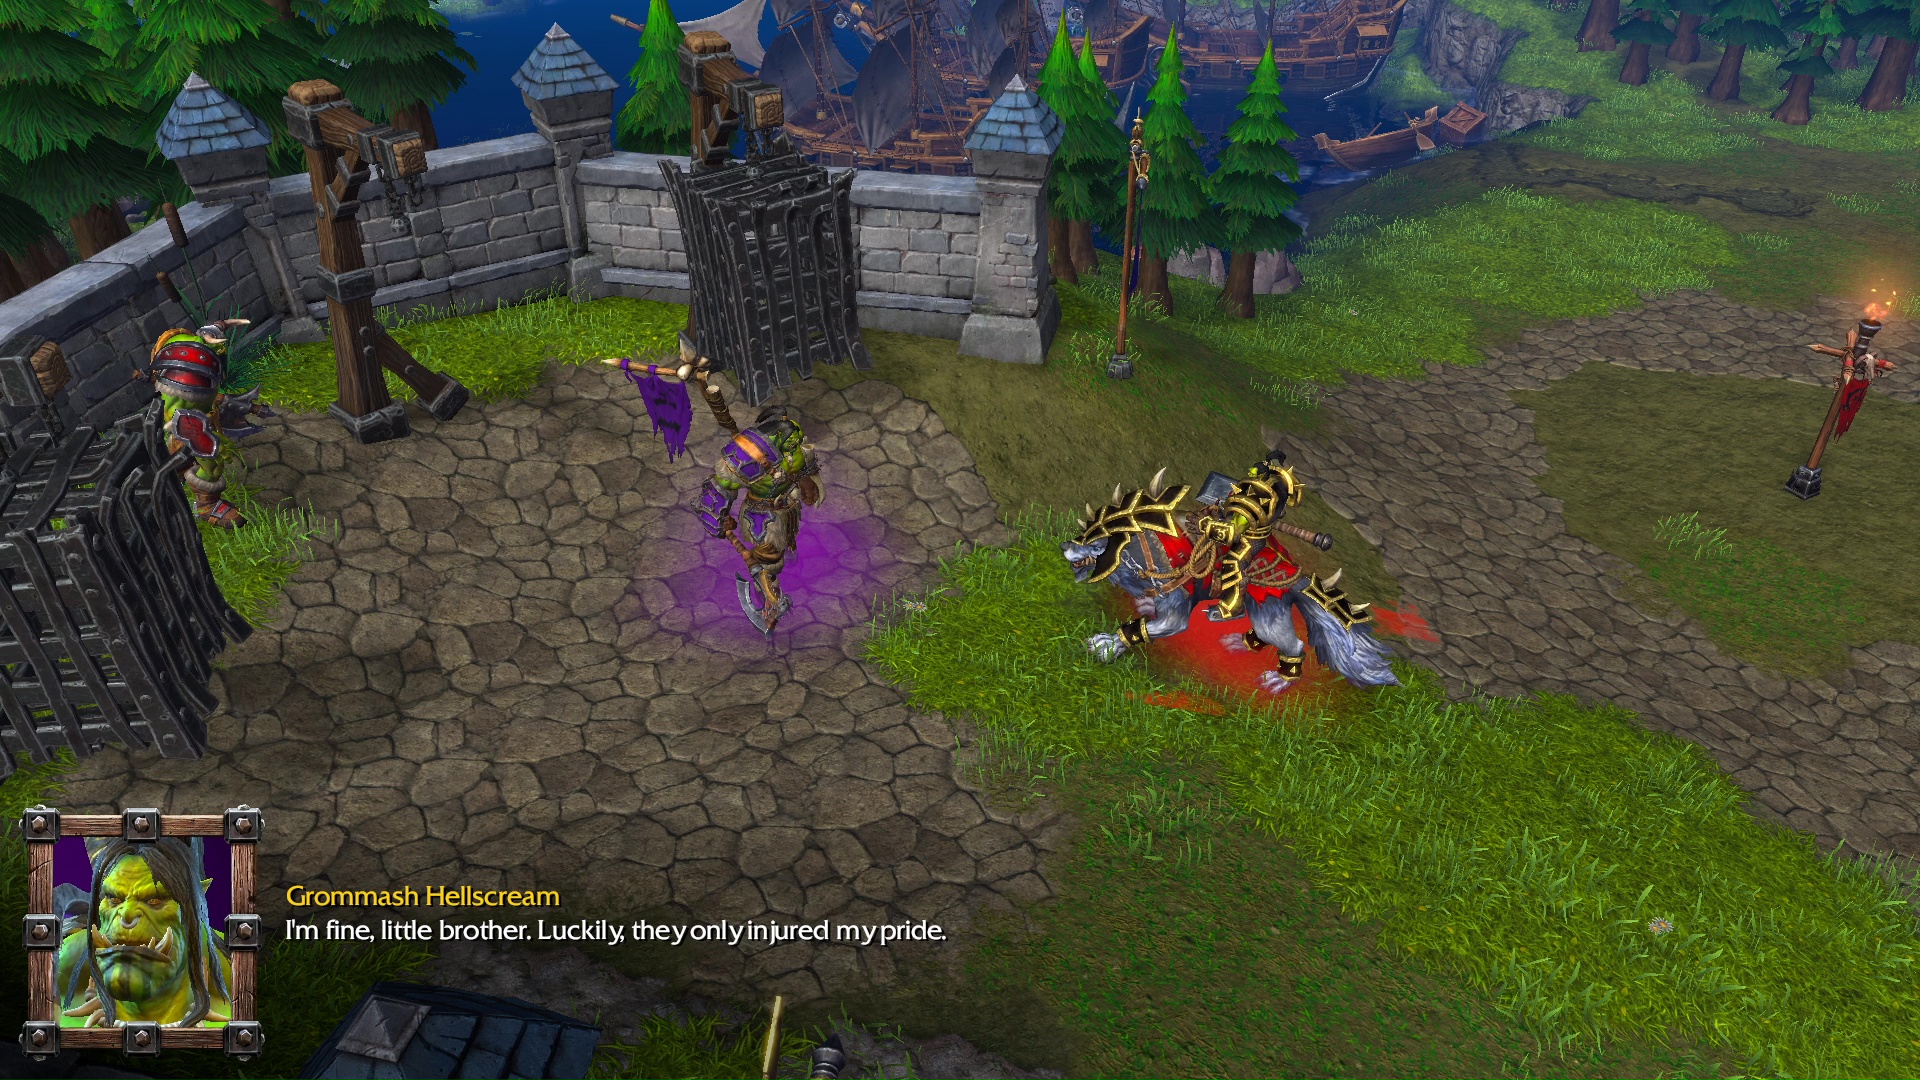
Thrall: Great, ’cause we’re getting out of here now. We’re leaving the human lands for good.
Grommash Hellscream: Finally. Follow me. I have an idea. Hah… We can set sail on the humans’ own ships.

Thrall: (laughs) Perfect. But we’ll need to wait for the rest of the Horde–
Grunt: The Horde is assembled, Warchief. We await only your command.
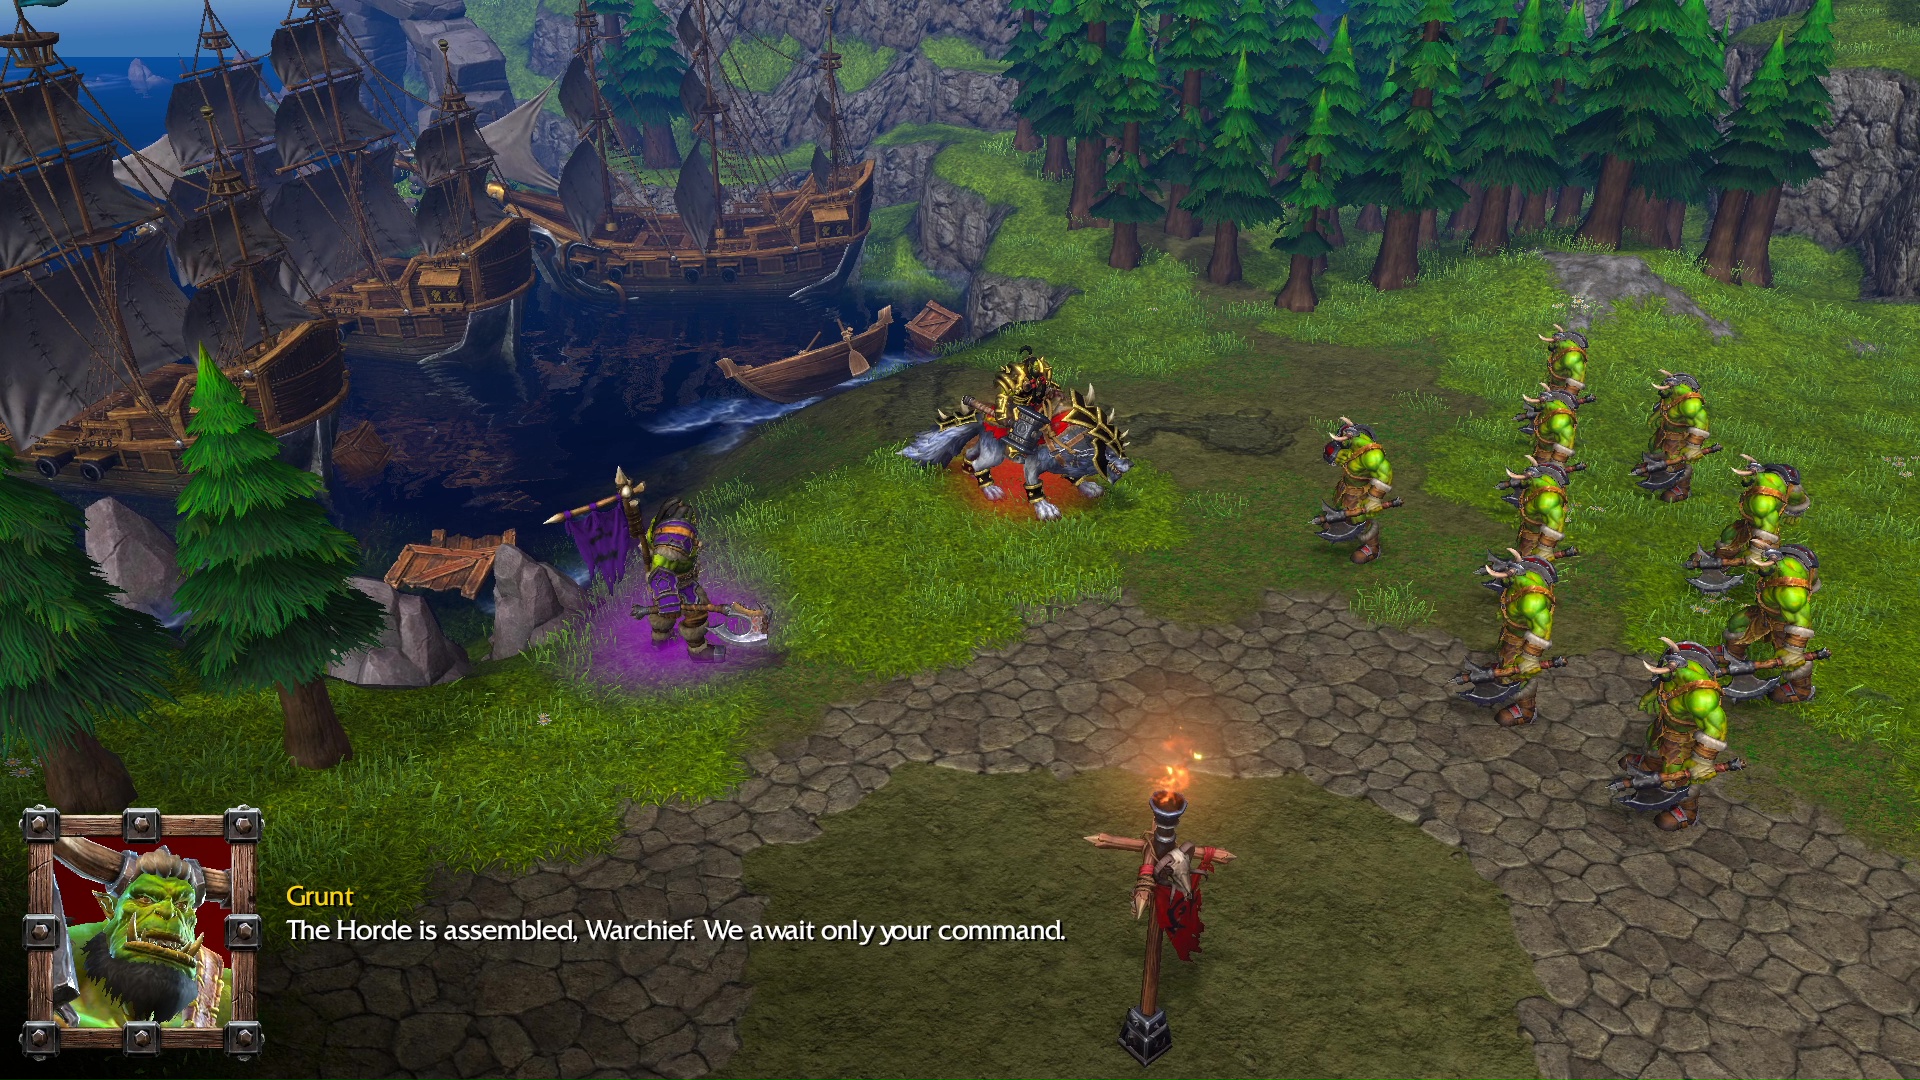
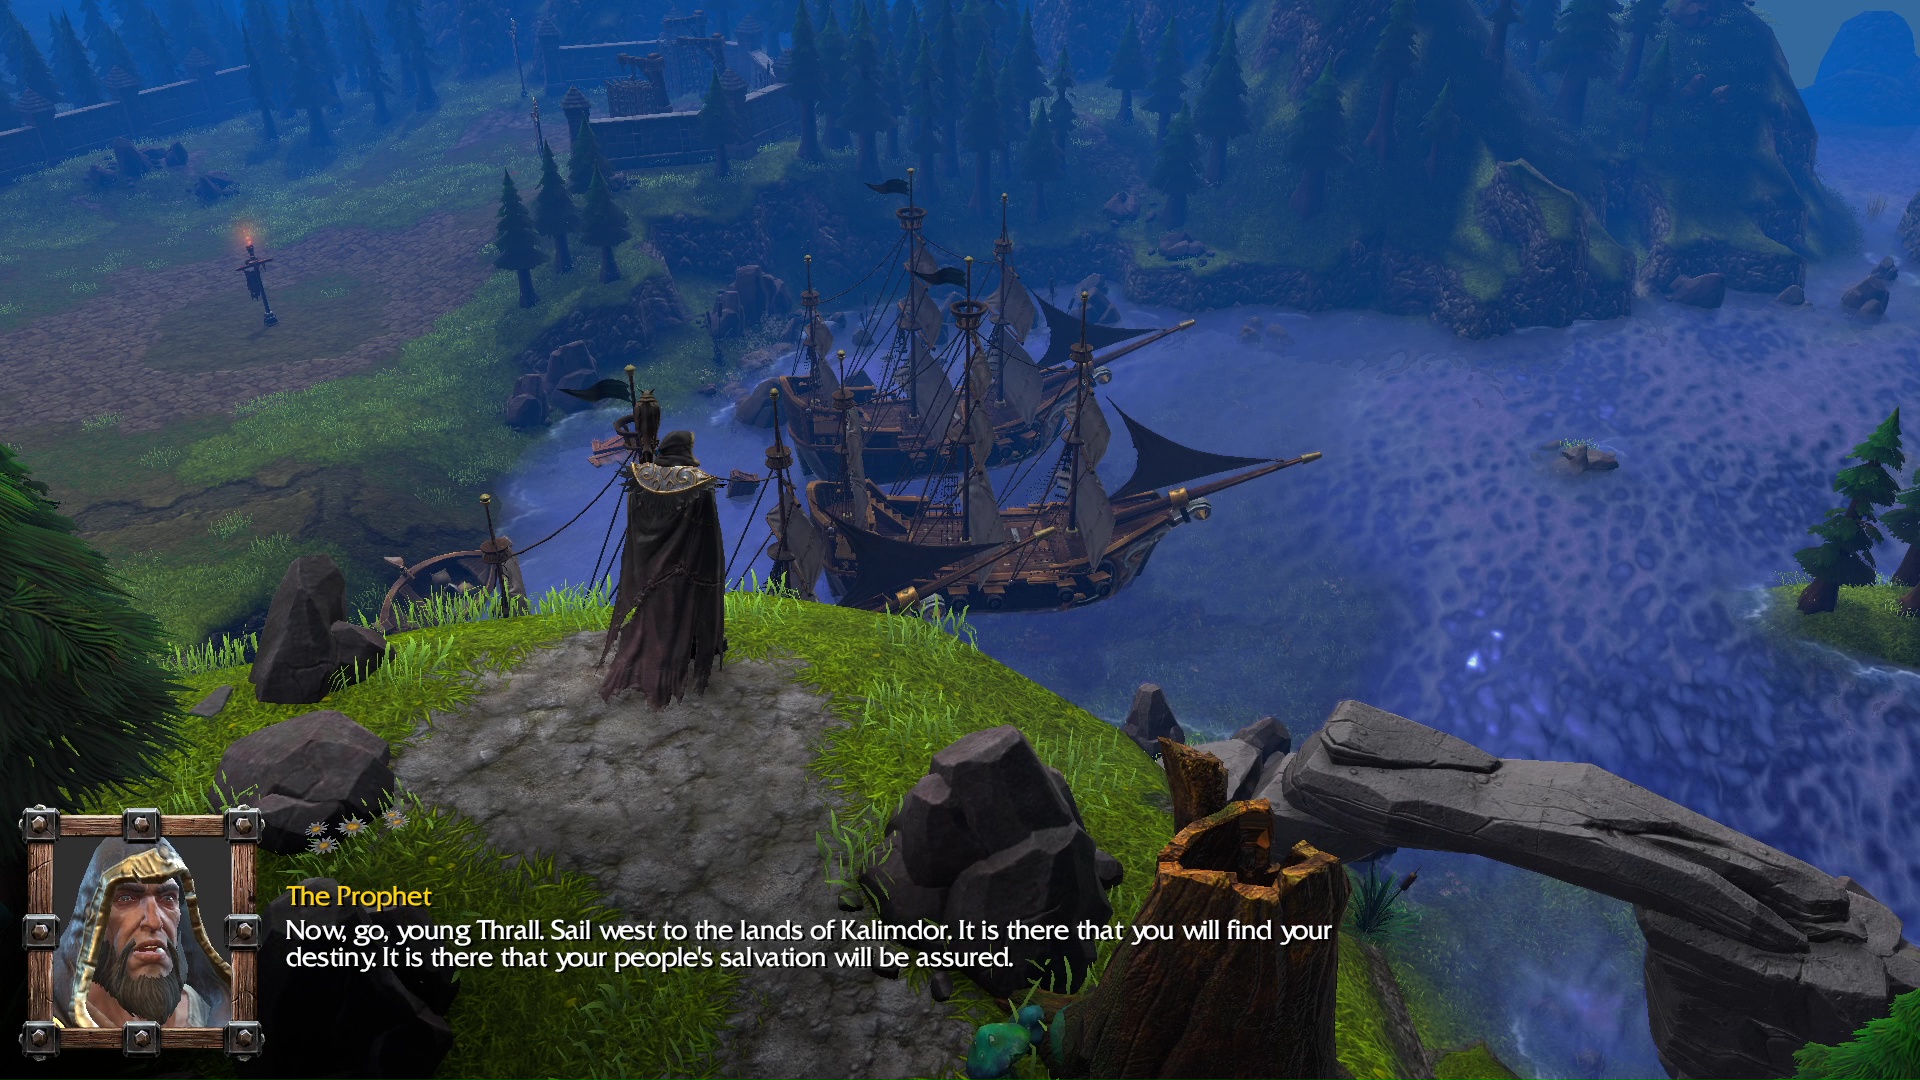
The Prophet: Now, go, young Thrall. Sail west to the lands of Kalimdor. It is there that you will find your destiny. It is there that your people’s salvation will be assured.
BESTIARY
The numbers of each beast, humanoid, or structure correspond to the numbers displayed in the map image below.
- Gnoll level 1, Gnoll Poacher level 1.
- Gnoll level 1 x 3, Gnoll Warden level 3 (drops Scroll of Healing: Heals 150 hit points to all friendly non-mechanical units around the Hero when used).
- Bridge.
- Gate.
- Footman x 2. An ally Grunt spawns off the cage.
- Footman. An ally Shaman spawns off the cage.
- Footman.
- Rifleman x 2.
- Footman x 2. An ally Grunt x 2 and a Shaman spawn off the cages.
- Knights x 2. Gate.
- Footman x 2. Hellscream spawns off the cage.
- Medivh. He can’t be reached. He is there at the top of the mountain because the camera stands behind him to show the cutscene after completing the mission.


Hope you enjoyed this article. Please, support Blizzplanet via PayPal, and follow us on Twitter, Facebook, YouTube, and Twitch for Blizzard games news updates. |
 |